Make a beautiful border for a greeting card and impress your family and friends. If you have never used this technique before, follow the steps given in Part 1 of this series ( link to part 1).
Make Beautiful Embroidery Thread Designs on Paper Card Stock – Basics – Part 2
[ad#ahc]
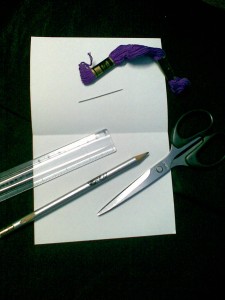
Craft materials required:
Thread (single strand)
Needle
Scissors
Card / thick paper
Pencil
Scale
glue
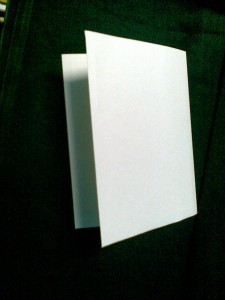
Cut out a piece of card approximately 20 cm x 15 cm and fold it as shown.
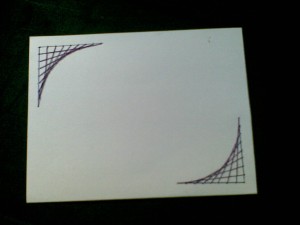
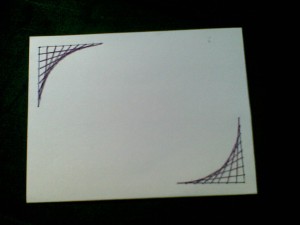
Leaving about half a cm distance from the sides draw 2 sets of perpendicular lines, 4 cm each, on two corners as shown.
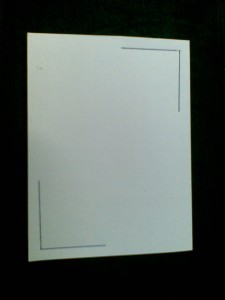
Mark points every 0.5 cm as shown.

Use the seimography technique shown here ( link to part 1) to make the design.
The back of the card will look like this
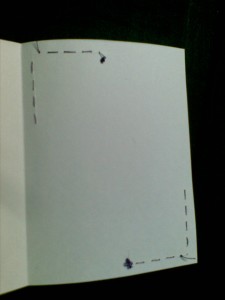
Cut out a piece of card, half the length of the original card and glue it in such a way that it hides the back of your needlework
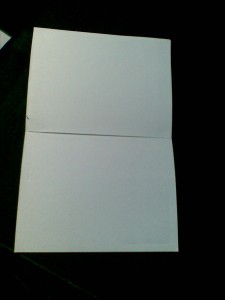
Your card is ready. Add a special message or greeting in the center of the card and give it to someone you love.

Did you enjoy doing this? Try out Part 3 of this series and learn to make some pretty multicolor butterflies.
Technorati Tags: embroidery thread cards, stitching cards, Embroidered Cards, stitch embroidery cards, threaded cards, make thread cards, embroidery thread designs, embroidery thread card stock, thread art, threaded cards art, sewing cards, how to sew cards, make greeting cards, making greeting cards, greeting card crafts

Leave a comment