Easter Bunny Rabbit Treat Cups Crafts Activity Ideas for Kids
Every once in a while, I come up with this wonderful little idea that I just need to do as a craft and I enjoy sharing it. While I would love to say that this little craft is one that I thought up myself, I can’t. In actuality, I discovered this little craft only this week when my four year old came home from his kindergarten class. He happily hopped up to me and showed me this cute little bunny that his class had made for Easter and I was so delighted by the end result that I just had to share it with many other parents and crafters out there.
I would like to say a big thank you to his kindergarten teacher before I do start on the craft itself. I would also like to mention that this craft is great for children of all ages. At home, I did this craft with a 4 year old and an 8 year old and both were delighted with both the process and the end product. It is very easy to do and can make a beautiful little gift or grab bag for the Easter season.
Bunny Rabbit Cups: How to Make these Delightful Little Bunny Cups with only a Few Supplies
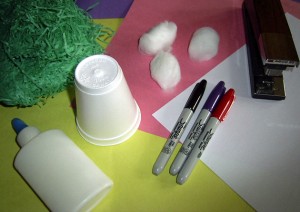
Gather all the materials you need:
- Markers (I used red, purple and black but you can use anything you want)
- White Glue
- Cotton Balls
- Styrofoam Cup
- Easter Grass (I used green but feel free to use any color)
- Construction Paper, white and pink
- Stapler
- Scissors
[ad#ahc]
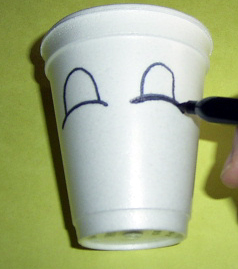
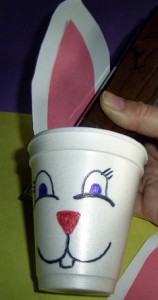
1. Take a Styrofoam cup and carefully draw the eyes of the bunny around the mid-range of the cup. You can use any shape you want so don’t feel the need to use my cup design. Also, allow your child to draw the face she wants or simply let her scribble on it if she would like. For my cup, I used black for the outline and purple for the iris.
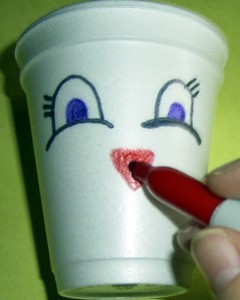
2. Next, draw the nose slightly under the eyes and in the middle of the “face.” I used red for my nose.
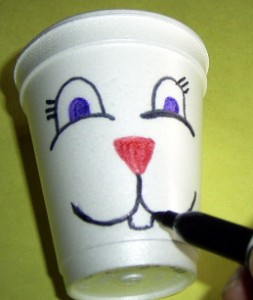
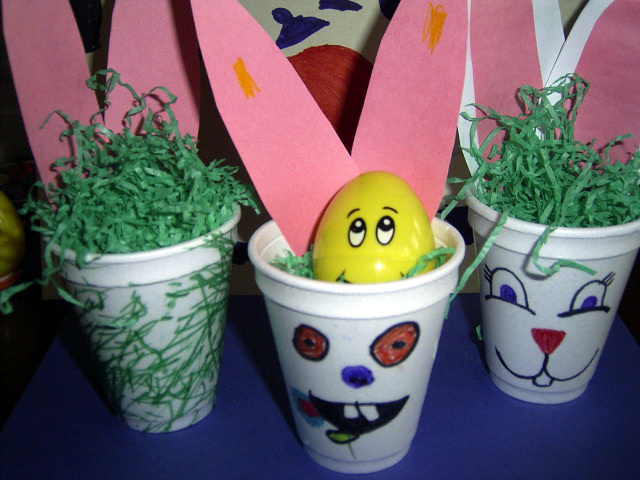
3. Finally draw the mouth and teeth (if your bunny has teeth) and add any other embellishments to the face. My oldest drew drool coming out of the mouth (see center cup in top picture). Once the face is drawn, set it aside to work on the ears.
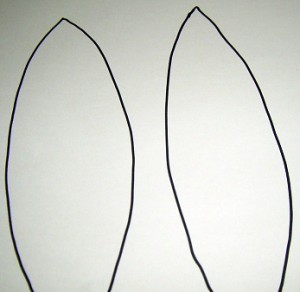
4. Draw out a set of bunny ears on the white construction paper. These should be fairly large but still manage to fit inside the cup.
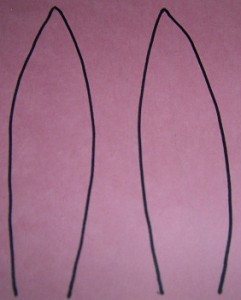
5. Repeat the process on the pink construction paper but make these ears slightly smaller since they will be the inside of the bunny ears. When I was creating this craft with my kids, they didn’t want the white ears so if you find your children don’t either, just let them create on their own terms. There is no need for every bunny cup to look the same.
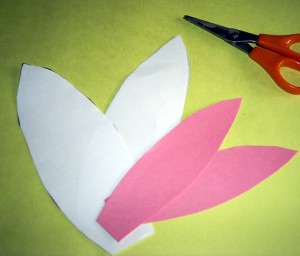
6. Cut out the ears.
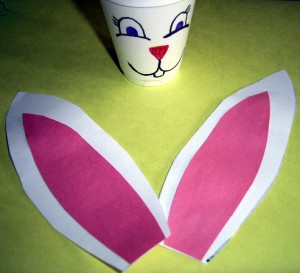
7. Glue the pink bunny ears into the center of the white bunny ears. Make sure the bottoms of the ears match up when glueing.
8. Once the ears are glued together, secure them to the inside of the cup with the stapler. You will want to put them on the side that is furthest from the face so the staples are on the back of the bunny and not in the middle of his forehead.
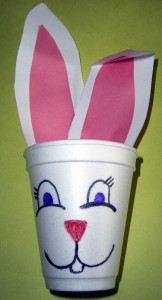
9. This is optional, but if you want the folded ear finished look, crease one of the ears about a quarter of the way down.
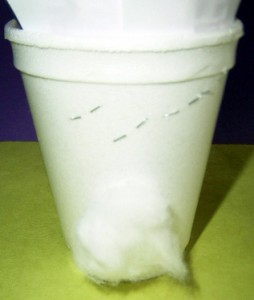
10. Take a small cotton ball and glue it into place below the staples on the back of the cup.
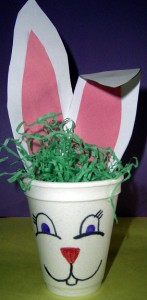
11. Fill the cup with Easter grass and add a few eggs.
And that is all it takes to create one very cute little Easter Bunny cup.
Technorati Tags: easter crafts for kids, easter crafts, kids easter crafts, kids easter crafts, easter bunny crafts, easter rabbit crafts, easter cup crafts, easter bunny cups, easter bunny, easter, easter activities, crafts for kids, kids crafts, easter crafts for preschoolers, easter crafts for toddlers

excellent idea! deals with creativness.
This is a nice idea especially for little kids to enjoy. It is easy to make and definitely looks fun and cute.
This is a great idea, it is really an easy activity for little kids to do. I love it is gorgeous.
IT IS A VERY GOO…………………………………………D.
i looks cool