This is a great project to do while thinking about Martin Luther King Jr’s famous “I Have a Dream” speech. Specifically the quote “I have a dream that my four little children will one day live in a nation where they will not be judged by the color of their skin, but by the content of their character.” This craft can help remind us that all colors, whether they be the colors on a piece of paper, or the colors of our skin, can work well together and create wonderful things. This would be a good project for parents and kids to do together while they discuss the importance of Dr. King’s words. It involves a lot of cutting so I would not suggest this as an “all-by-myself” craft for children under the age of 10.
Making Unity Place Mats Craft for Martin Luther King Day Activity
The crafts materials you will need are:
Safety Scissors (or have an adult use sewing scissors)
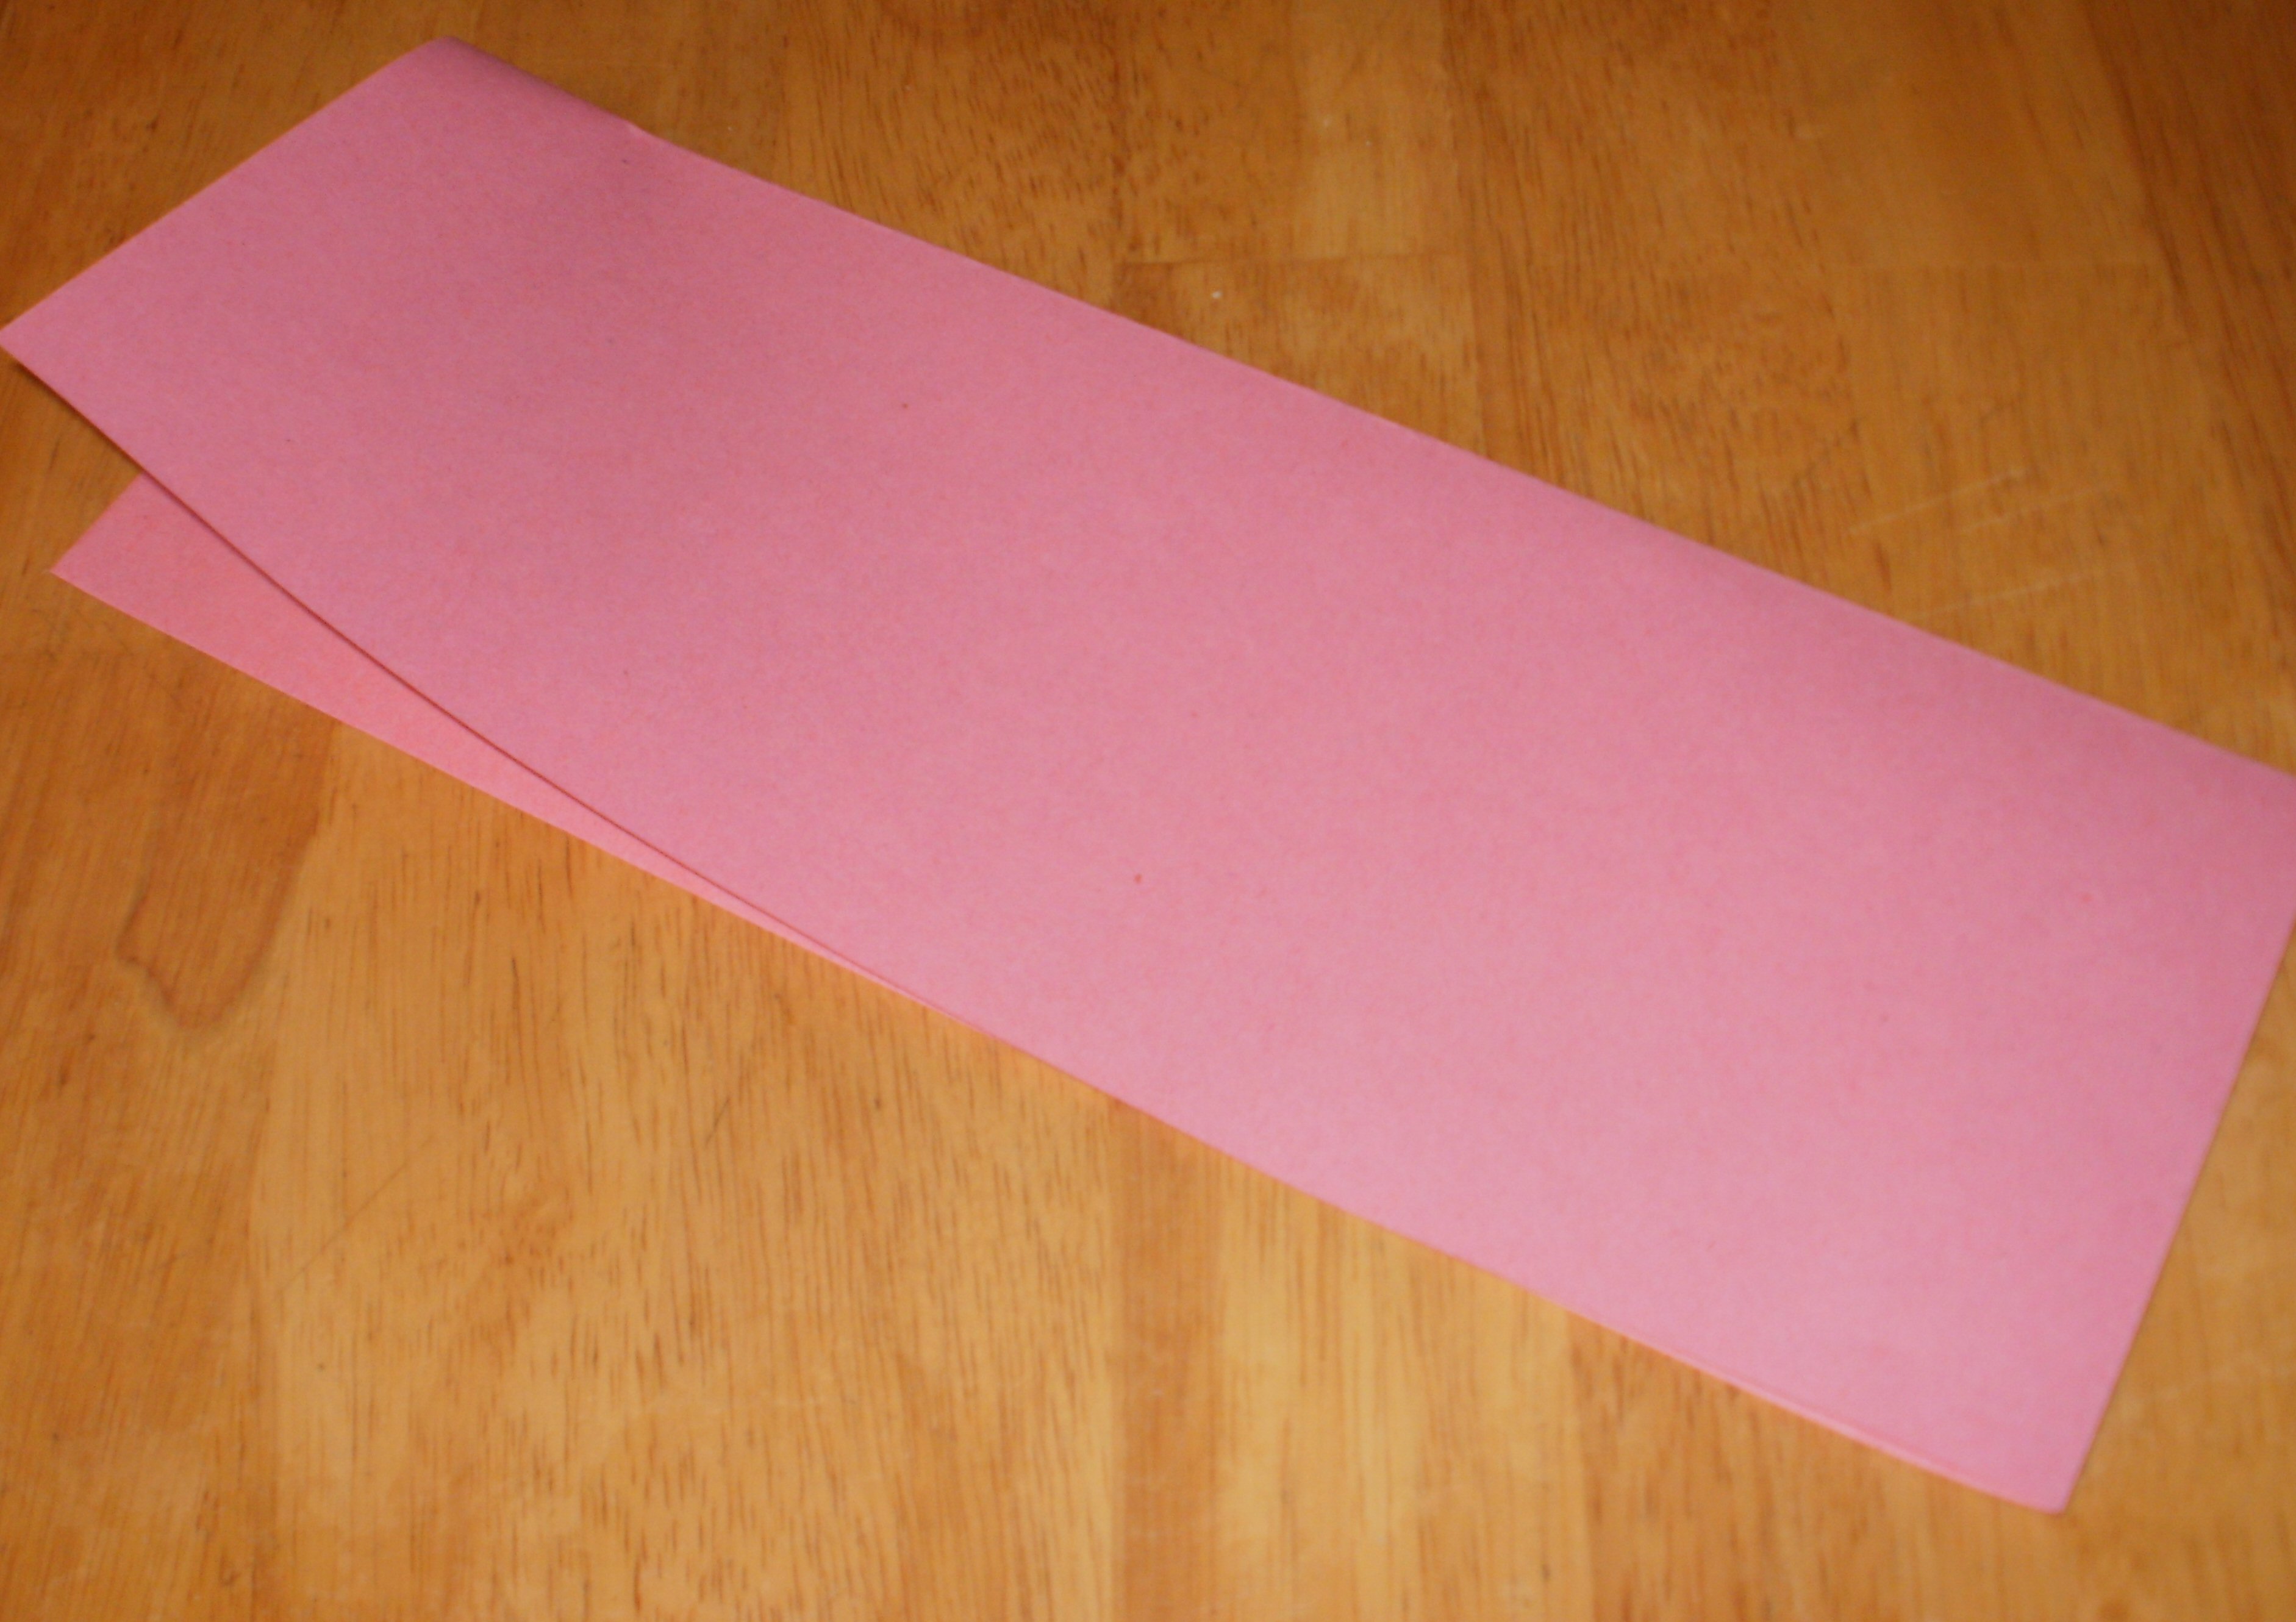
5 sheets of construction paper (I just picked mine randomly)
Tape
Laminating sheets (if you want it to last longer)
You will pick one color to be the base of your placemat and you will cut it so that one edge is untouched and there are eight strips coming off of it. You will take the other four colors and cut them so you have 8 pieces that are one and a quarter inches by nine inches (or however wide your construction paper is) and weave them together. Follow these instructions:
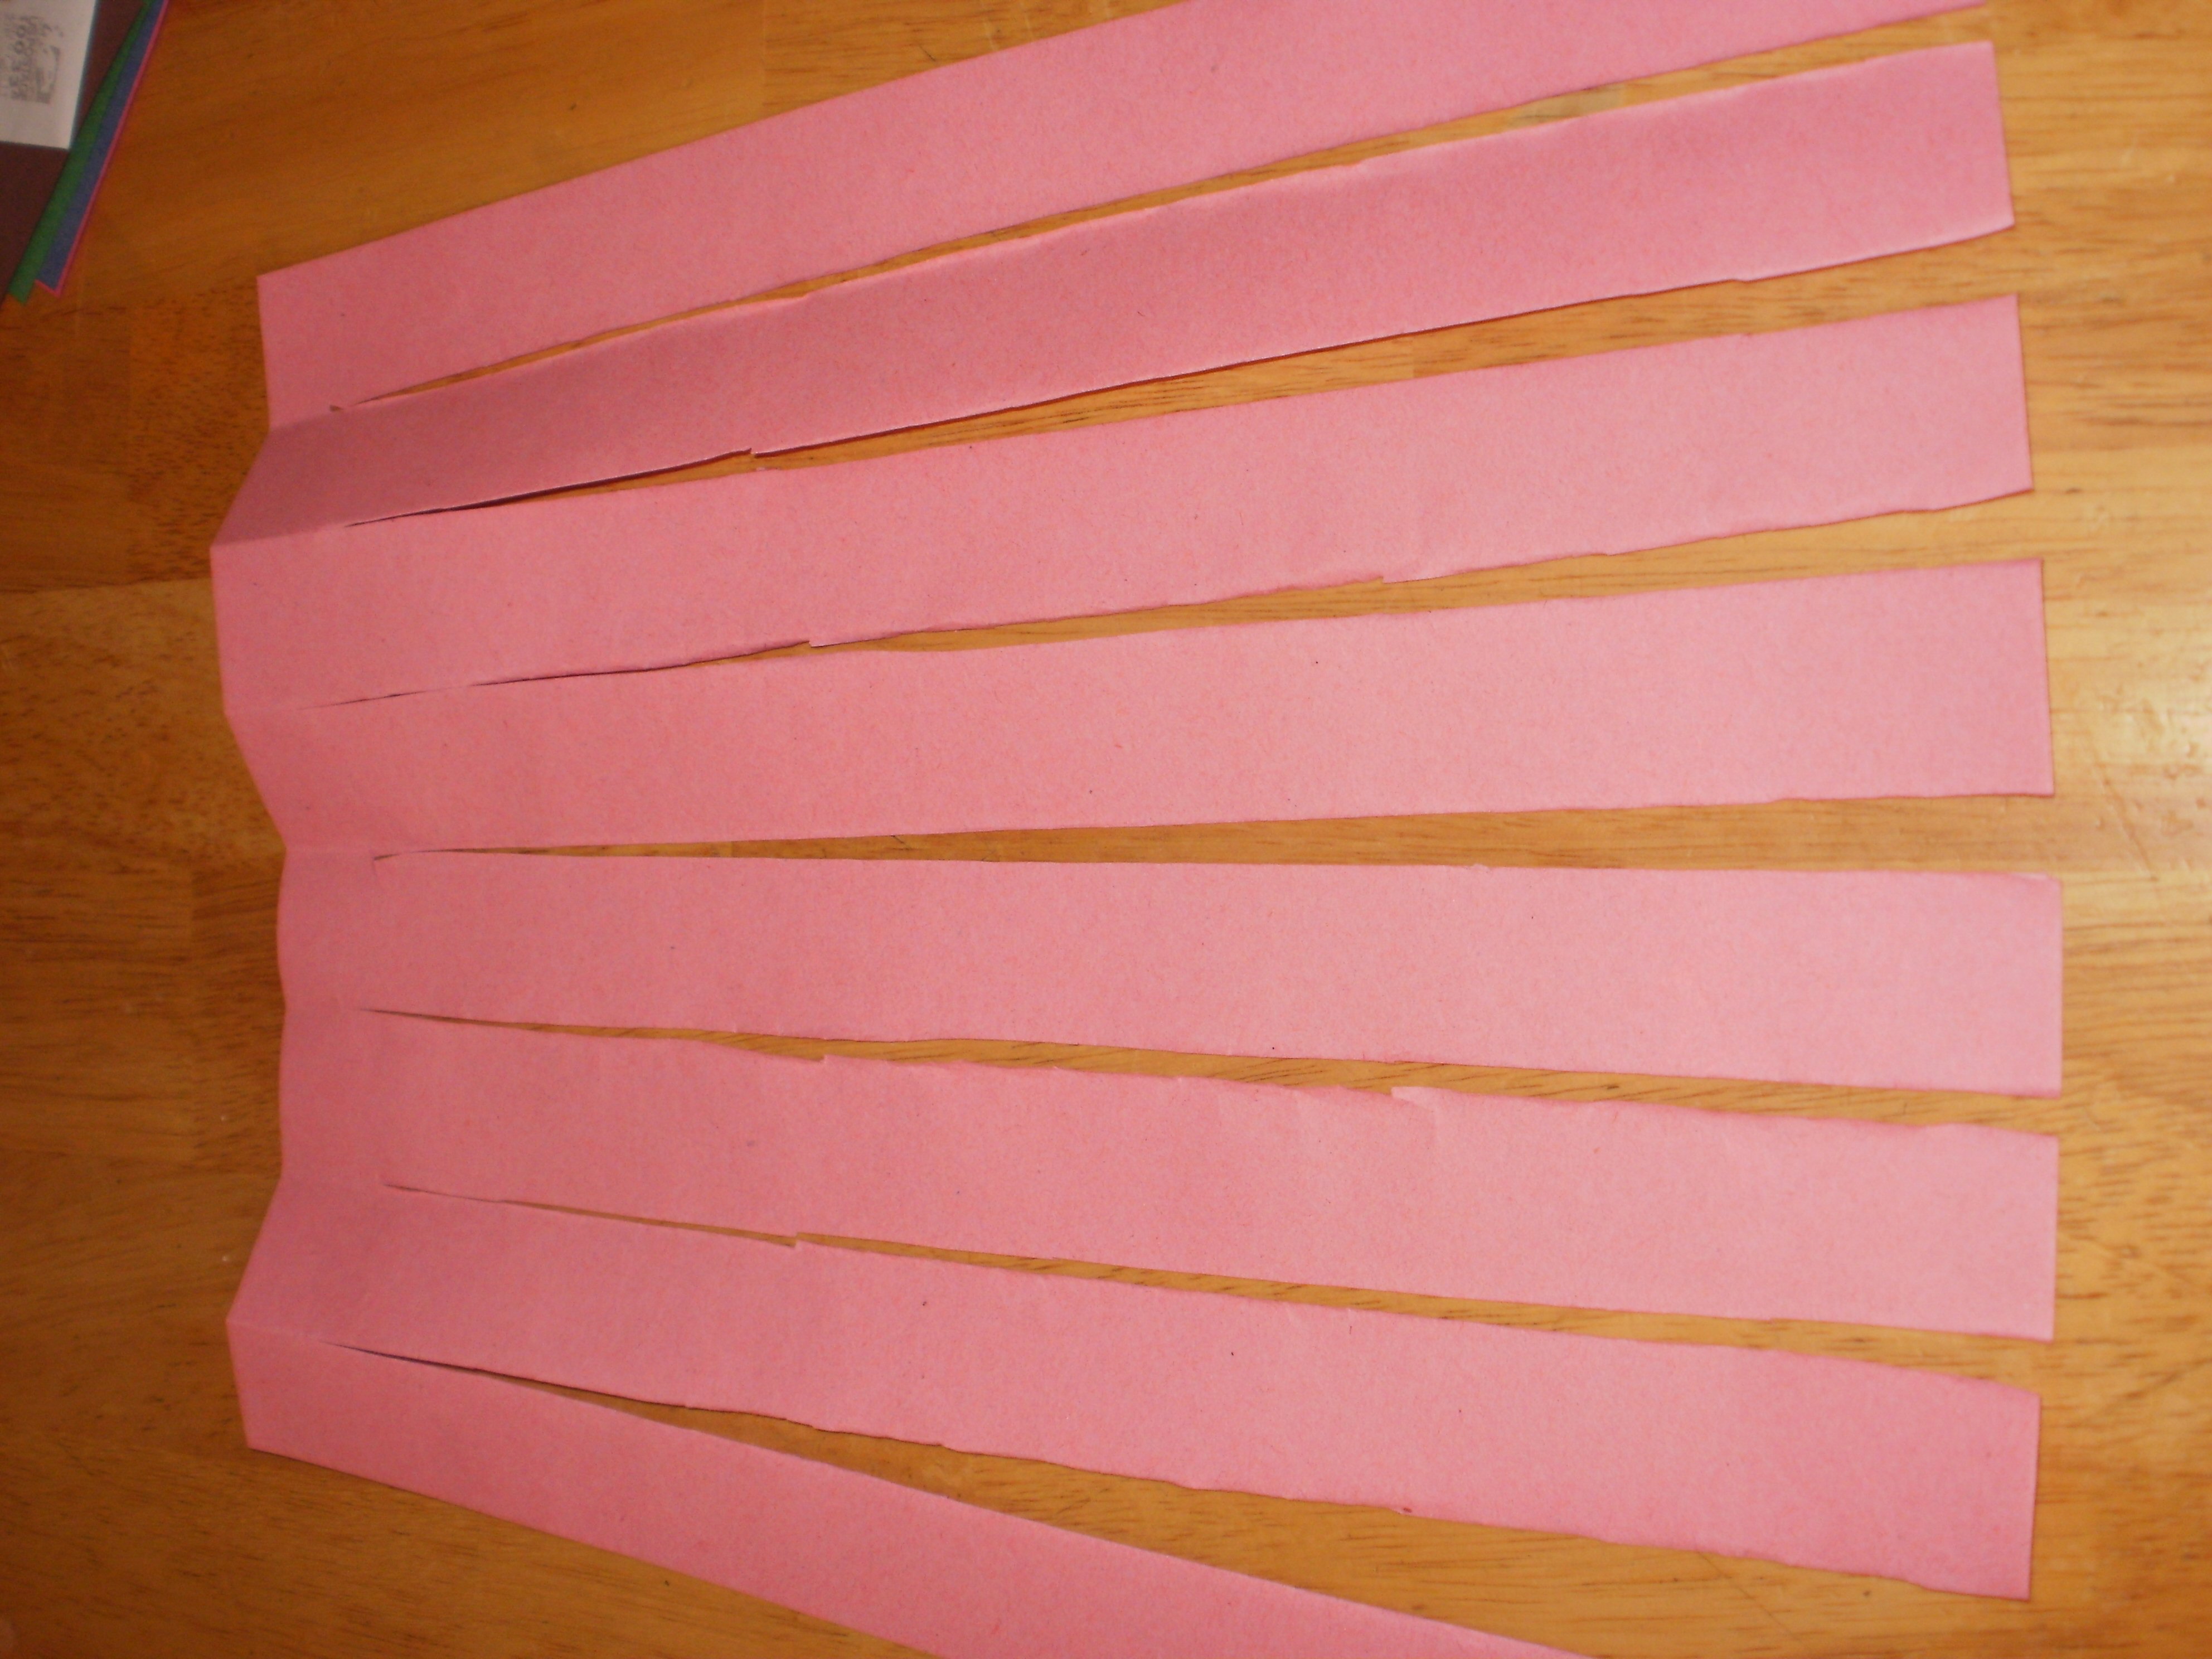
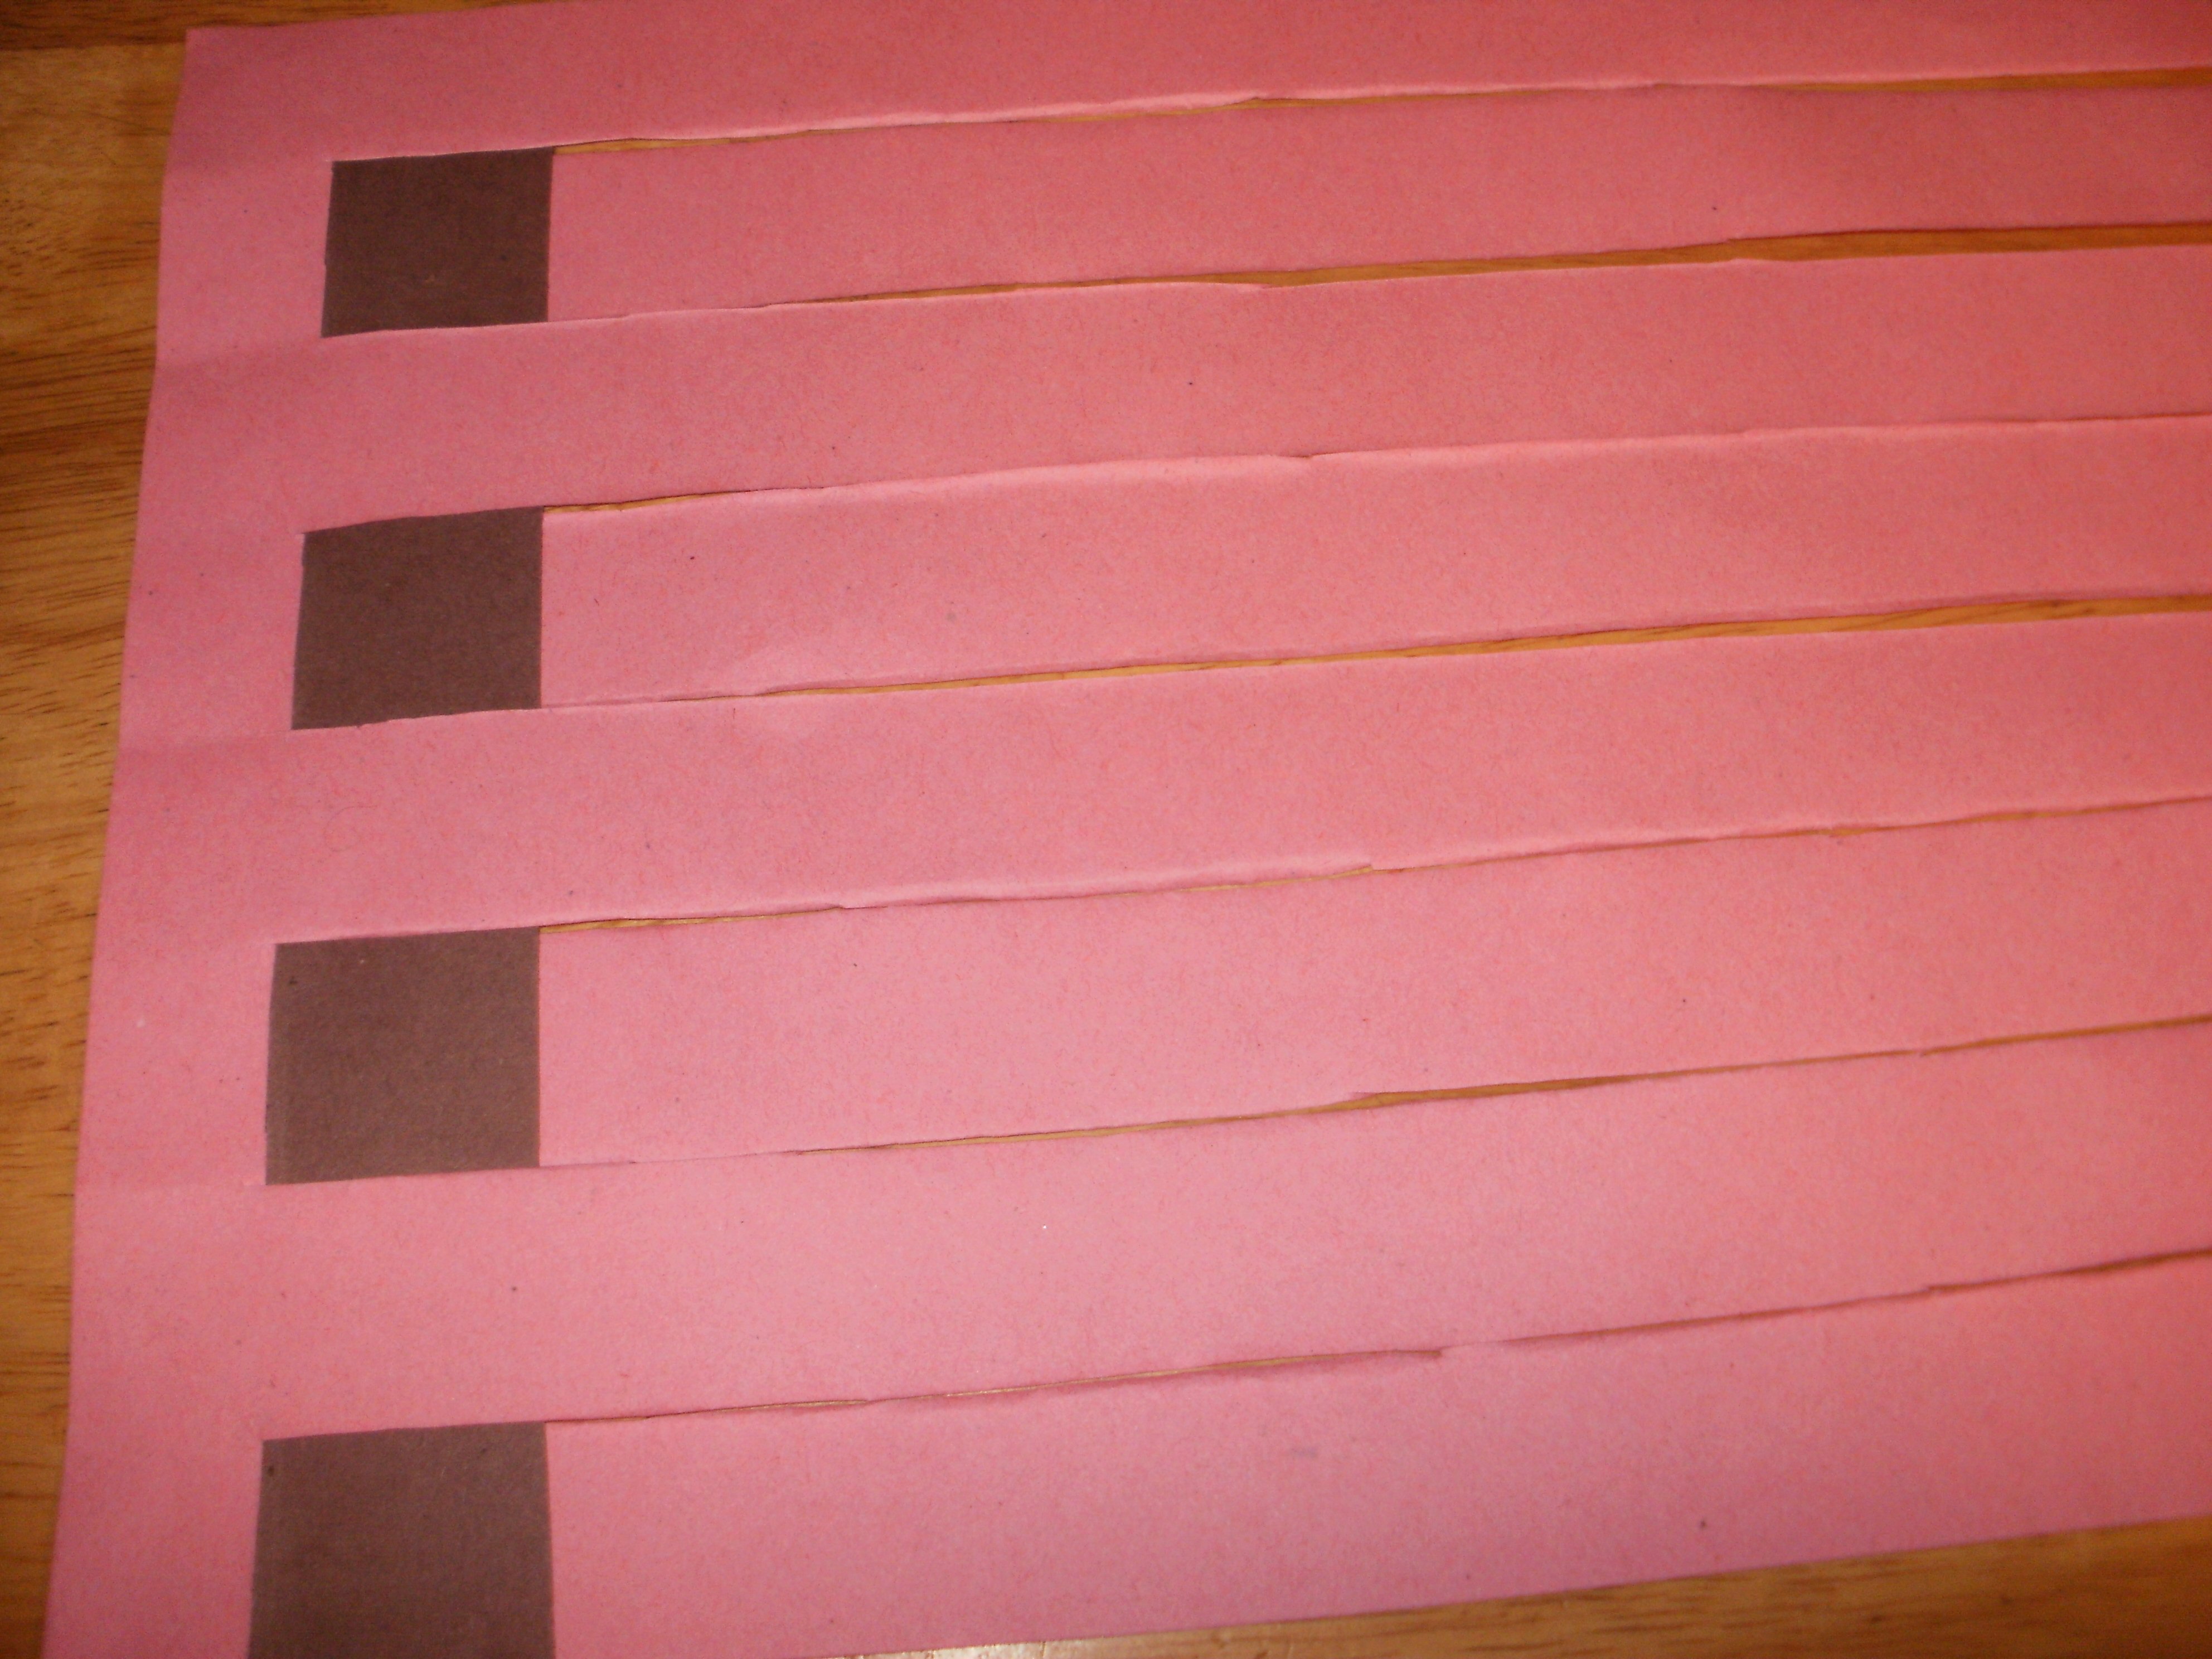
Step 1 : Prepare your base color
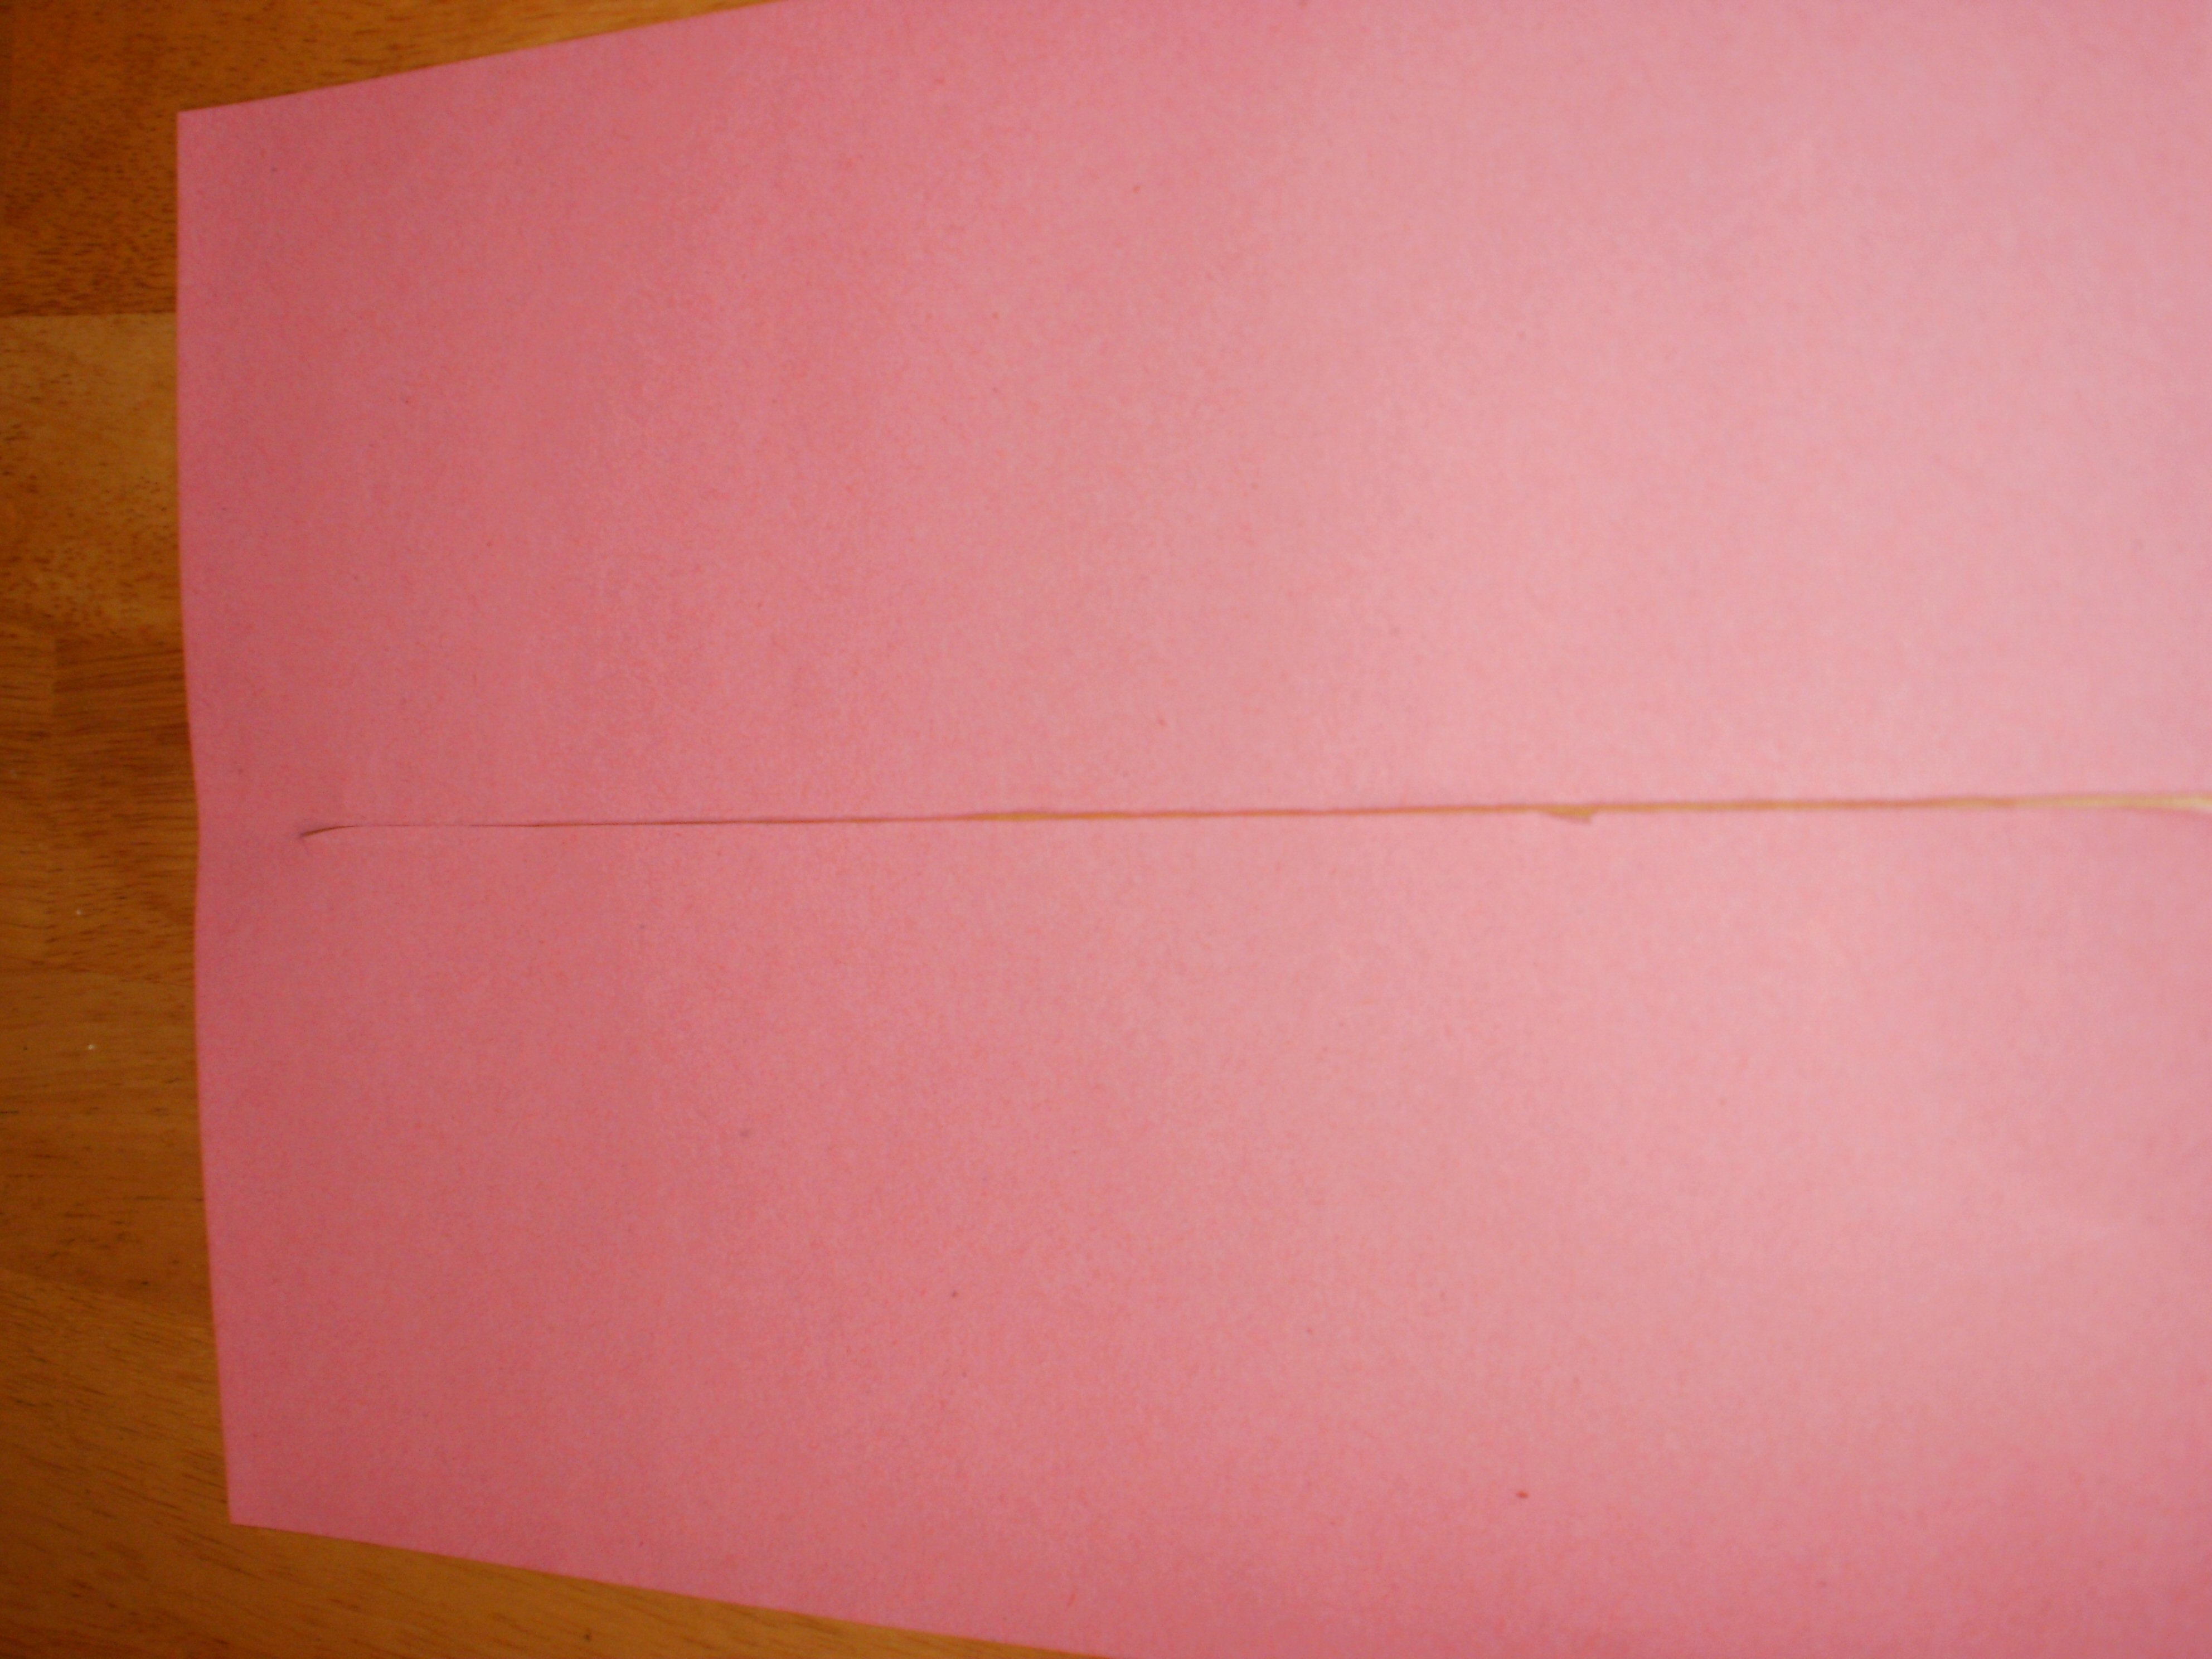
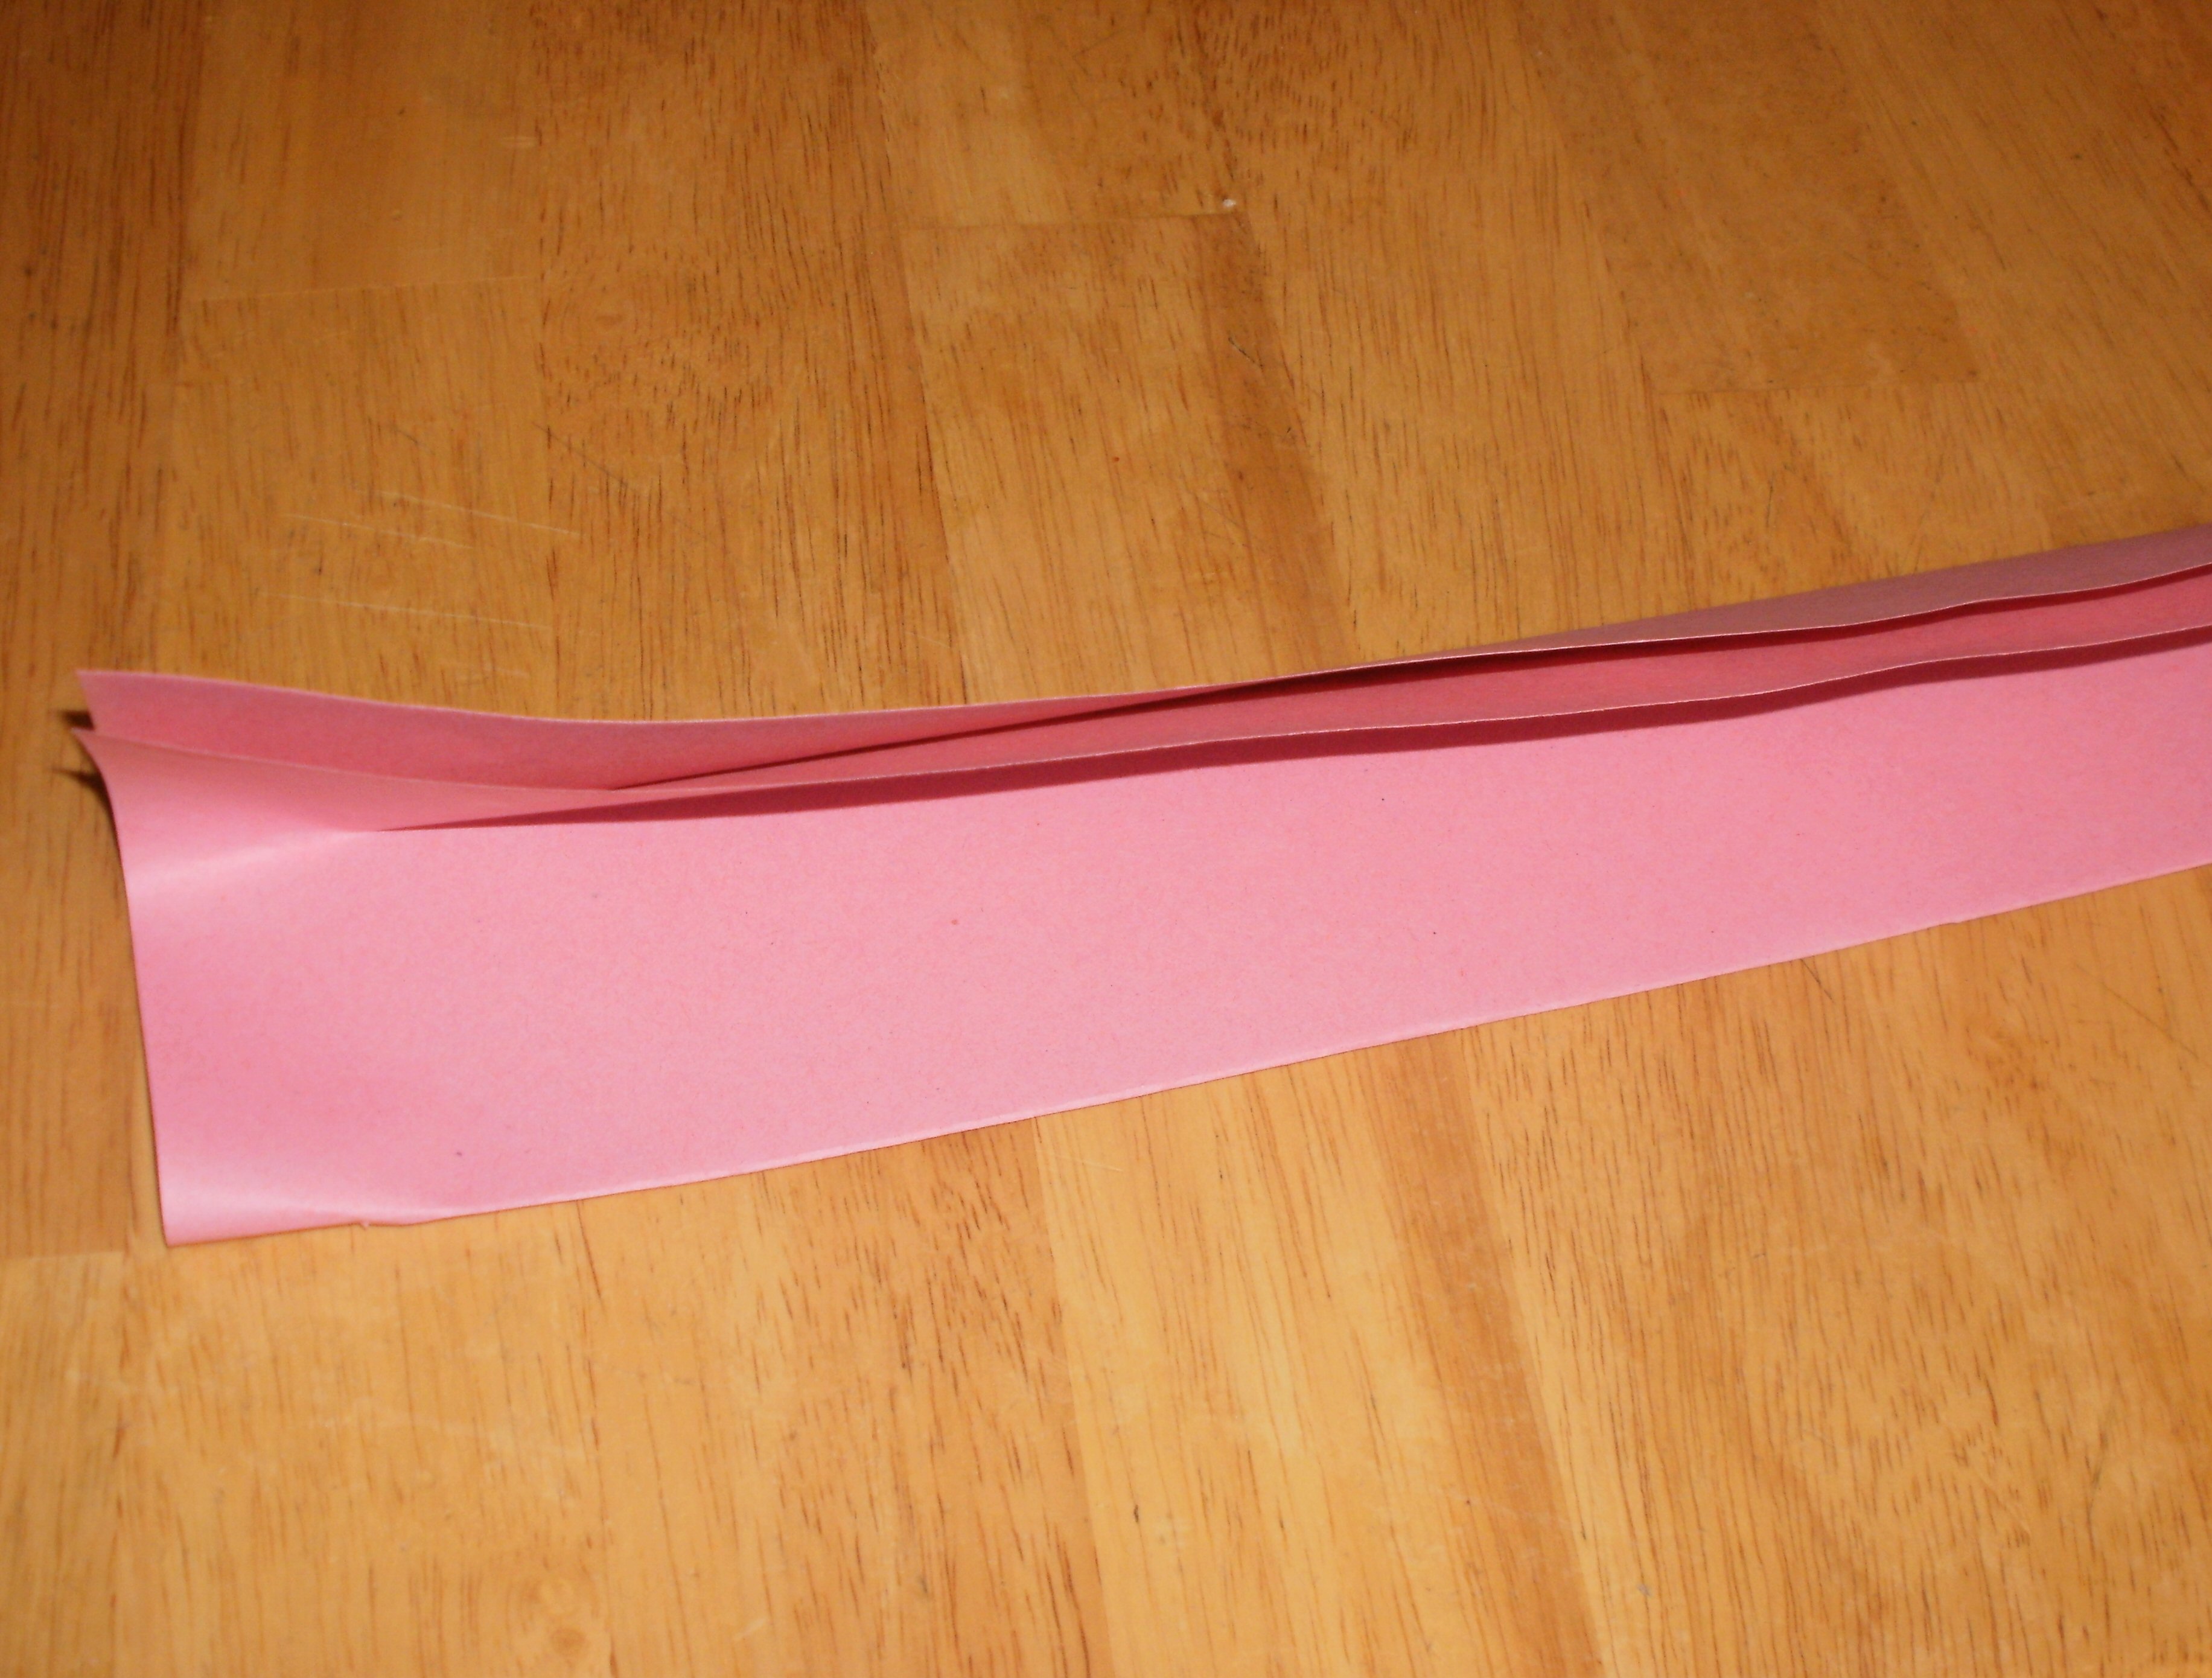
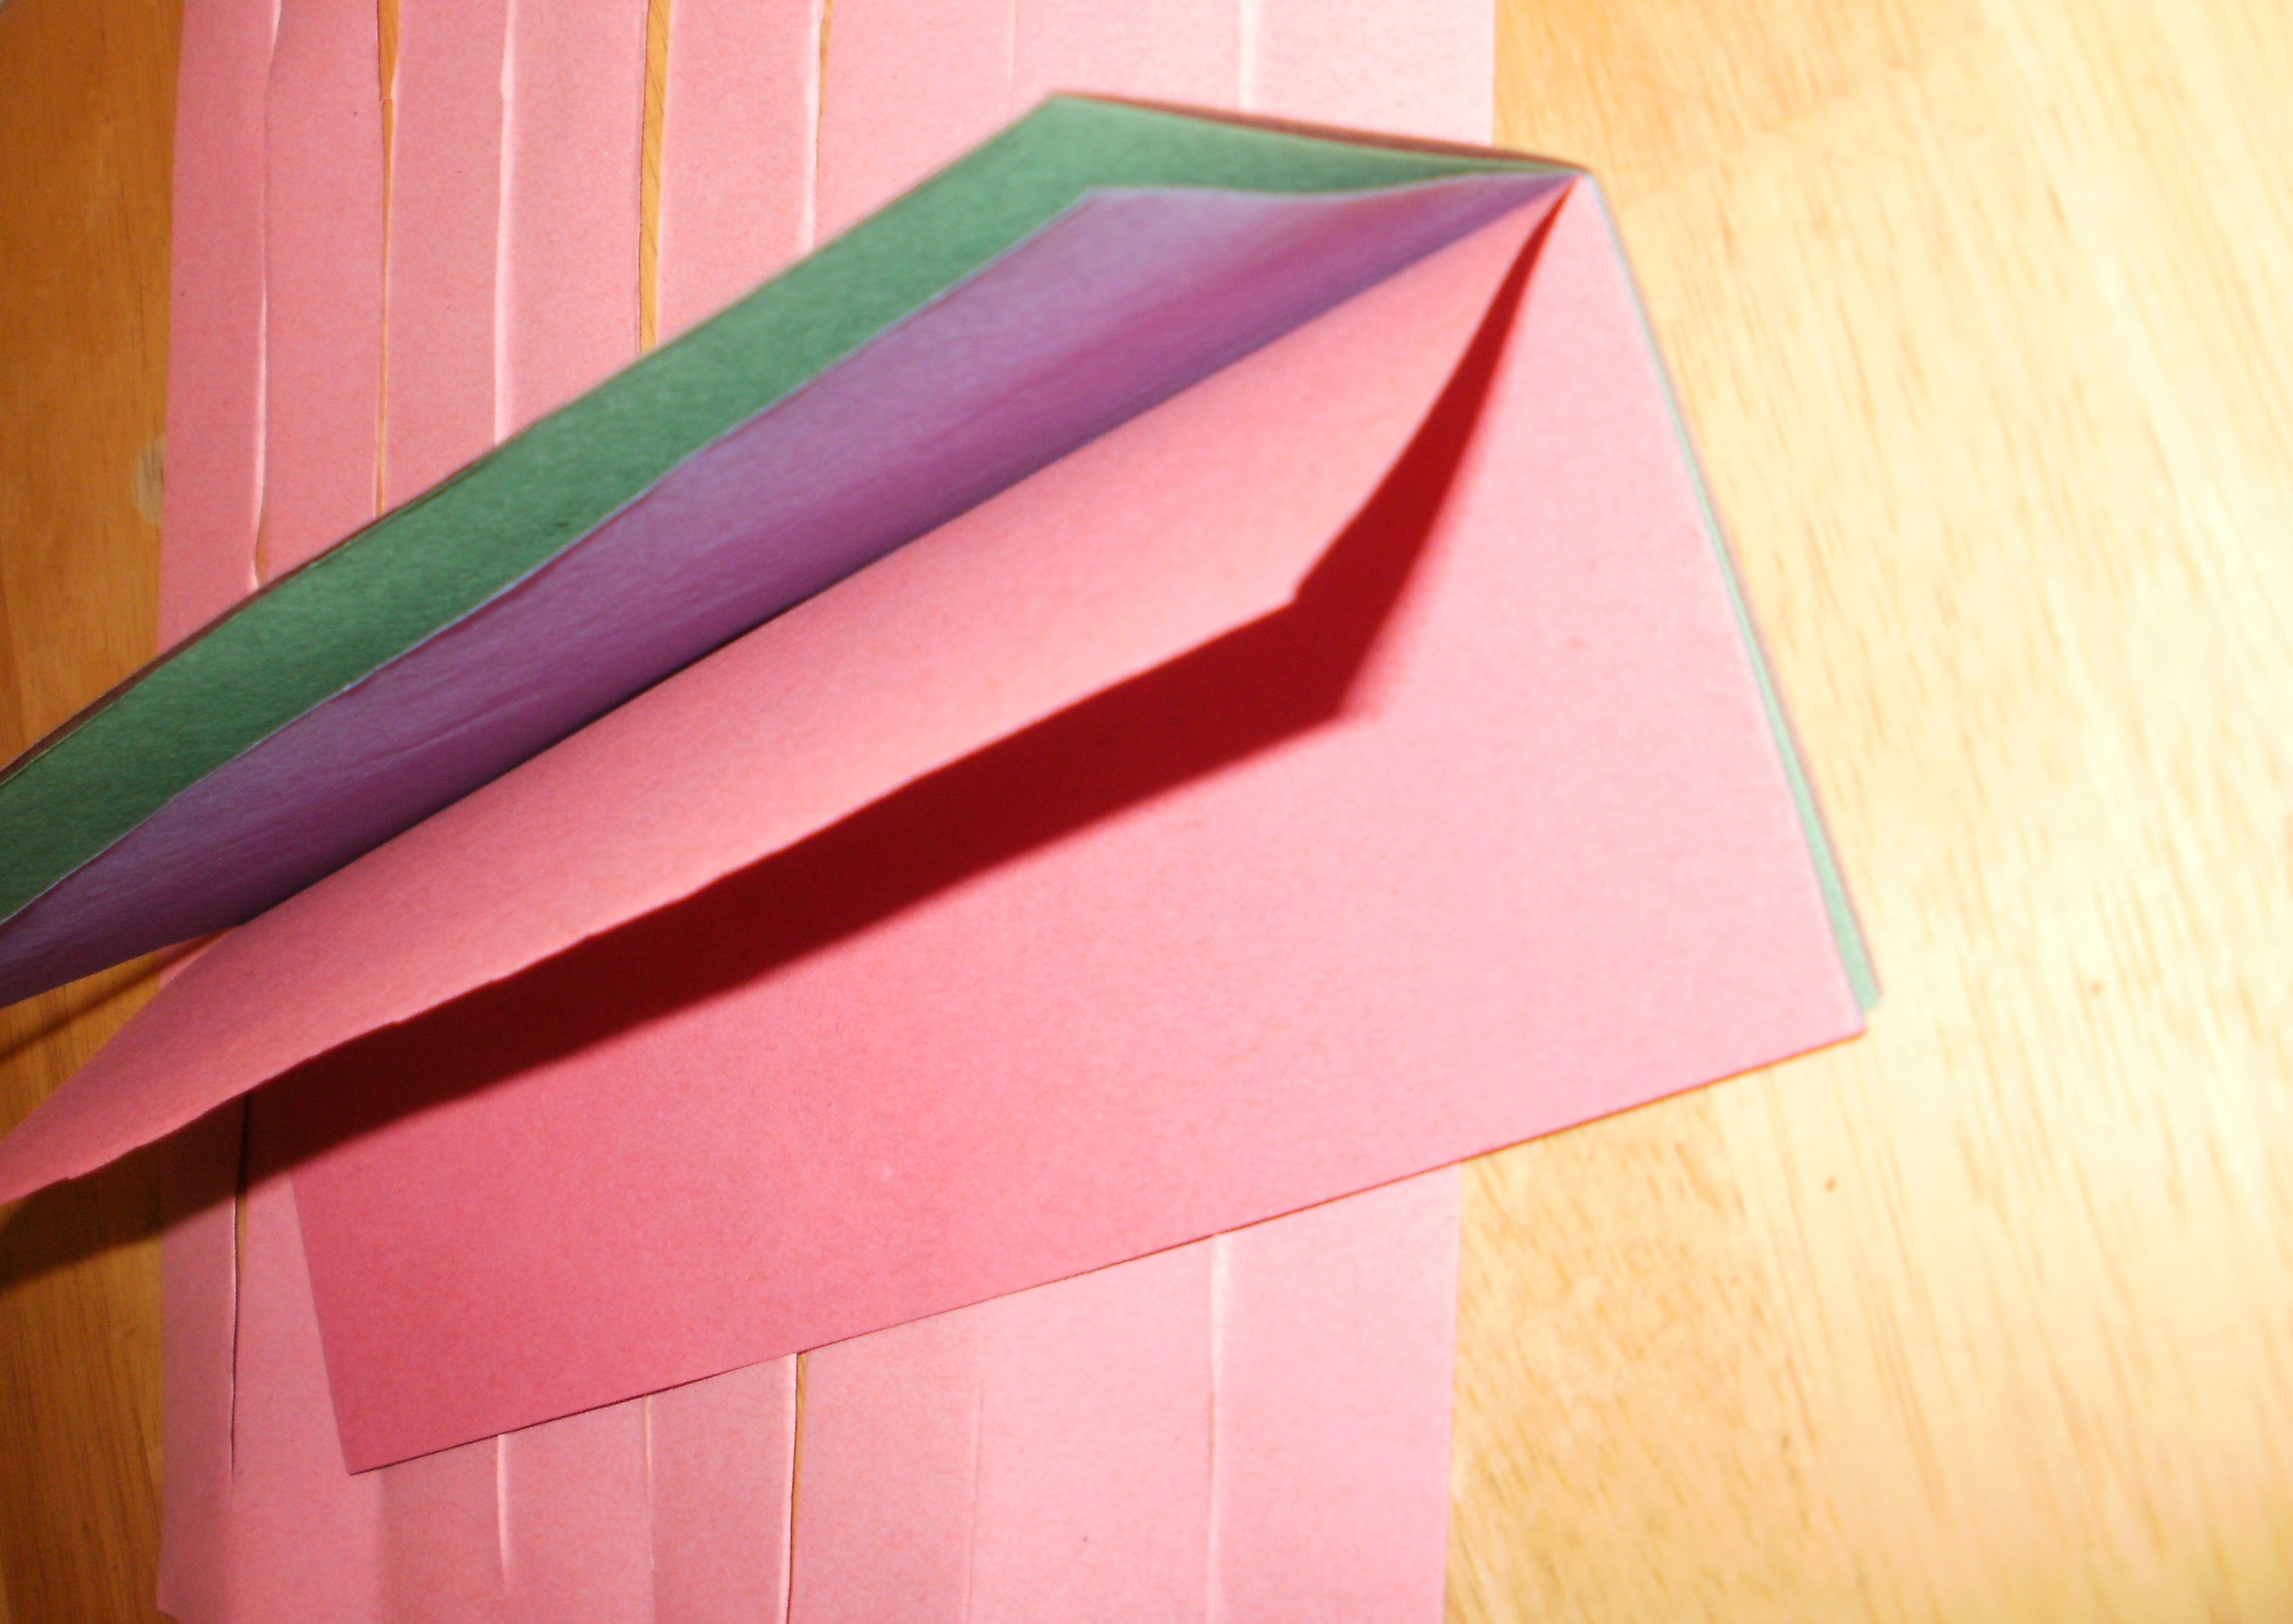
Fold base paper in half lengthwise and cut, leaving about one inch at one end.If unfolded it should look like this. Notice how it's not quite cut in two?Fold in half again lengthwise and cut, leaving the same amout on the same end.If unfolded it should now look like this, with four strips.
[ad#ahc]
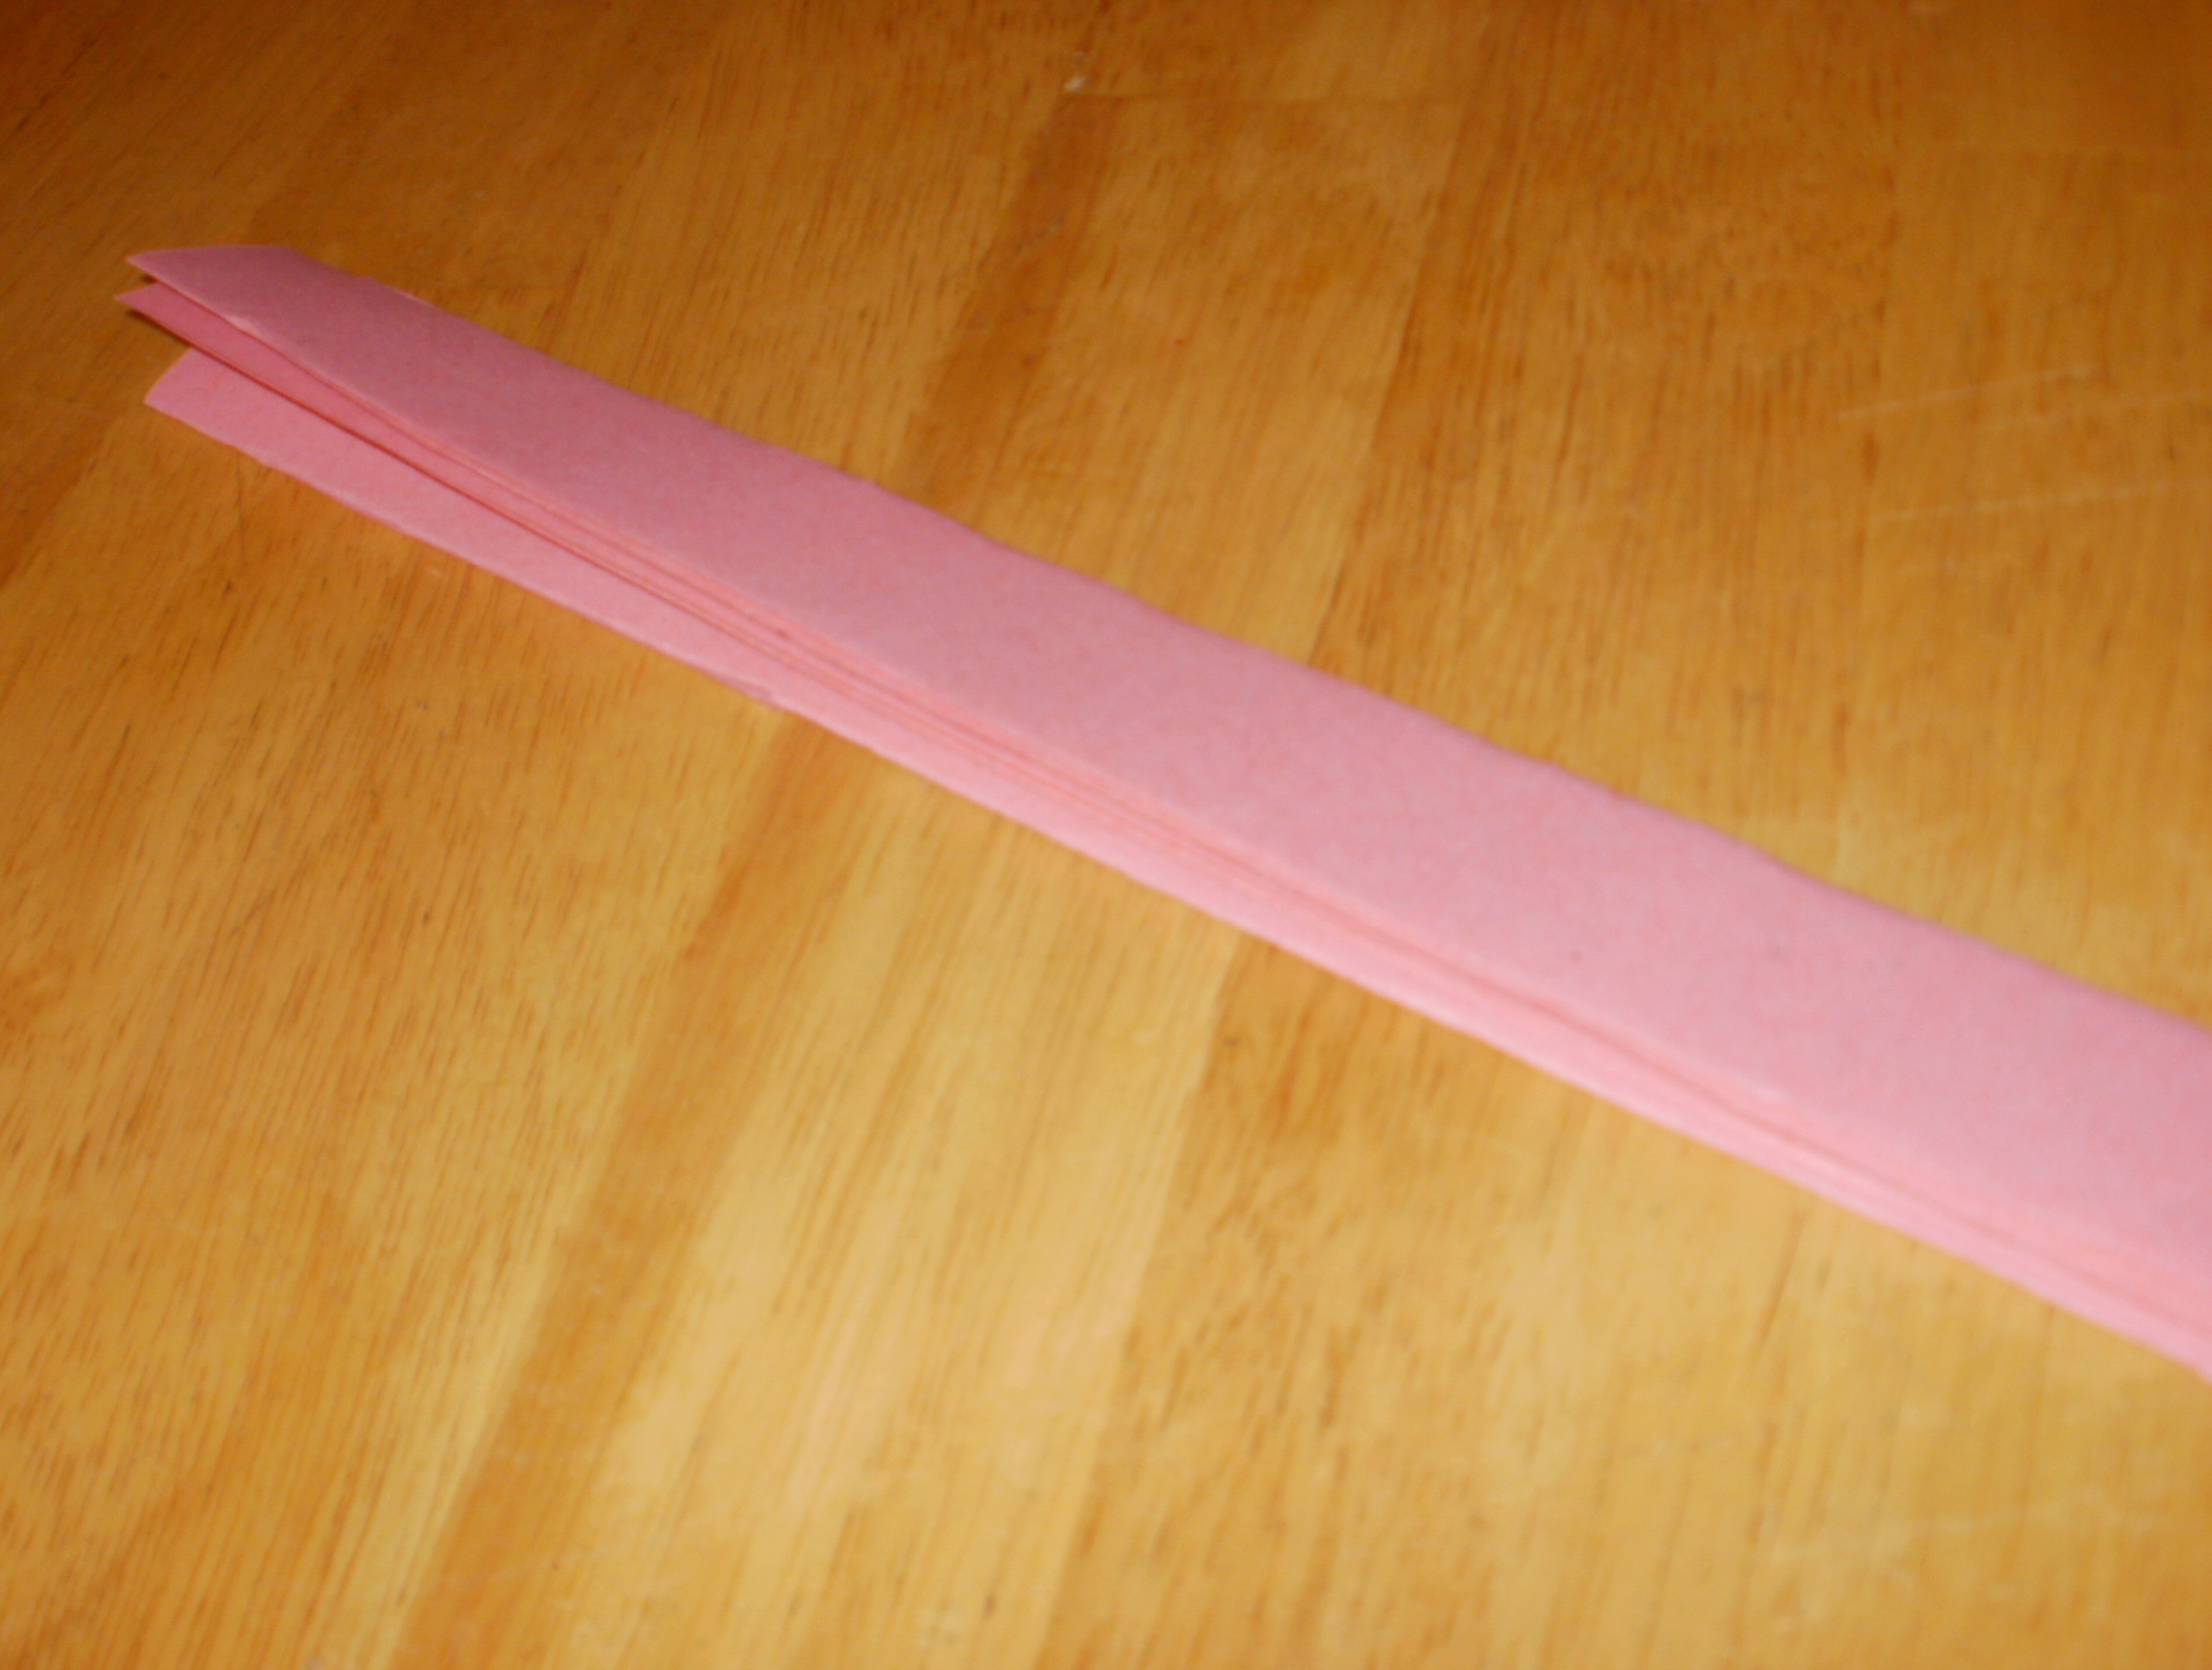
Fold in half one more time and cut, you may need an adult to help since you will be cutting through 4 thicknesses of paper by now. Make sure to leave the inch at the end!Now it should look like this and you're ready to start weaving. If it doesn't look like this, see if you can figure out where you went wrong and try again. This may take a time or two to get right, so don't get discouraged!
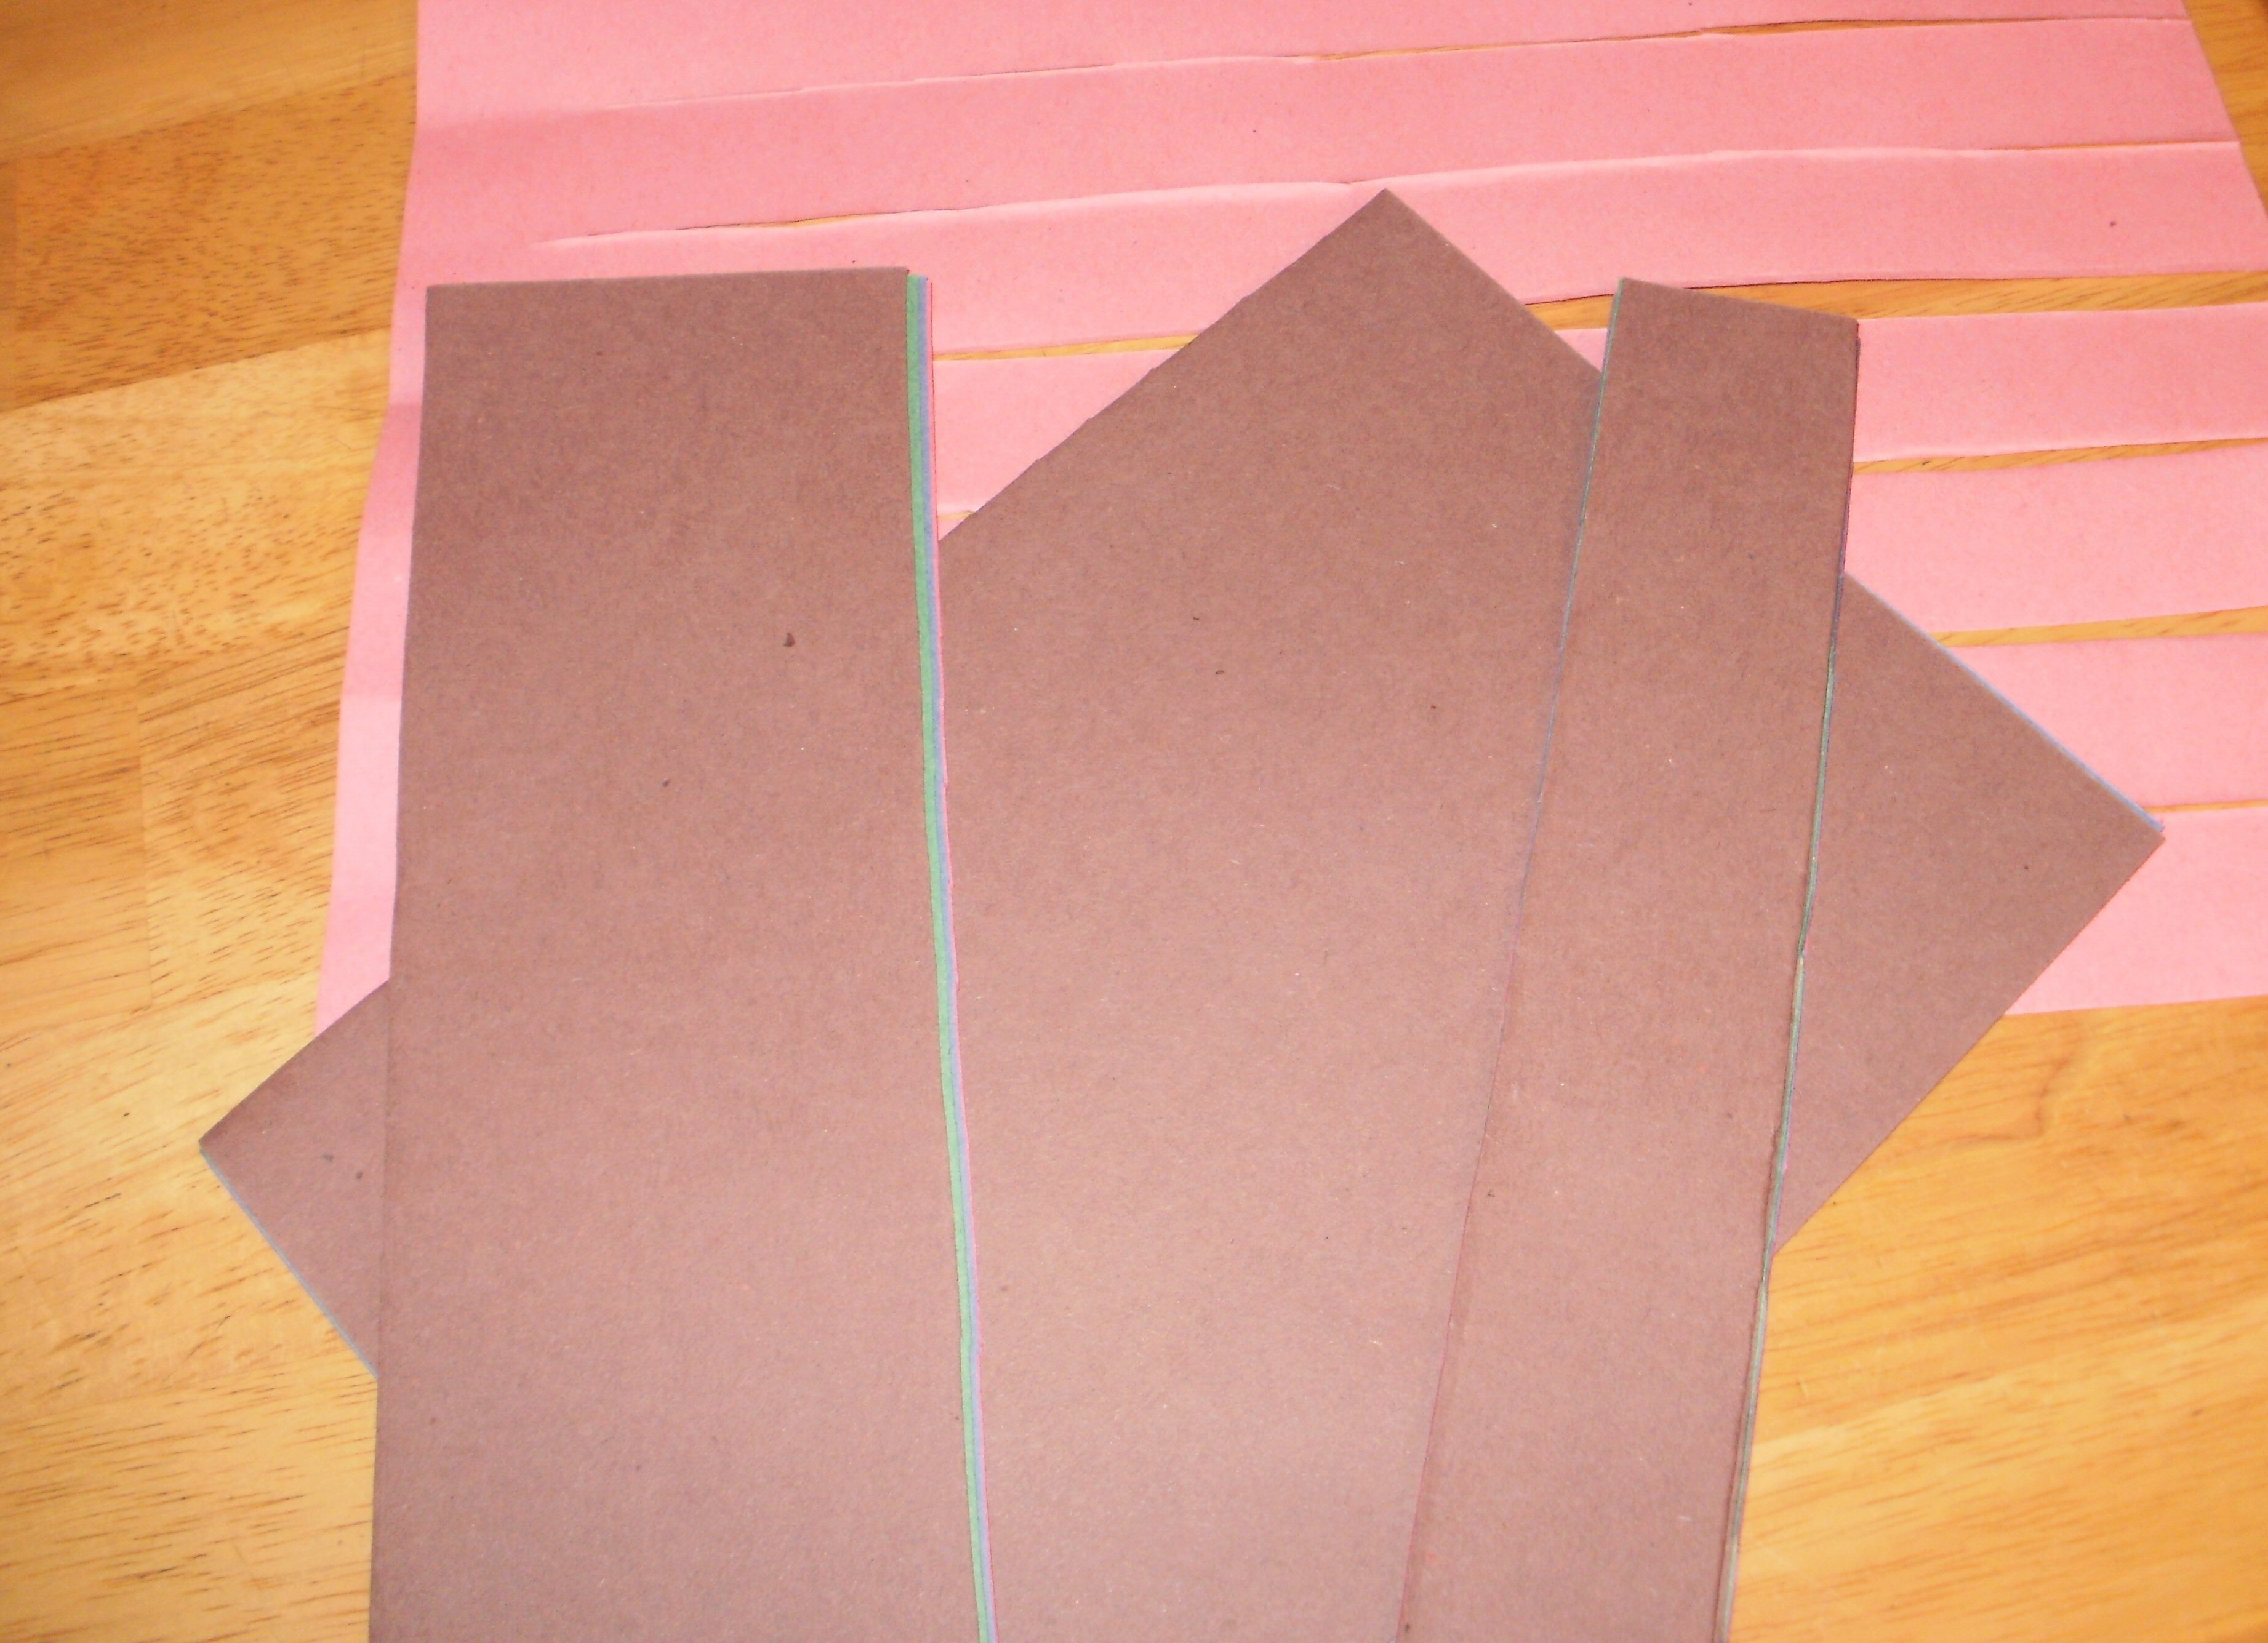
Step 2 : Prepare your accent colors
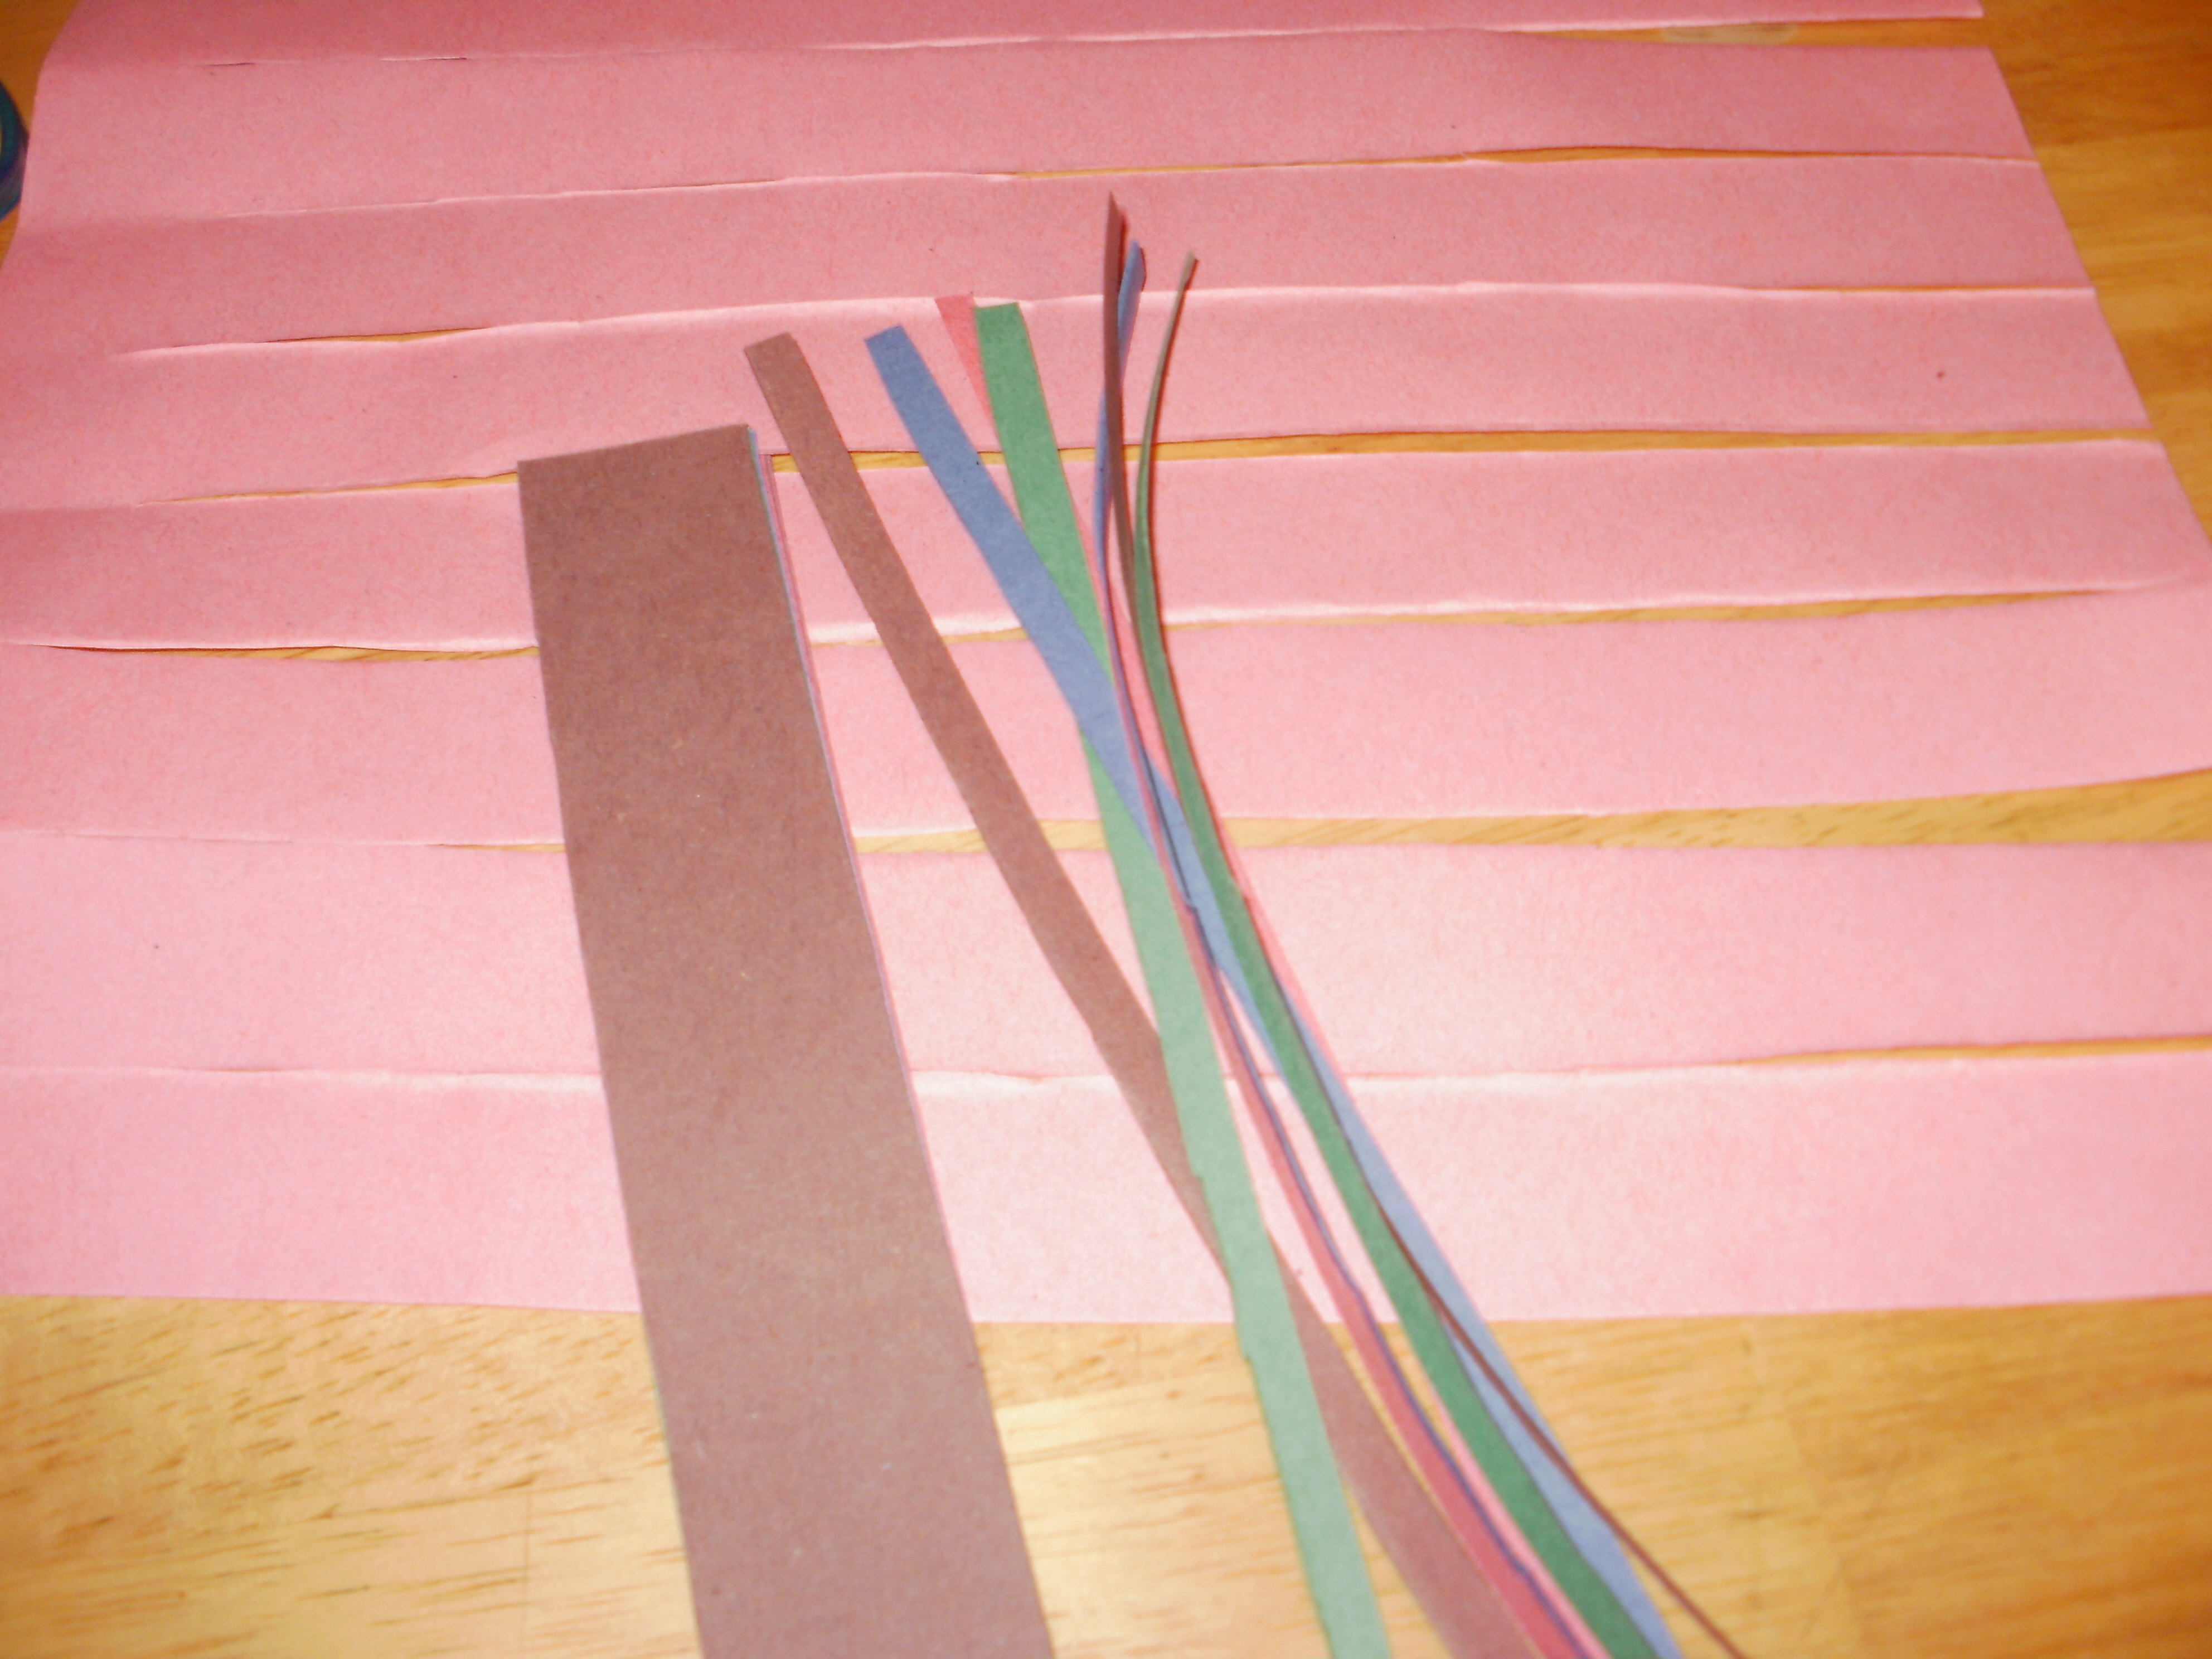
Now take the four remaining colors, square them up, fold in half SHORT way and cut. Set aside one half, you won't need it. Then fold again the same way (shown here) and cut again. Set one of those halves aside. Now, fold the last piece you have in half again the same way and cut. You will need all eight of these. Square them up.You should be left with a pile that looks like this. 4 large rectangles and 4 medium rectangles which you can set aside to use another time, and 8 thin rectangles for this craft. But they're still just a little too big.So cut just a little off of one side of the eight rectangles you have. About a quarter of an inch. The pieces you are left with should be 1 and a quarter inches. If it's not exact, that's ok.
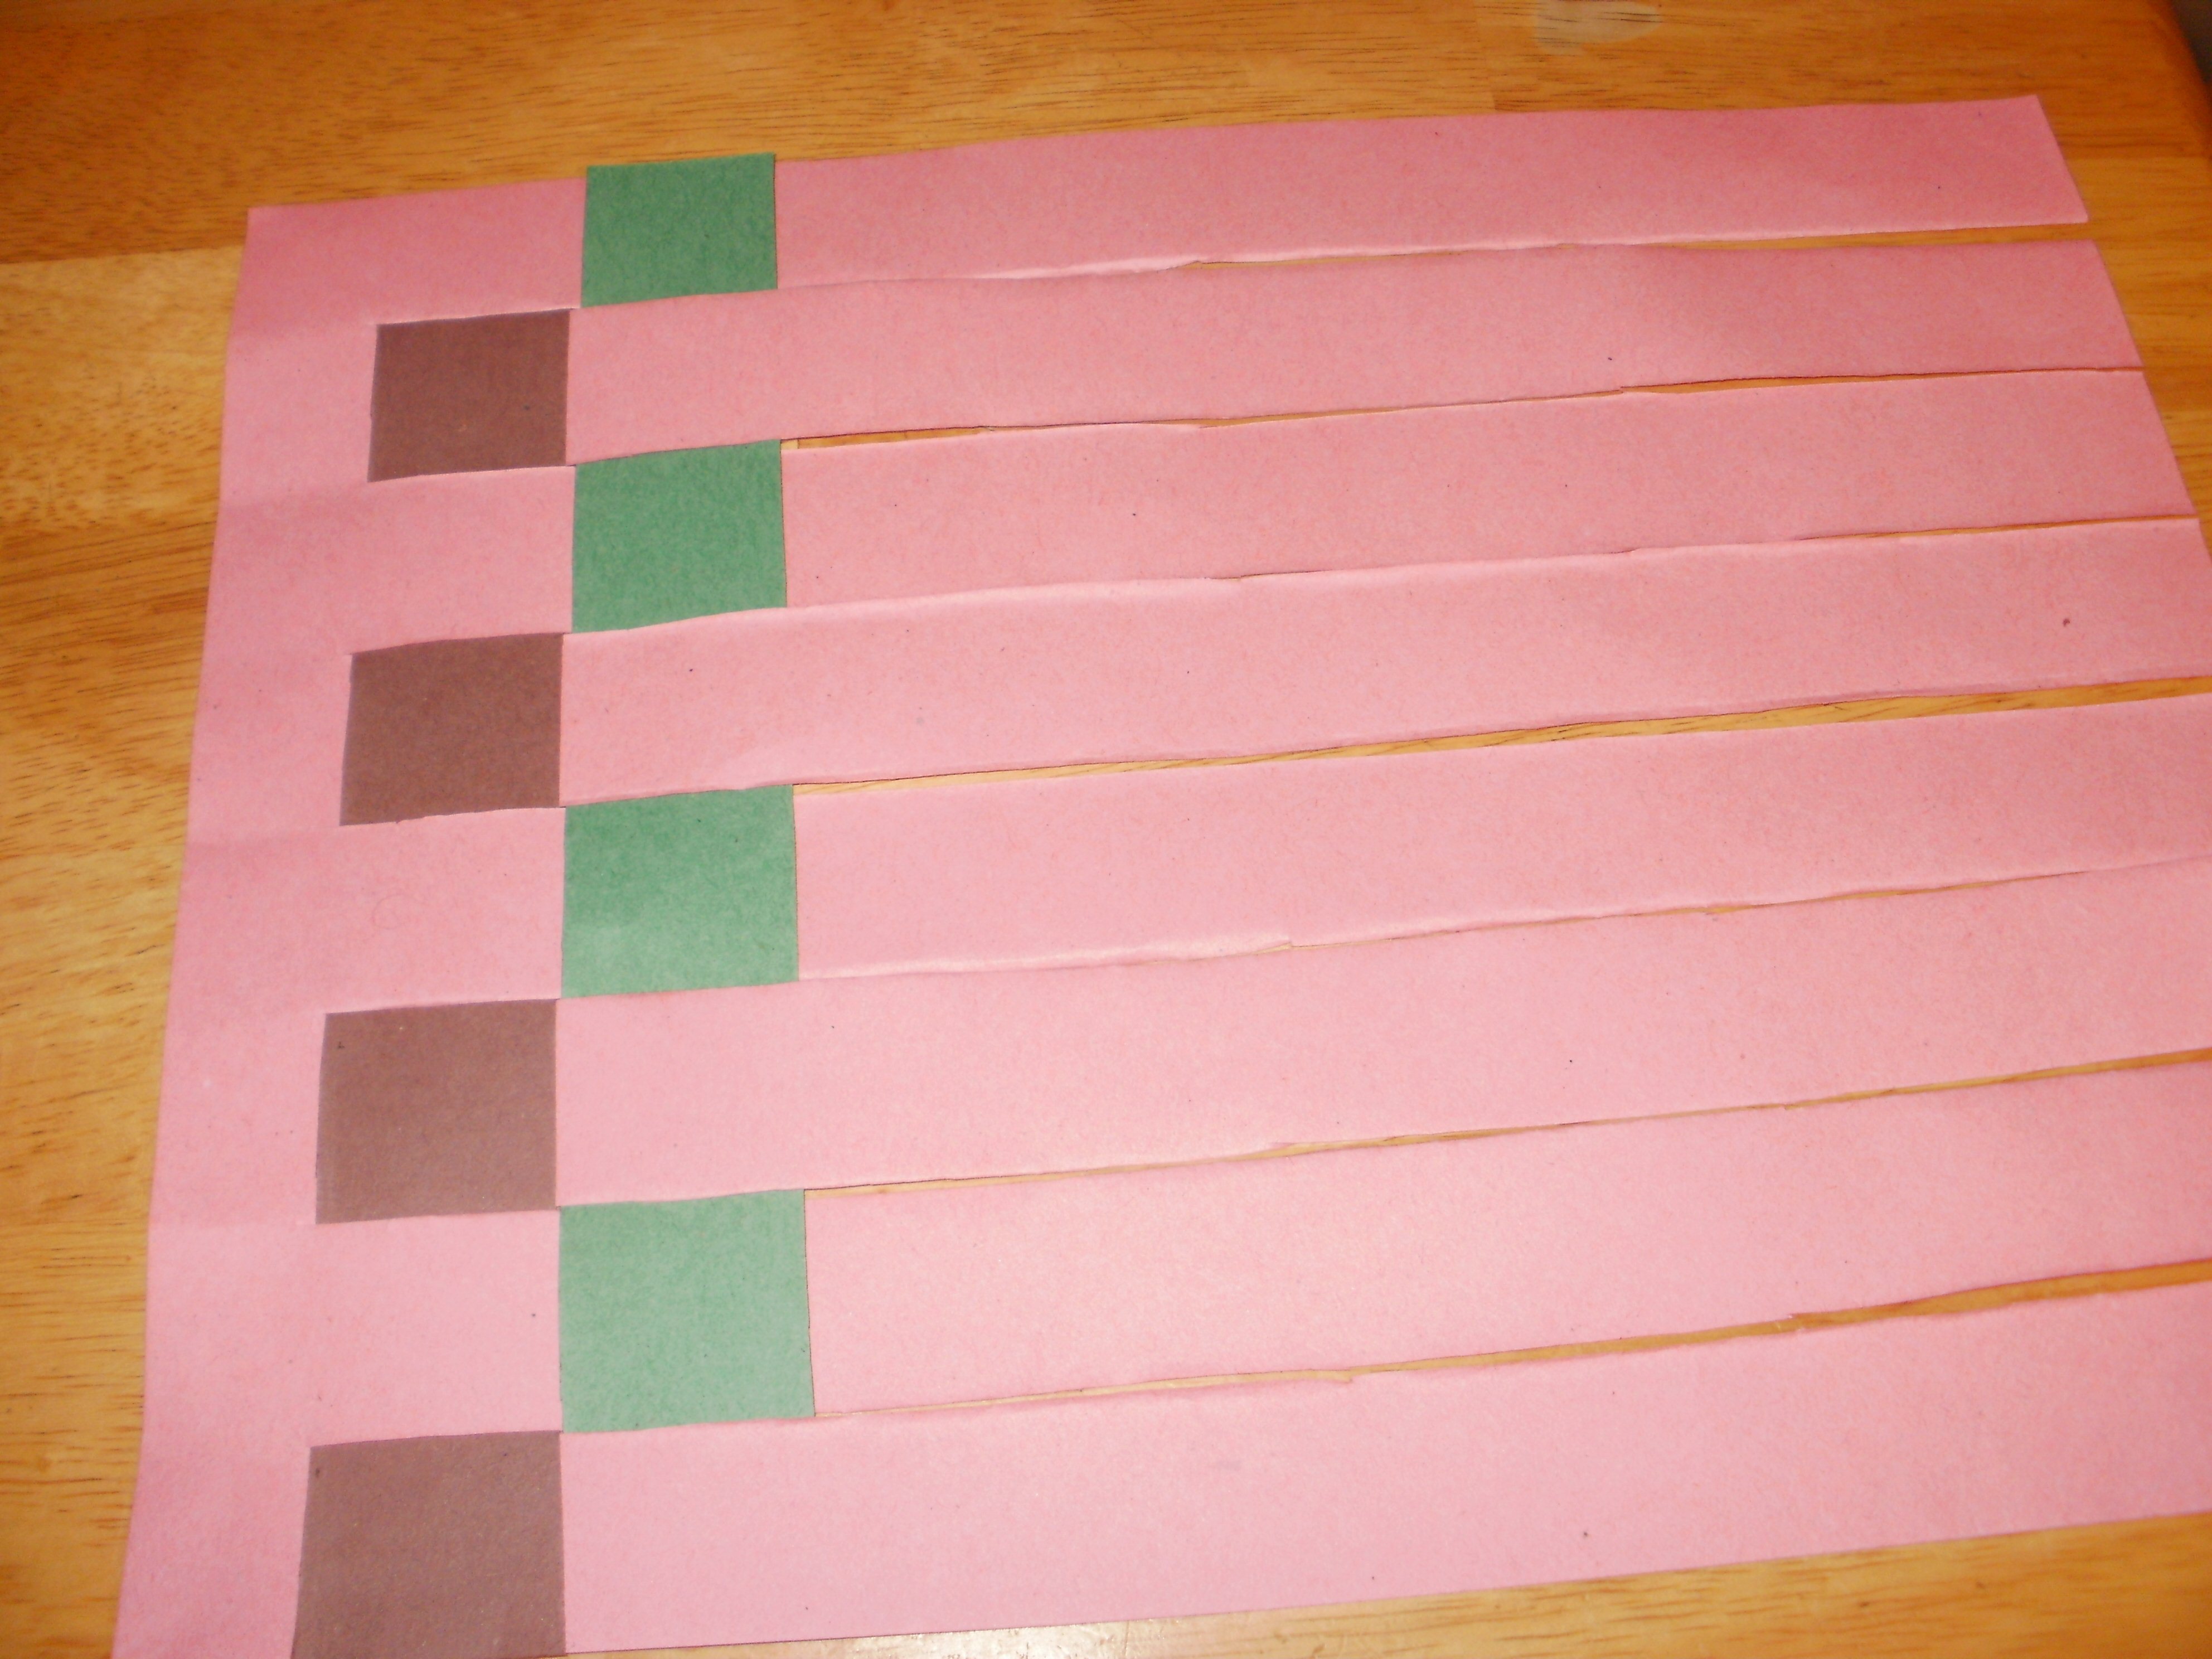
Step 3 :Weaving
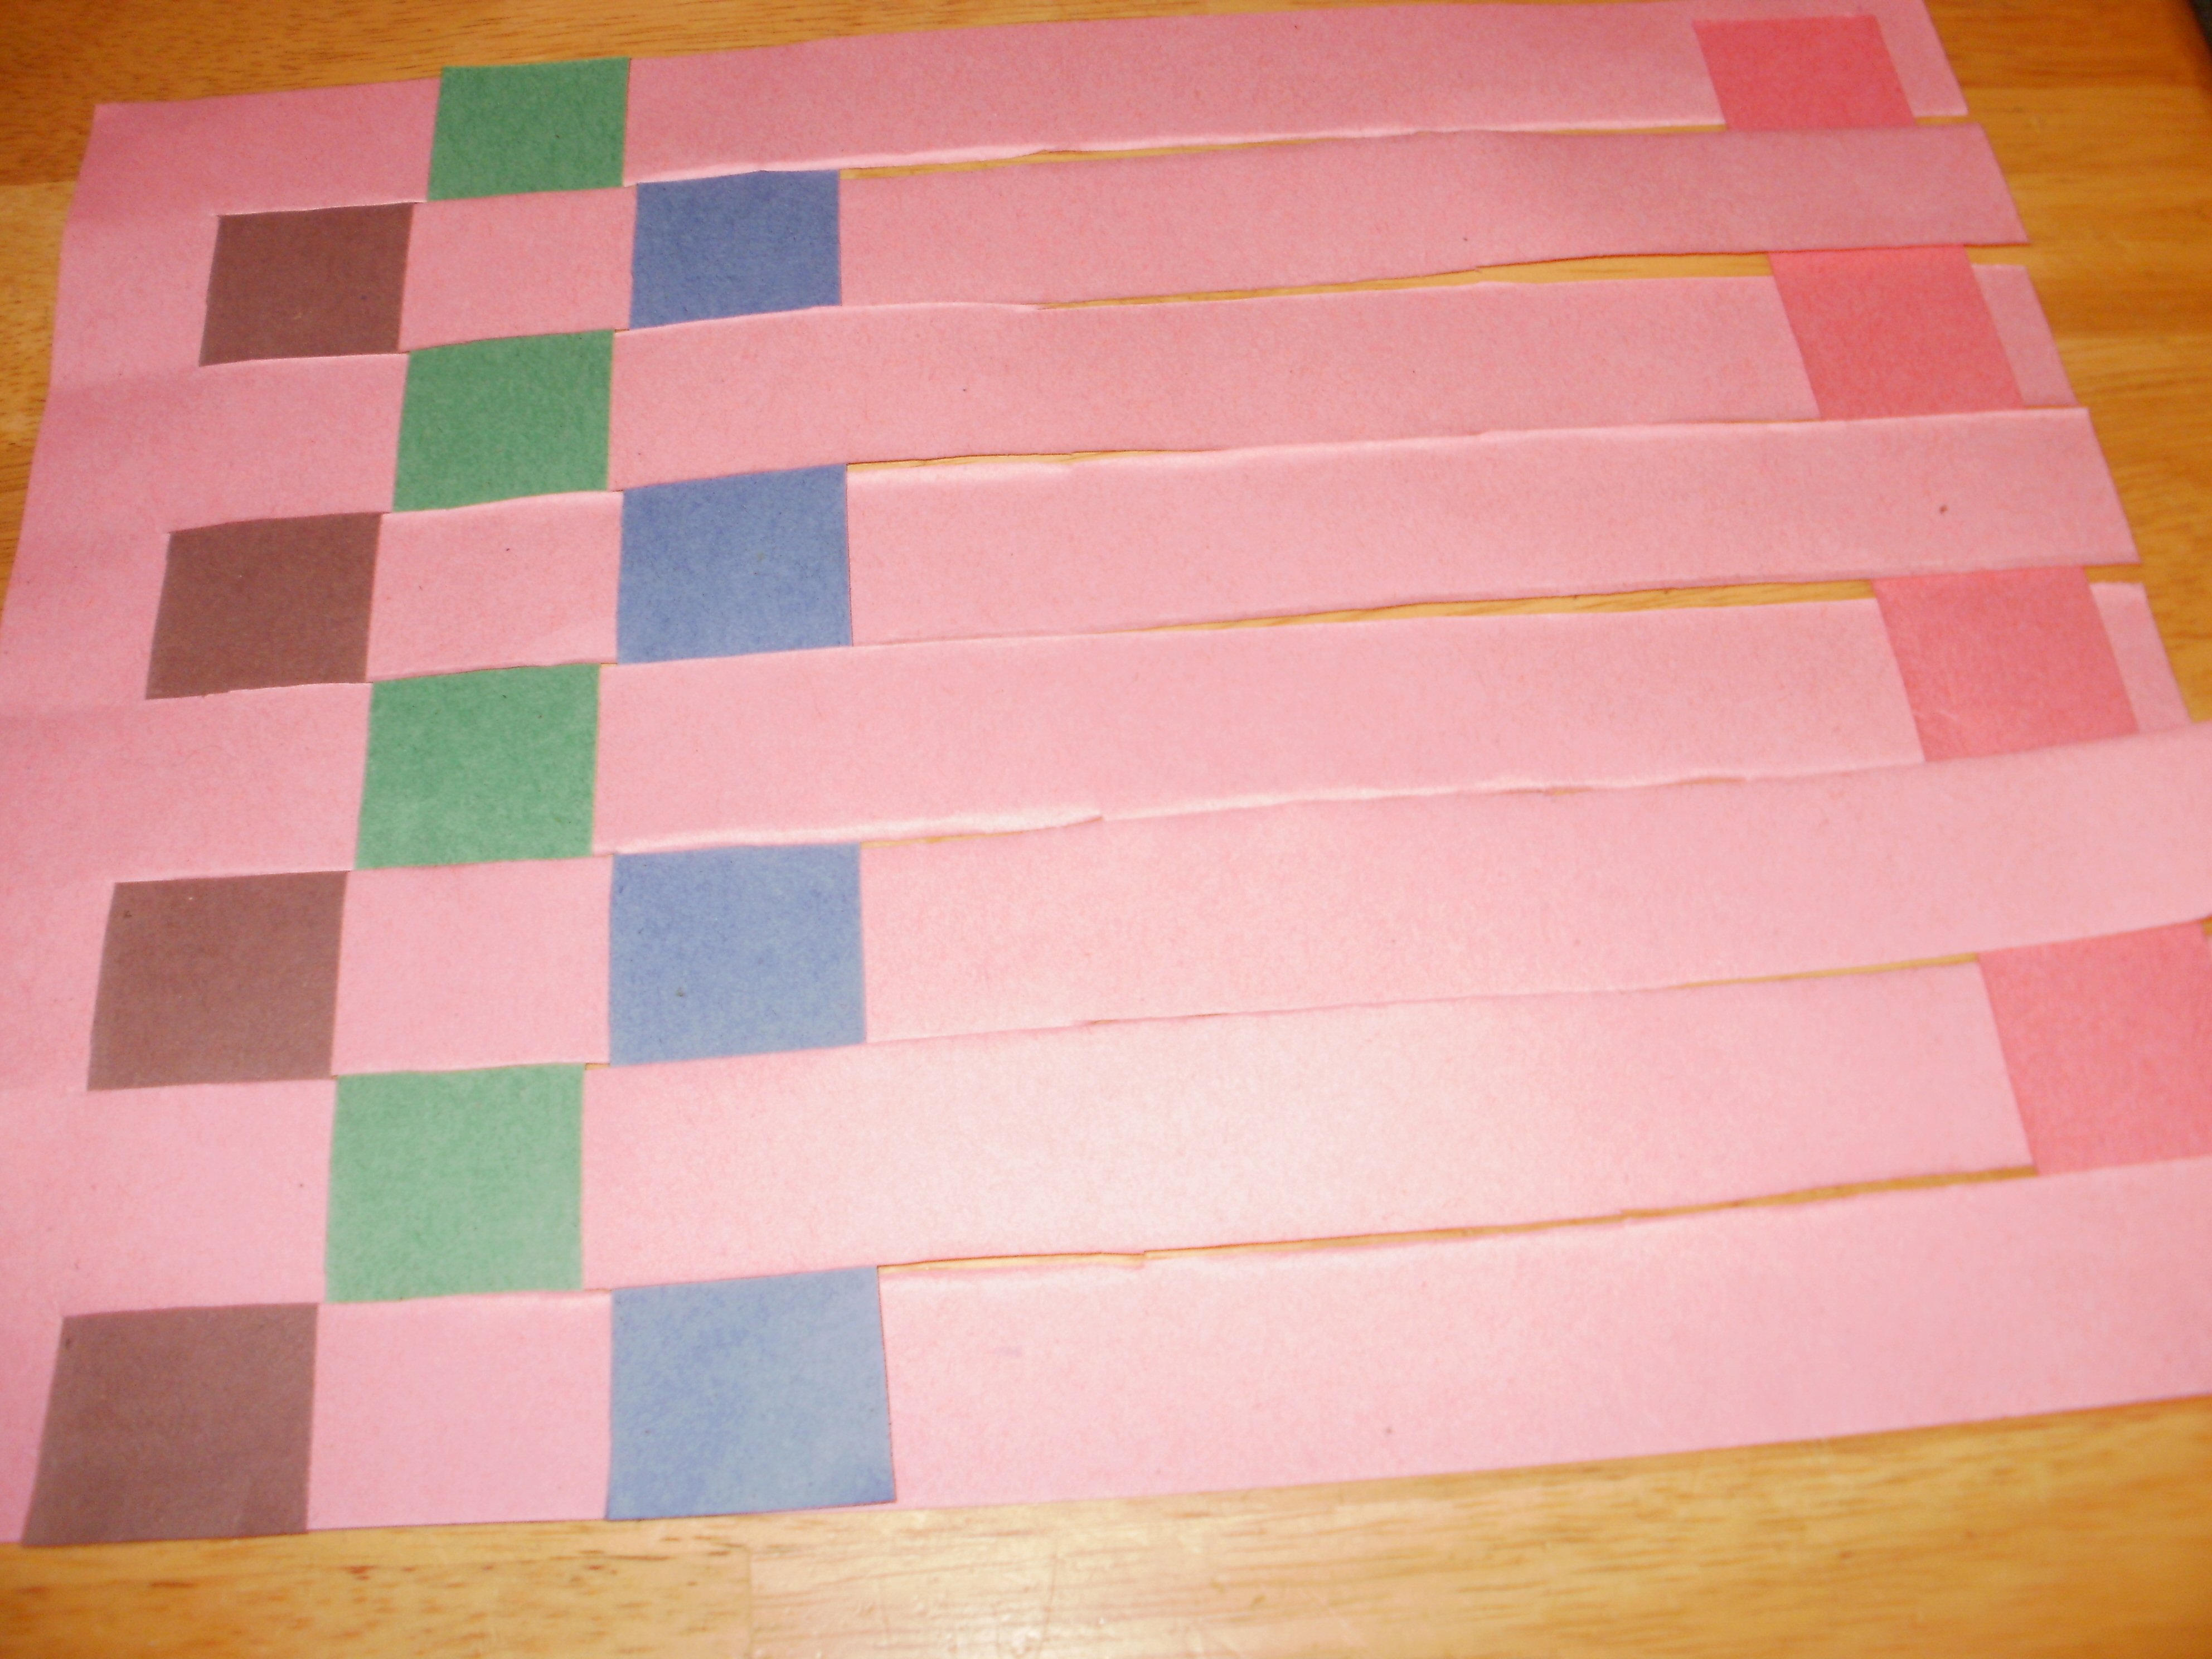
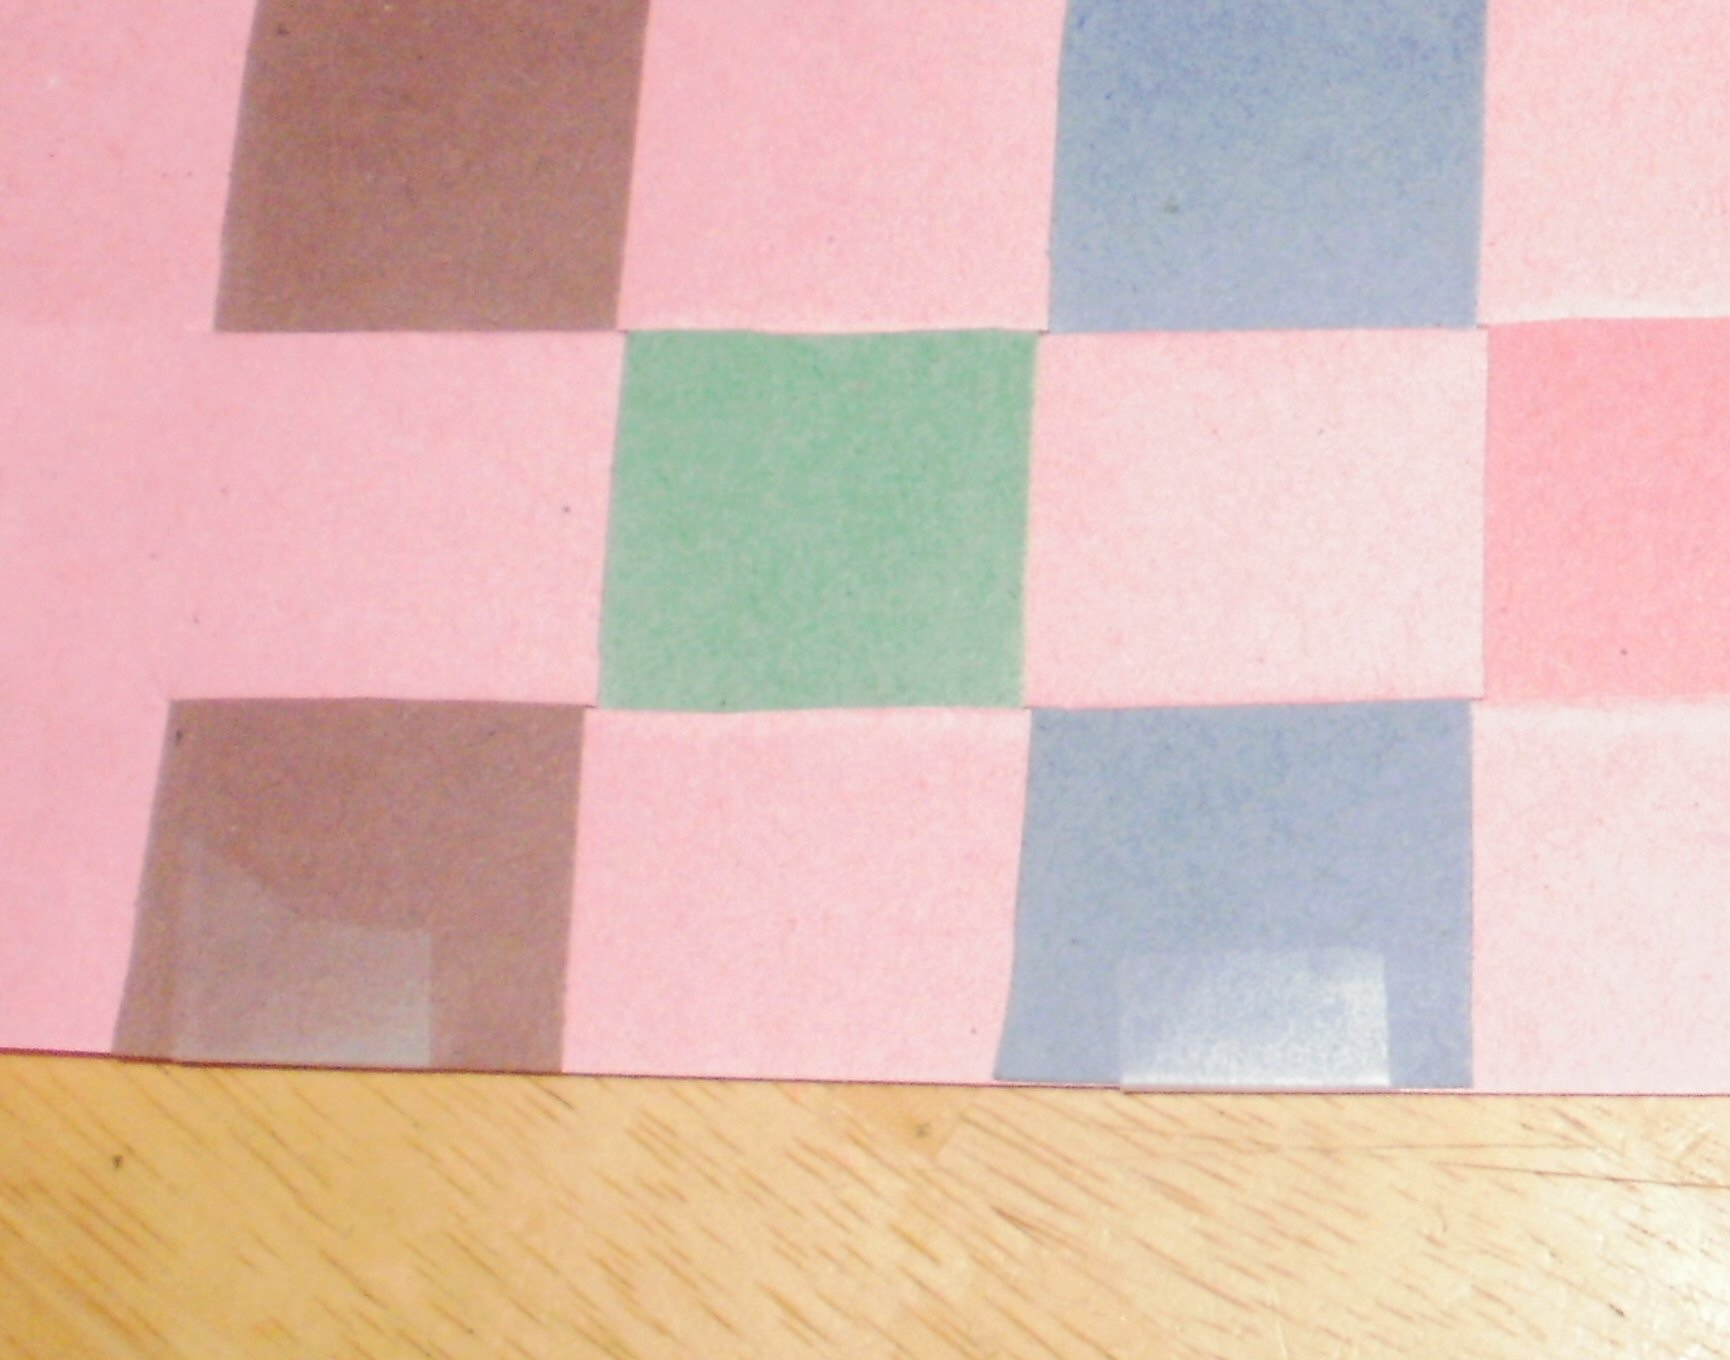
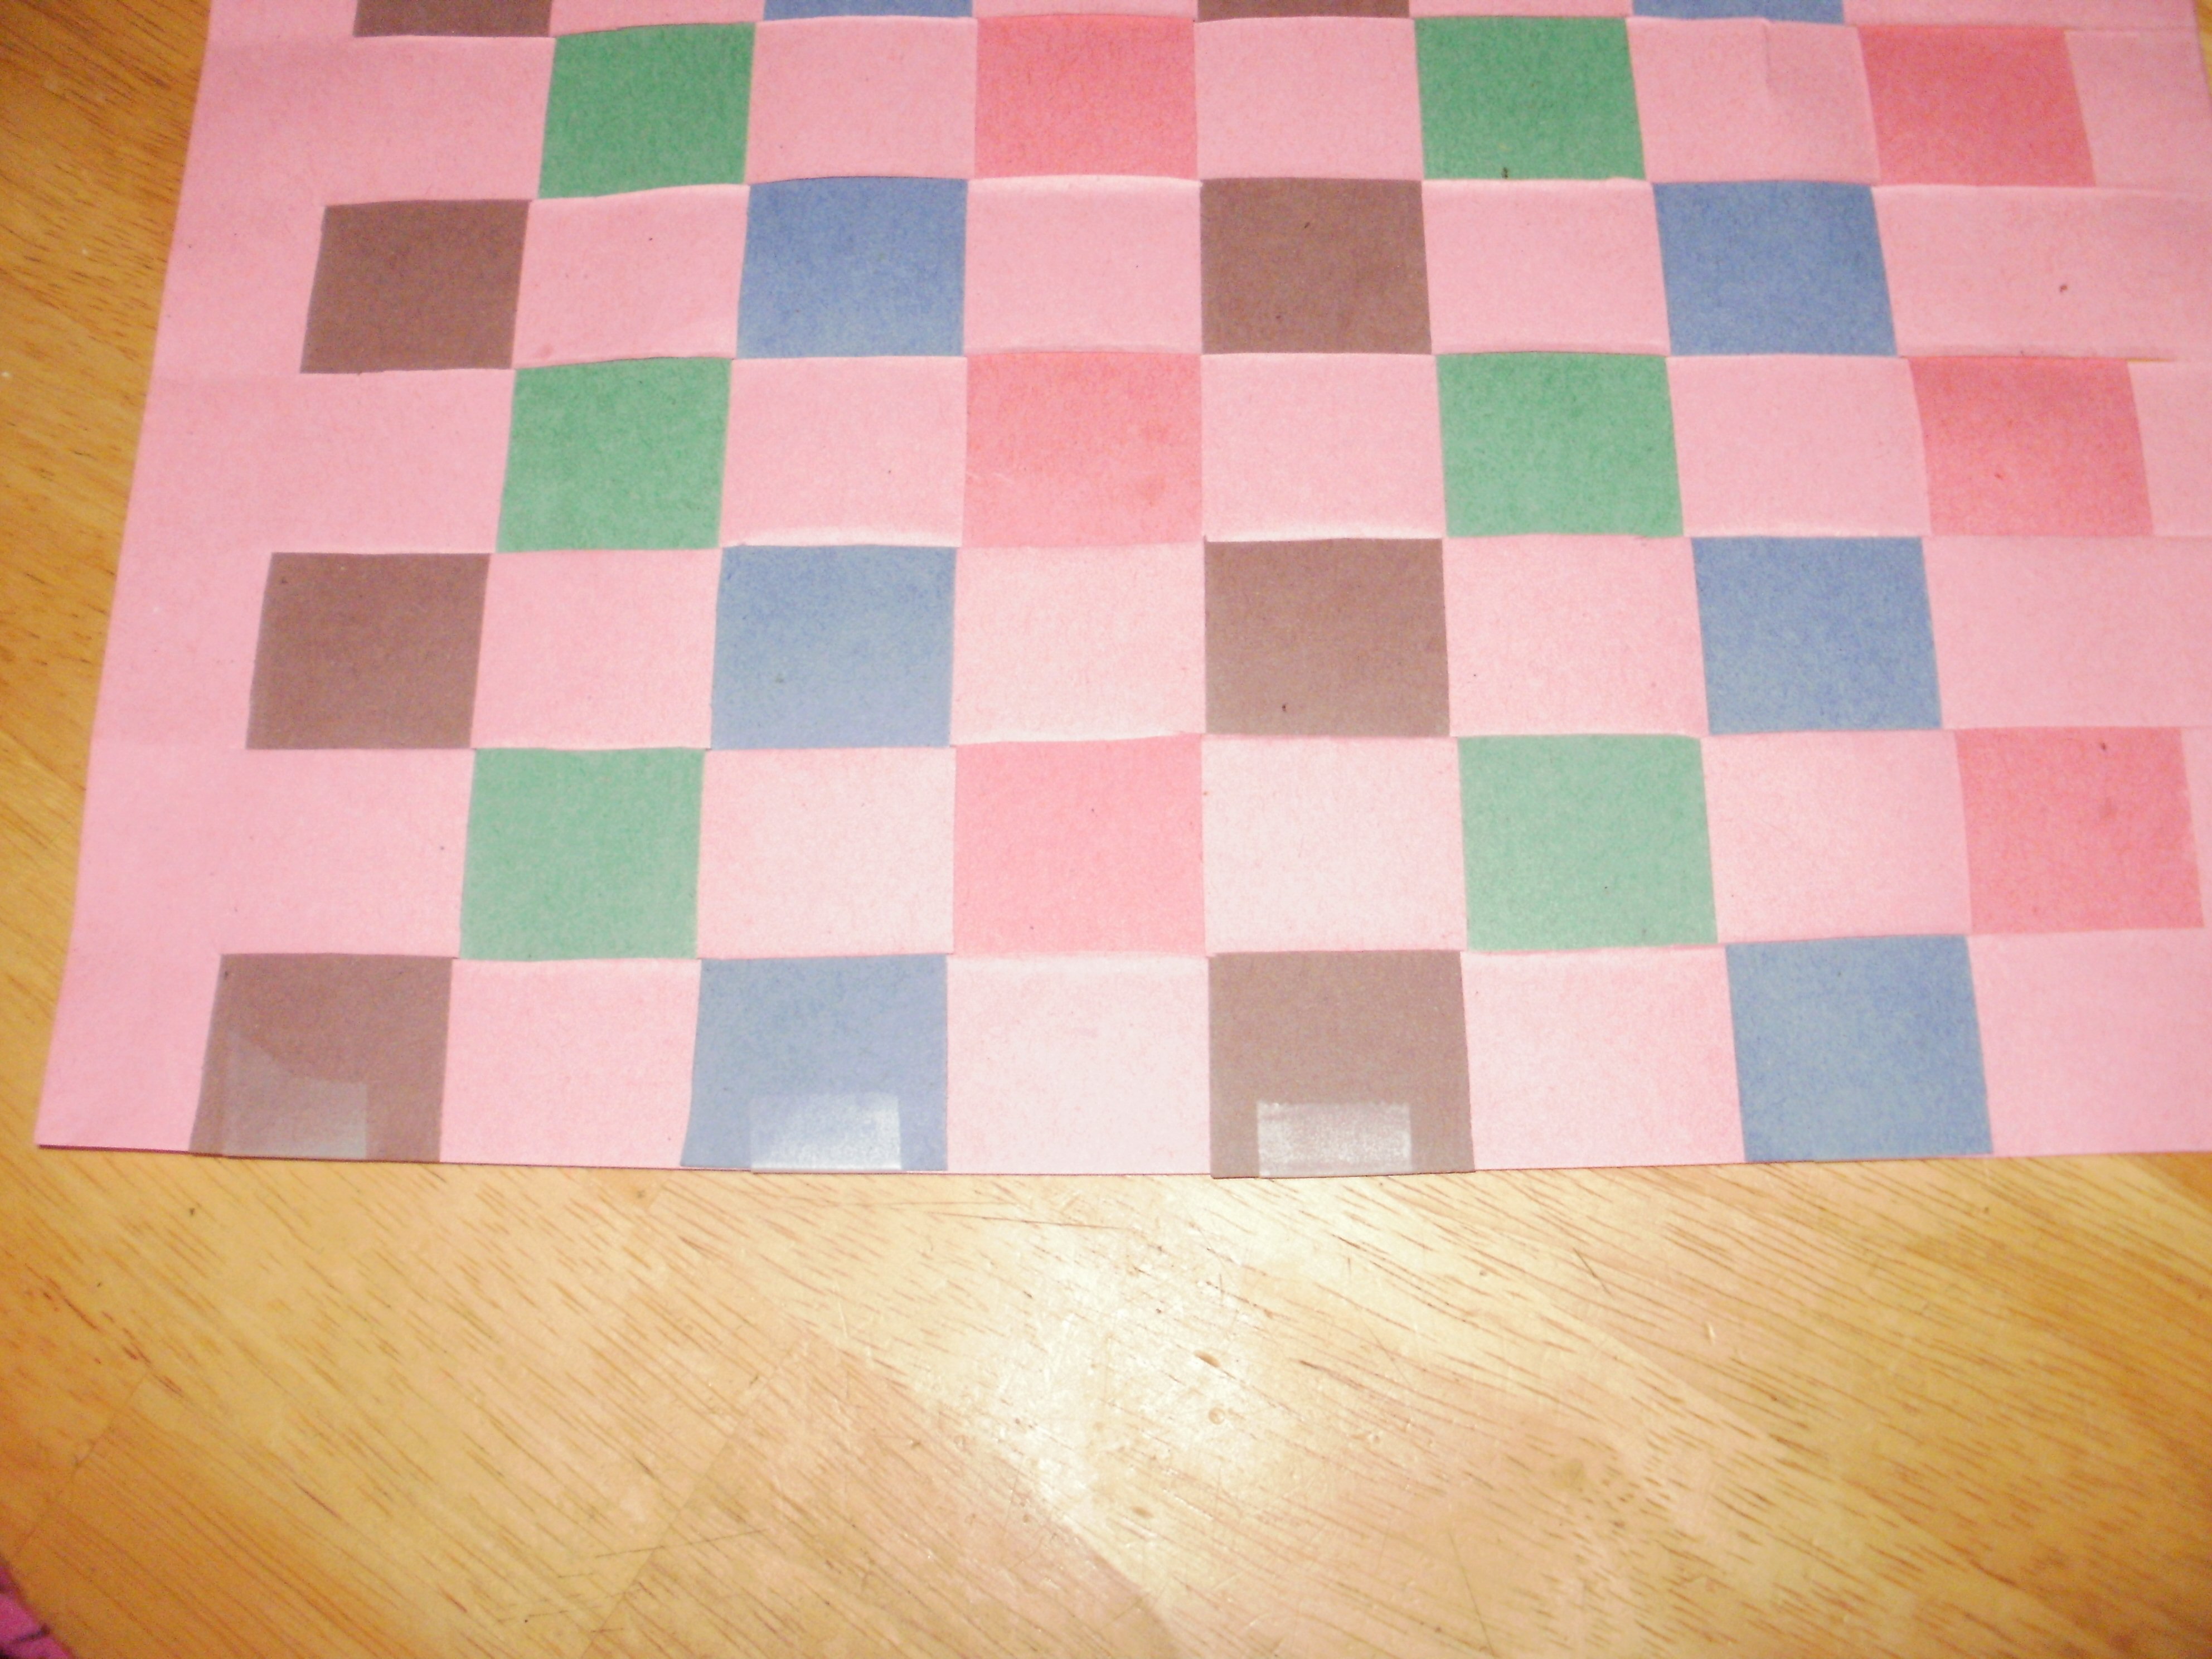
Now we're going to start weaving. Take your first strip and put it under the top strip of the base color, then over the second strip on the base color and so on. Slide it as close to the begining of the base color as possible. You may find that your base color strips aren't quite even and now is a good time to snip a little more so the strips you're weaving can fit in there snugly.Now you're going to take your second color and put it OVER the first strip in your base, and then under the second and so forth. Push it as close as you can to the first color.Keep weaving back and forth so you end up with a checkerboard pattern. You may find it easiet to start at the open end of the base color and wiggle it across to the side with the rest of the colors. You will find your own favorite weaving technique, but be careful not to tear the paper.
Step 4 :Taping the base
When you have finished weaving tape the open end of your base color so your alternating color strips won't fall out. Then straighten your color strips as best you can. Don't worry, no one can get them to look perfect.
Step 5 : Taping the accents
Once they are all in the right places tape each one in place at the ends.
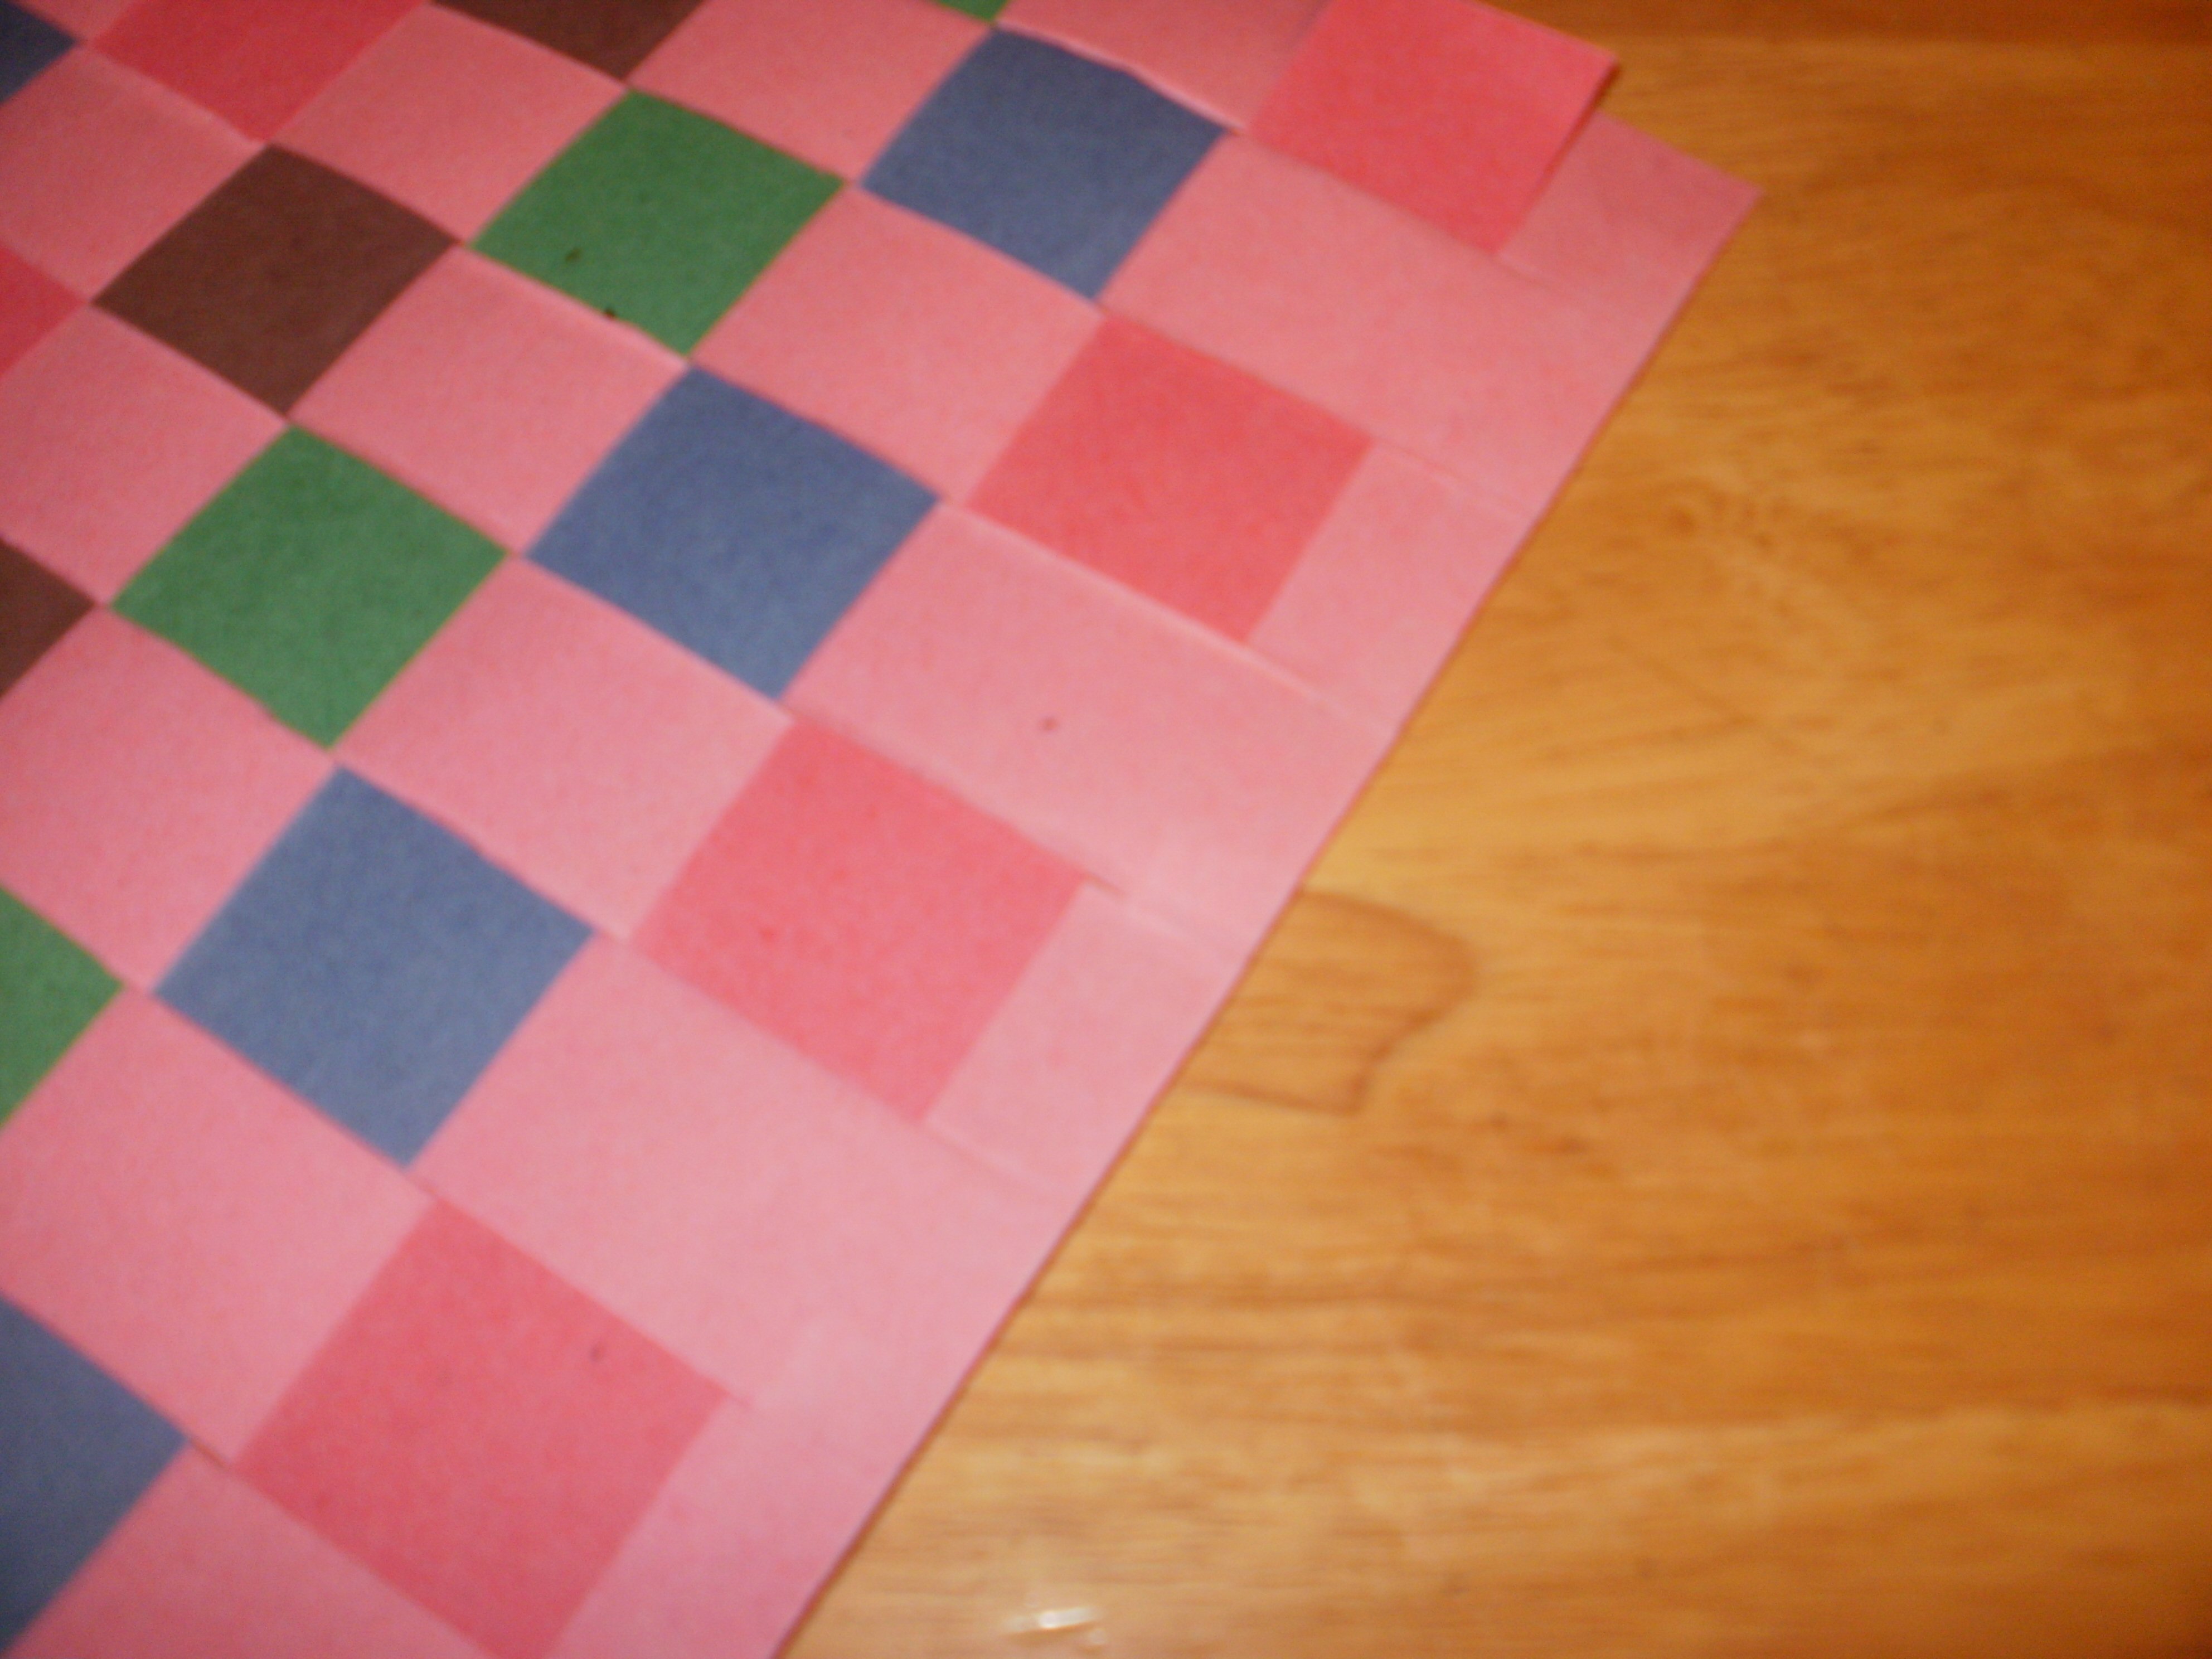
Step 6 : Laminating (if you wish)
And there you have it. All the colors working together to make a beautiful placemat. If you would like it to last longer you can have an adult laminate it for you. Mine is not laminated, I'd rather just make a new one next year.