I have yet another Flashlight Cover craft to show you how to make. It’s a Scarecrow Flashlight Cover and it is a cute one!! This Scarecrow Flashlight will be perfect to carry around on Halloween while trick or treating so that cars will know you are there in the dark. No child should be walking around in the dark without some sort of lit item….. so this flashlight cover craft is perfect.
Check out our other Halloween Crafts.
Materials Needed:
Flashlight
New Lunch Bag
Yellow, Red and Orange Paint
Masking Tape
Brown Marker
Red and Orange Construction Paper (only if not painting facial features)
Step 1
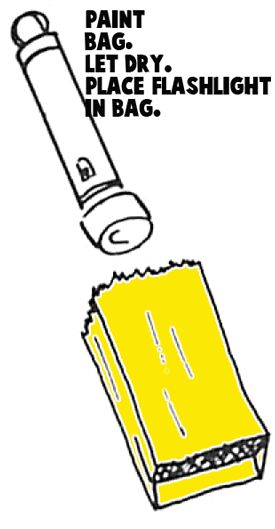
Obtain a new brown lunch bag (a used lunch bag would probably be too wrinkled and too hard to use). Paint the bag yellow. Let dry.
[ad#ahc]
Step 2
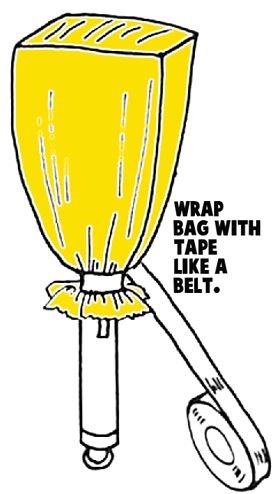
Bulb end of flashlight is inserted 2 inches in open end of the bag…leaving space between the bag and the light. Draw open end of bag together around flashlight and tape with masking tape or tie with string. Tape bag with tape like a belt.
***Leave space between the flashlight and the end of the bag so that the paper bag doesn’t sit directly on the light. NEVER LEAVE THE FLASHLIGHT COVERED WHILE UNATTENDED AND TURN OFF WHEN NOT IN USE!!!***
Step 3
Now we will start painting the face. Bag may be decorated by using tempera or acrylic paints and/or construction paper. If construction paper is used, the desired portions of the designs are cut out of the paper and glued to one or more faces of the bag.
Step 4
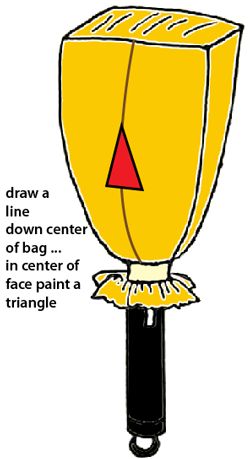
Draw a line down center of bag… In the center of face paint a triangle. While the picture on the paper bag is being designed the flashlight can be lit in a darkened area to obtain the desired effect.
Step 5
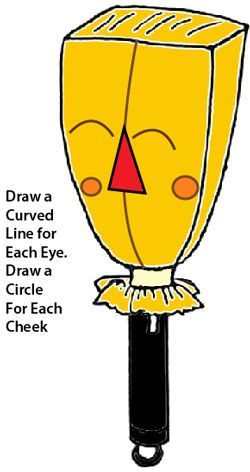
Draw a curved line for each eye. Draw a circle for each cheek.
Step 6
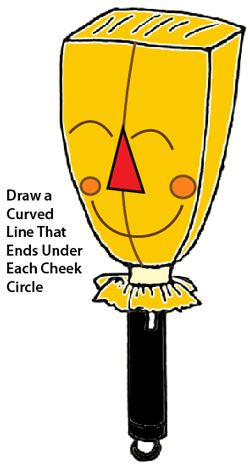
Draw curved line that ends under each cheek circle.
Step 7
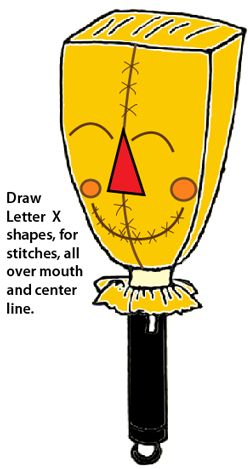
Draw letter X shapes for all stitches… all over mouth and center line.
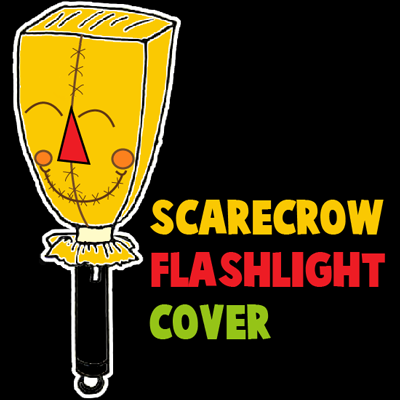
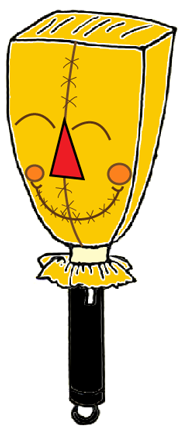
Your finished Scarecrow flashlight cover should look like the image above. Children will love walking around their community trick or treating with their very own handmade Scarecrow flashlight cover.
Technorati Tags: Halloween, Halloween Crafts, Trick or Treat, Trick or Treat Crafts, Scarecrow, Scarecrow Crafts, Flashlights


Leave a comment