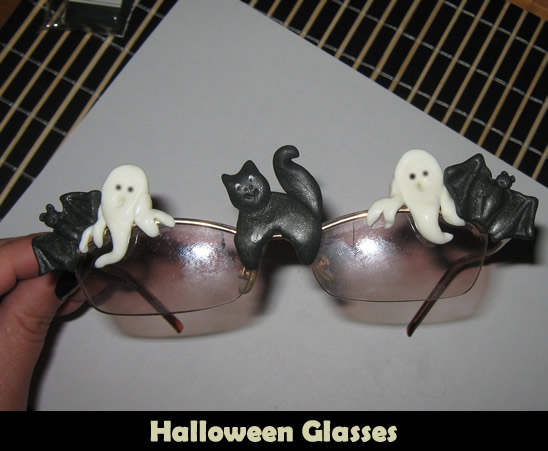
I love making a big deal about Halloween…. dressing up in festive Halloween clothing and wearing funky Halloween jewelry. But, have you ever thought of doing more? Something that will undoubtedly get everyone’s attention? How about wearing blinged out Halloween Glasses? In this post I will show you how to transform everyday glasses into a fun pair of Halloween Glasses.
Check out our other Halloween Crafts.
Tutorial (a long one but easy to do) offered by Laura from Dacian Moon Handmade . You will need help from an adult for this tutorial.
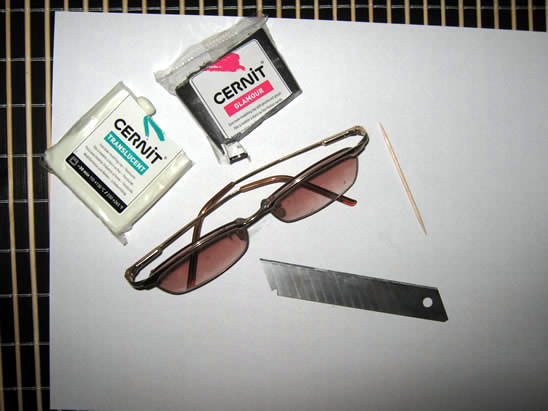
CRAFT MATERIALS NEEDED:
– night glow polymer clay
– black polymer clay
– cutter
– toothpick
– glasses (they must be made of glass because we will bake them)
– baking tray
– baking paper
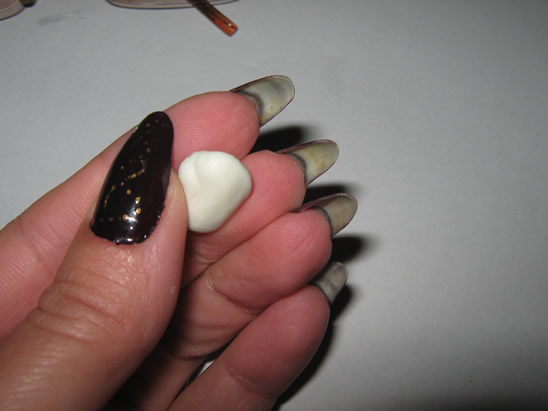
Step 1 – The Ghosts
Take a piece of night glow polymer clay.
Condition it .
(Condition polymer clay by hand, simply mix it and squish it with your fingers. You may want to roll it into a log between your palms, fold it in half, and then roll again)
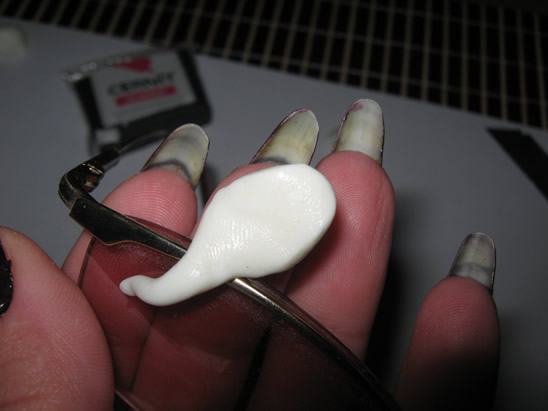
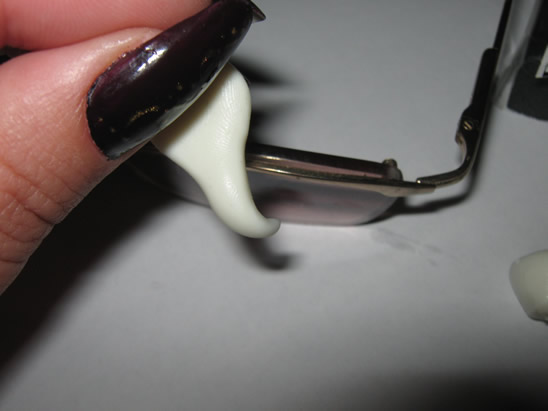
Take the night glow clay and make a ball of it and flatten it… then squish an end between two fingers to form a ghost, like that.
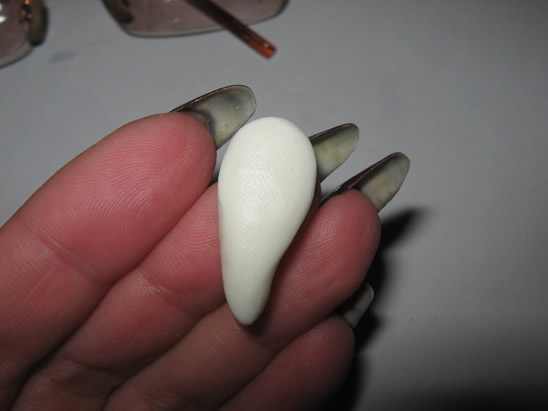
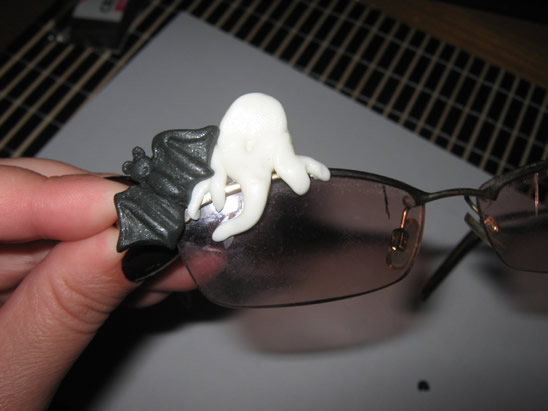
Place it on the glasses frame, as if it is staying on the edge. You can see that it is not very firm, so we better add its hands.
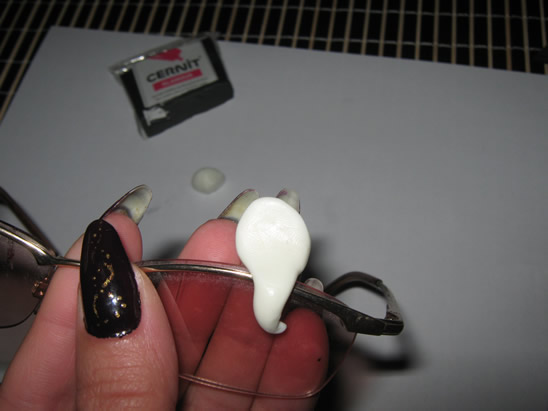
Add a small night glow piece on one side…
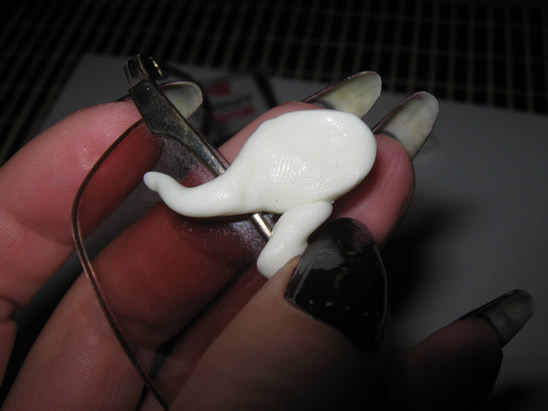
… and split it in two on the lower part… like in the picture. These are her fingers.
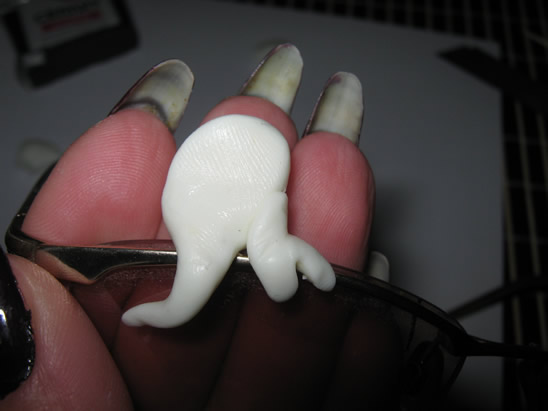
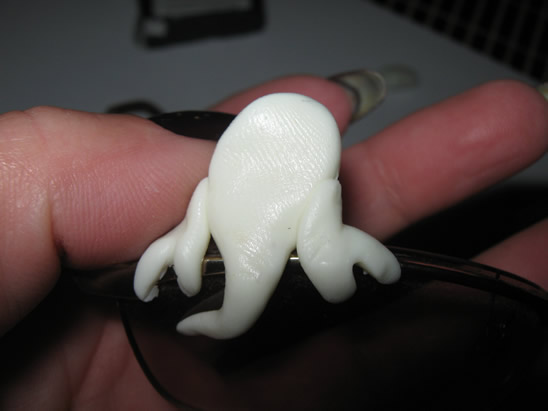
Do the same on the other part. Now, the ghost is firm on her position.
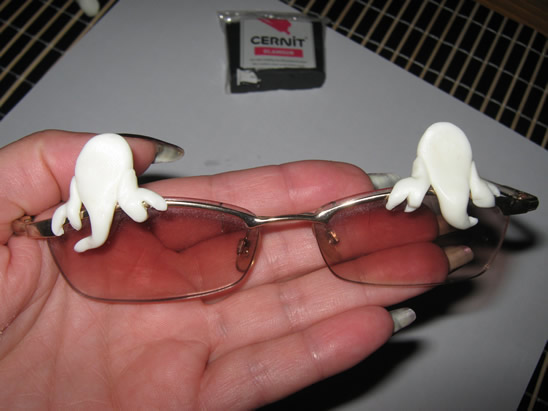
Repeat making another ghost…
… and place it on the other side of the frame…
… like this
Using the toothpick …
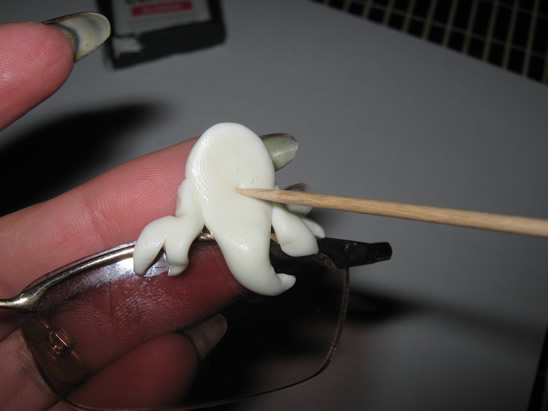
Make them some mouths.

[ad#ahc]
Step 2 – the Bats
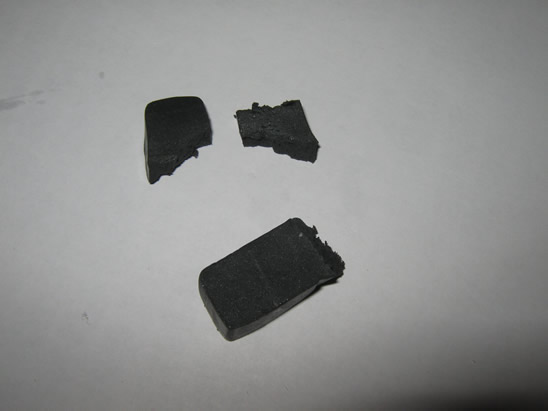
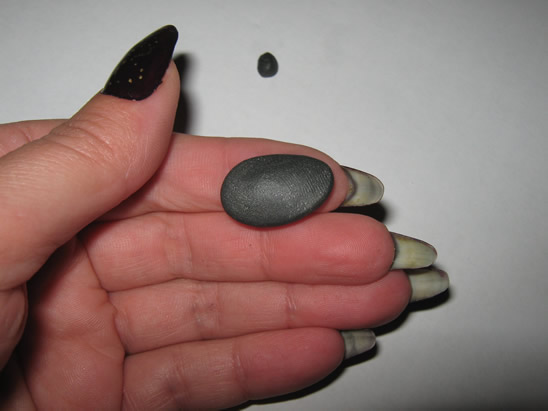
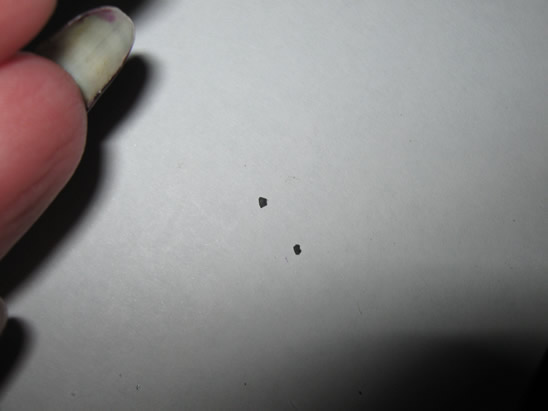
Take the black polymer clay.
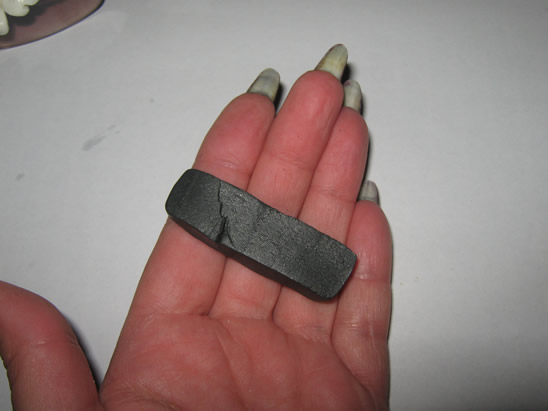
Split it in 3 parts. Two smaller and one bigger.
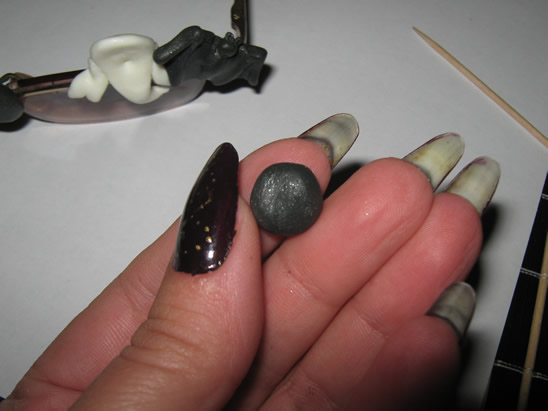
Take one smaller piece and condition it.
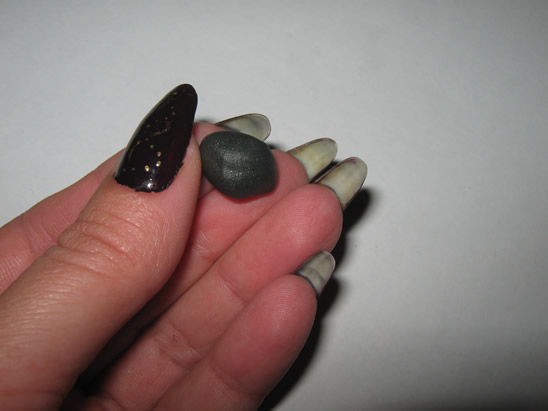
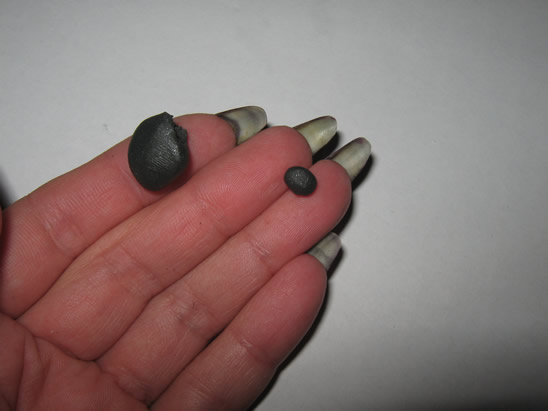
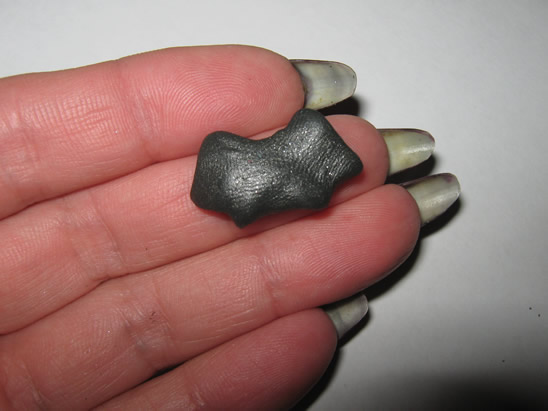
Lay a small piece aside… from the remainder make a ball.
Flatten it.
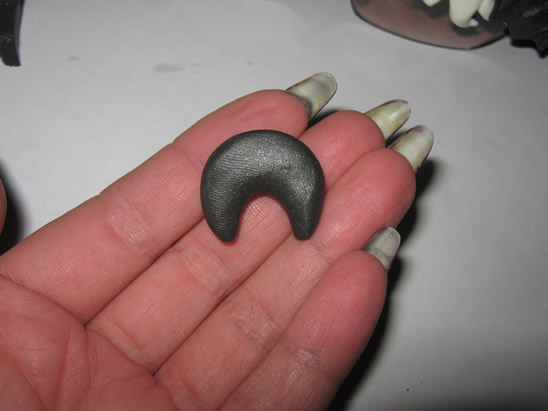
Using your nails mark the middle of it…
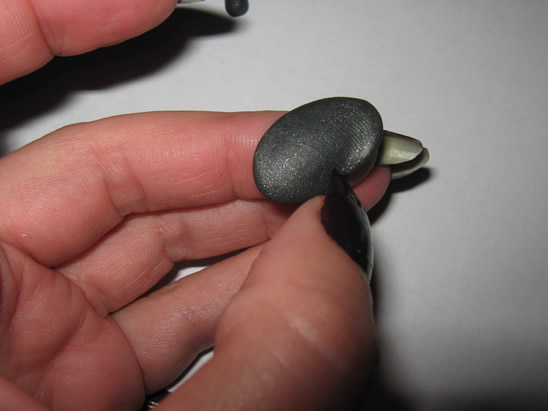
… then squish the new formed part like this…
… to form two corners.
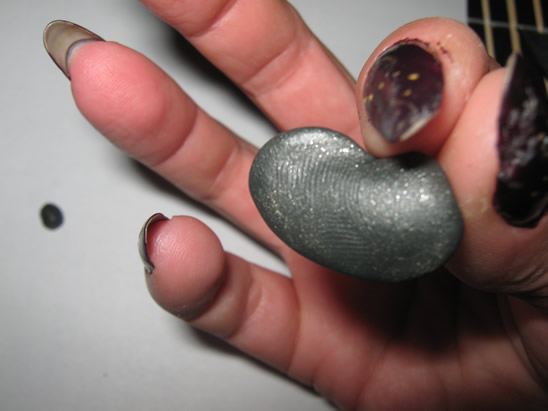
Do the same on the lower part and on the side, until it looks like that.
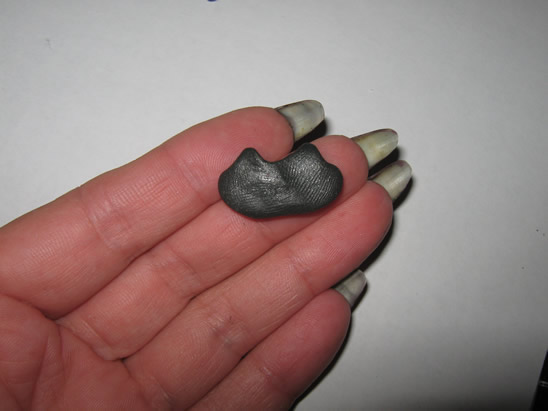
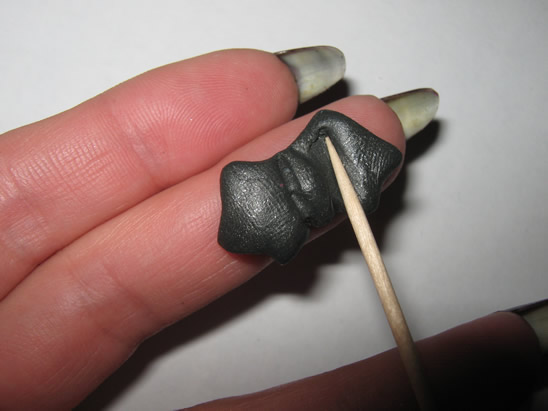
Using your toothpick …
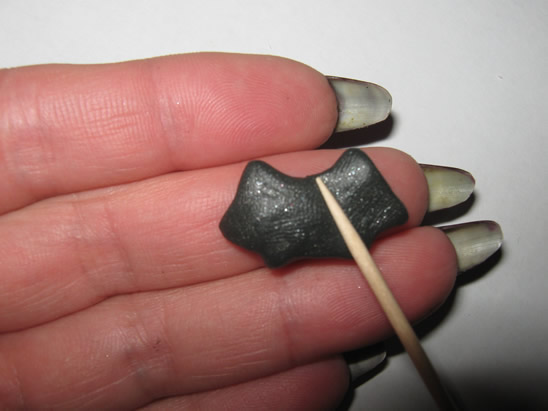
… define the center part.
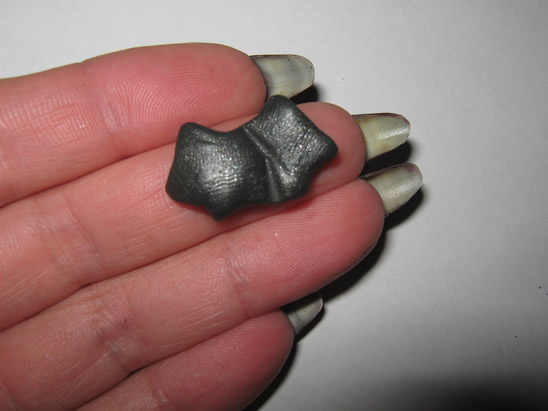
This will be the body of the bat.
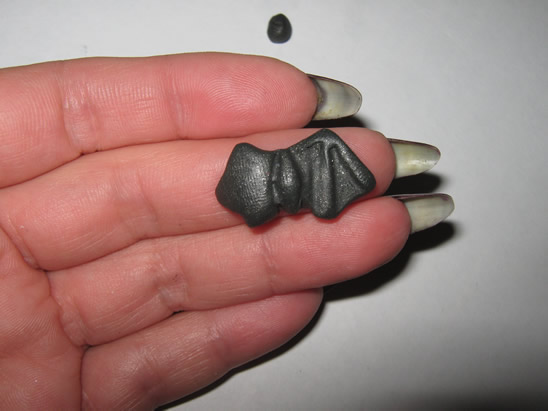
Use your nails to separate the body from the wings a little… in the lower part, like this.

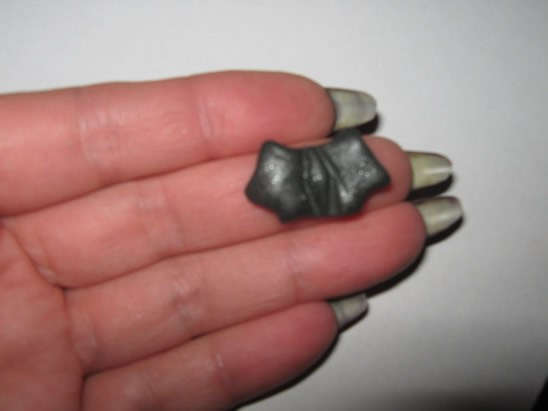
Now, let’s make his wings. Press the toothpick on the sides to form the wing bones.
Like this.
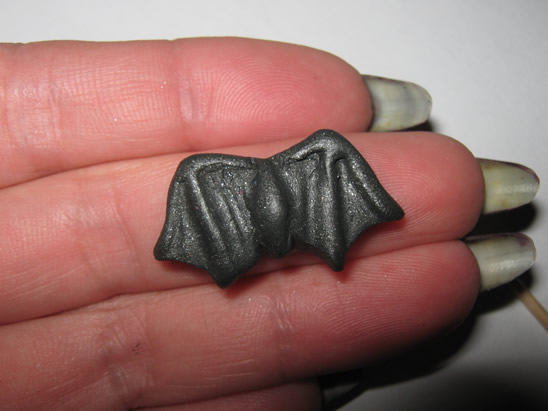
Do the same on the other wing. Now it looks almost like a bat… he’s just missing his head.
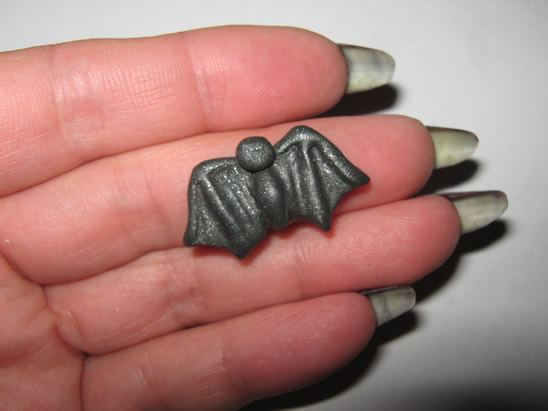
Take the small part you left aside and make a little ball of it. Flatten it a little…
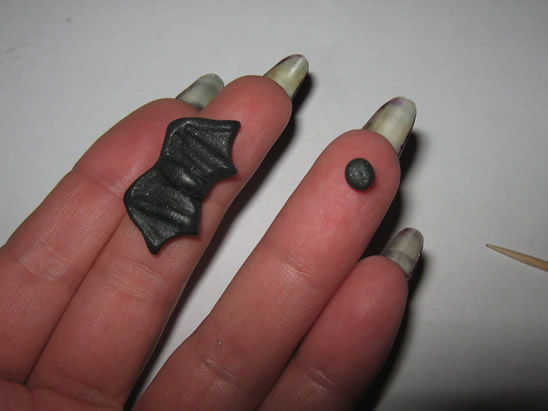
… and place it on the upper part.
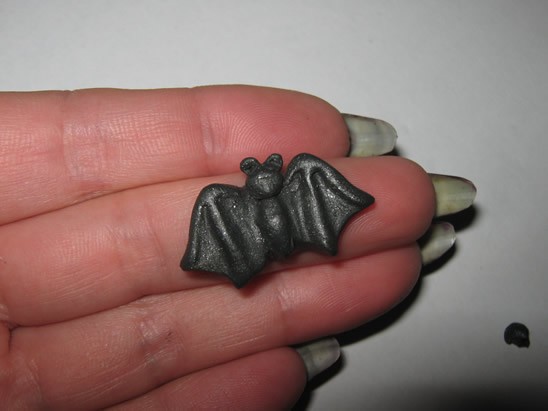
Almost done. With two even smaller pieces of clay make its ears…

… and put them on their places.
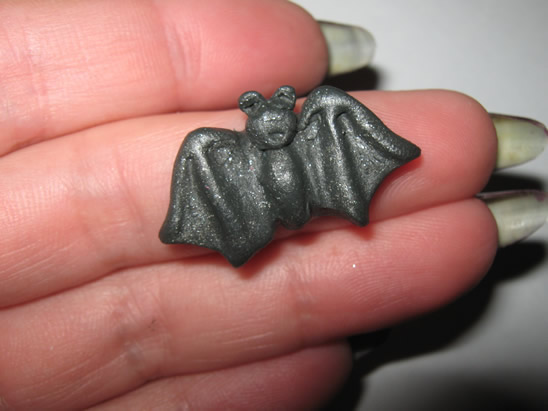
You can make a mouth too.
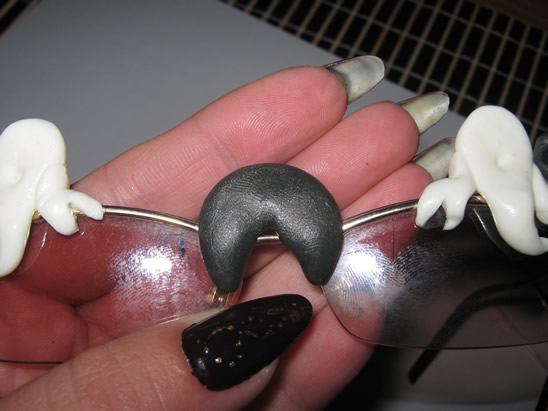
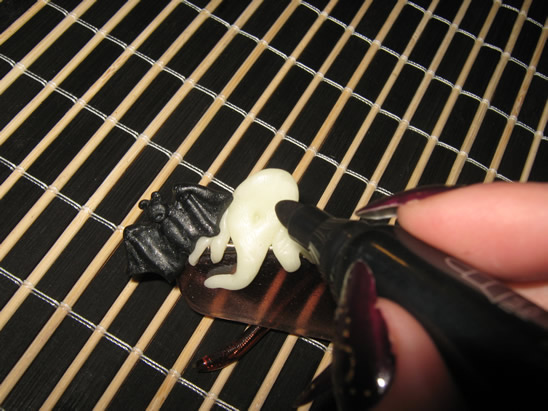
Let’s put the bat on the frame corner, to mask it.
Repeat this step to make another bat for the other side.
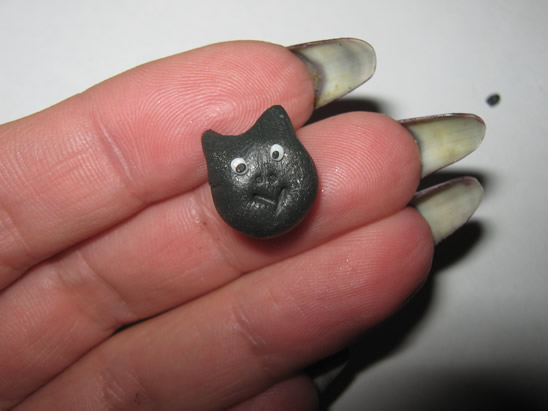
Step 3 – The Cat
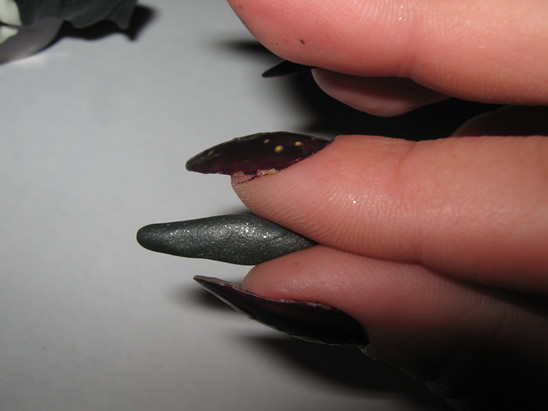
Take the bigger part of black polymer clay and condition it.
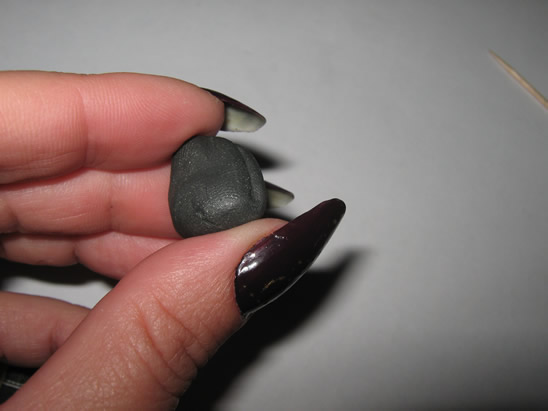
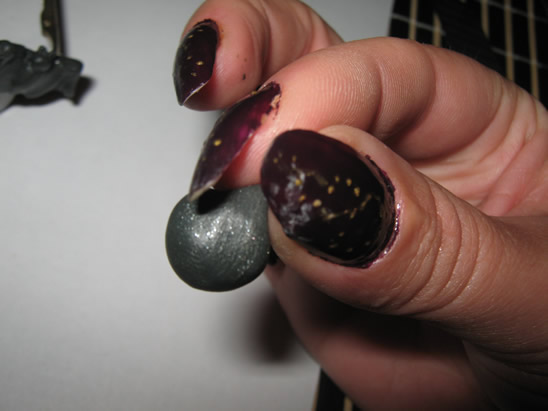
Make it in the form of a bread stick…
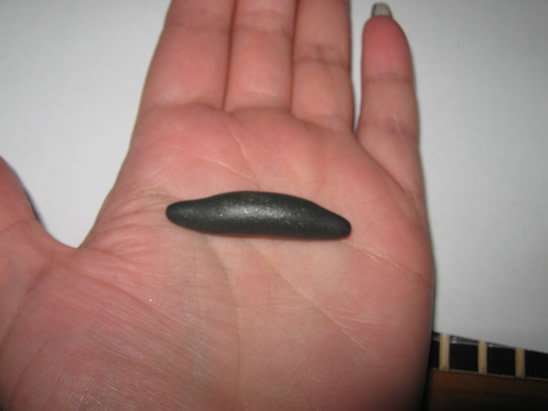
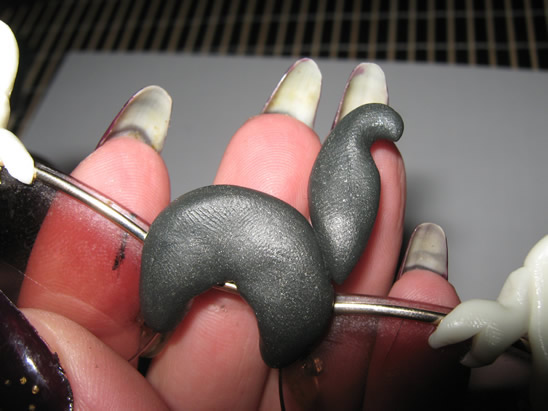
… then bend its ends.
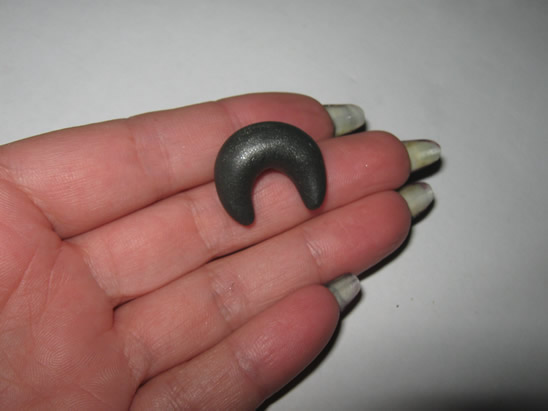
Flatten it a little…
… and place it on the middle of the frame, between the ghosts.
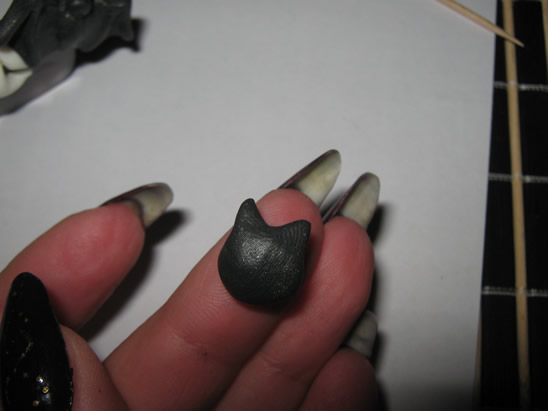
Take a smaller part of black clay and make a ball with it.
Squish between two fingers to form a cat ear…
… then the other.
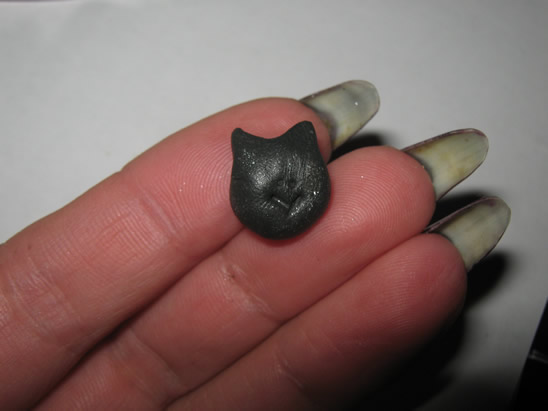
With your toothpick make her mouth and nose.
Make two small balls of white (or night glow) clay…
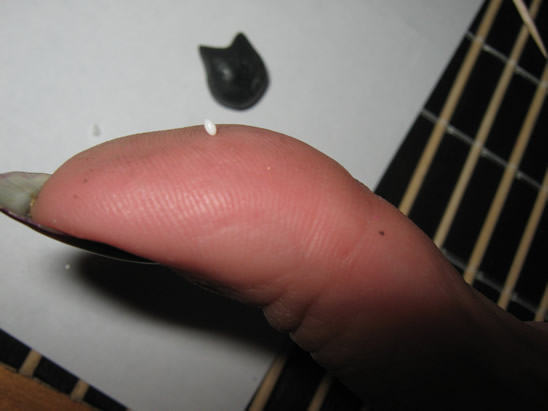
… to make her eyes.
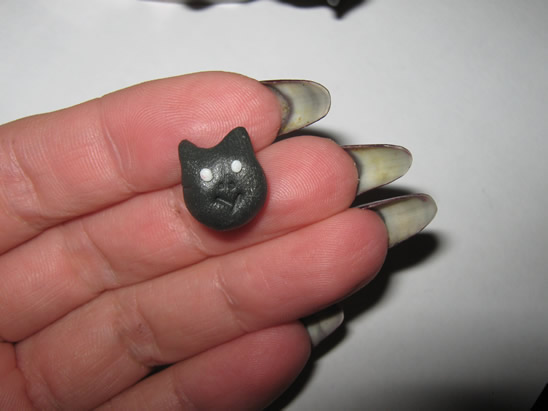
And two even smaller black ones …
… to complete the eyes.
What do we still need? A tail!
So, let’s make another “bread stick” – a little thinner than the first one.
Curl it to look like a tail and put it on its place.
Then add the head… the black cat is ready.
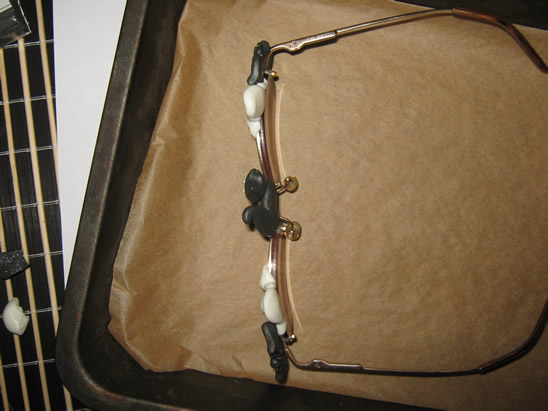
Step 4 – the Baking
Place the glasses on the baking tray, and bake them according to the instructions on the polymer clay package (they depend on the brand you use: fimo, cernit, sculpey…, but usually it is one half hour at 230 F or 110 C). *Must have adult supervision*
Let them cool down.
Now, the last thing is to make eyes for the ghosts, so use a paint marker to do that.
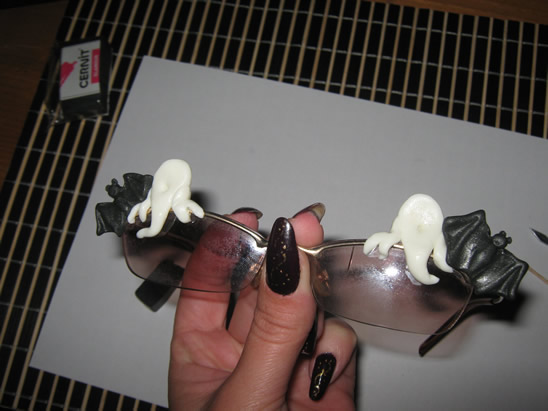
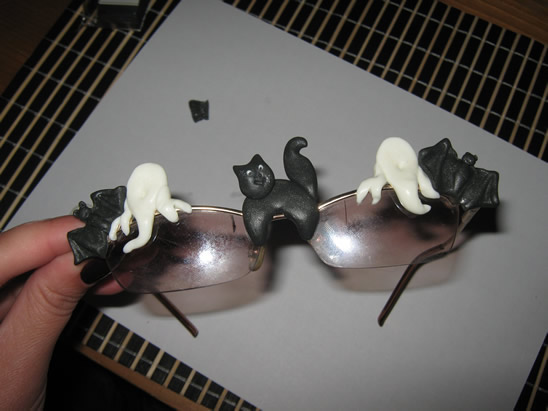
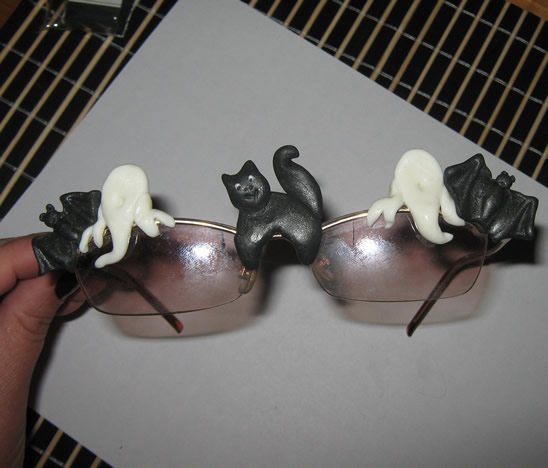
There you go…. you have finished your Halloween Glasses.

Now, those are some cool and unique Halloween Glasses. You are going to look so festive this Halloween with your homemade Halloween Glasses. Put them on and wear them proudly.
Technorati Tags: Halloween, Halloween Crafts, Clay, Clay Crafts, Glasses, Halloween Glasses

Leave a comment