I have a super fun and easy craft for you today. I’m going to show you how to make a Woven Coaster. This coaster is one of the simplest ways to learn weaving. With some paper and some pretty ribbon you will have the Woven Coaster finished in no time. Why not make 3 more….. make a set of 4 Coasters. It will make for a wonderful Holiday Gift. Let’s get started.

Craft materials required:
Thick paper
Satin ribbon- 1 inch thick
Tape
Ruler
Scissors
Step 1
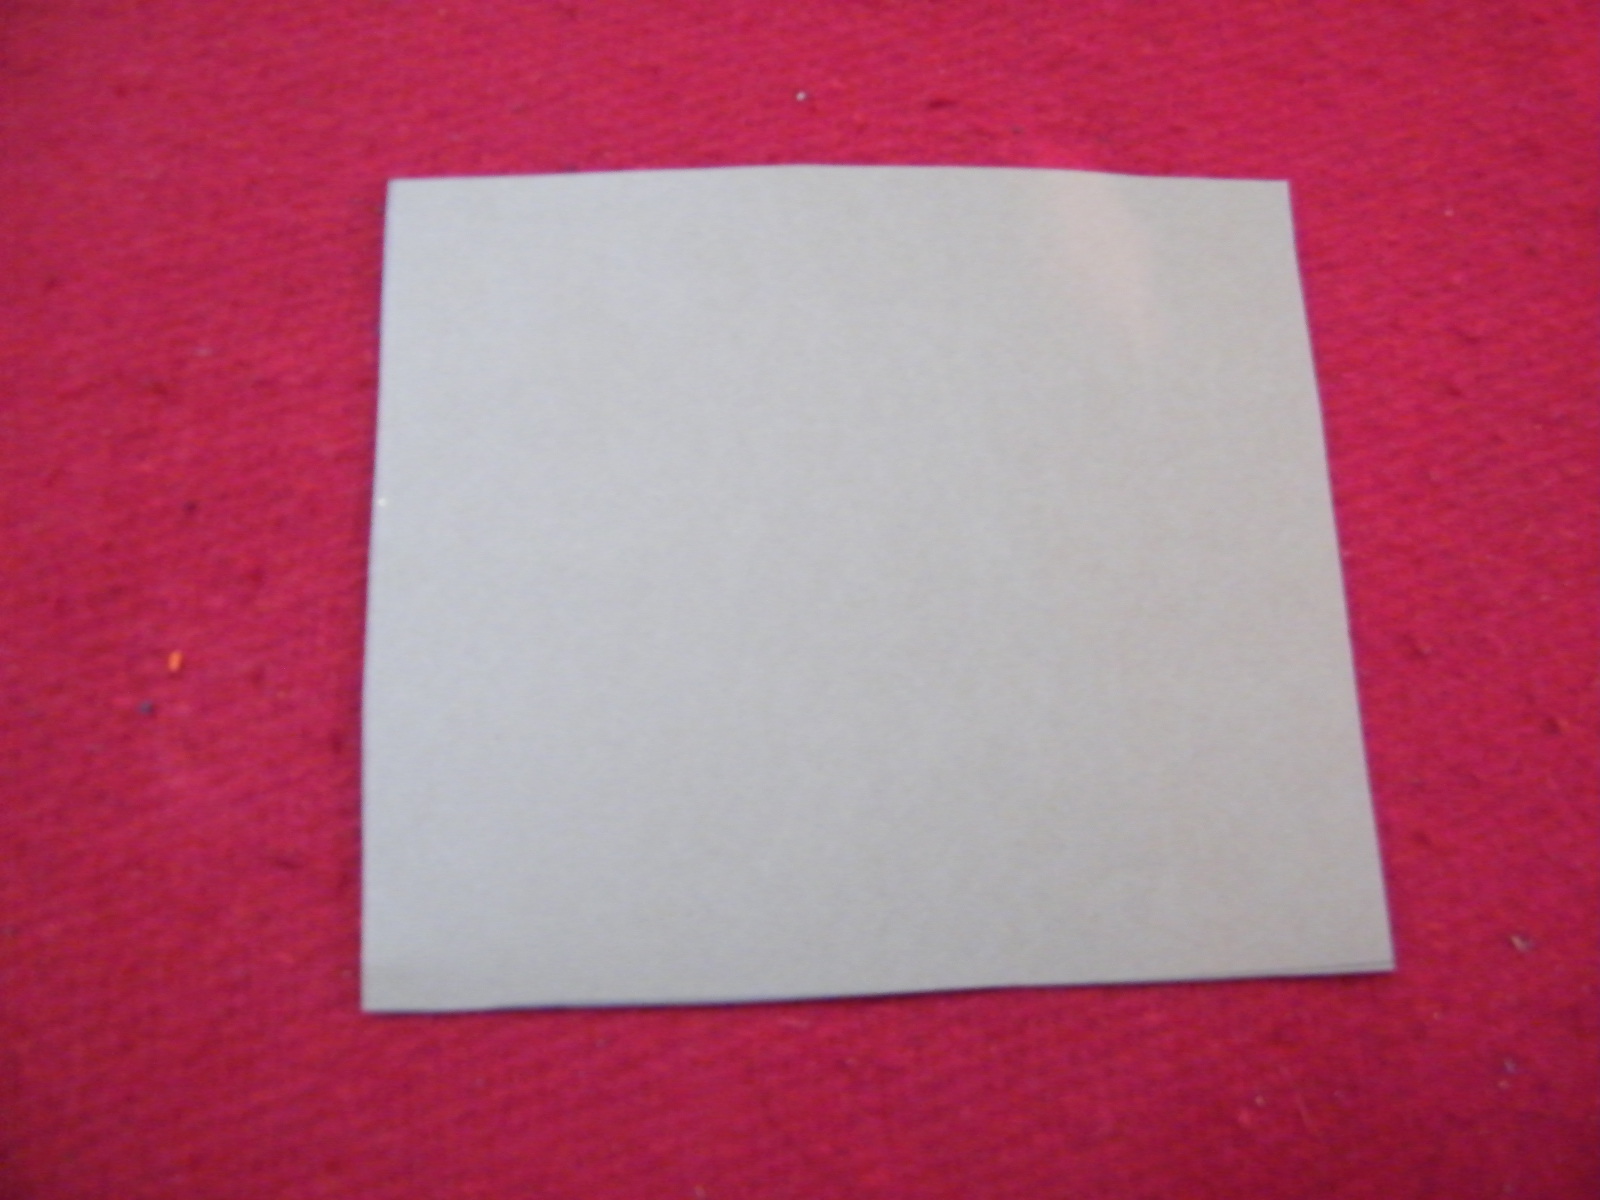
Cut a square piece of thick paper about 8 in x 8 in.
[ad#ahc]
Step 2
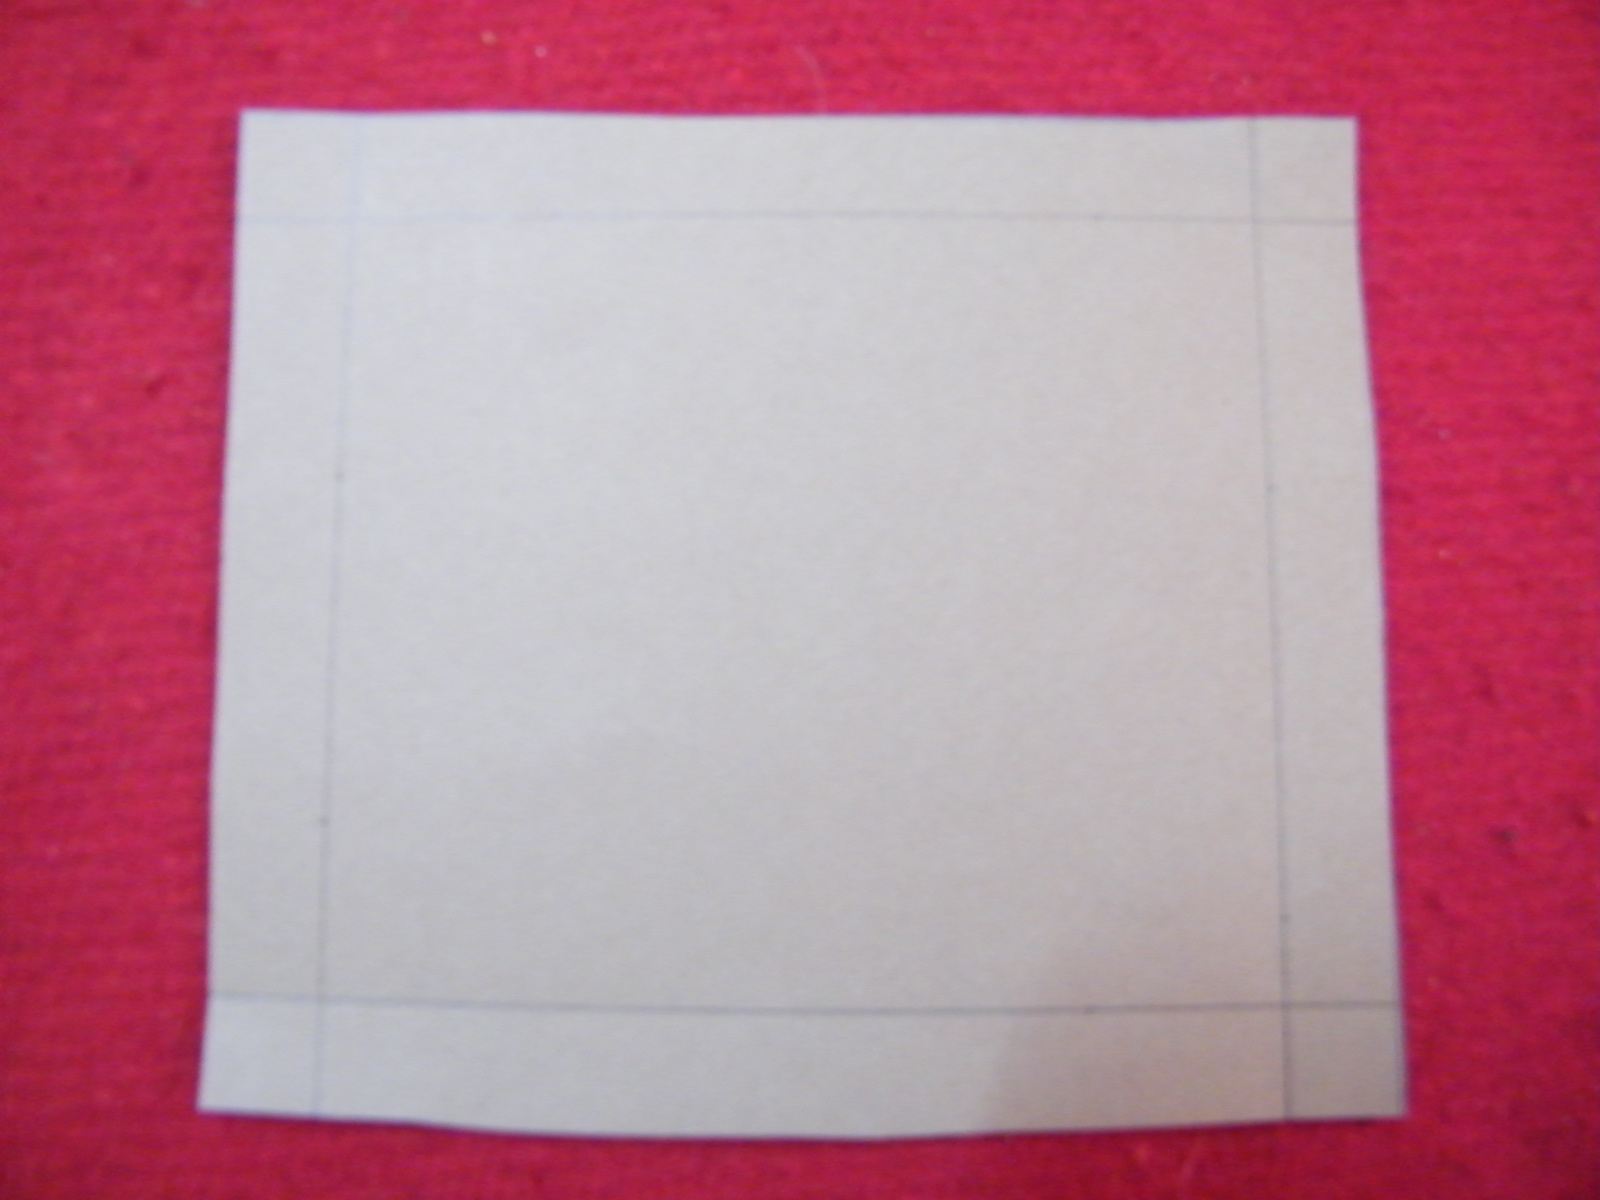
Draw 4 lines to make a border 1 inch thick on each side.
Step 3
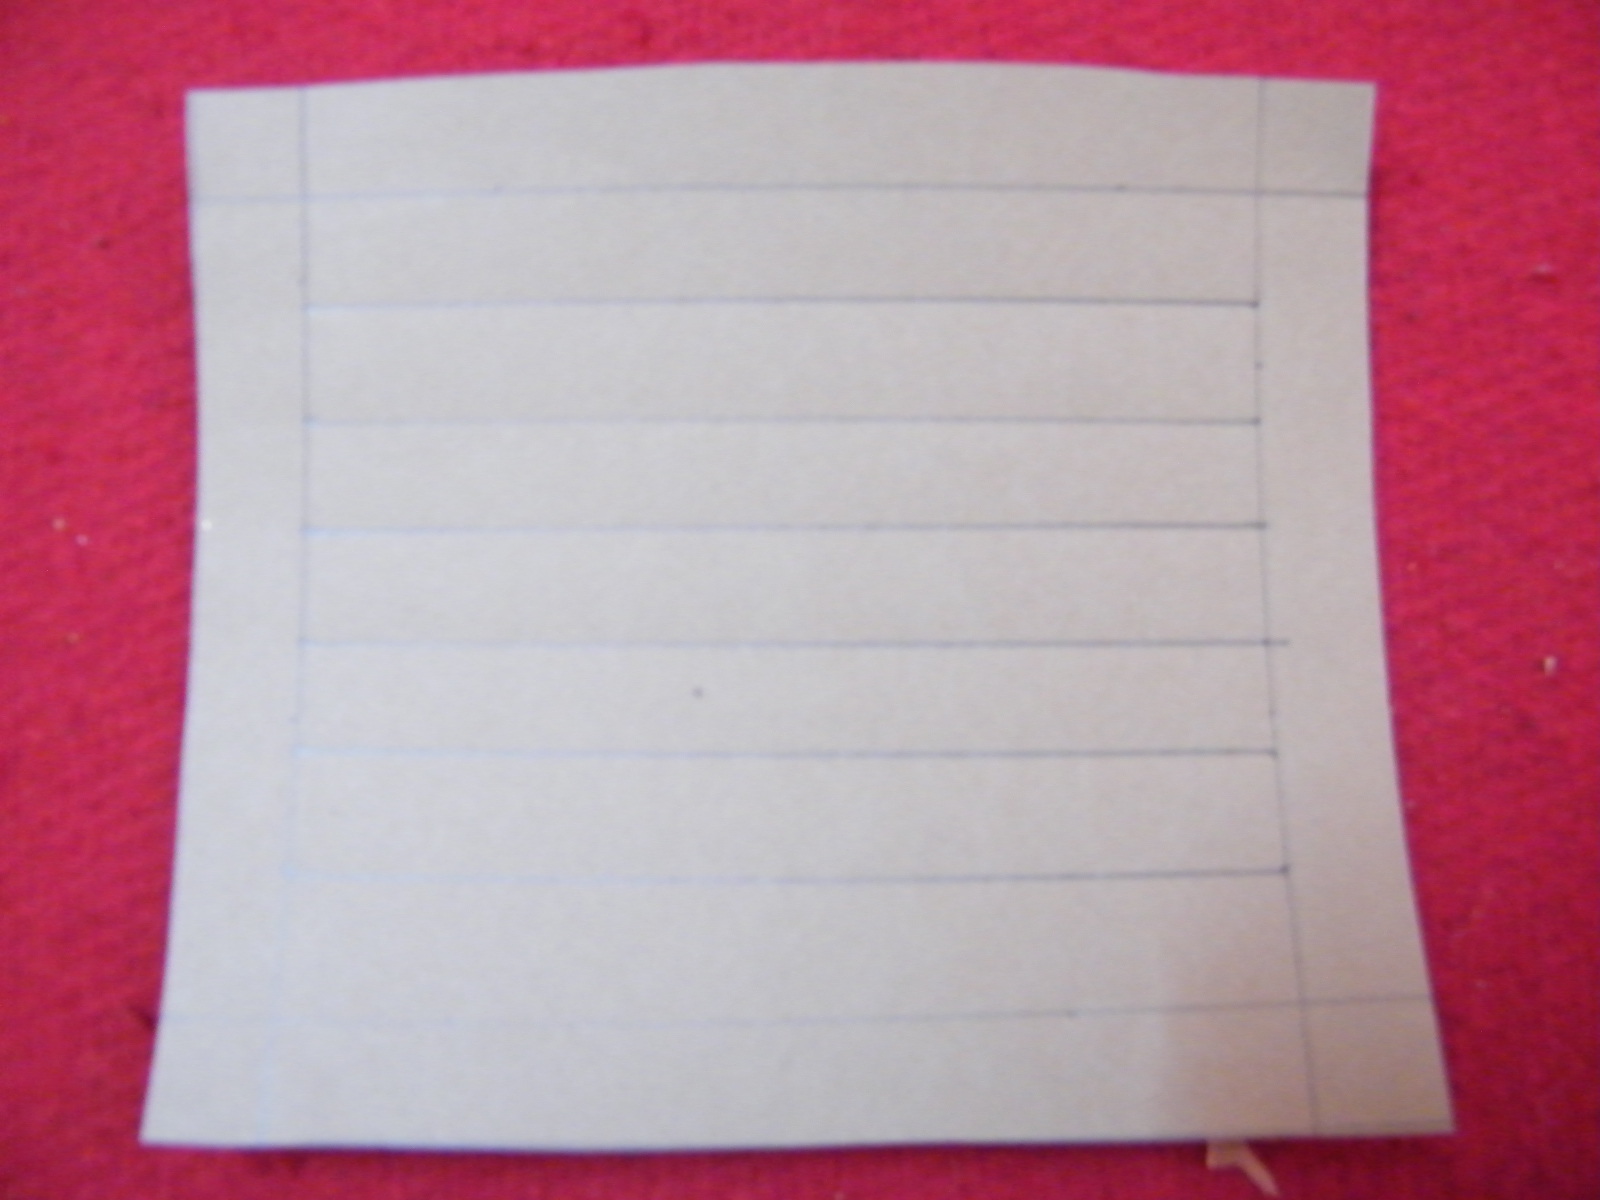
From the top draw horizontal lines one inch away from the top line as shown.
Step 4
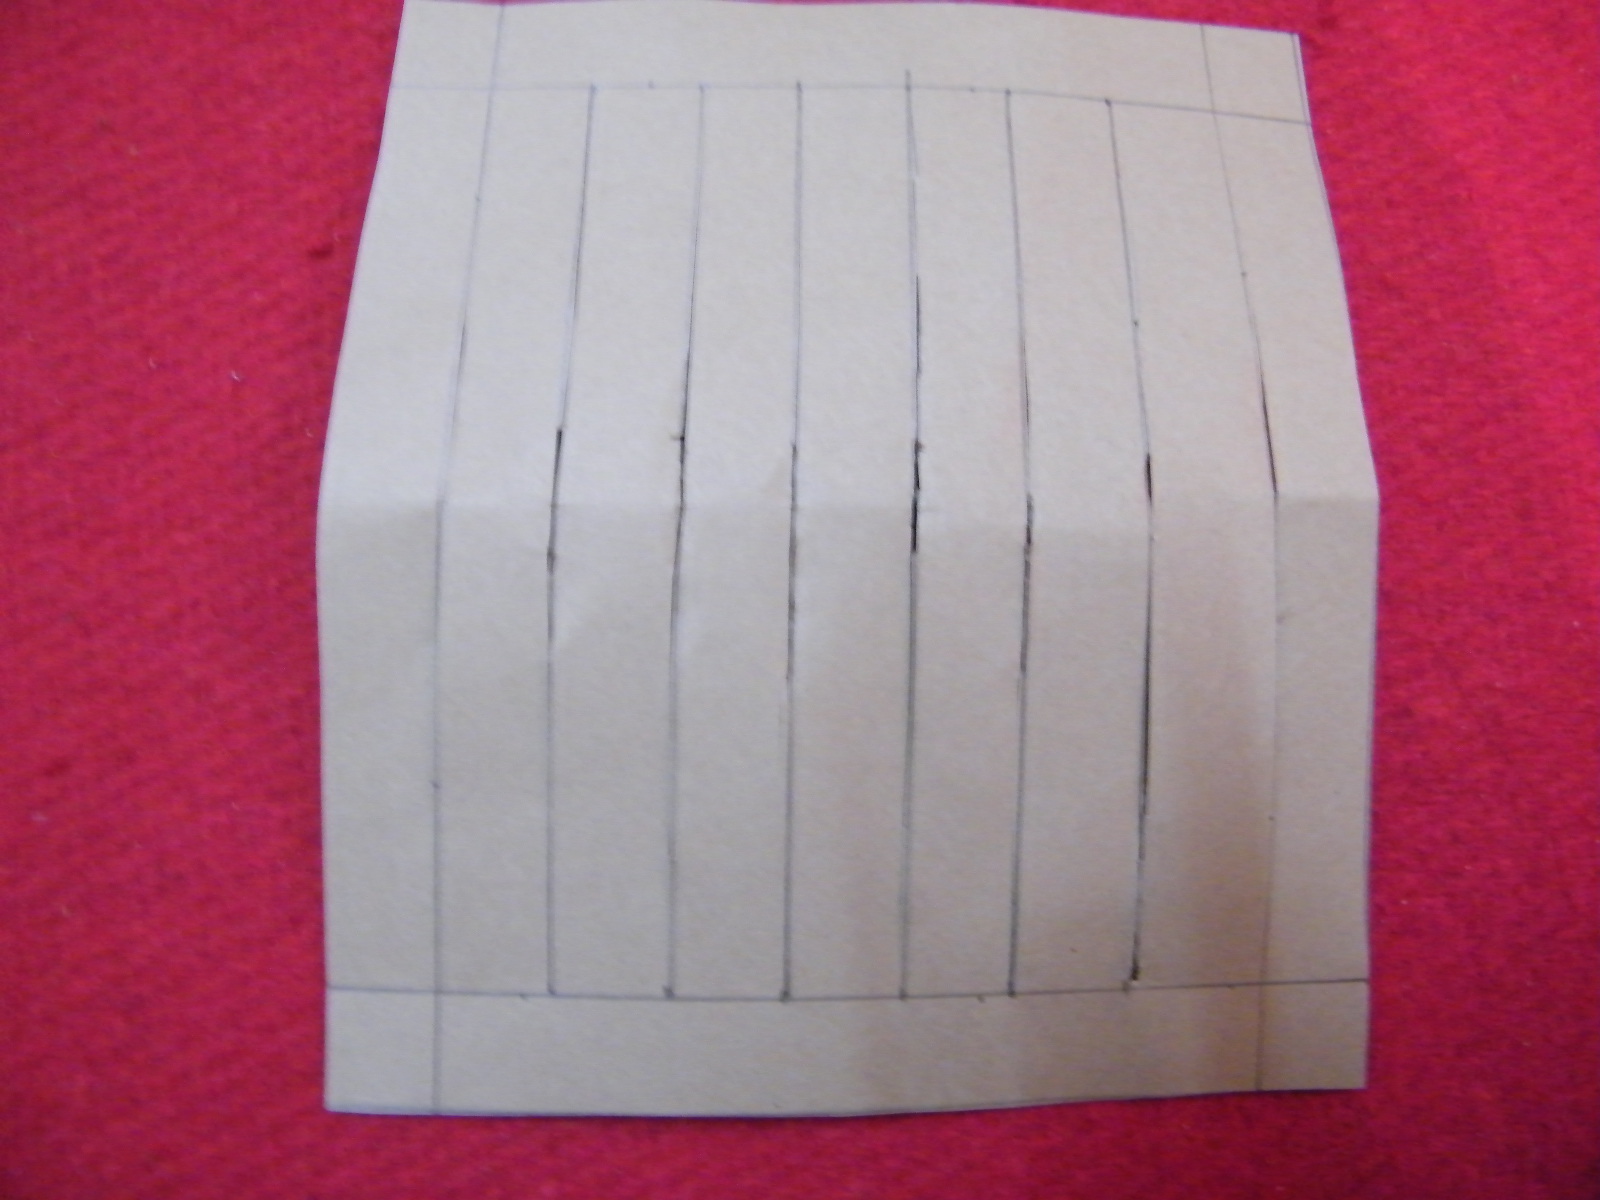
Cut along the lines.
Step 5
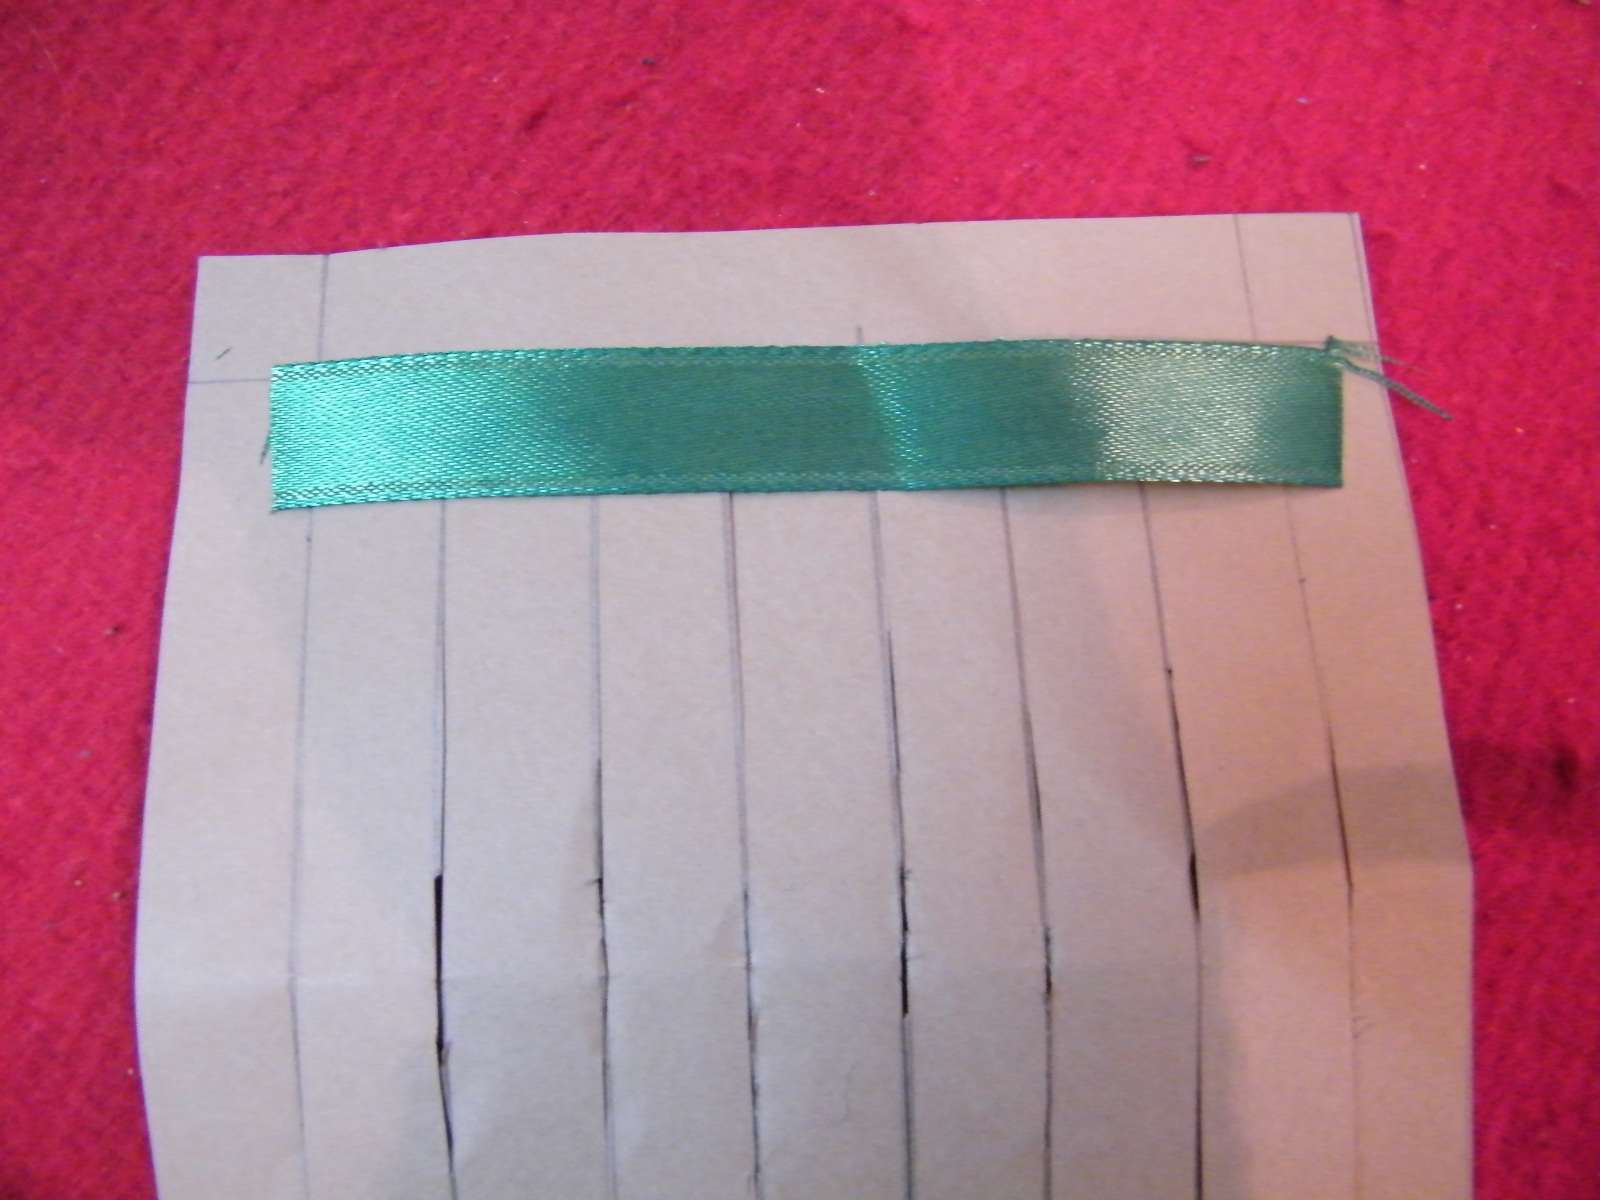
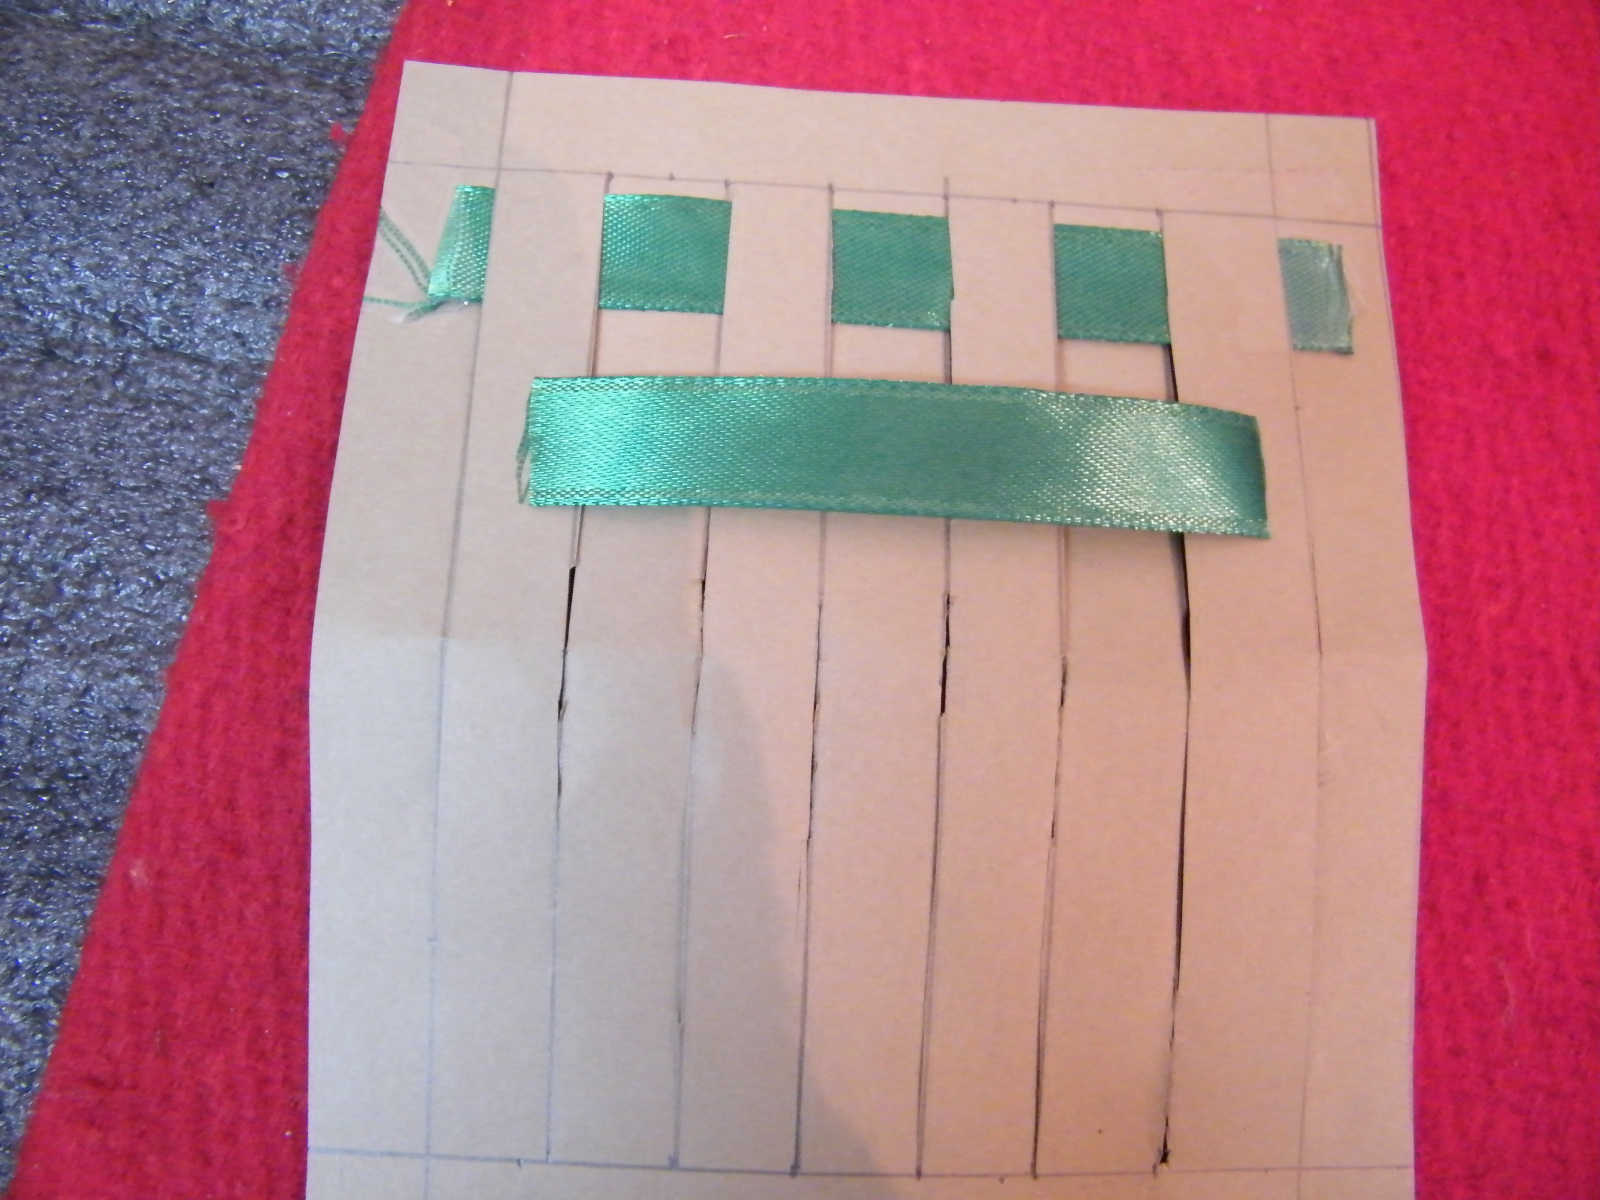
Take a ribbon about 6.5 in long and place it as shown.
Step 6
Tape one end close to the first line as shown.
Step 7
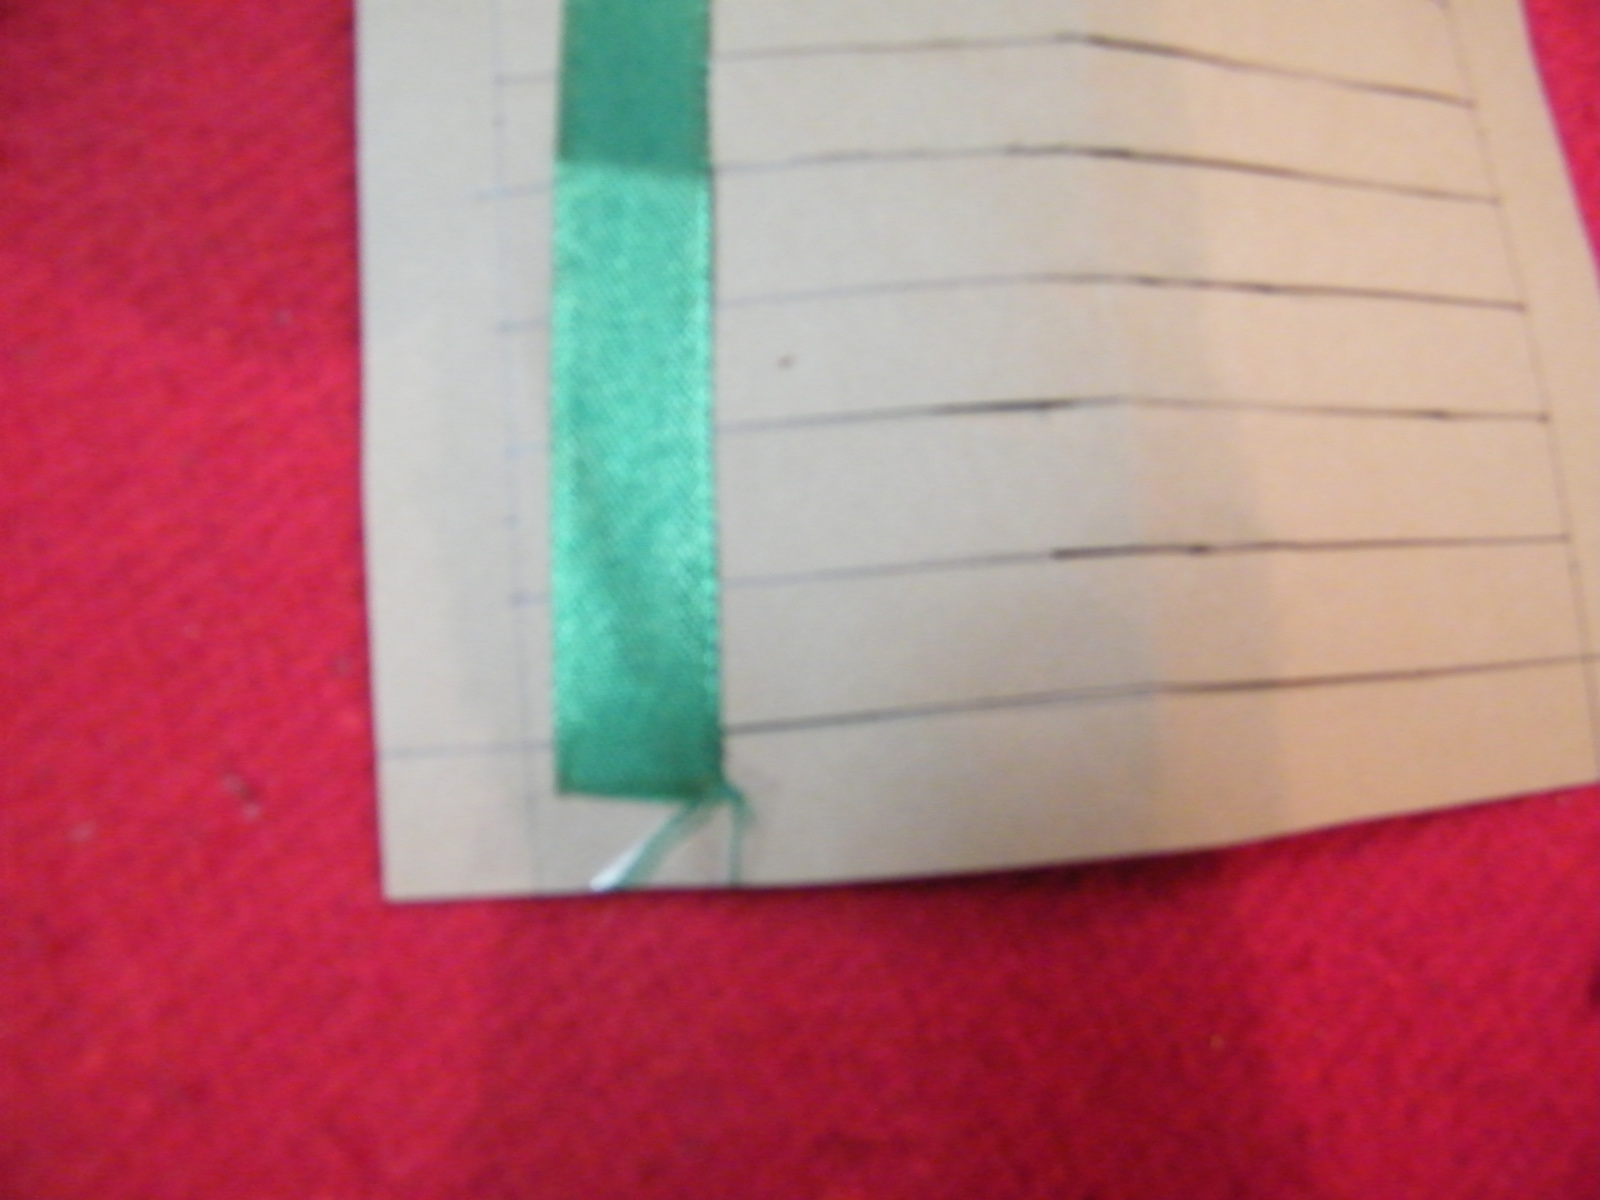
Take the ribbon through to the other side, through the slit.
Step 8
The back will look like this.

Step 9
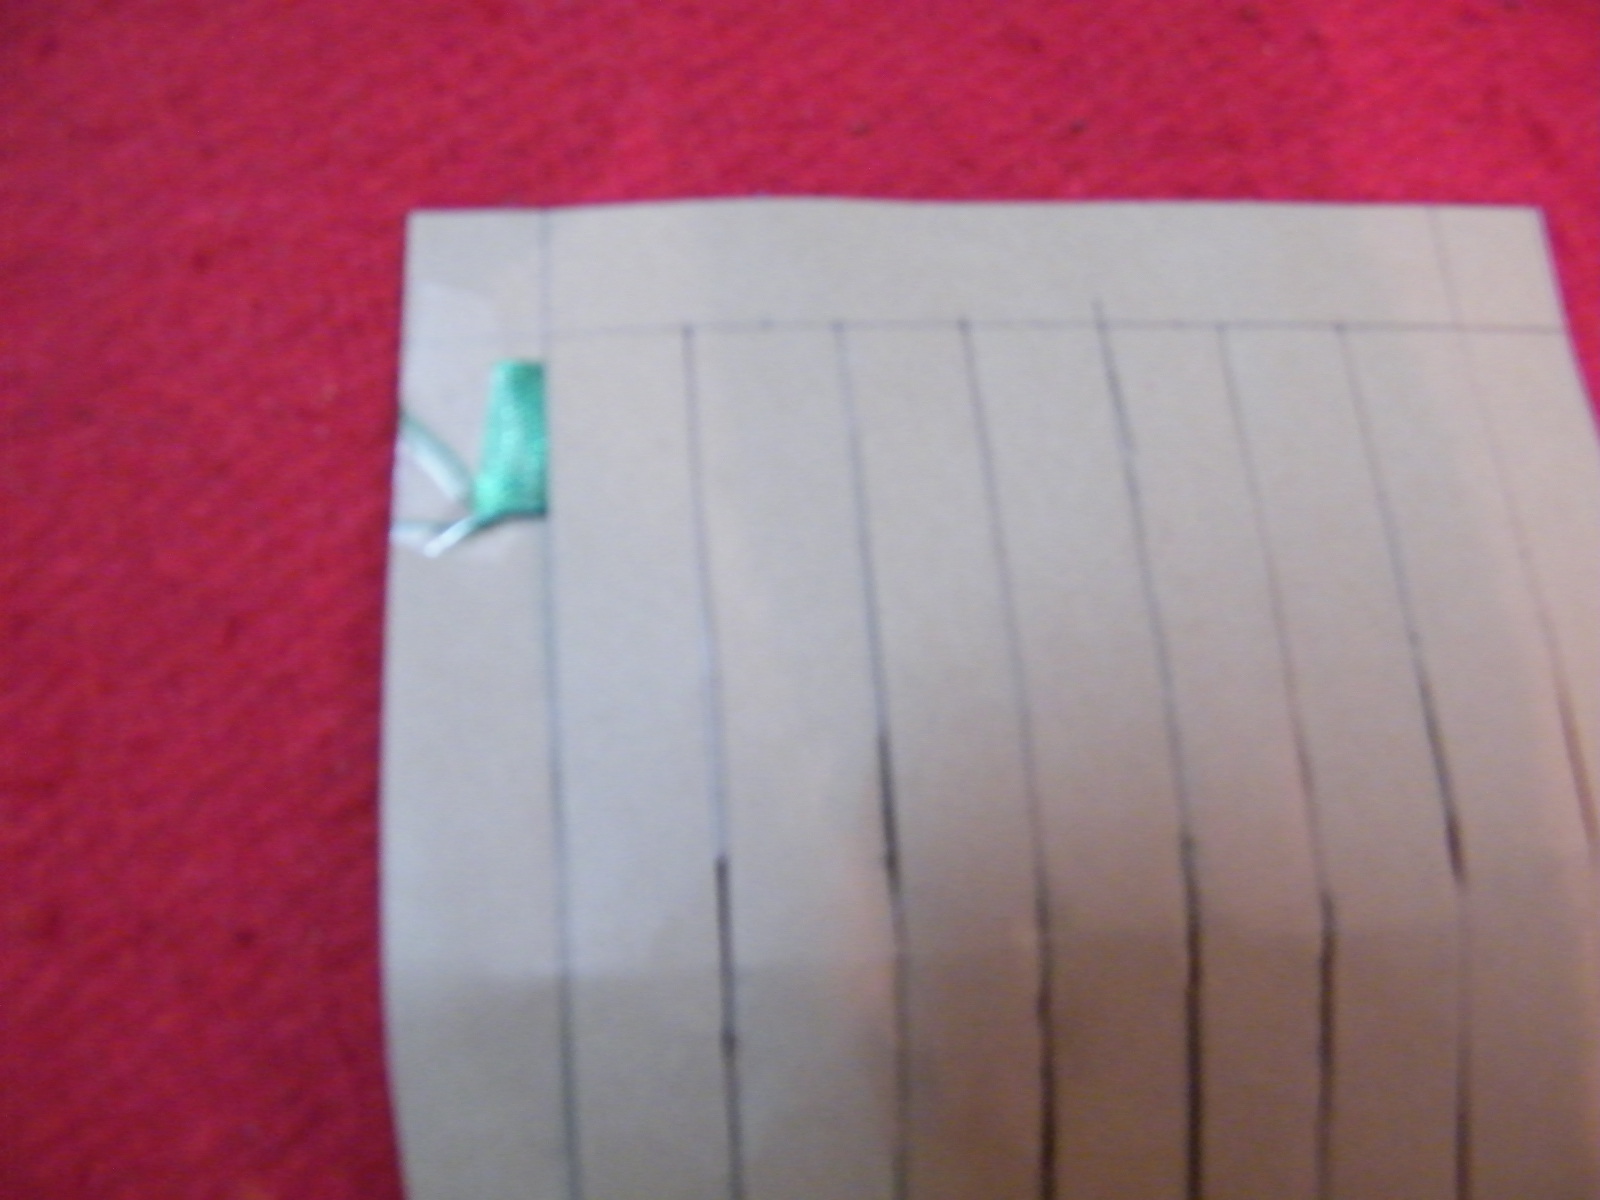
Take the ribbon back again through the next slit. Repeat the process to get a woven design as shown below. Tape the end in place.
Step 10
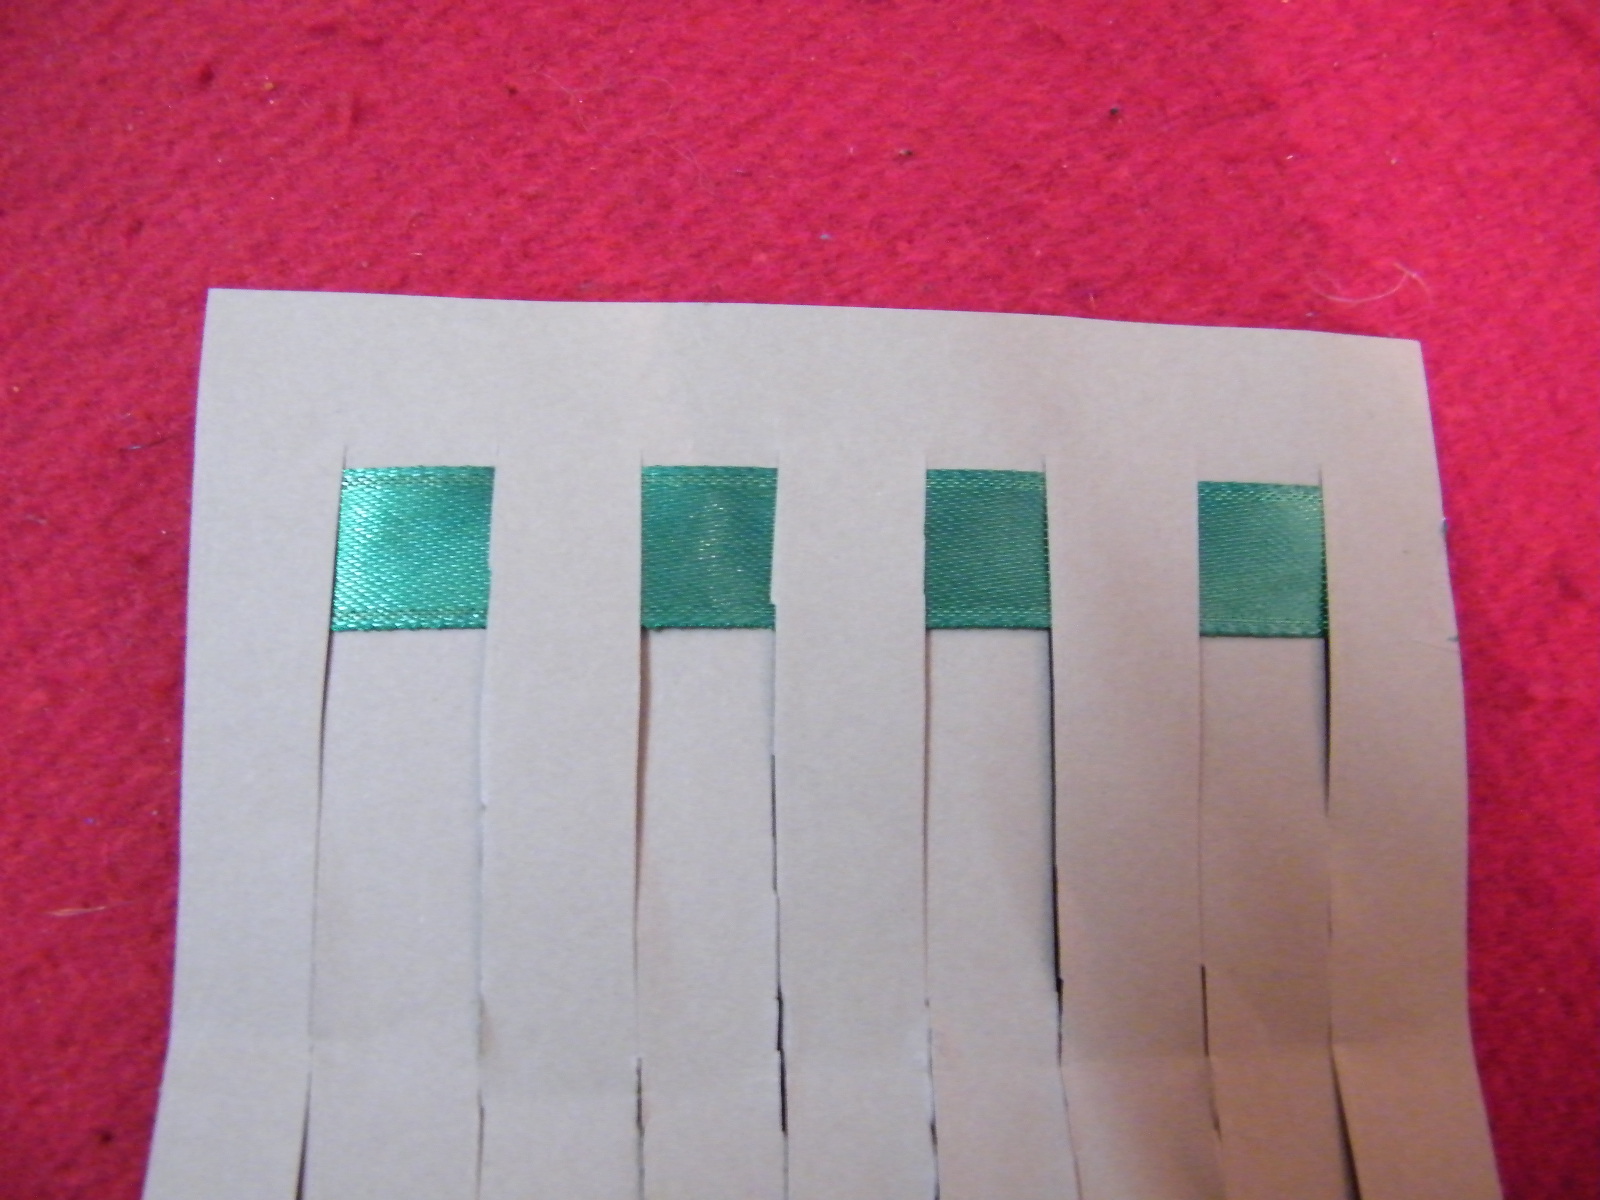
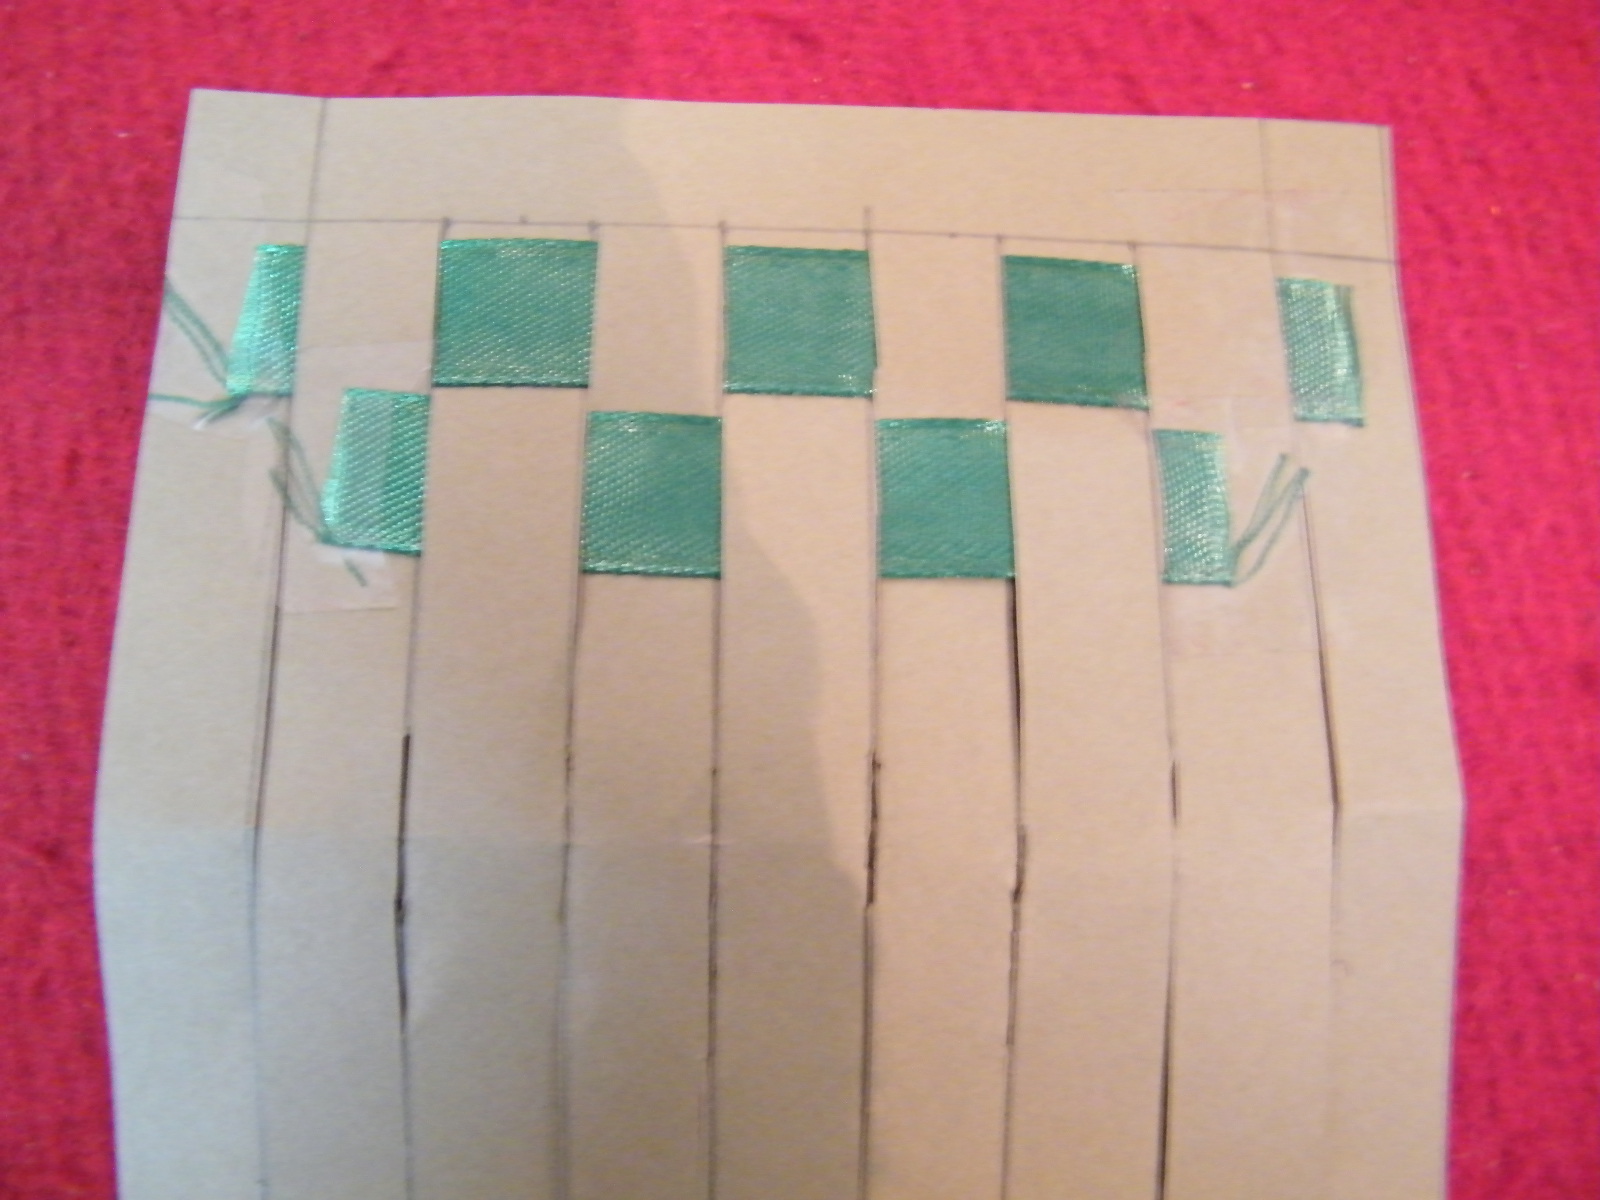
Take another piece of ribbon 4.5 in long.
Step 11
Repeat the process, but this time insert through the alternate slits as shown below.
Step 12
In this way, weave 6 ribbon pieces into place. The coaster will look like this.

For a neat finish, cover the back with a piece of paper the same size.
And there you have it…. a Woven Coaster. How did your coaster turn out? Let me know in the comments below. Make sure to add a picture of your woven coaster to the comment, so I can check it out.
Technorati Tags: weaving, weaving crafts, woven crafts, weaving crafts for kids, paper weaving, coasters, coaster crafts
