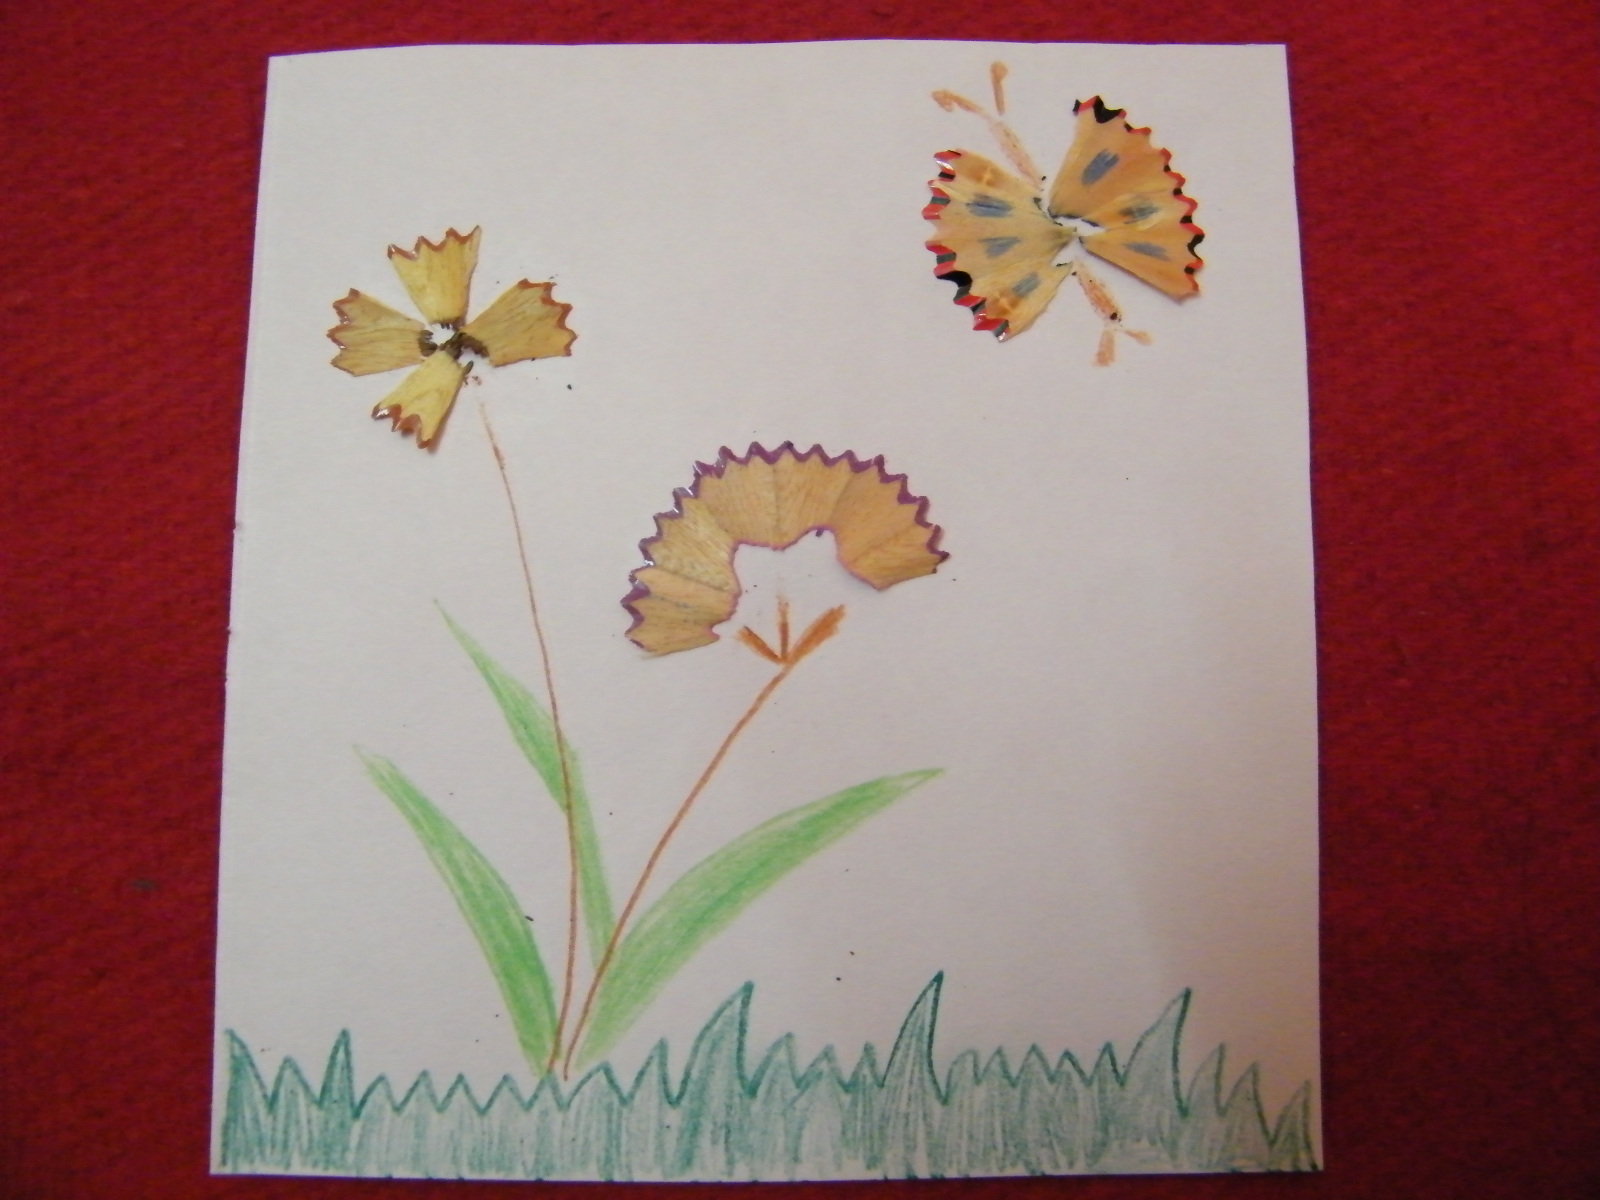
Today I have a fun and creative craft for you. I’m going to teach you how to make beautiful pictures out of pencil shavings. Its a great way to recycle waste. These pictures are amazing enough to frame and hang up on your wall. The simple steps to make it are given below, but be careful while you do this activity… pencil shavings are delicate and need to be handled gently. So, let’s get started.
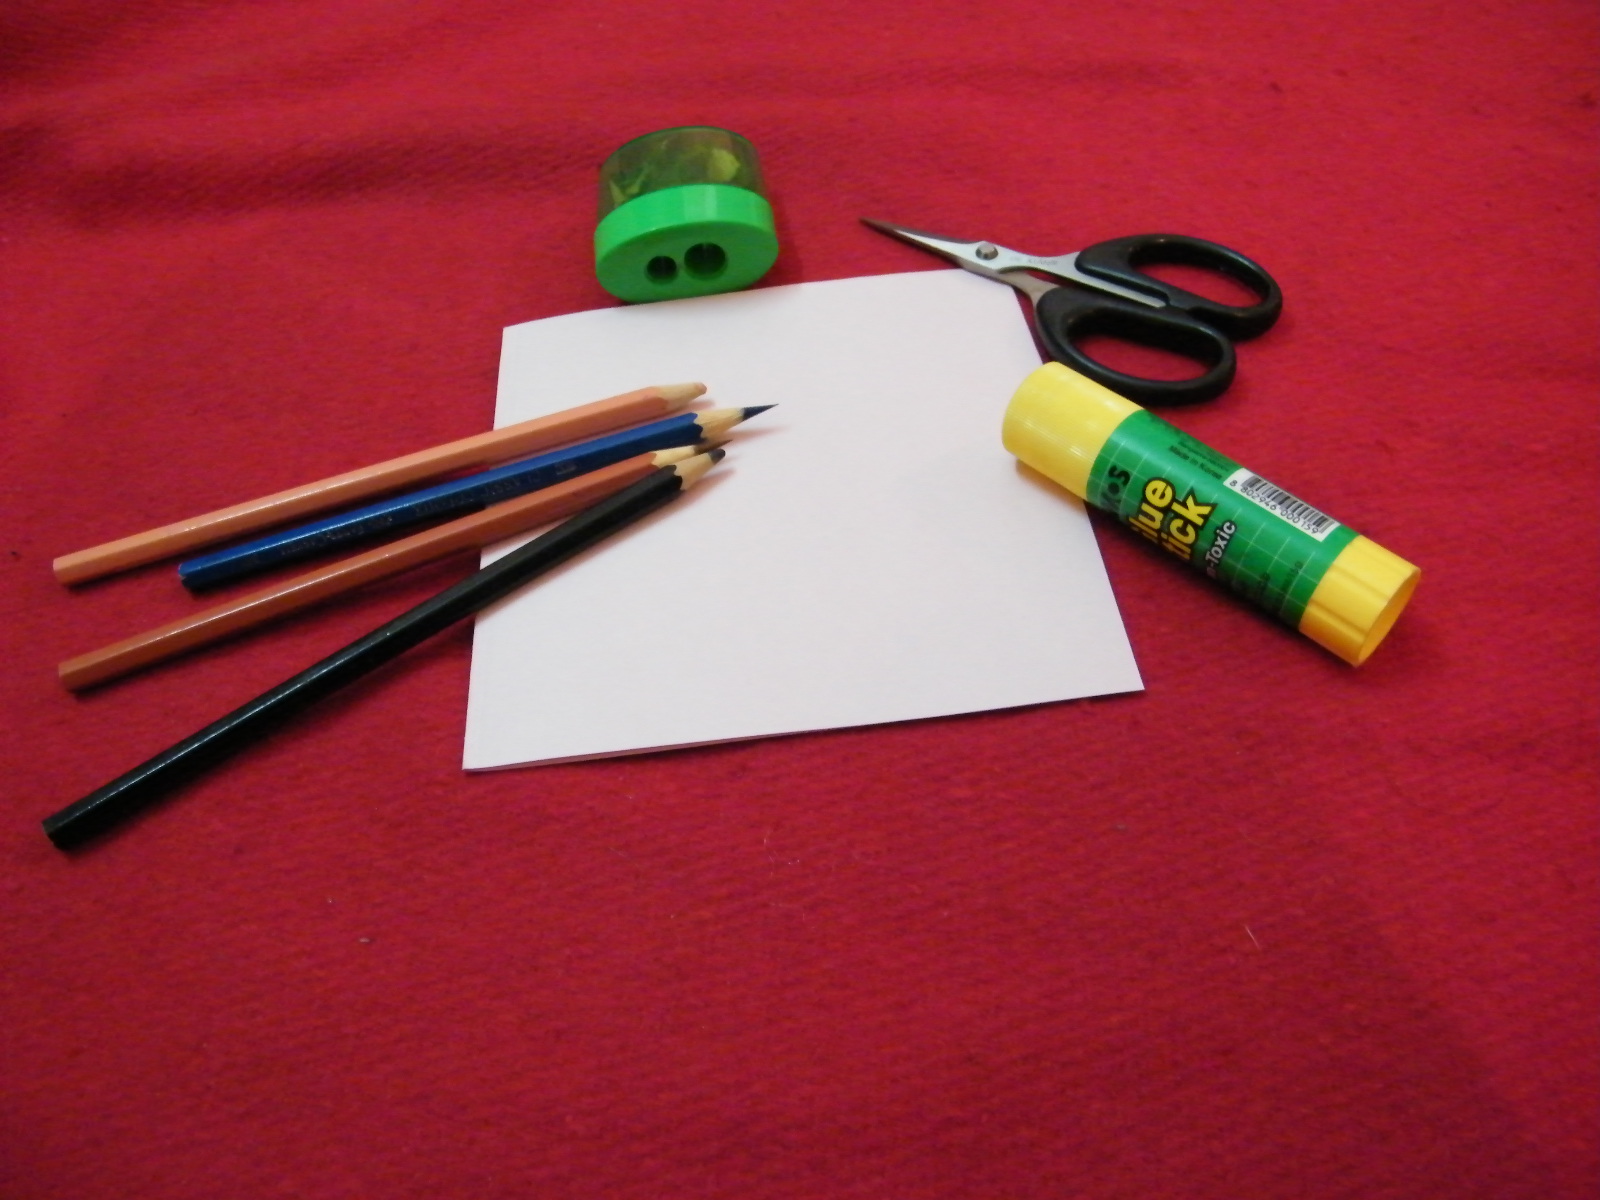
Craft materials required:
Pencils – Different Colors
Pencil Sharpener
Scissors
Glue
Card Stock
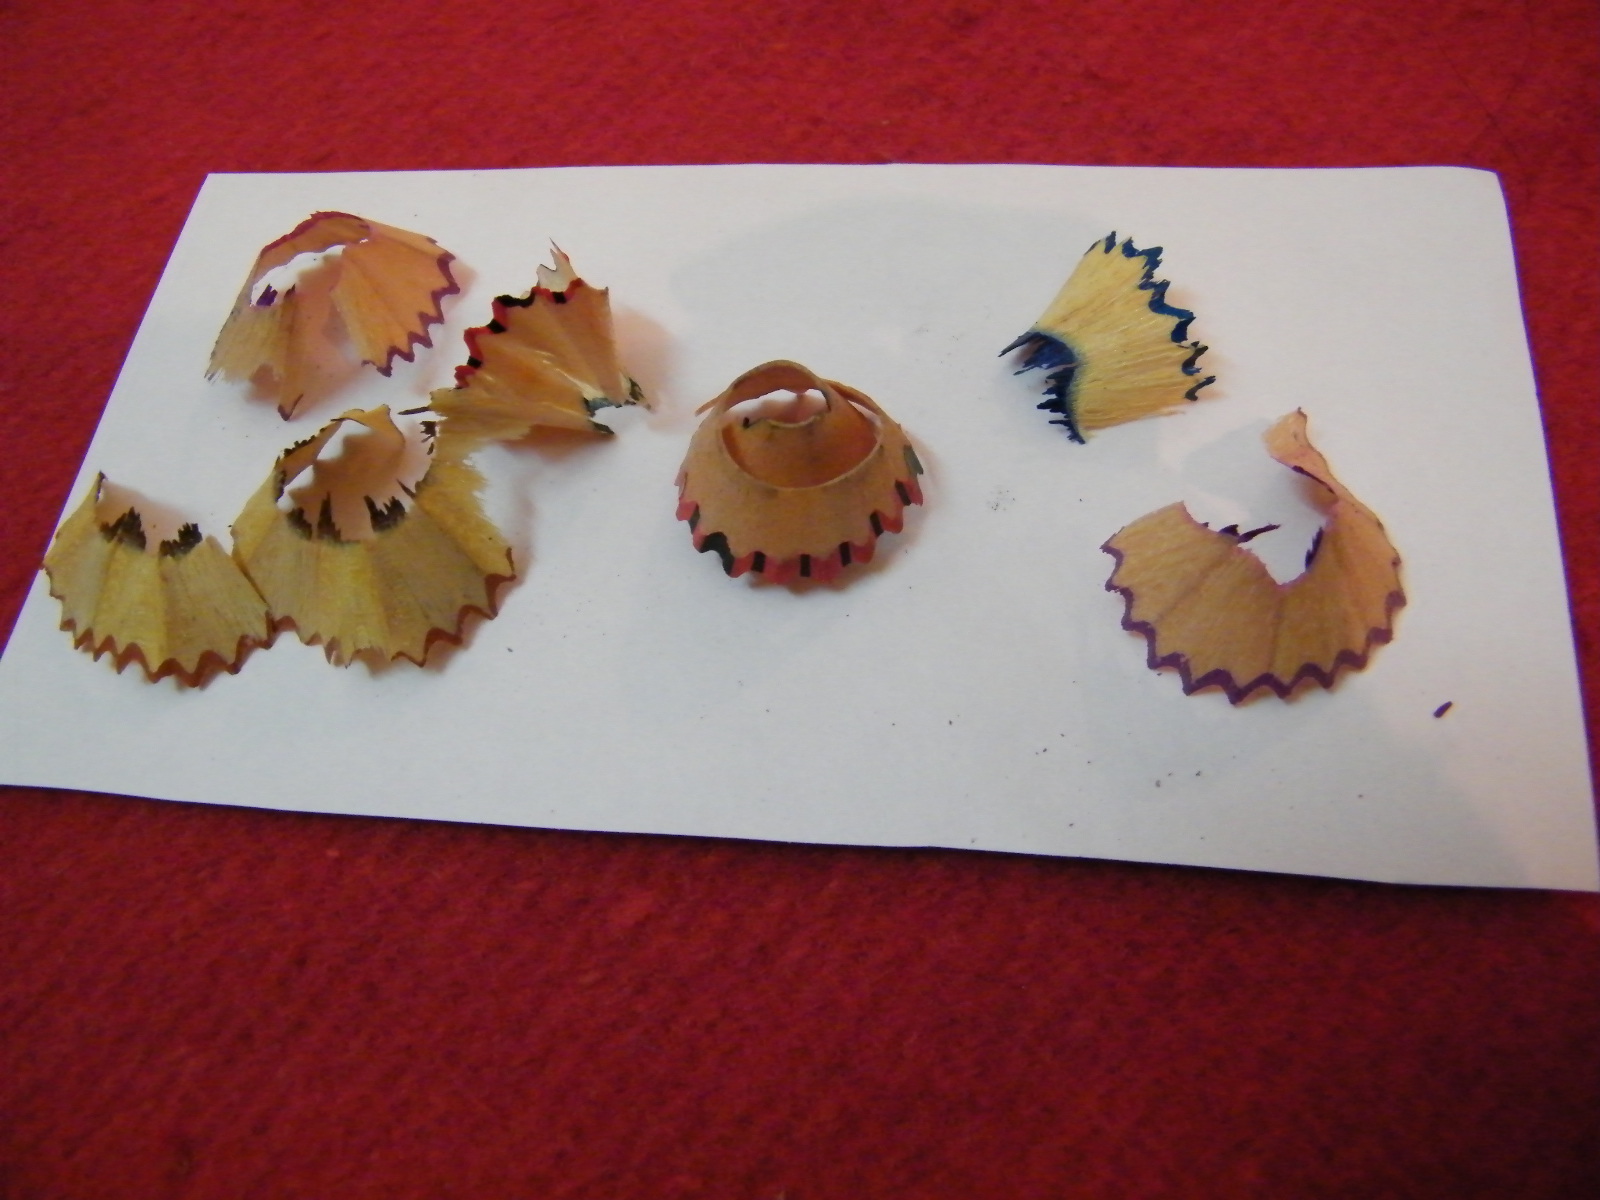
Step 1
Collect pencil shavings after sharpening your pencils.
[ad#ahc]
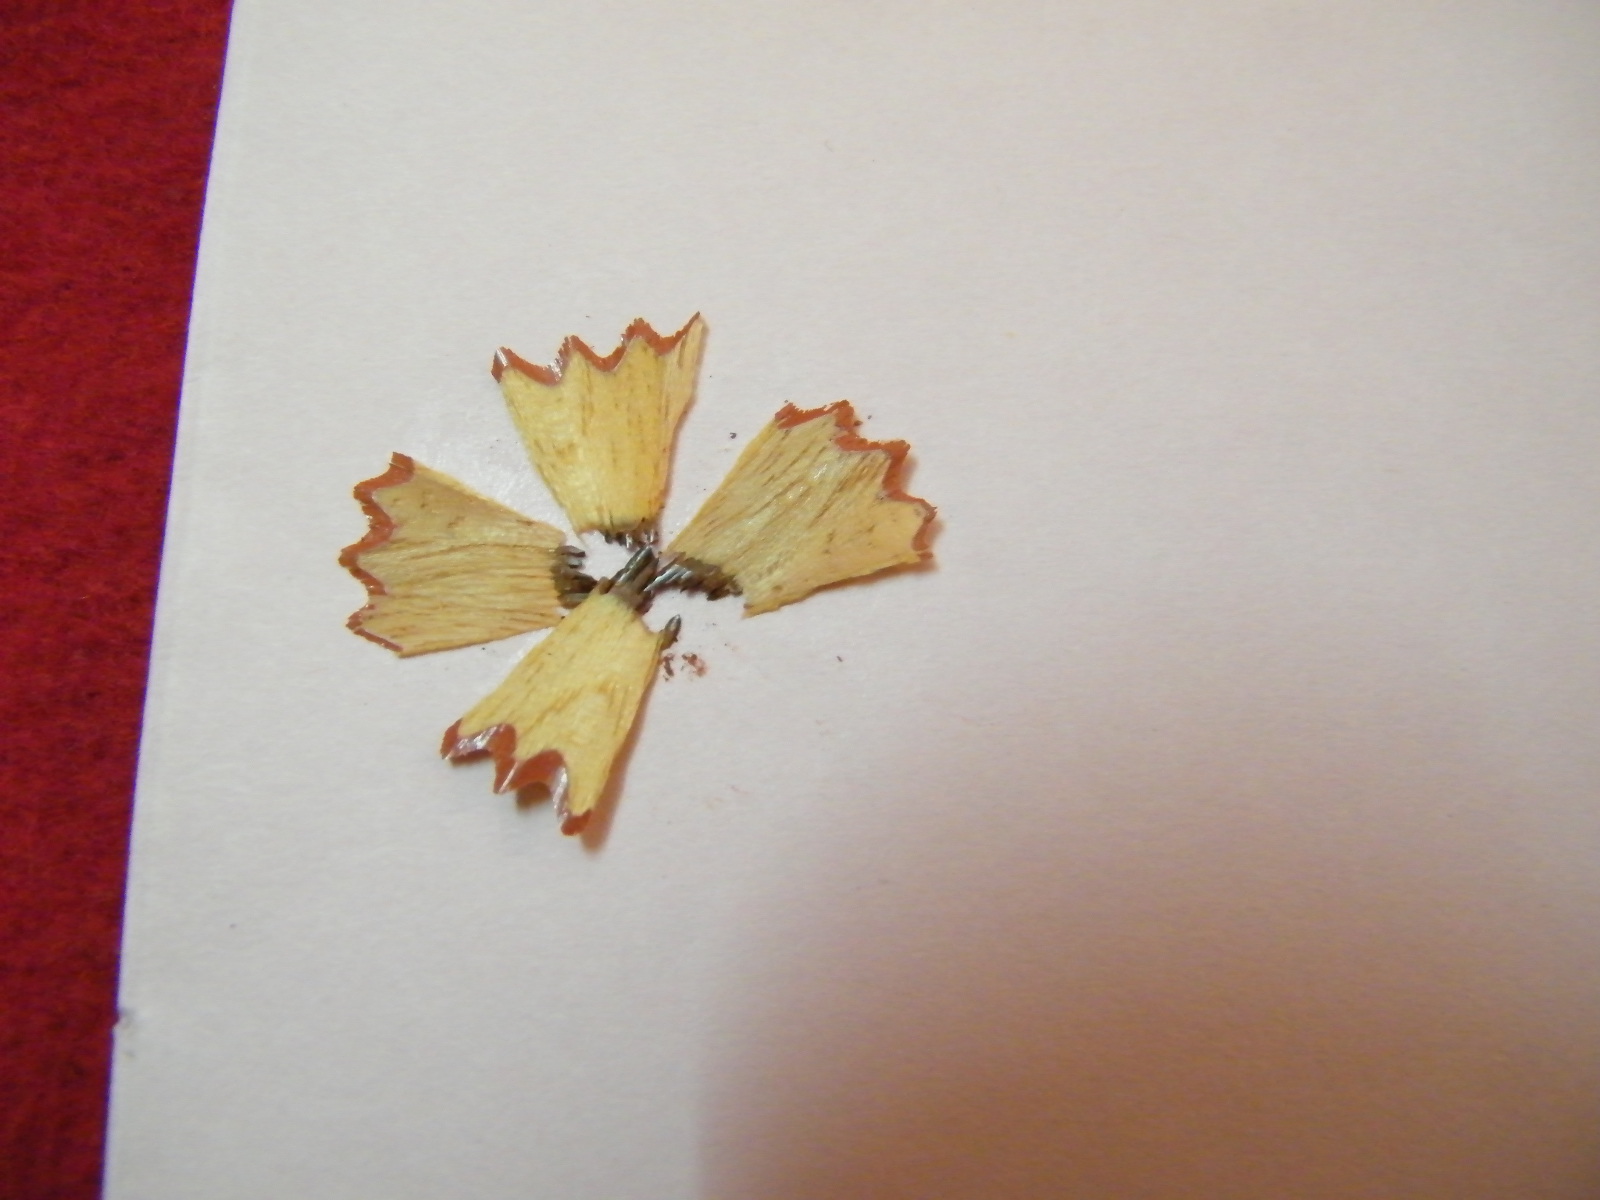
Step 2
You can arrange 4 small bits like this and glue them in place to make one type of flower.
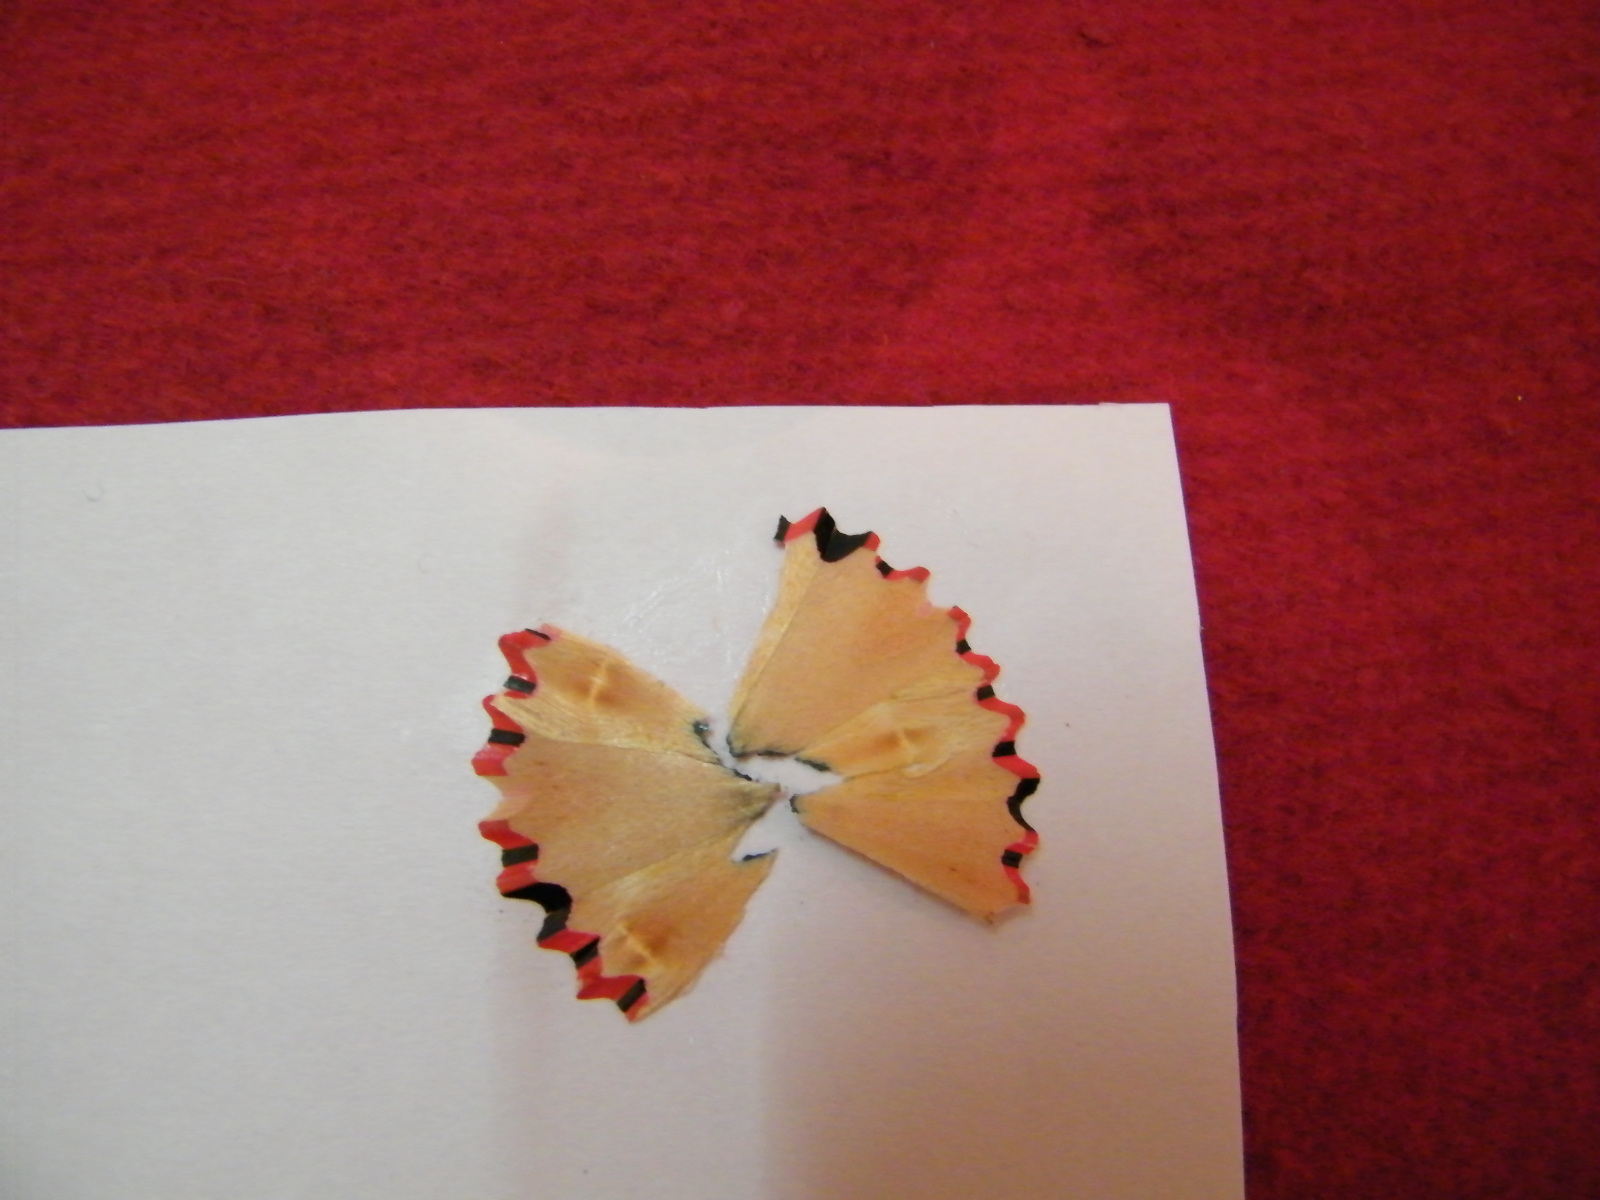
Step 3
You can glue two larger pieces together to make a butterfly.
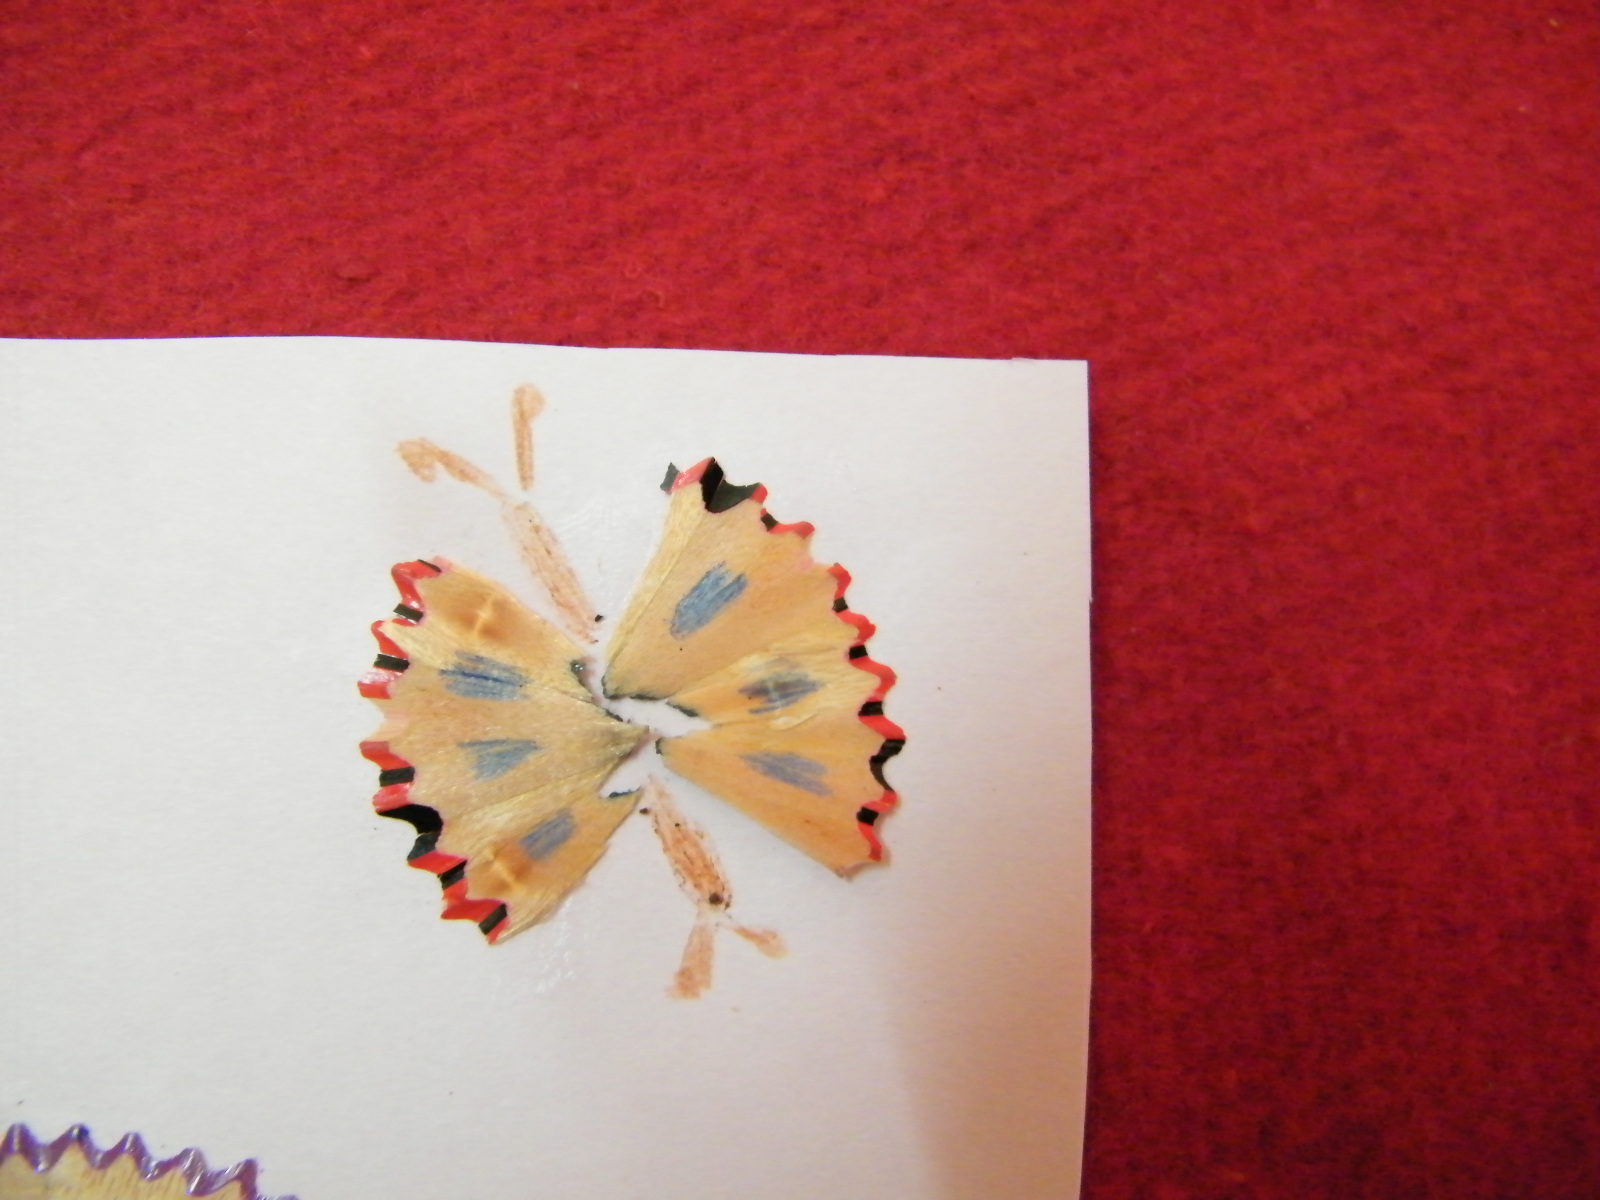
Step 4
Decorate the butterfly as shown.
Step 5
Glue all the pencil shavings and decorate the rest of the picture with color pencils.
That’s it. The craft is an easy one, but the results are big. Every Pencil Shavings Artwork is an original, so don’t stop after one…. keep making them. They make great gifts for the Holiday season.
Technorati Tags: pencil shavings, pencil shavings art, pencil shavings picture, pencil shavings craft, pencil shavings artwork, pencil scraps picture, pencil scraps art, pencil scraps craft

animation a faire ….