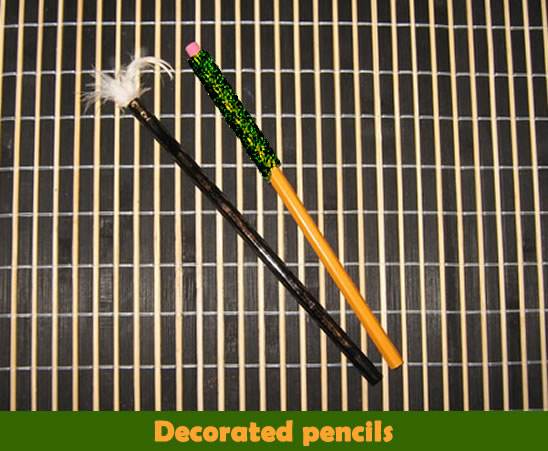
In the last post I was talking about how 100 days of school will be arriving soon, and that got me thinking…. if you are almost at 100 days of school your pencils must be getting old and it is time for some new ones. Well, instead of just using the same old standard pencils for school… why not take it up a notch. Let’s make our pencils fancy and fun with some decorations. Today I’m going to show you how to make decorated pencils. The craft will be so much fun…. almost as much fun as these pencils will be to use. So, let’s get started.
Check out some Pencil Topper Crafts.
Laura from Dacian Moon Handmade will show this tutorial step-by-step.
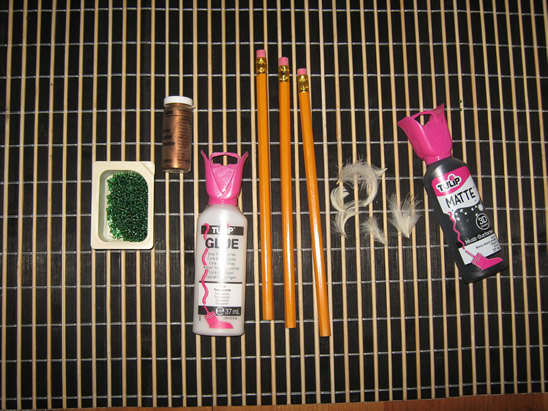
Materials Needed
– pencils
– fluffy feathers
– craft glue
– paint
– metallic powder
– beads
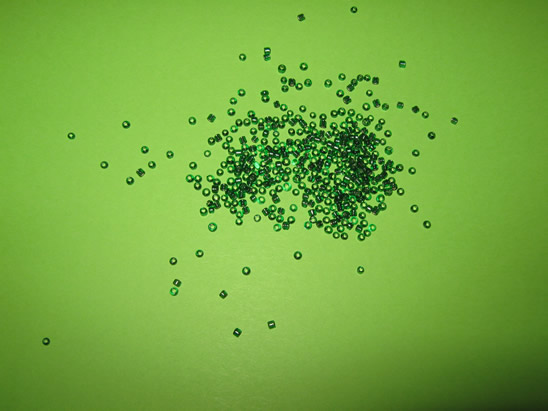
Step 1
Let’s place some beads on a piece of paper.
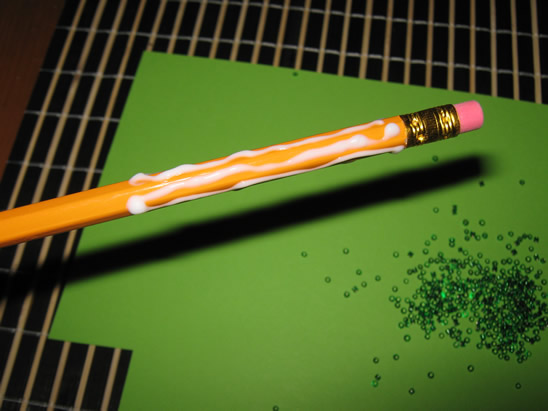
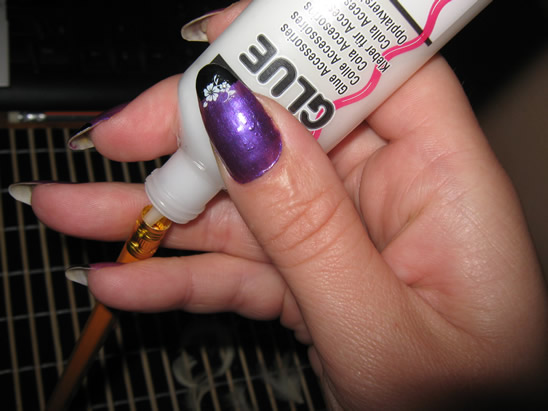
Apply a layer of glue on the upper part of a pencil…
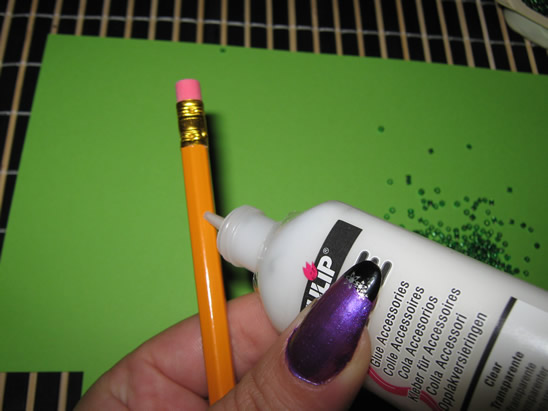
… like this. Spread it well.
[ad#ahc]
Step 2
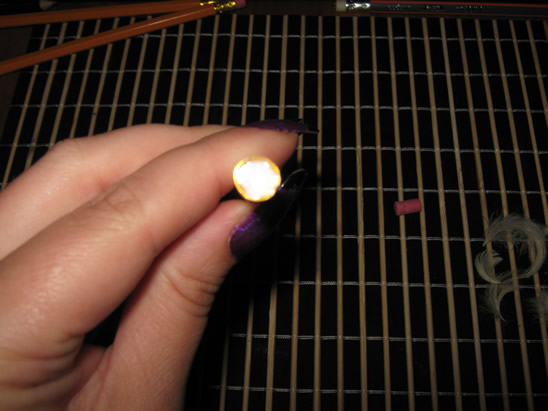
To begin, press the pencil over the beads…
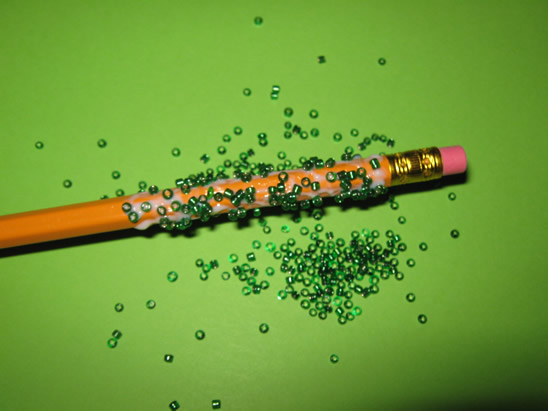
… then pour more beads over the pencil. Do that until it is well covered all around.
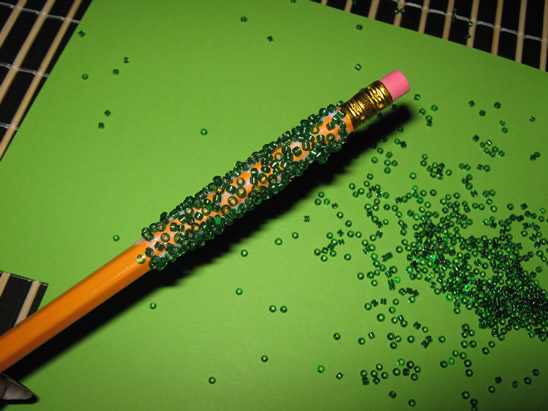
Let it dry well.
Meanwhile let’s make the second pencil.
Step 1
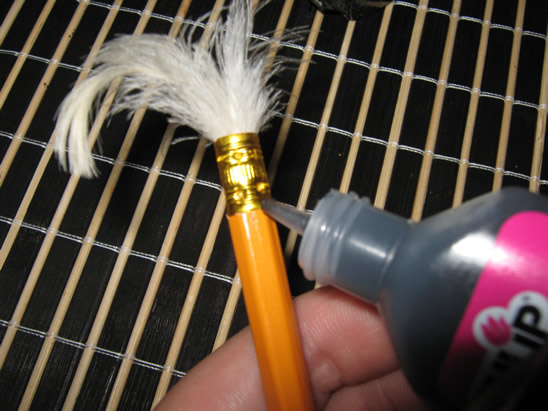
Take the eraser out.
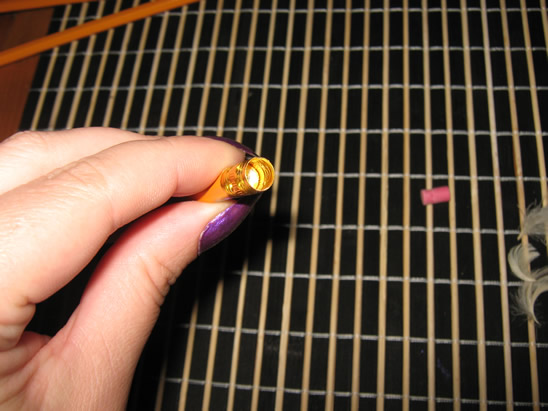
Fill its place with glue…
… like this.
Step 2
Place the feather where the glue is. While it dries you can paint the pencil.
We will paint it all black.
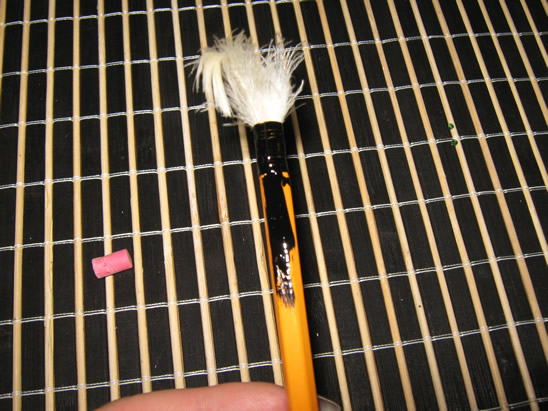
Step 3
Take metallic powder on the paintbrush and spread it over the paint… do this before it is dried.
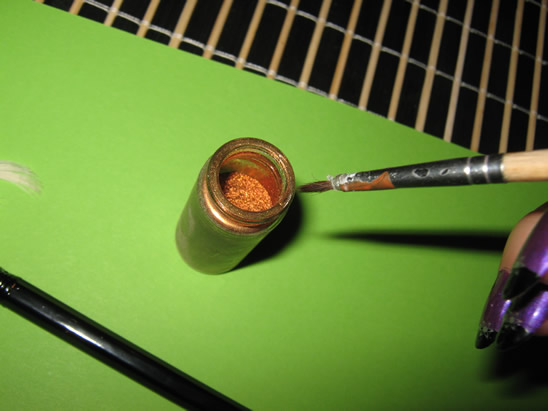
Like this:
Let it dry completely.
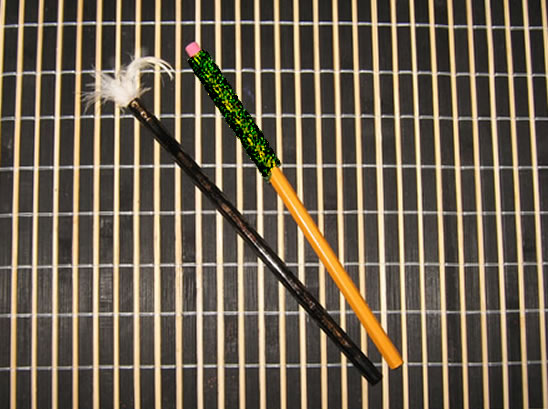
Now, both your pencils are finished. Don’t they look fun?! They are so much better than using just plain, ordinary pencils. It almost makes you excited to do some homework, doesn’t it? hmmmmmm…..
Here is our video on How to Make Decorated Pencils
Technorati Tags: crafts for kids, back to school crafts, pencils, pencil crafts, decorate pencils, decorative pencils
