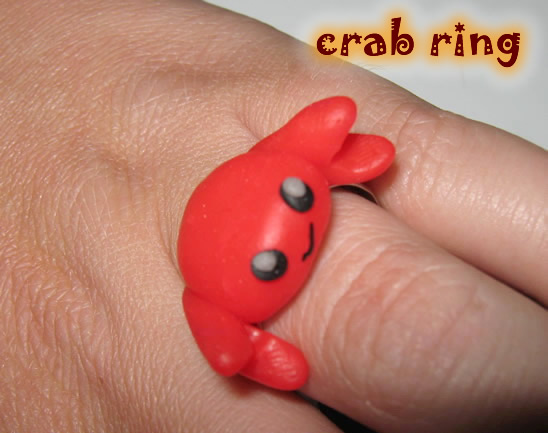
Oh boy…. do I have a fun craft for you right now. I am going to be showing you how to make a Crab Ring out of Clay. Yep…. and it’s going to be a lot of fun. You might need a little bit of adult help as the clay will need to be baked for a little bit to harden the clay. But, other than that you should be good on your own. This crab ring will be perfect for you to wear this coming Spring….. or better yet, give it as a gift. Either way…. this crab ring is sure to be loved. So, let’s get started.
Check out our other Clay & Sculpting Crafts.
Laura from Dacian Moon Handmade will show you how to make this crab ring.
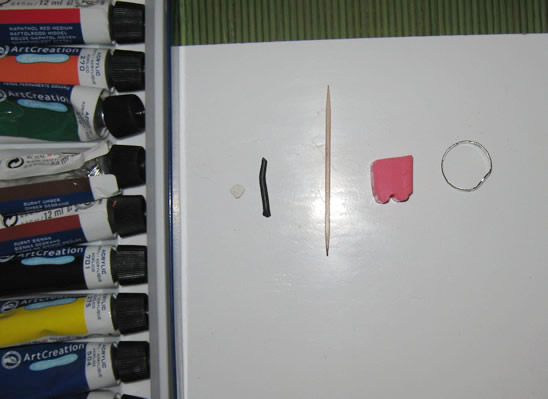
Materials Needed
– toothpick
– polymer clay : white, black, red – I used transparent red for this project, but any red will do
– acrylic paints (white, black and red/pink)
– metallic ring base
– baking paper
– baking tray
Step 1
Take a small piece of red clay and condition it.
(Condition polymer clay by hand – simply mix it and squish it with your fingers. You may want to roll it into a log between your palms, fold it in half, and then roll again.
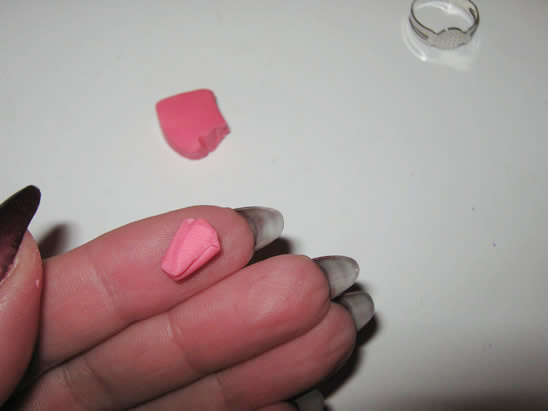
Press it well on the back of the base.
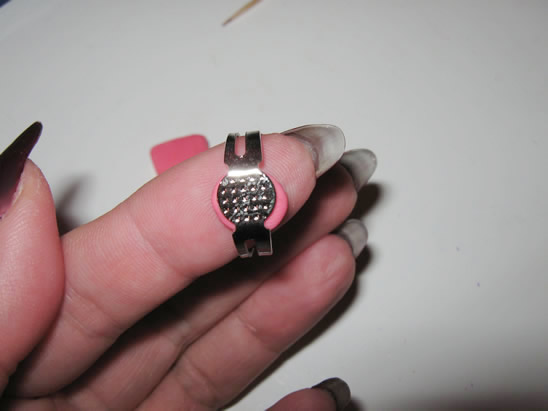
This way we will incorporate the base in the clay and we don’t risk breaking it.
[ad#ahc]
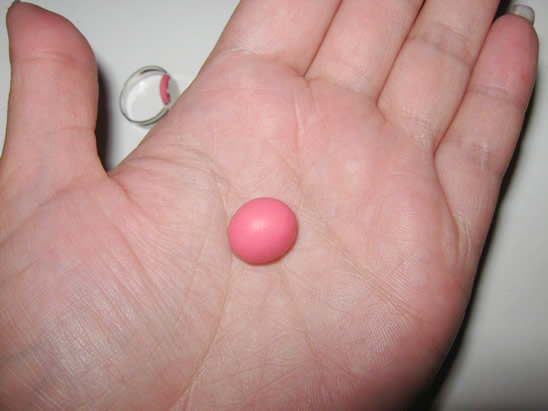
Step 2
Take a little bit more than a half of the red clay, condition it …
… and make a ball with it.
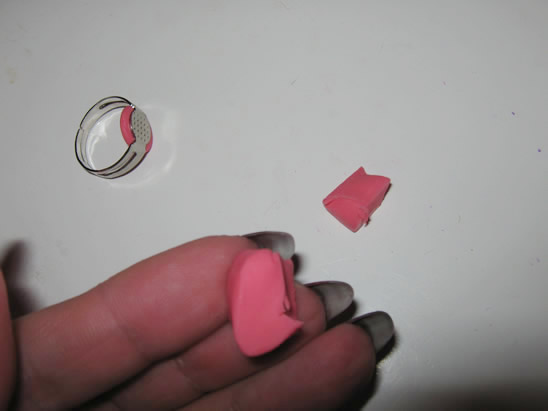
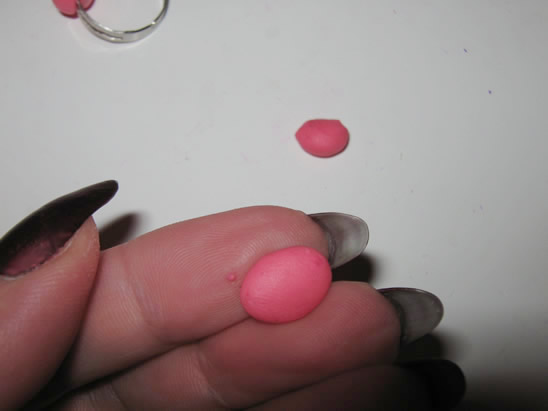
Step 3
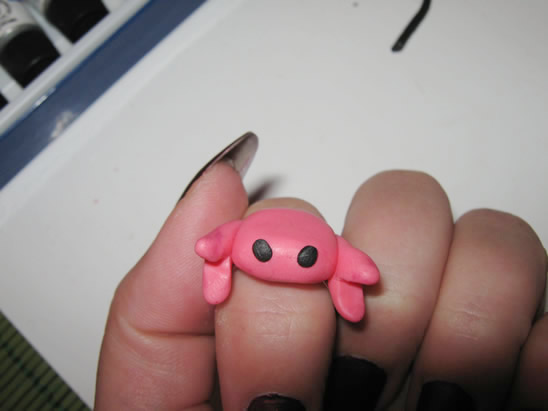
Place the ball over the base…
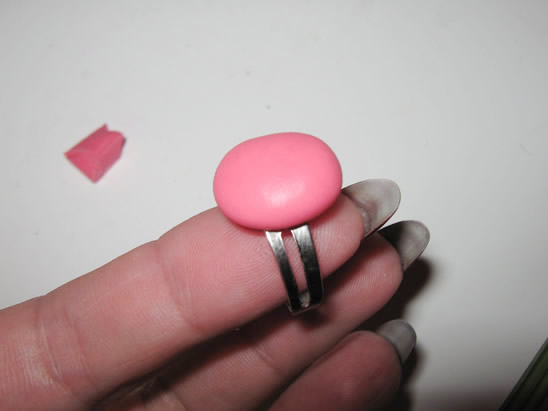
… and raise one part. This will be the face.

Take care to merge the sides of the clay from the back of the base with that new ball of clay, to incorporate the base.
Step 4
Let’s make the claws.
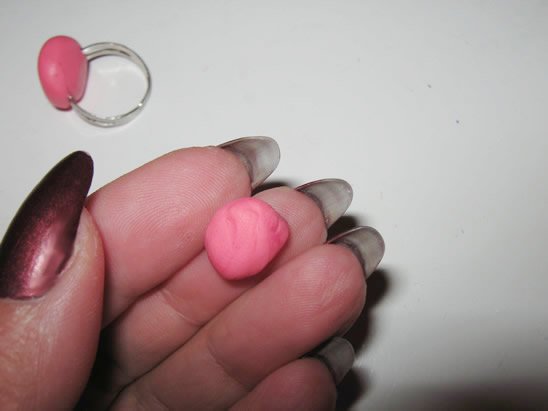
Take the remaining red clay and part it in half. Make an oval shape from one half…
… and press on head with your fingers.
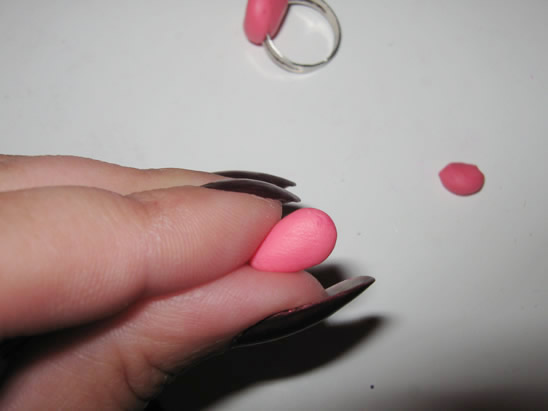
On the other head make a crease – you can use the toothpick for that.
Now we have a claw. Place it on the crab body, like in the picture.
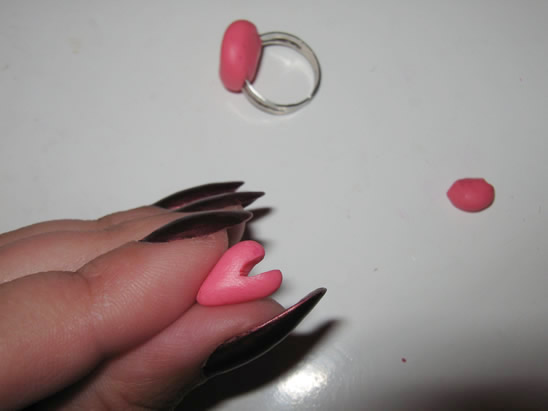
Step 5
Repeat the previous step to make the other claw, then place it on the crab body too.

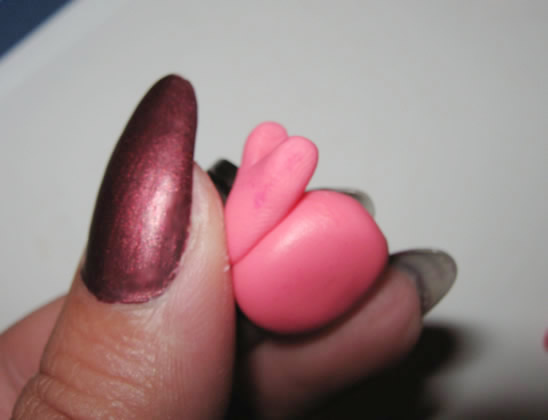
Step 6
Part the small piece of black clay in half.
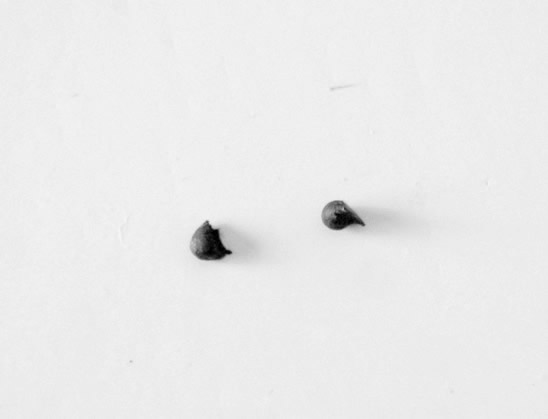
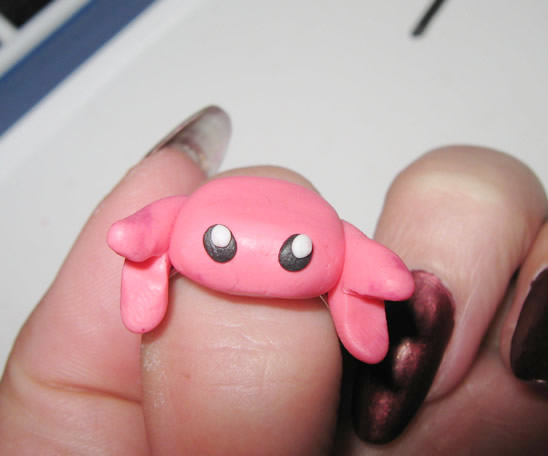
Condition it and make the eyes from it.
Then add small white circles to the eyes…

… like that.
Step 7
Place the ring on the baking tray, and bake it according to the instructions on the polymer clay package (they depend on the brand you use: fimo, cernit, sculpey…, but usually it is one half of hour at 230 F or 110 C) – this is the part when you could use a little help.
Let it cool down.
Step 8
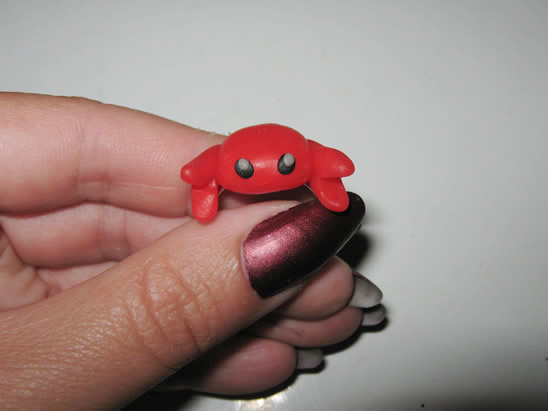
If you used transparent red clay, like me, you’ll notice that the color has become more alive and intense because of the baking.
Step 9
Use black paint to draw the crab mouth. Make it cute … or fierce! Just have fun.
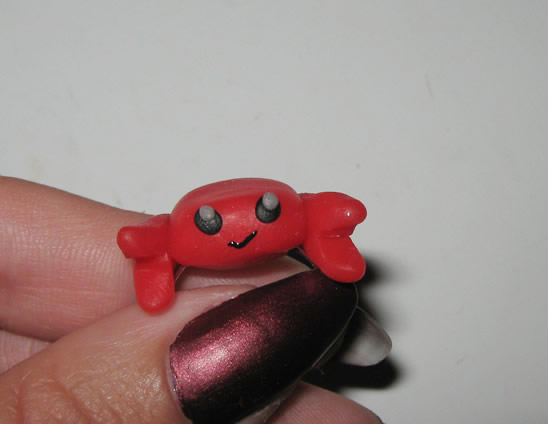
And, there you have it…. you just finished making your Crab Ring. How did it turn out for you? Let me know in the comments below. And, take a picture of your crab ring and share that in the comments as well. I’d love to see it.
Technorati Tags: jewelry, jewelry crafts, jewelry crafts for kids, polymer crafts, polymer clay crafts, clay crafts, jewelry crafts for girls, ring crafts, sculpting, sculpting crafts, sculpting crafts for kids, girl crafts, clay crafts for kids
