Although owls are known as being wise, they are also known as a spooky part of Halloween. They don’t seem very creepy, but walking thru a dark forest with owls hooting can be a pretty creepy experience. However, this owl is more a cute tribute to Halloween. and can also be used as a cover for glasses or whatever else you choose to use it for. Happy Halloween.
Laura from Dacian Moon Handmade will show you, step by step, how to make it.

CRAFTS MATERIALS NEEDED:
– recycled paper roll
– red paper
– white paper
– paper glue
– permanent markers : black, gold
– pencil
– scissors

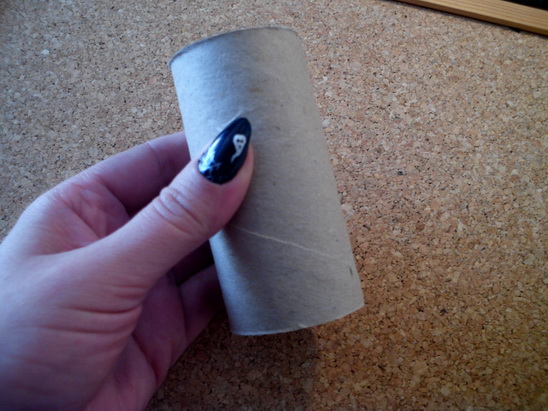
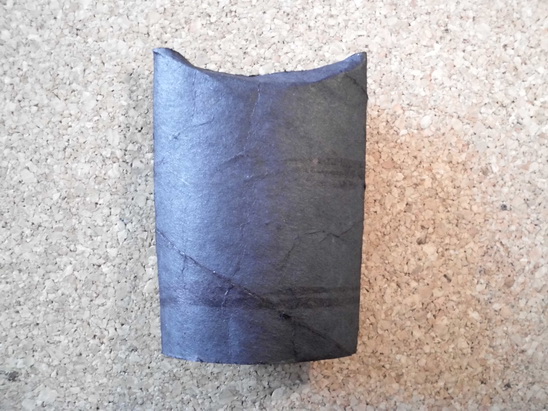
Step 1.
Take the paper roll…
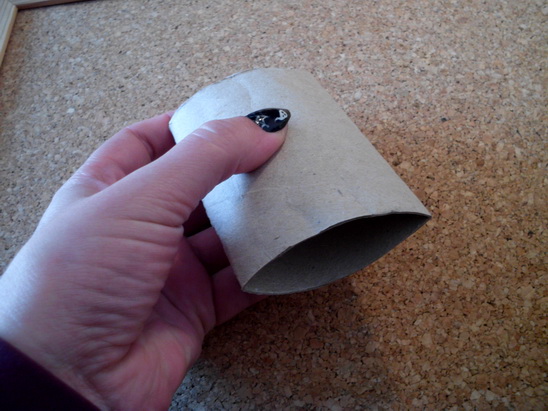
…and flatten it.
[ad#ahc]
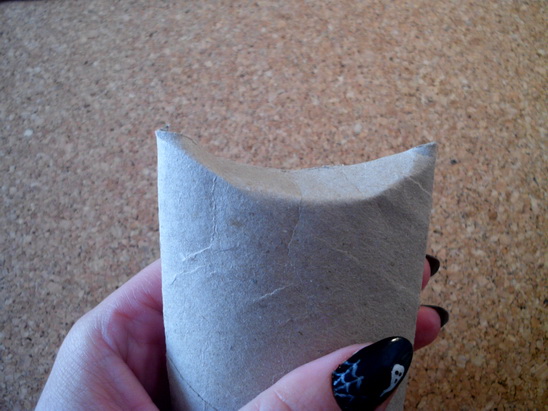
Fold one part inside, like in the picture…

… then the other. Now the owl have ears 😀
Step 2.
Color it with black…
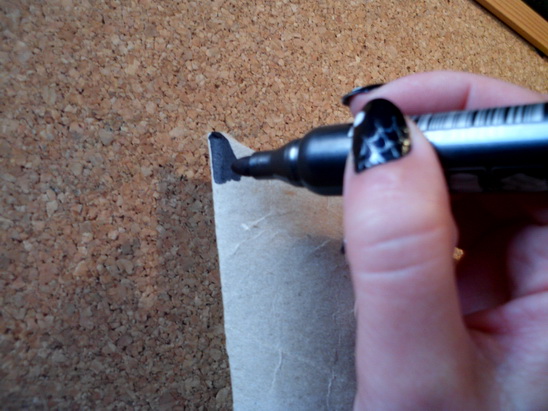
… like this.
Step 3.
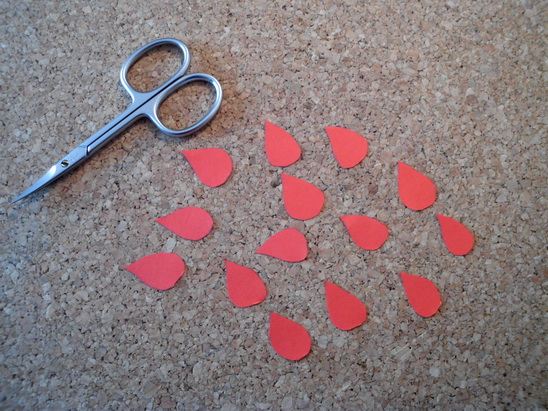
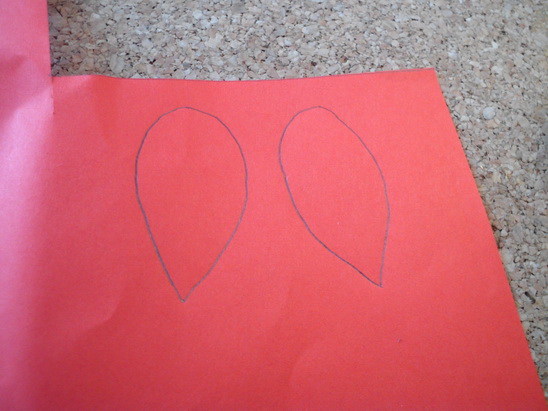
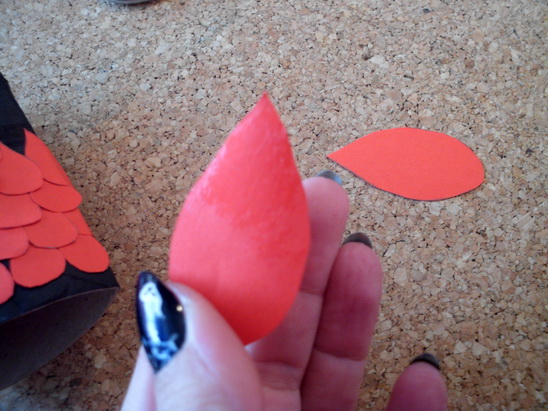
Draw drops on red paper.
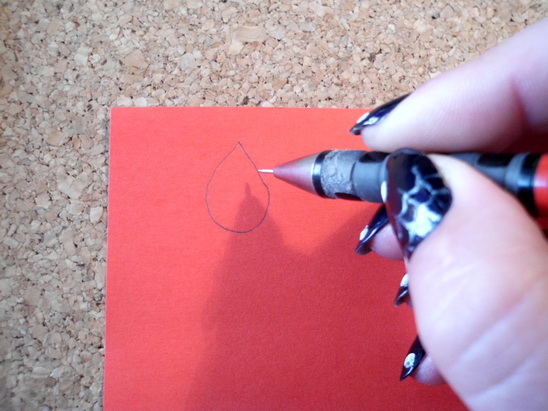
Cut them out.
Step 4.
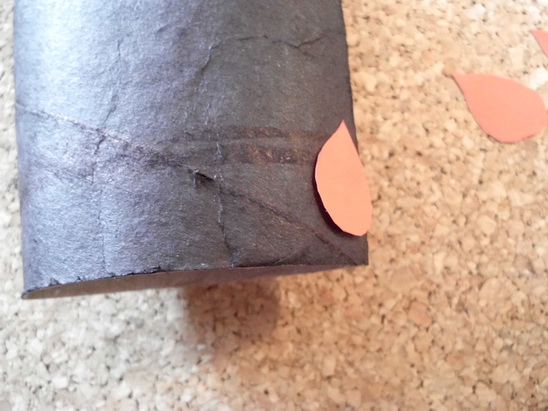
Apply a layer of glue on the top of a drop…
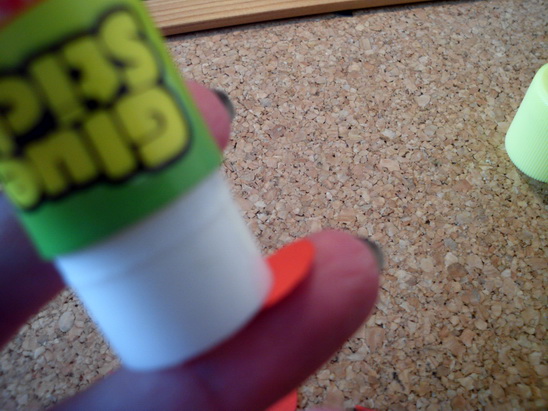
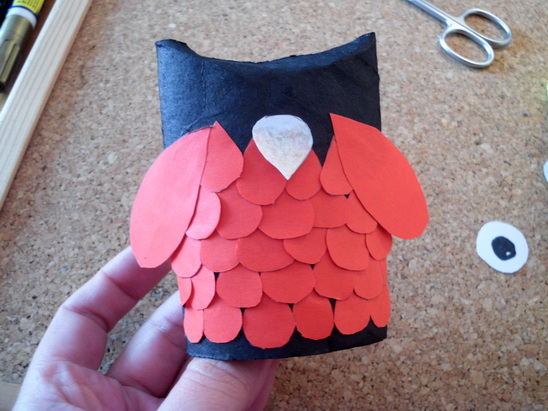
… and place it on the black roll, like this. Must start at the bottom for feathers to sit well.
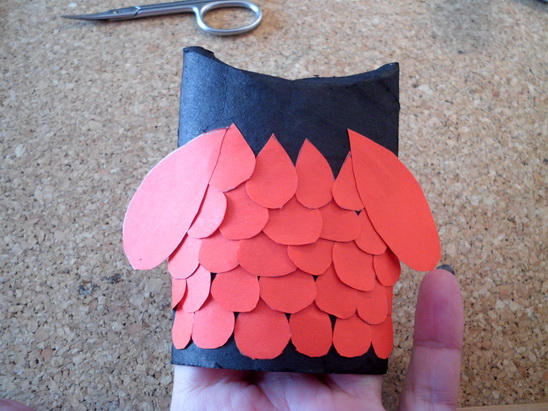
Continue to glue red feathers on the owl till close up.

Step 5.
Draw 2 bigger wings on red paper.
Cut them out and applying a layer of glue on the top of them…
… stick them on their places.
Step 6.
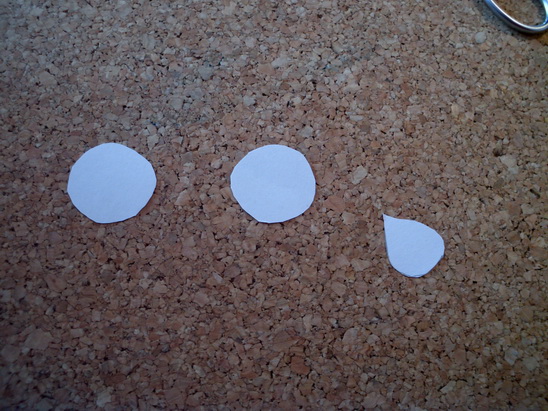
Draw another drop and 2 circles on white paper.
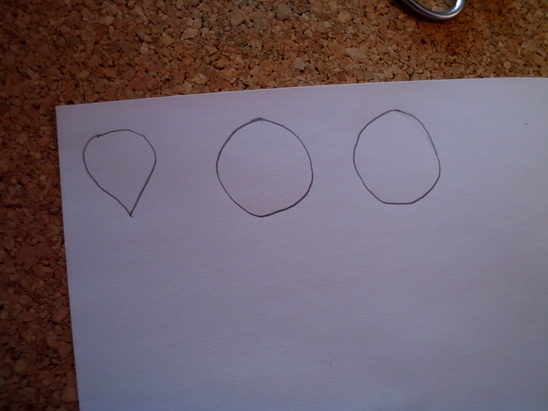
Cut them out.
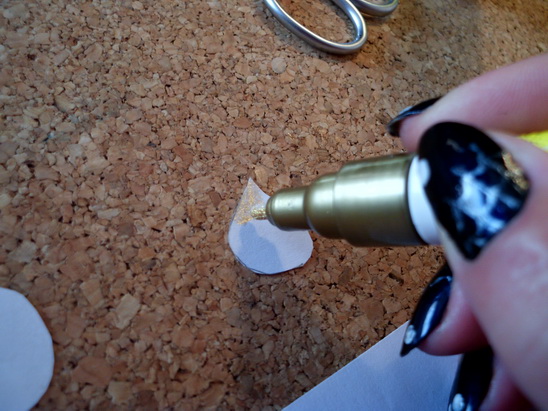
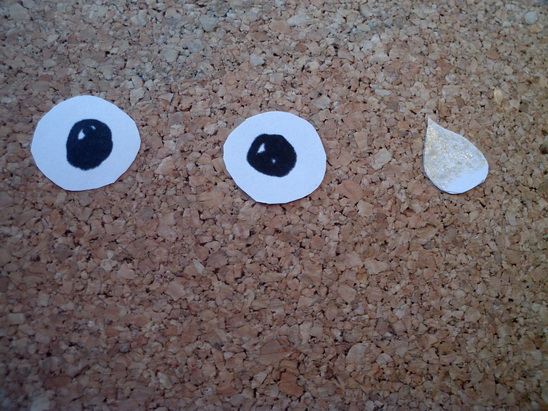
The new drop will be the beak, so you’ll paint it with gold.
The circles will be the eyes and you should paint them black, like this.
Glue the beak on the middle of the „face”…
… and eyes on one side and the other.
The paper owl is ready.

Technorati Tags: owls, owl crafts, paper owls, paper owl crafts, how to make an owl, halloween crafts, halloween, crafts for kids, crafts for children
