I have a fun Christmas decoration craft that you can make out of a bottle brush. Today I’m going to show you how to make a Bottle Brush Christmas Tree. A bottle brush is the perfect material to use for this Christmas Tree decoration because the bristles take on the look of one of those artificial Christmas Trees. It makes for a wonderful Christmas decoration that will last for years. And, your kids will love making them. So, grab a bottle brush and the rest of the materials and let’s get started.
Check out our other Christmas Crafts.
Laura from Dacian Moon Handmade will show you how to make this, in 4 easy steps.
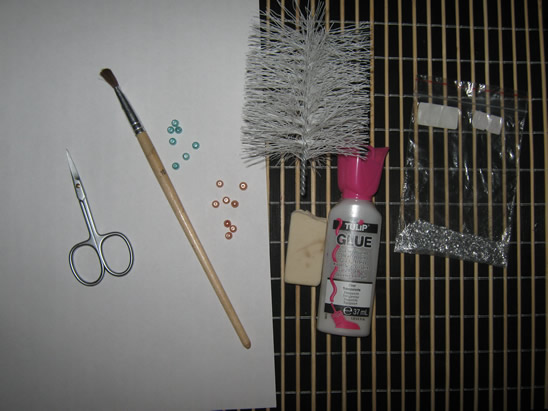
Materials Needed
– bottle brush
– craft glue
– glitter
– glass or plastic colored pearls
– scissors
– paintbrush
– eraser
– a piece of paper
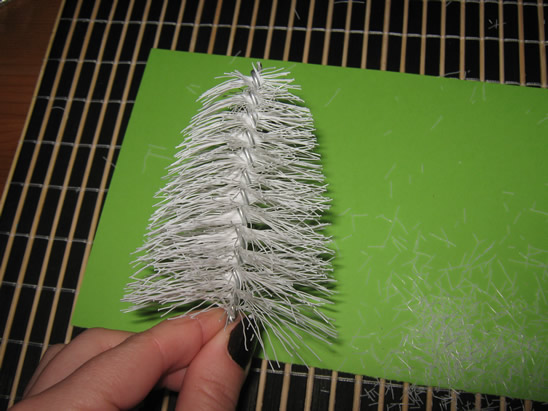
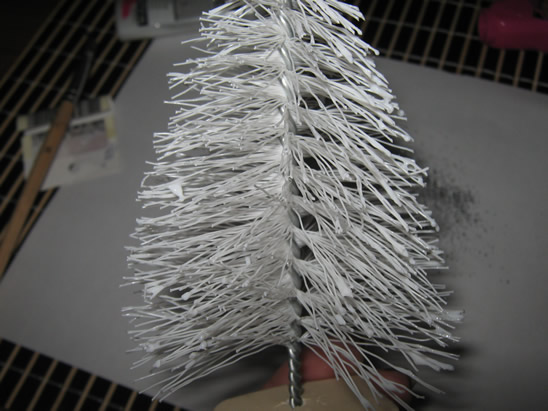
Step 1
Place the piece of paper in front of you…
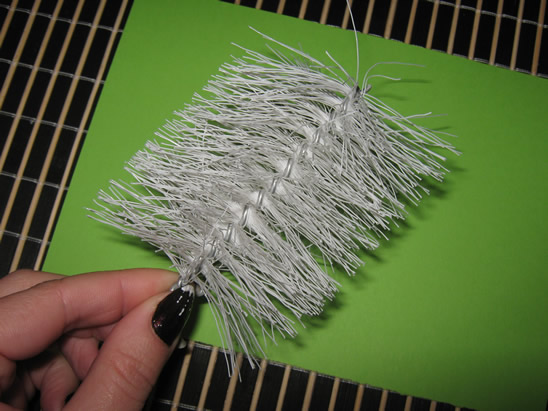
… take the bottle brush and give it a haircut.
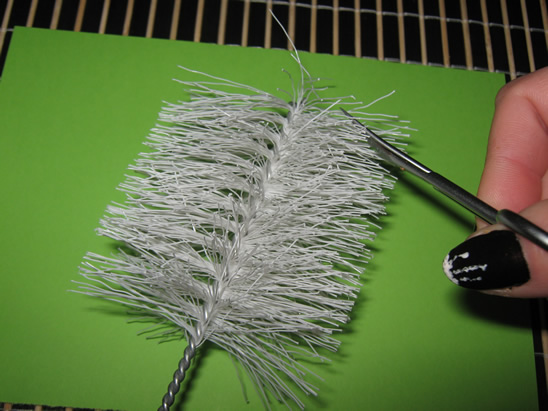
You should cut it in small steps until it looks like a tree.
[ad#ahc]
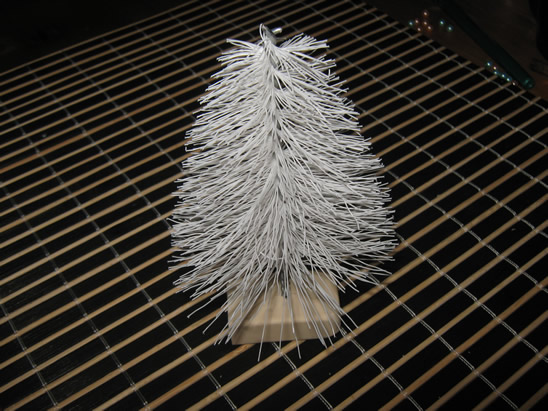
Step 2
Take the eraser…
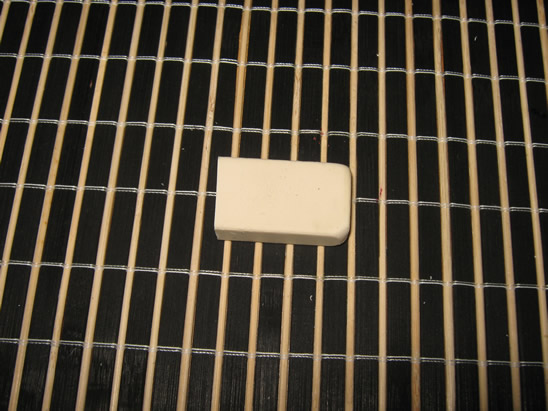
… and fix the tree in the middle of it. It should be a large eraser to support the tree. You can use polystyrene , wood or anything else strong enough to support your tree.
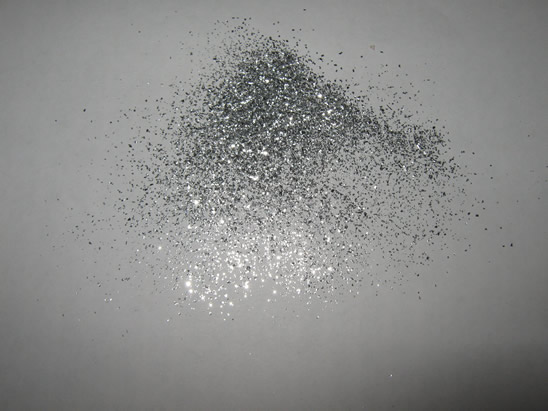
Step 3
Spread glitter on the paper…
…then apply glue on the tree, using the paintbrush…

… like this.
Before the glue is dry, roll your tree over the glitter.
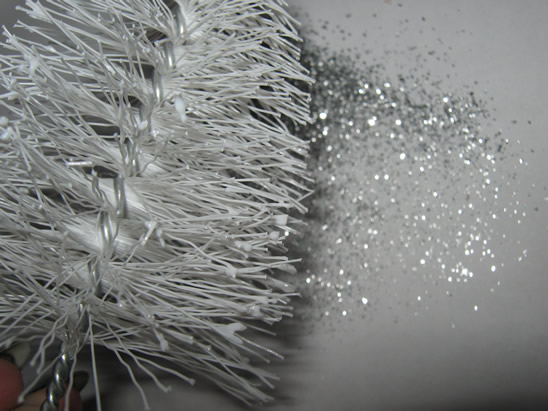
Take care to have glitter on all sides.
It will look like this.
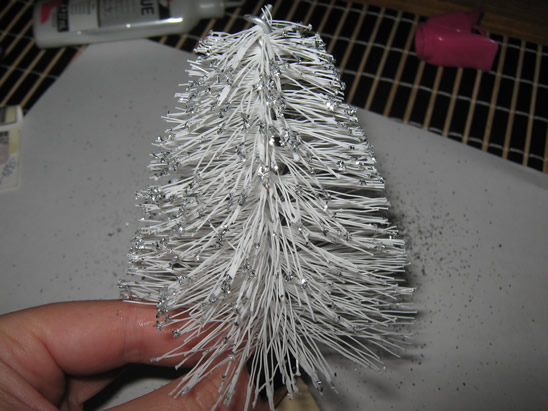
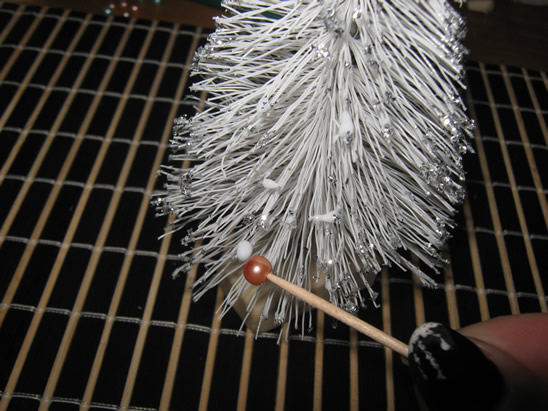
Step 4
The final step is to add to it some globes, so put the glass / plastic pearls in the branches without glitter. They will stick in place because of the glue. I used a toothpick to place them in place.
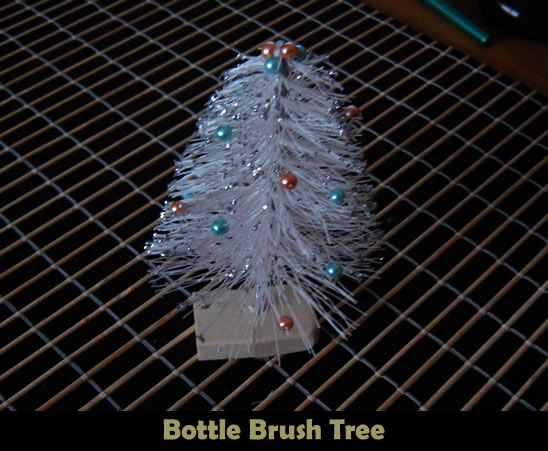
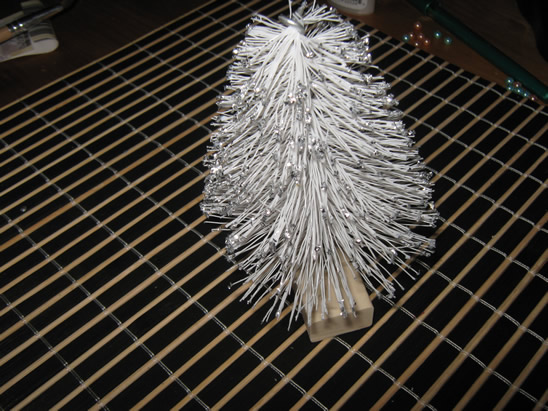
Your little tree will make a wonderful decoration.
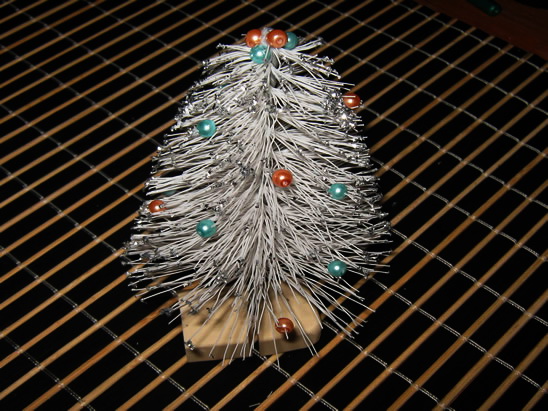
Isn’t this Bottle Brush Christmas Tree adorable? This Christmas Tree will make for a great table top decoration for Christmas. And, your child will love that they made this Christmas decoration themselves.
Technorati Tags: Christmas crafts, xmas crafts, Christmas activities, xmas activities, December crafts, Holiday crafts, Holiday activities, Christmas decorations, Christmas decoration crafts, bottle brush crafts
