Do you want to create an adorable companion for your time back at school? Here is an easy-to-make doll that can be stored on the top of your pencil. Laura from Dacian Moon Handmade will show you, step by step, how to make it.

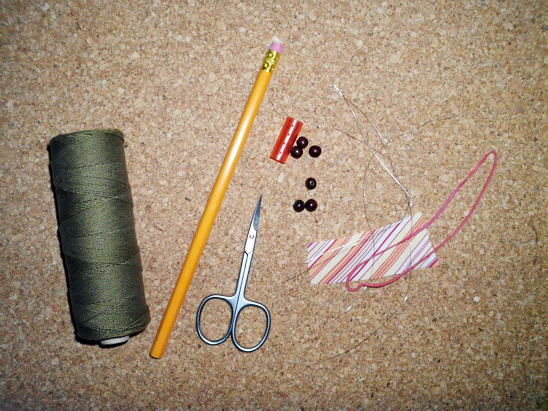
CRAFTS MATERIALS NEEDED:
– pencil
– thick tread
– wooden beads (one white and 6 brown)
– small cloth piece
– matching cord
– a piece of wire
– needle
– rubber tube
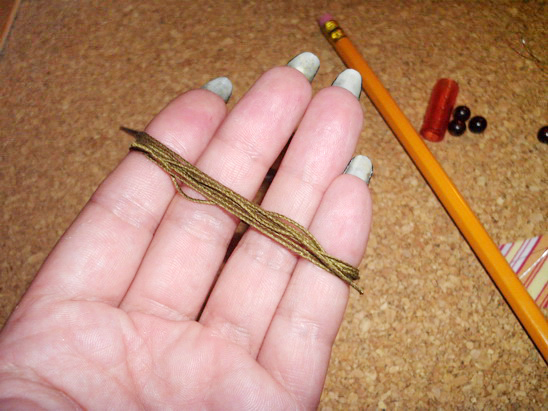
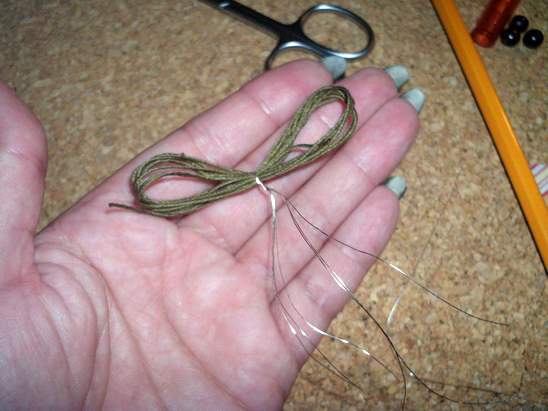
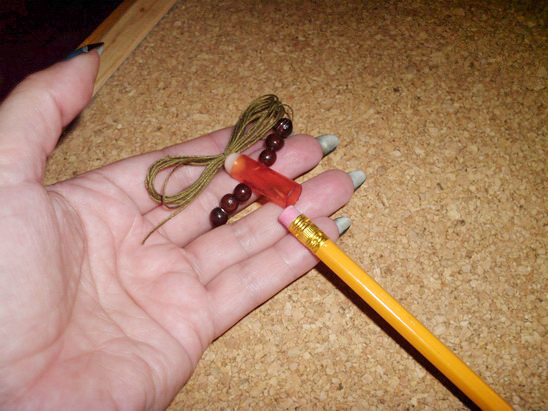
Step 1.
Take the thread …
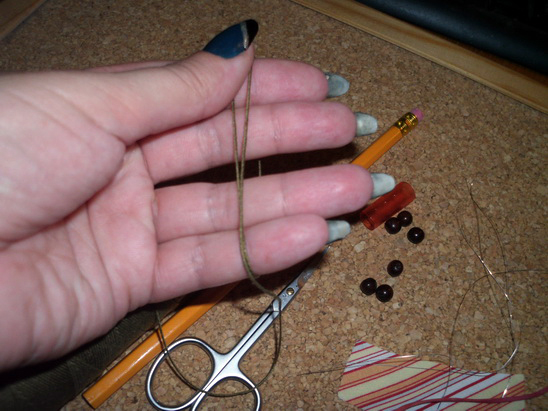
… and spin it on your fingers, like this.
Step 2.
Tie it on the middle with the wire…
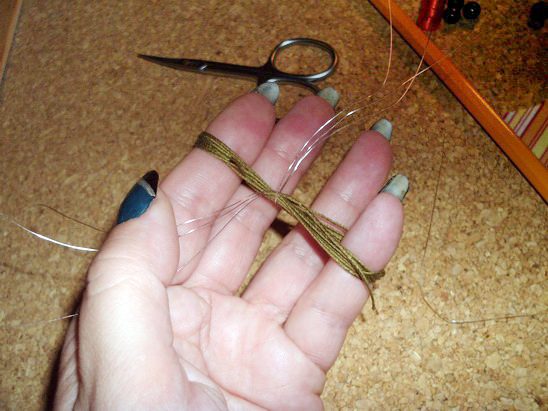
… like this.
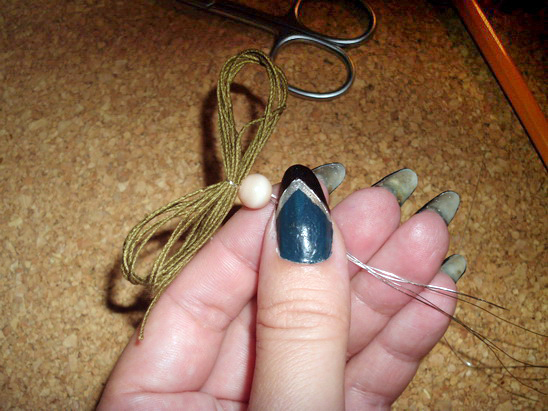
[ad#ahc]
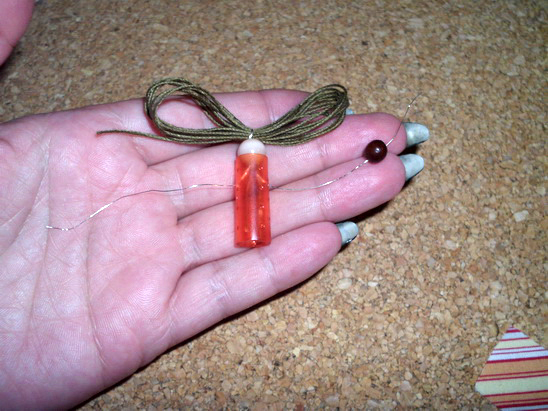
Put the wire through the white bead – this will be the head of our doll.
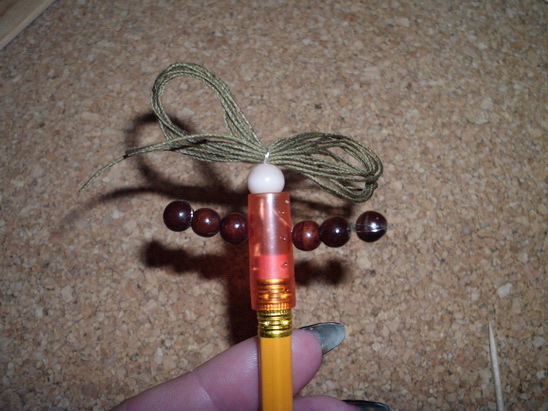
Step 3.
Take the rubber tube…
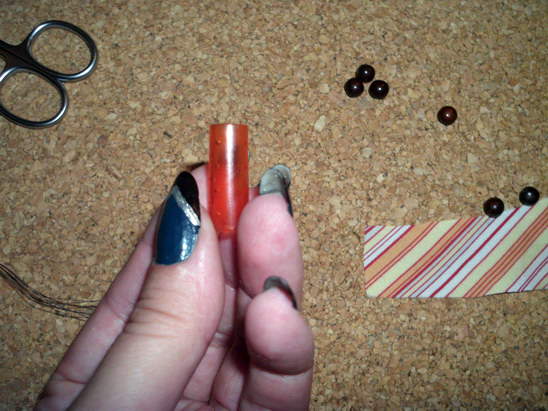
… and make two holes in it with the needle.
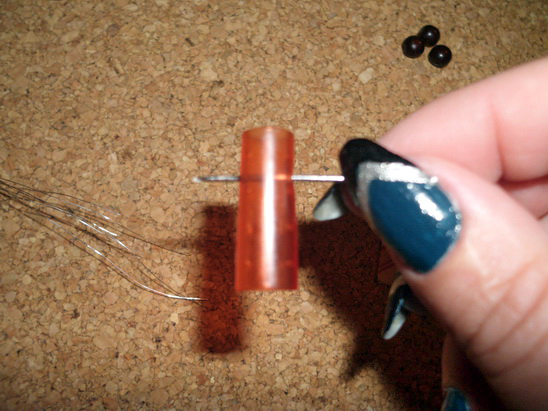
Place it under the head, put the wire through the holes you made.

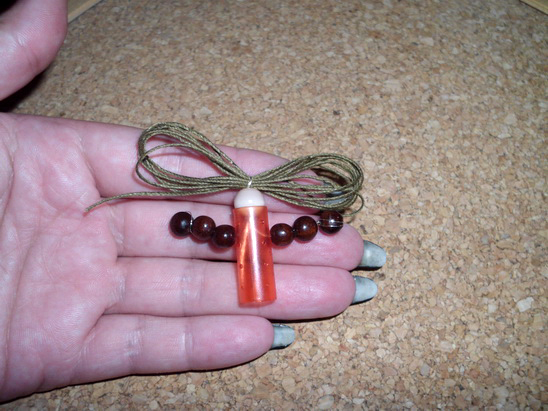
Step 4.
Is time to form her arms.
Add three brown beads like this…
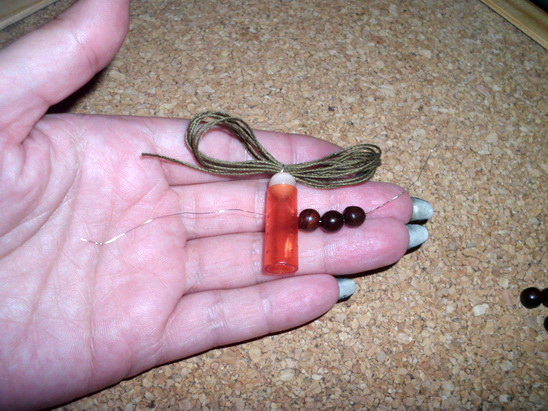
… and put the wire end through the last bead one more time. That way the beads will not fall.
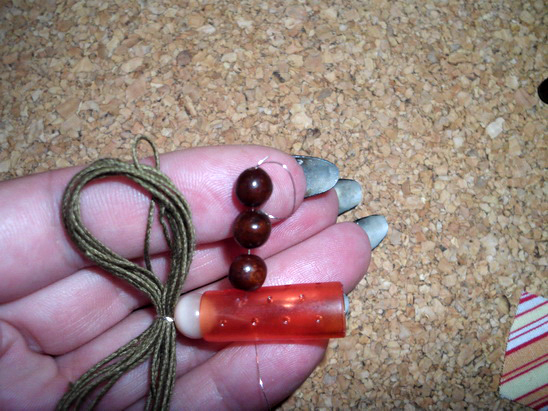
Repeat for the other arm.
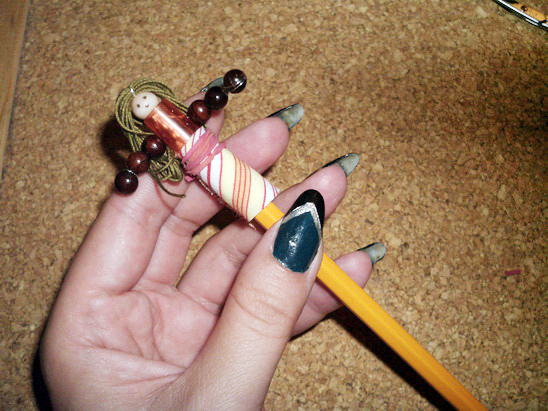
Step 5.
Is time to place the topper on the pencil…
Like this.
Let’s dress her. Roll the piece of cloth over the rubber tube, under the arms…
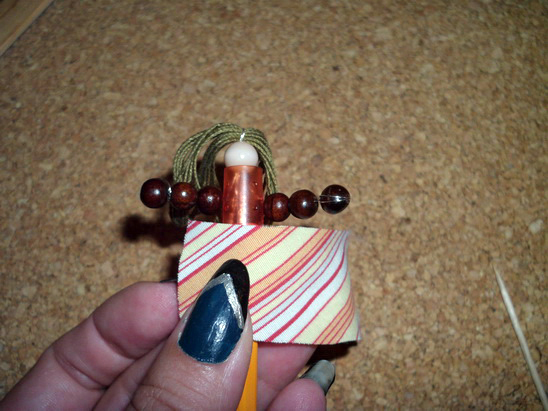
… like this.
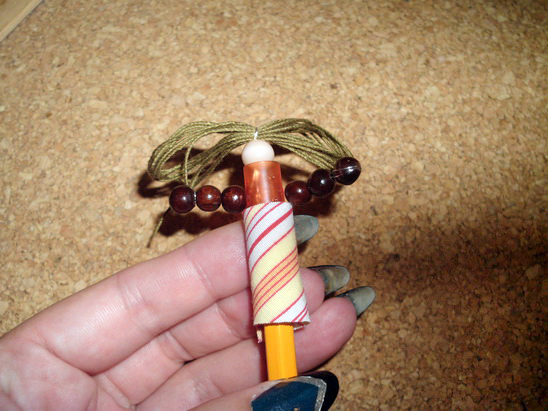
Tie it with the cord…
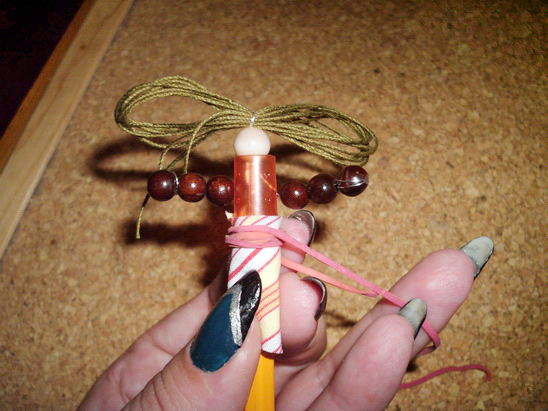
… and that is our doll.

You can use markers to make her eyes and mouth too. And she will make your classes easier 😉
Technorati Tags: doll crafts, pencil topper crafts, back to school, back to school crafts, doll pencil toppers, figure crafts, figurine crafts
