
|
|

|
|
Home > Arts and Crafts Projects > Clay > Making Clay Sculptures
We will show you several methods of making clay sculptures. You can find three different techniques below.
1. Water clay (oil clay can be used but it will not dry out and cannot be fired and glazed or painted)
2. Modeling tool
3. Carving tool (dull knife, fingernail file, etc.)
4. Oil cloth or paper
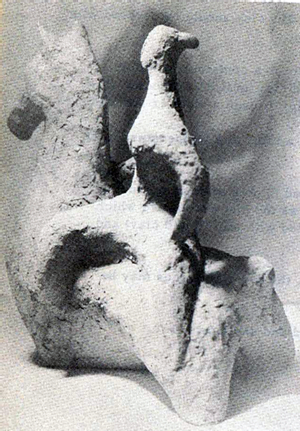
1. Clay modeling is familiar to most children and hardly needs any introduction. Pieces of clay are pressed and smoothed together until the desired form is developed.
2. Allow the piece to dry at room temperature.
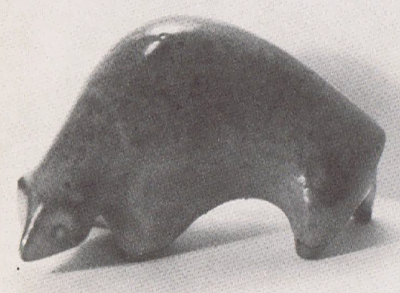
1. Form a block of well kneaded (wedged) clay. Large blocks are easier to carve, so do not be afraid to start with a large one!
2. An outline of the subject may be scratched on one or more sides of the block.
3. Gradually carve into the block until the subject has emerged. This is much like soap carving or wood or stone carving but is much easier.
4. If too much clay is carved away at any place, additional pieces of clay may be stuck on and smoothed into place.
5. Allow the piece to dry at room temperature.
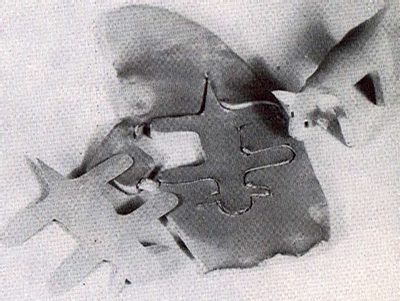
1. Knead (wedge) some clay to remove air pockets.
2. Flatten a slab of clay to about 1/2" thickness on a piece of oil cloth or paper. A rolling pin is good for this purpose.
3. Scratch the outline of a flattened animal on the slab of clay. Animals are the best subjects for this method because almost all children are familiar with the appearance of an animal skin which has been laid out flat, for example, a bearskin rug.
4. Cut around the animal and remove the unwanted sections of the clay. This is rather like cutting cookies.
5. Lift the clay "animal skin" and curve the clay so that the legs are bent under the body. The head and tail may now be bent into another position.
6. Eyes, nose, fur, etc. may be added by punching and scratching the surface of the clay with a modeling tool.
7. Parts of the animal may be propped into position with balls of clay. For example, if you want your animal to dry with the head up it can be propped into that positim by placing a ball of clay under the head. When the animal is thoroughly dry these balls of clay can be removed. (Clay should dry at room temperature.)