
|
|

|
|
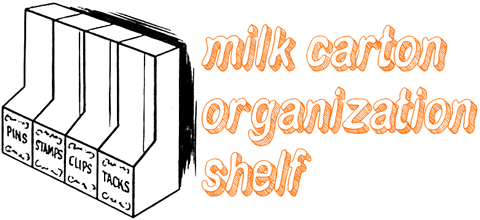
Home > Arts and Crafts Projects > Crafts with Milk Cartons >How to Make Milk Carton Organization Shelves
This handy little catch-all shelf will be equally useful in the toolhouse and in the playroom. We have a craft on this site that is very similar to this that is made with cereal boxes. However, with this craft, you make these with recycled milk cartons. You can store knick knacks and little doo-dads in this organizational shelf. Find the step by step instructions below.
Flat-top milk cartons
Soap
Scissors
Glue or Paste
Ruler
Pencil
Paints & Brush
(1) Rinse out 4 empty milk cartons and allow them to dry thoroughly.
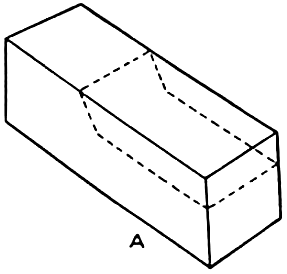
(2) Lay a milk carton on the table, and with a pencil, mark off the portion to be cut away, as in illustration A.
(3) With a pair of scissors, cut away the unwanted part. Do the same with the other 3 cartons.
(4) Glue the 4 cartons together. To paint the cartons, rub a wet brush over a cake of soap, or a piece of raw potato before dipping it in the paint. This will prevent the paint from "slipping" off the waxed surface of the container.
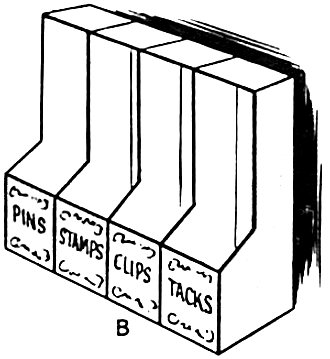
(5) Paint the cartons and allow them to dry thoroughly. Label and decorate the front of each carton, as in illustration B.
Here are Even More Crafts with Milk Cartons