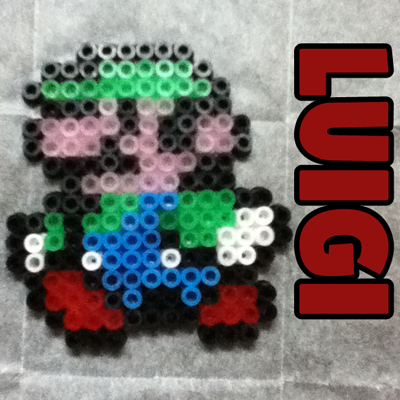
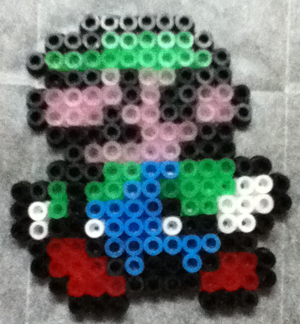
Today I am going to show you how to make a Perler Bead Luigi from Super Mario Bros. Done in Perler Beads this Luigi looks very much like the classic version from the 80’s… when I use to love playing the Mario games. Any Mario Bros. fan would know this, but in case you weren’t already aware… Luigi is Mario‘s younger twin brother… his taller and thinner twin brother.
Check out our other Super Mario Bros. Perler Bead Crafts and other Perler Bead Crafts.
Materials Needed
Iron
Wax Paper
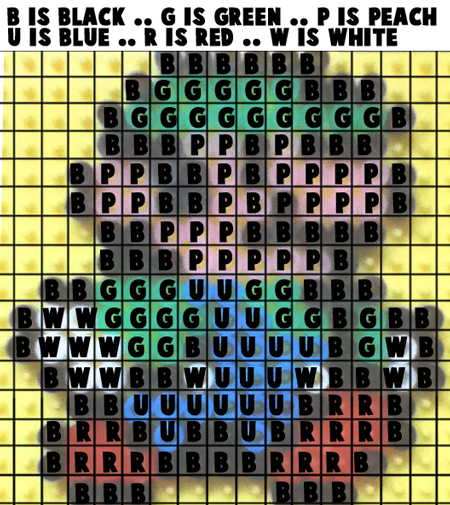
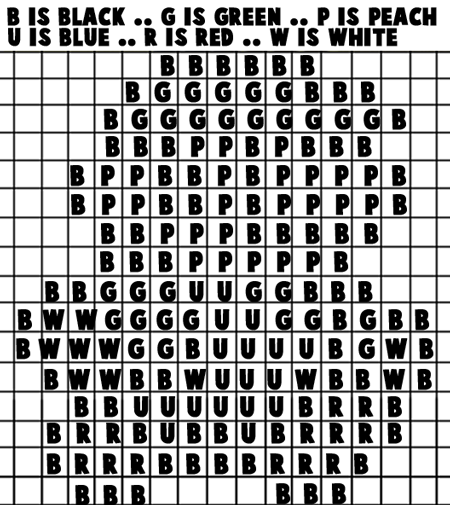
Below are printable templates for this craft. You can choose to print off a colored template or the black and white version.
Click on template image to make larger and to print.
Step 1
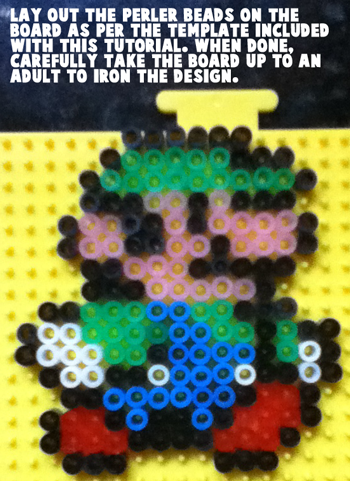
Lay out the perler beads on the board as per the template included with this tutorial. When done, carefully take the board up to an adult to iron the design.
[ad#ahc]
Step 2
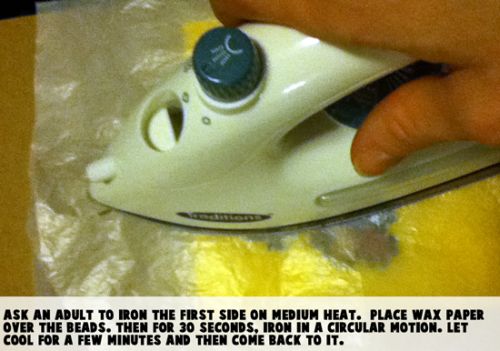
Ask an adult to iron the first side on medium heat. Place wax paper over the beads. Then for 30 seconds, iron in a circular motion. Let cool for a few minutes and then come back to it.
Step 3
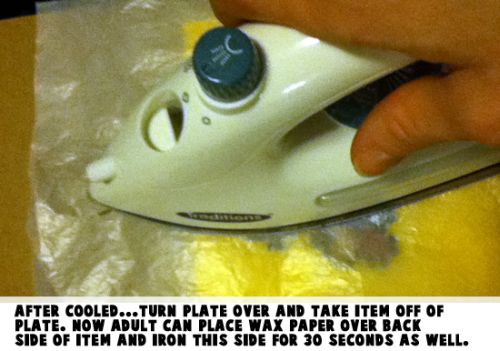
After cooled… Turn plate over and take item off of plate. Now adult can place wax paper over back side of item and iron this side for 30 seconds as well.
This Perler Bead Luigi is so cute, isn’t he? And, it was so fun to make. Keep an eye out for more later today and tomorrow…. I will be adding some of Luigi’s friends and enemies. Make them all and you can create your own Super Mario Bros village. 🙂
Technorati Tags: Perler Bead Crafts, Perler Bead templates, Perler Bead Projects, Perler, Perler Beads, Luigi, Luigi Crafts, Super Mario, Super Mario Bros, Super Mario Crafts

Leave a comment