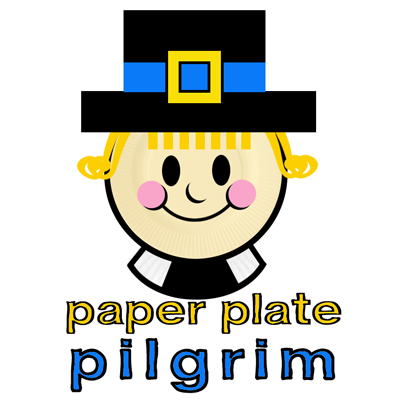
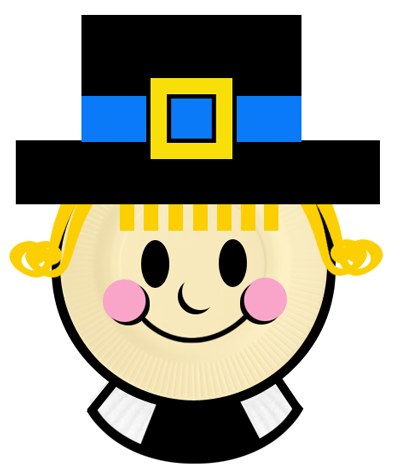
Pilgrims are an important part of Thanksgiving. After all, they were the first to have a Thanksgiving back in 1621. Well, it wasn’t really Thanksgiving back then…. it was a celebration. They were celebrating the fact that they finally had a good harvest. Today I’m going to show you how to make a Paper Plate Pilgrim perfect for Thanksgiving.
Check out our other Thanksgiving Crafts.
Materials Needed
2 Paper Plates
Paint or Crayons
Black Marker
Glue
Black, Blue & Yellow Construction Paper
Scissors
Step 1
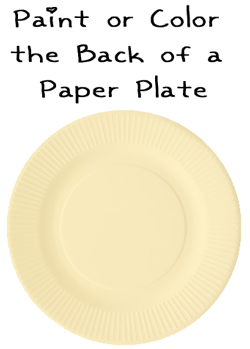
Paint or color the back of a paper plate.
[ad#ahc]
Step 2
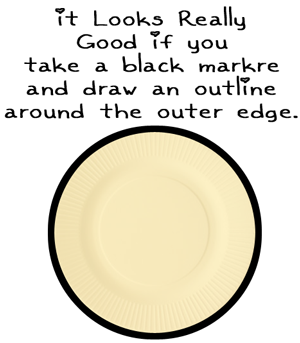
It looks really good if you take a black marker and draw an outline around the outer edge.
Step 3
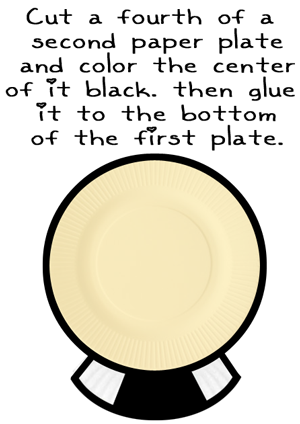
Cut a fourth of a second paper plate and color the center of it black. Then glue it to the bottom of the first plate.
Step 4
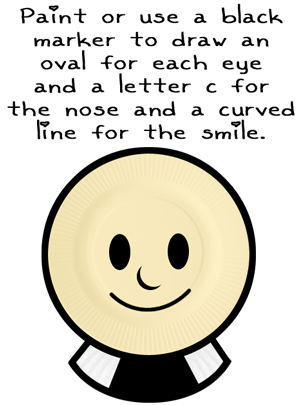
Paint or use a black marker to draw an oval for each eye and a letter C for the nose and a curved line for the smile.
Step 5
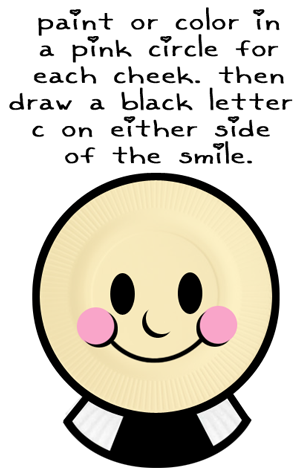
Paint or color in a pink circle for each cheek. Then draw a black letter C on either side of the smile.
Step 6
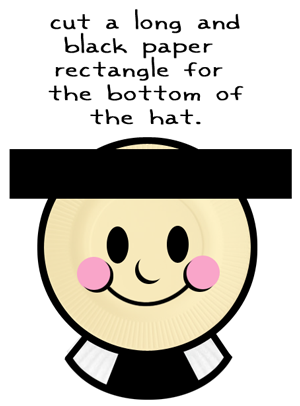
Cut a long, black paper rectangle for the bottom of the hat.
Step 7
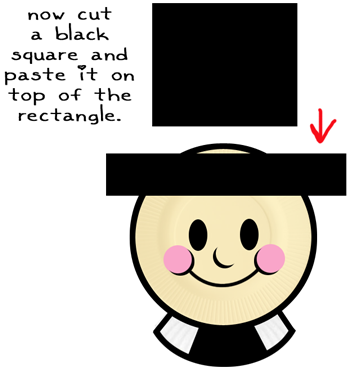
Now, cut a black square and paste it on the top of the rectangle.
Step 8
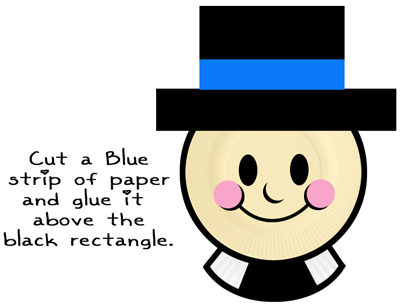
Cut a blue strip of paper and glue it above the black rectangle.
Step 9
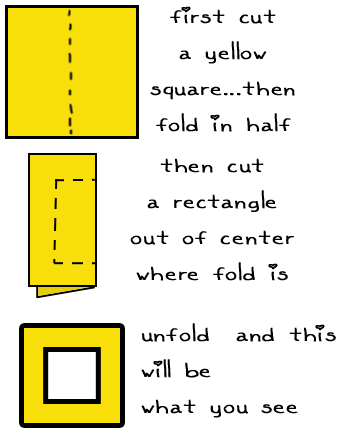
First, cut a yellow square… then fold in half. Now, cut a rectangle out of the center where fold is. Unfold, and you should have a square with the center square missing…. like above.
Step 10
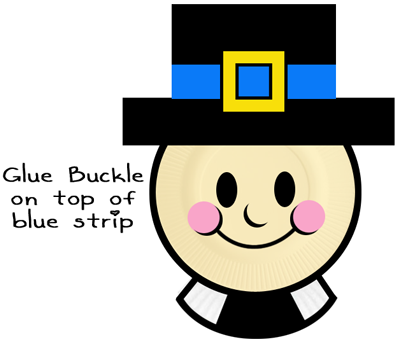
Glue buckle on top of blue strip.
Step 11
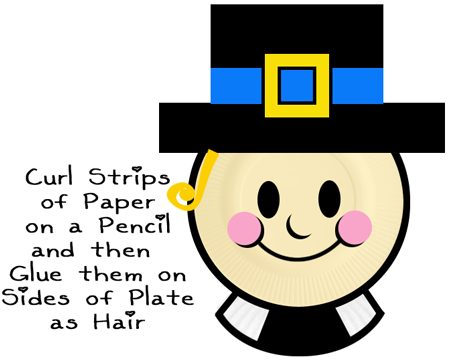
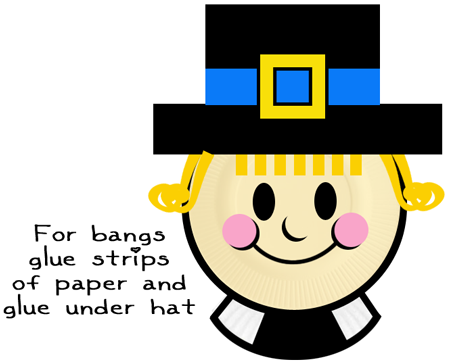
Curl strips of paper on a pencil and then glue them on sides of plate as hair.
Step 12
For bangs glue strips of paper and glue under hat.
Isn’t that one awesome Pilgrim… so colorful!! This Pilgrim will be wonderful for decorating for the Thanksgiving holiday. And, keep an eye out…. as the next post I make will be a Paper Plate Pilgrim Girl.
Technorati Tags: Pilgrim Crafts, Pilgrim Activities, fall crafts, autumn crafts, Thanksgiving activities, thanksgiving activity, thanksgiving crafts, thanksgiving, thanksgiving crafts for kids, thanksgiving activities for kids, thanksgiving decoration crafts, paper plate crafts

Leave a comment