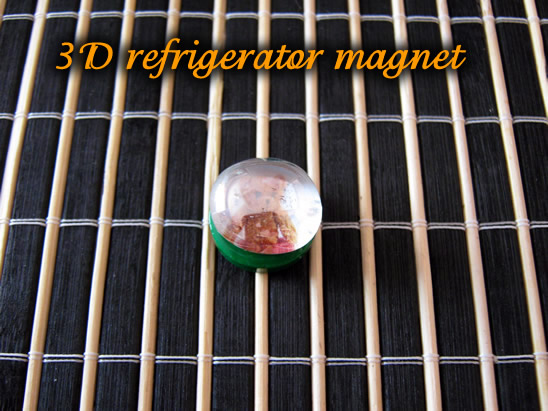
I have a fun craft for you today. I’m going to show you how to make a 3D Refrigerator Magnet. What’s really cool about Refrigerator Magnet crafts is that you always have a place to display your crafts proudly…. your refrigerator or any metallic surface. I know in my house I never have enough magnets to display all of my children’s artwork so this craft really came in handy with providing us with another magnet. Keep in mind that the picture in the center can be any picture you want…. I used a bear, but use any cute picture you would like.
Check out our other Magnet Crafts.
Laura from Dacian Moon Handmade will show you, step by step, how to make this magnet.
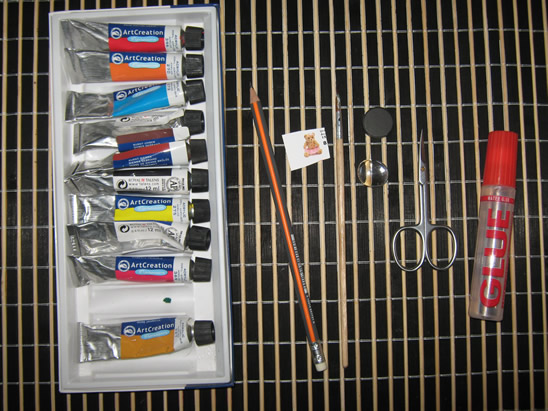
Materials Needed
– glass nugget
– craft glue (transparent) – or use a transparent glue for the picture and a craft glue for the magnet
– magnet
– cute picture (small)
– scissors
– paints
– paintbrush
– pencil
Step 1
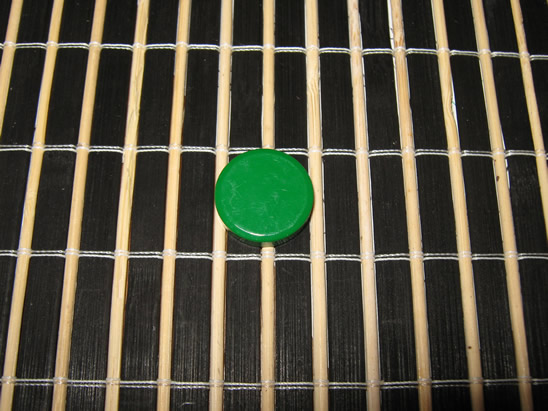
First of all, cover the magnet with the desired color, then let it dry.
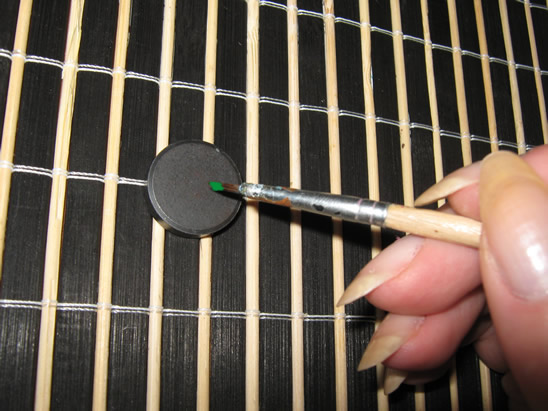
I chose green because it will highlight the drawing. Leave the base unpainted.
[ad#ahc]
Step 2
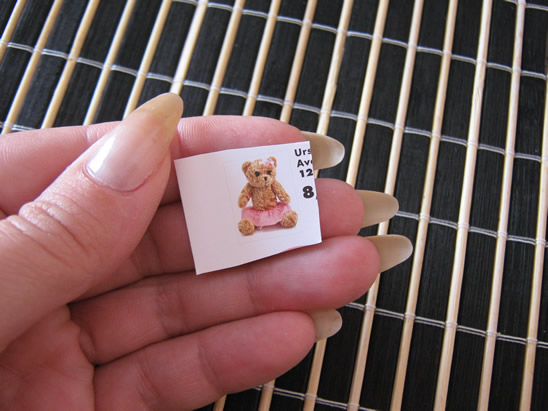
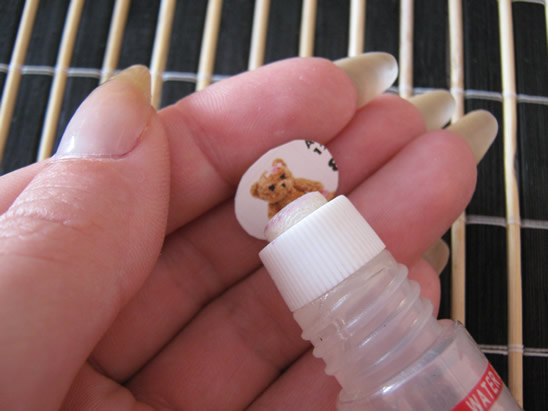
Take the picture…
… and place the glass nugget on it.
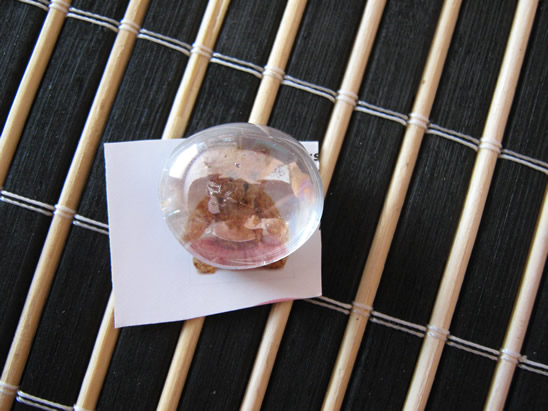
Draw the contour of the nugget…
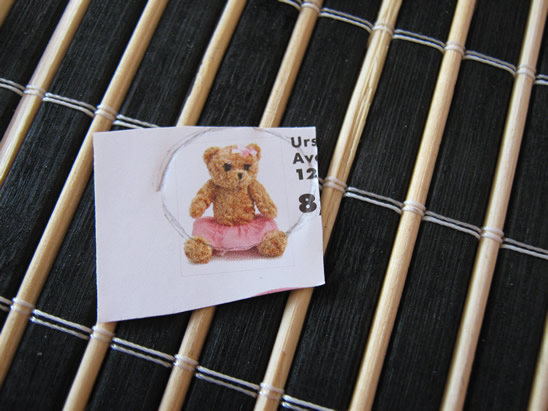
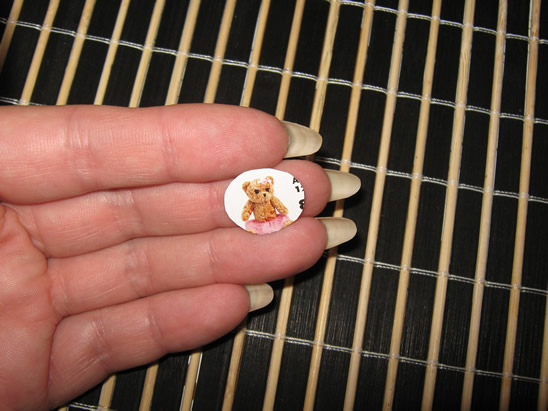
… then cut it out.

It will look like this.
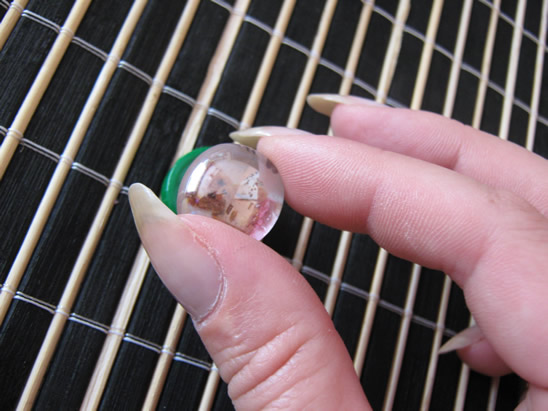
Step 3
Apply a layer of transparent glue on the picture…
… and place it on the bottom of the glass nugget.
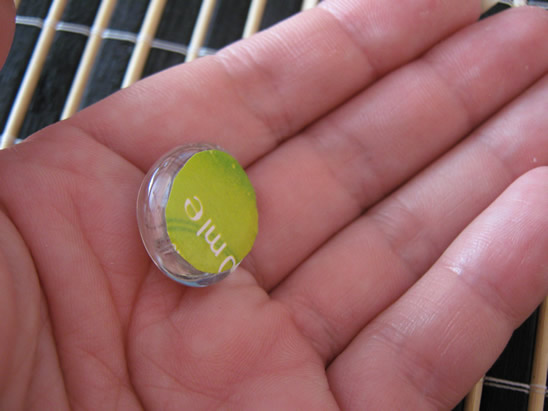
It will look like that.
Step 4
Apply a layer of craft glue on the magnet (on painted side)…
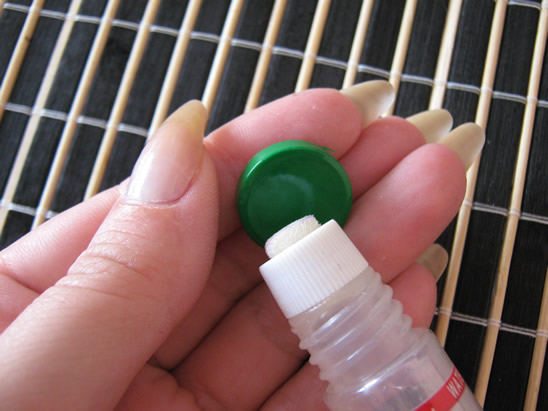
… and place the glass nugget on it. Press well and let the glue dry.
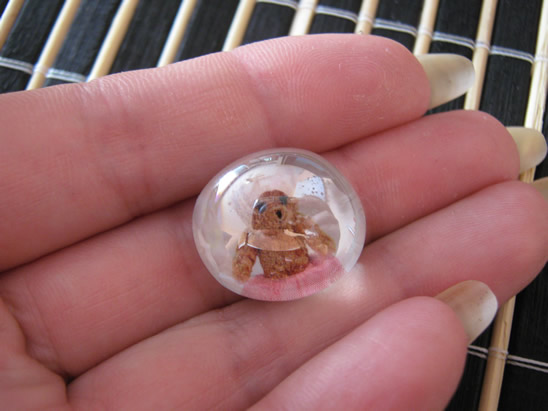
Now it is ready for your refrigerator or any other metallic surface.

Awesome job….. you just finished making your 3D refrigerator magnet. How did your magnet turn out? What picture did you use in the center of the magnet? Let me know in the comments below…. and don’t forget to take a picture and share that too. I’d love to see it.
Technorati Tags: magnets, magnet crafts, crafts with magnets, 3D crafts, 3-D crafts, how to make magnets, refrigerator crafts
