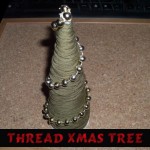
Learn how to make this adorable Christmas tree with the following simple-to-follow, step by step instructions.
How to Make Cool Stuff
Learn how to make this adorable Christmas tree with the following simple-to-follow, step by step instructions.
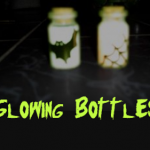
Learn how to make glowing decorated bottles for Halloween decorations…a great craft for kids.
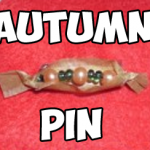
Learn how to make a cute little brooch to wear during Fall or you can even wear it on Thanksgiving day 🙂 You can even make one for all of your guests.
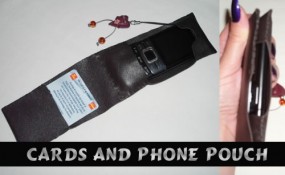
Learn how to make a great leather / vinyl wallet for your dad’s gift for Father’s Day. This wallet makes a perfect gift for Father’s Day: it is great to hold his phone and business cards.
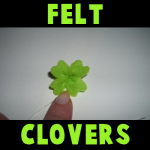
Learn how to sew a realistic looking shamrock or felt clover for wearing on Saint Patricks Day. A great first-time sewing craft for older children. Have fun!
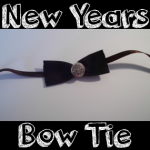
Are you allowed to stay up until midnight on New Years Eve and want to look all dressed up and spiffy? Here is a cute craft for kids to make a bow tie to wear an outfit with a classic style, perfect for any New Year party.

Here is a fun craft for younger kids who can’t stay up to 12:00 yet. You can make a countdown to 12 and have a pre-party with your young children, counting down to 12. This way your children don’t feel like they missed out on any of the New Year celebrations.
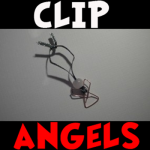
You can make a cute little paperclip angel to hang on your Christmas tree or to just decorate your bedroom or house. These are super easy to make and all of the materials are probably sitting around your house somewhere.
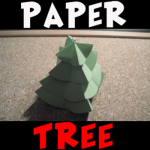
Learn how to use green construction paper and a pin to form a beautiful Christmas tree that really stands.
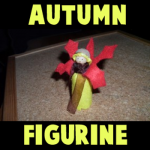
You can make this Autumn themed doll or figurine to celebrate fall, using an acorn cap for the hat and making a leaf out of felt for the “wings” of this little Autumn Fairy. This is a great Autumn-time craft that you will enjoy.
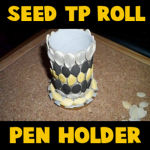
Here is a pen and pencil holder craft that is easy to make and great for an Autumn / Fall theme. This pencil holder is made with a recycled cardboard tube from a toilet paper roll or a paper towel roll. Use seeds and paint or markers to decorate the cardboard tube. Find the crafts instructions below. Your kids will love this one.
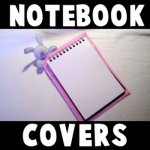
School is about to start yet again and we thought you would love this craft to make a hand-sewn notebook cover. It is a super cute notebook cover that includes a stuffed bunny rabbit at the top. You love to write on it!
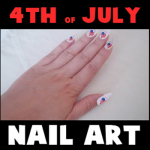
This is an adorable craft idea for little girls and teenage girls on the Fourth of July. By using mailing labels, you can make very patriotic nail art that can be taken off easily after the celebrations have finished.
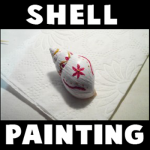
Nature is beautiful so why not take advantage of that natural beauty to create a fun craft. Find either a sea shell or a snail’s shell on the beach (or wherever). Then get the paints out and get creative!
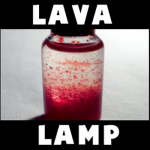
This is a fun and easy project for Summer-time and it is very inexpensive to make. This craft is to make a beautiful, homemade lava lamp. You most likely have all the crafts materials already in your house and kitchen.
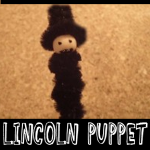
It is February which means that it is time for Presidents Day again. How about celebrating this great holiday with an Abe Lincoln Finger Puppet? We will show you today how to make a Lincoln puppet out of pipe cleaners.