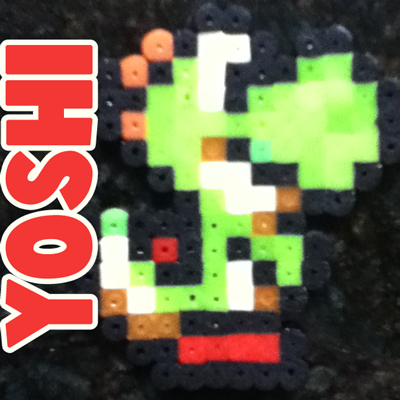
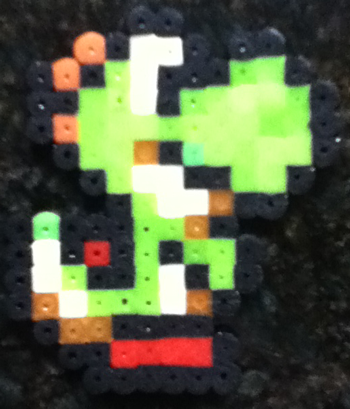
Today I will show you how to make Yoshi from Super Mario Bros. with Perler Beads. Yoshi is a good friend of Mario and Luigi. For the past couple of days I have been showing you how to make many of the Mario Bros characters with Perler Beads. Well, there is no stopping any time soon as now we are up to Yoshi. So, grab your Perler Beads and let’s get started.
Check out our other Super Mario Bros. Perler Bead Crafts and other Perler Bead Crafts.
Materials Needed
Iron
Wax Paper
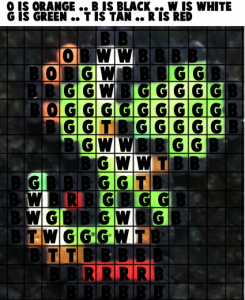
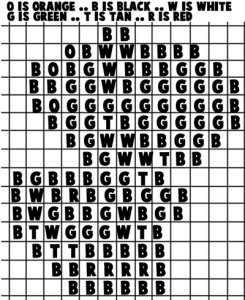
Below are printable templates for this craft. You can choose to print off a colored template or the black and white version.
Click on template image to make larger and to print.
Step 1
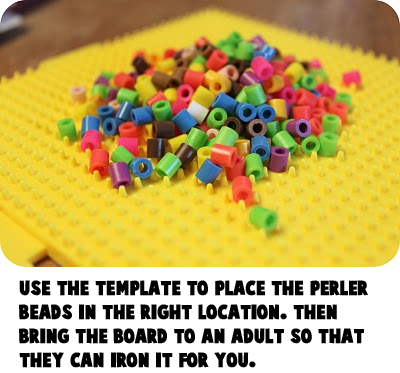
Use the template to place the Perler Beads in the right location. Then bring the board to an adult so that they can iron it for you.
[ad#ahc]
Step 2
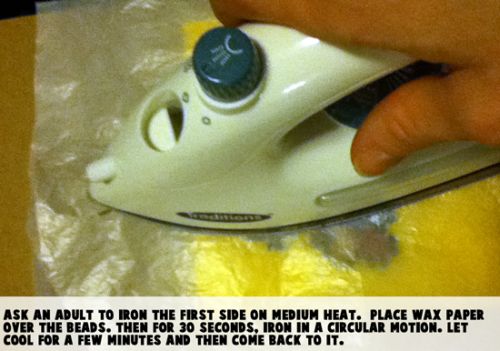
Ask an adult to iron the first side on medium heat. Place wax paper over the beads. Then for 30 seconds, iron in a circular motion. Let cool for a few minutes and then come back to it.
Step 3
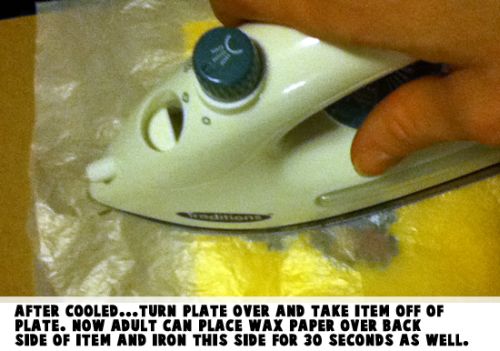
After cooled… Turn plate over and take item off of plate. Now adult can place wax paper over back side of item and iron this side for 30 seconds as well.
There you go…. you just finished Yoshi made from Perler Beads. How does he look? Make sure to check back in the next day or two as I will be adding more Super Mario Bros. characters made from Perler Beads.
Technorati Tags: Perler Bead Crafts, Perler Bead templates, Perler Bead Projects, Perler, Perler Beads, Yoshi, Yoshi Crafts, Super Mario, Super Mario Bros, Super Mario Crafts
