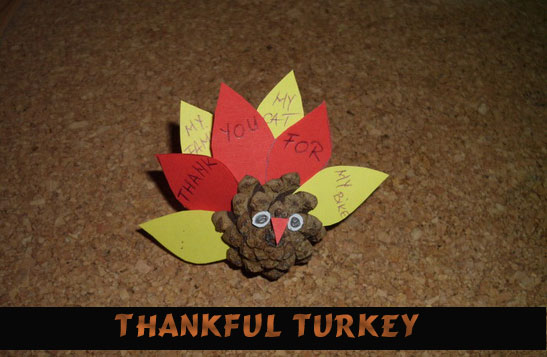
Thanksgiving is all about giving thanks. Sometimes we tend to forget the true meaning of Thanksgiving…. being thankful for what you have. This craft is a great way to teach your kids about the true meaning of thanksgiving. And, your kids will have so much fun doing this. This turkey’s feathers will tell everyone what you are thankful for. Plus, it makes for a great Thanksgiving decoration. Made from a pine cone and some construction paper this craft is sure to be a lot of fun. So, let’s get started.
Check out our other Thanksgiving Crafts.
Tutorial offered by Laura from Dacian Moon Handmade
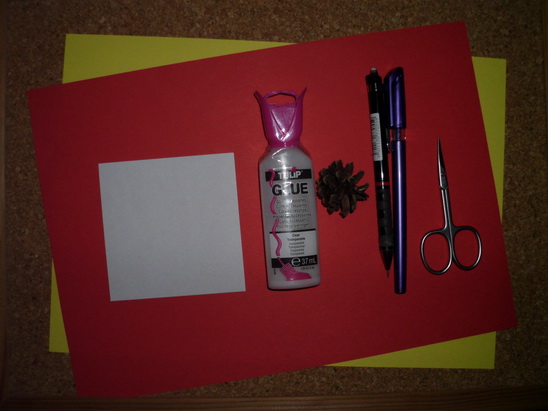
Materials Needed
– pine cone
– white, yellow and red paper
– pencil
– pen
– scissors
– craft glue
Step 1
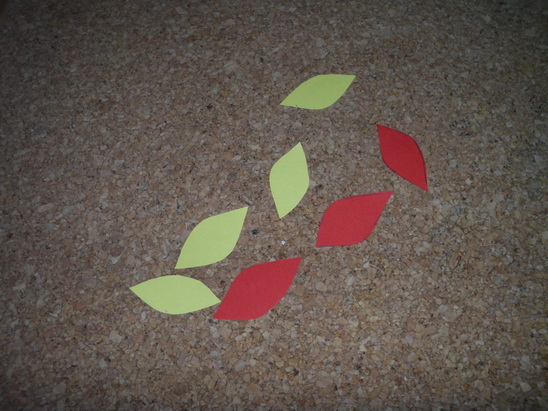
Draw 4 feathers (only outline) on yellow paper and 3 on red paper.
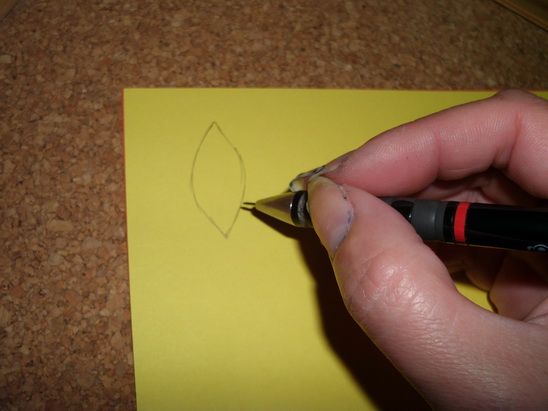
Cut them out.
[ad#ahc]
Step 2
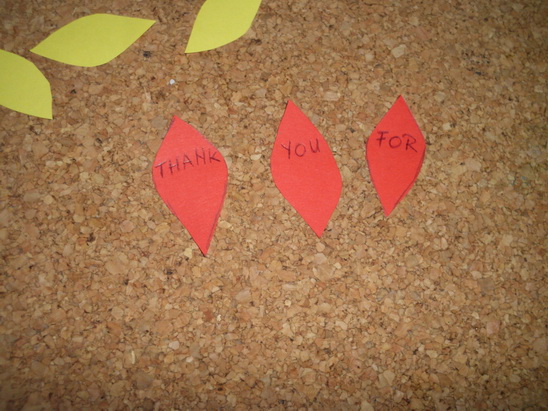
On the three red ones write “thank”, “you” and “for”…
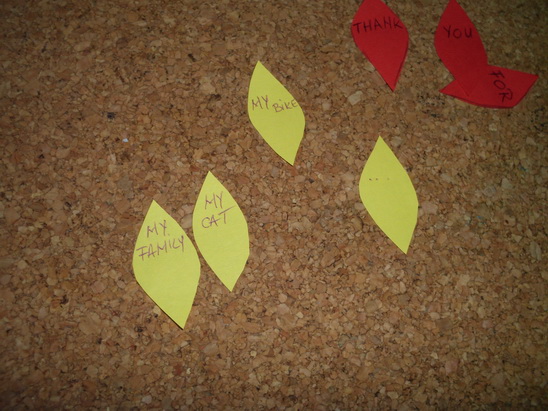
… and on the yellow ones write the things you are thankful for.
Step 3
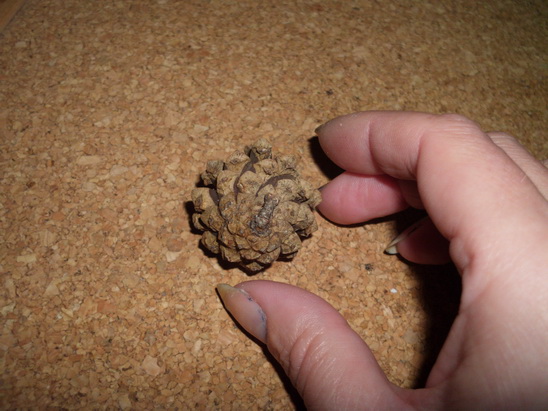
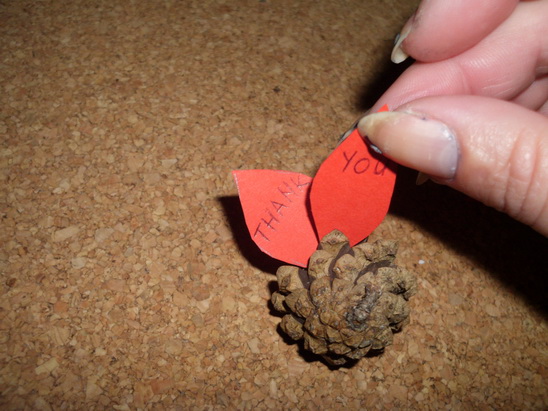
Take the pine cone…
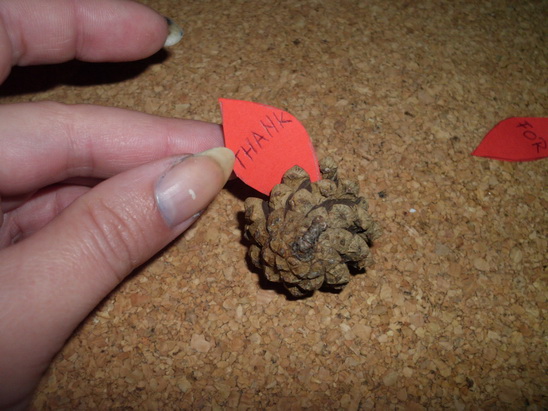
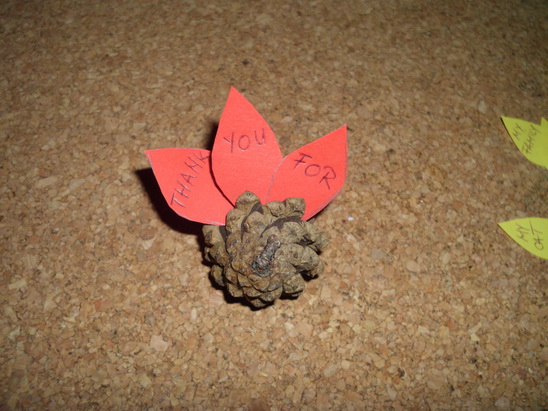
… and begin to stick into it the red “feathers”. “Thank” is the first…
… then “you” …
… and “for”. Like this.
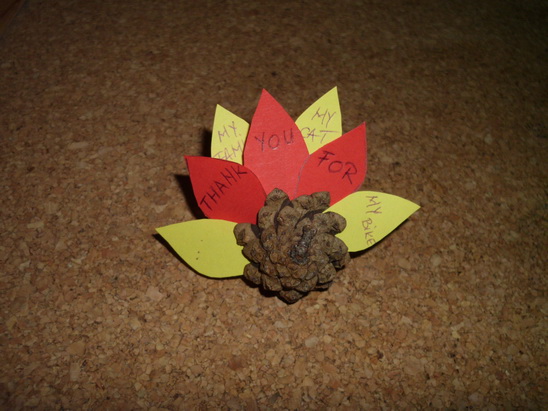
Then start adding the yellow ones…
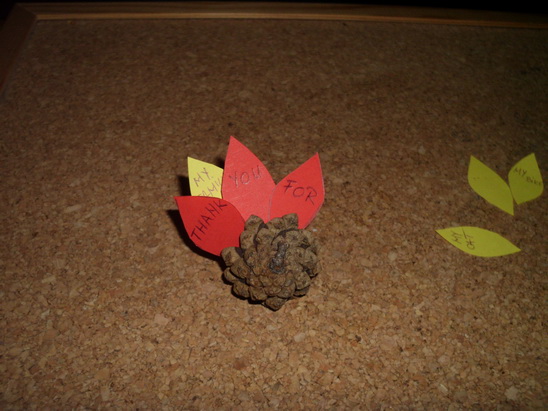
… like this.
Step 4
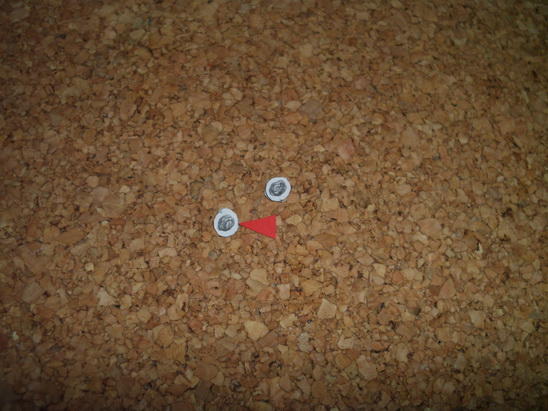
Draw 2 eyes on white paper.
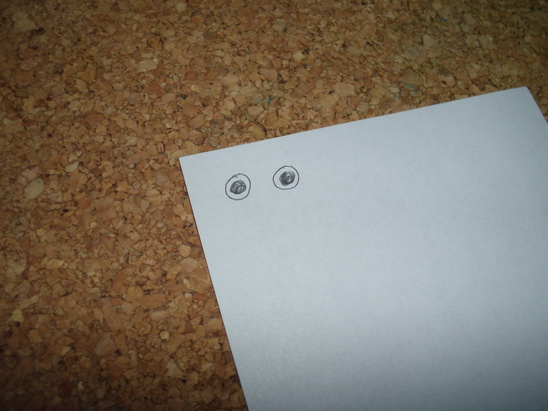
Draw a red beak also, then cut them out.
Apply a little bit of glue on the back of the eyes…
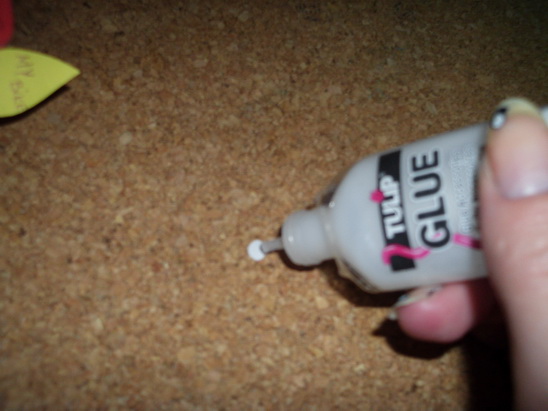
… and glue them in place.
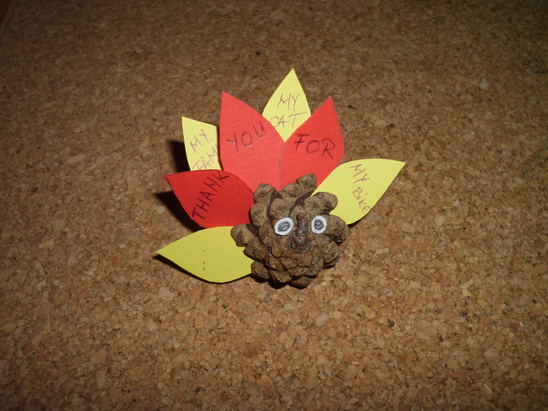
Add the beak in the middle of the face… and your thankful turkey is ready.
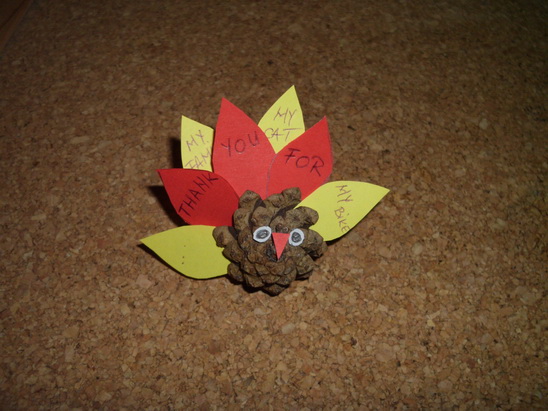
Isn’t this turkey a cute one? And, he’s so smart too…. he tells everyone what you are thankful for.
Technorati Tags: Thanksgiving activities, thanksgiving activity, thanksgiving crafts, thanksgiving, thanksgiving crafts for kids, thanksgiving activities for kids, fall crafts, pinecone crafts, pine cone crafts, pinecone activities, pine cone activities, turkey crafts, how to make a turkey, thankful crafts
