What does every child love to do when the ball drops and we hit the New Year??? Make lots of noise. And, what’s the best way to make lots of noise on New Years Eve?! With noisemakers, of course. Well, instead of buying the store bought Noisemakers…. why not make your own. The craft is a fun one and the Noisemaker turns out so much better than the store bought ones. Plus, you get to tell everyone at the New Years Party that you made them yourself. How cool is that?! So, let’s get started.
Check out our other New Years Crafts.
Laura from Dacian Moon Handmade will show you how to make a noisemaker, step by step.
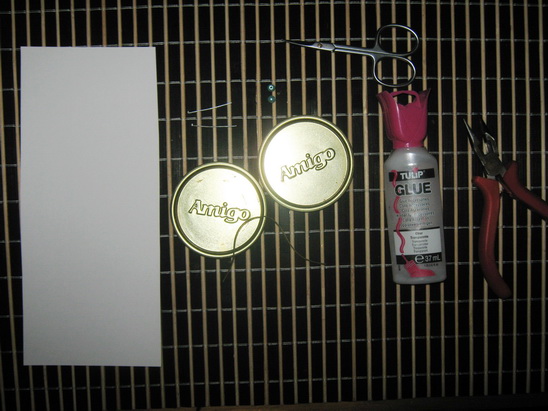
MATERIALS NEEDED:
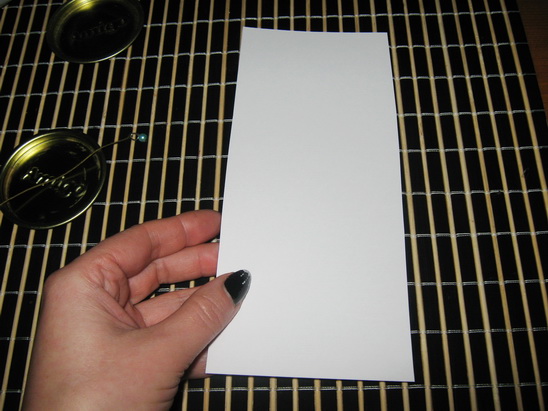
– a piece of cardboard (a rectangle of about 20 cm x 7 cm)
– 2 tin lids
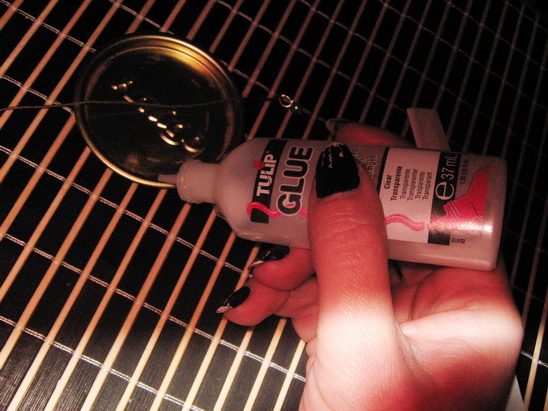
– craft glue
– scissors
– 1 piece of thick thread (about 15 cm)
– 2 beads
– 2 pins
– round nose pliers (to make the loops on the pins)
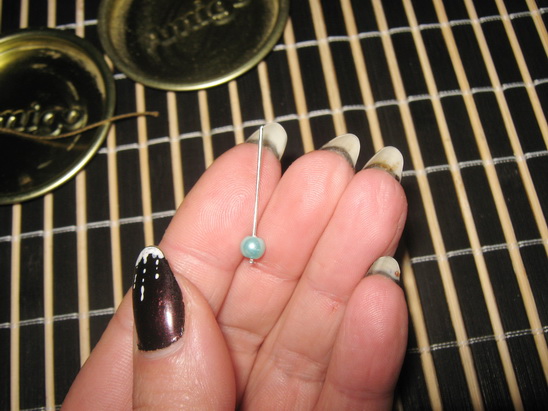
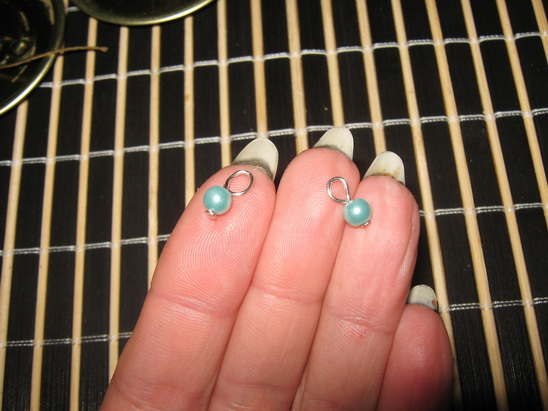
Step 1
Place a bead on one pin…
… then make a loop at the end of the pin.
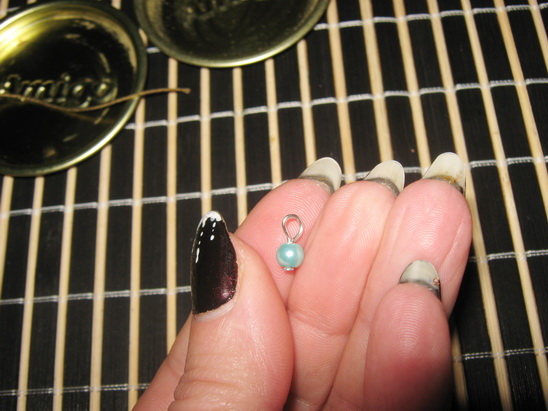
Do the same with the second bead.
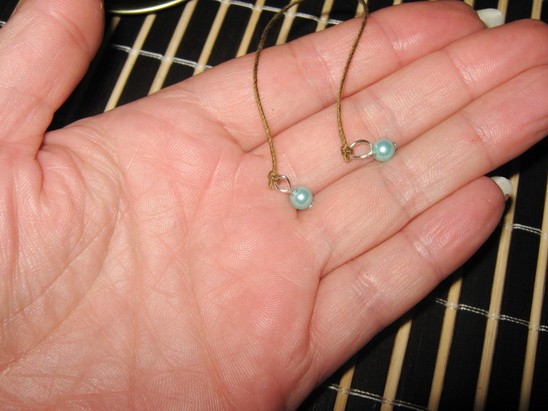
Tie them on the ends of the thread.
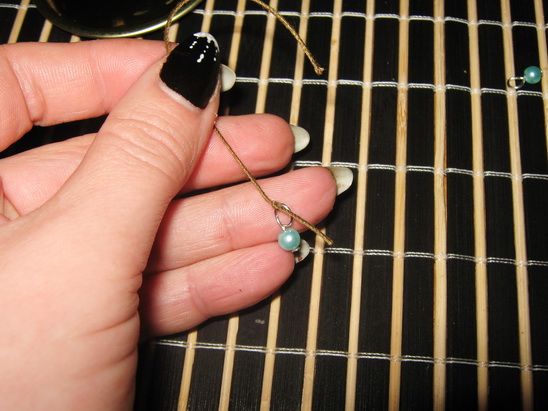
Like this.
[ad#ahc]
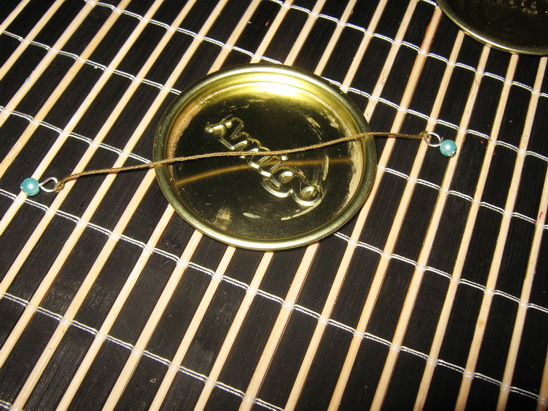
Step 2
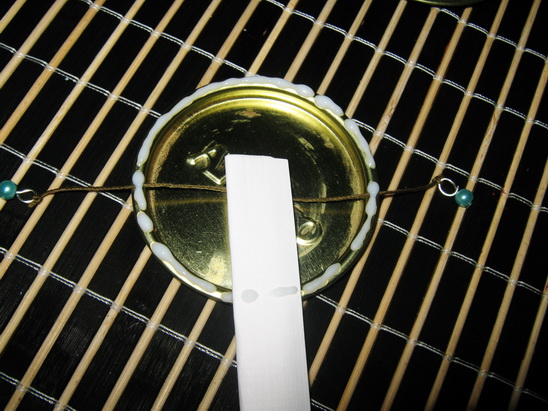
Place the thread over one lid, on the middle, like in the picture.
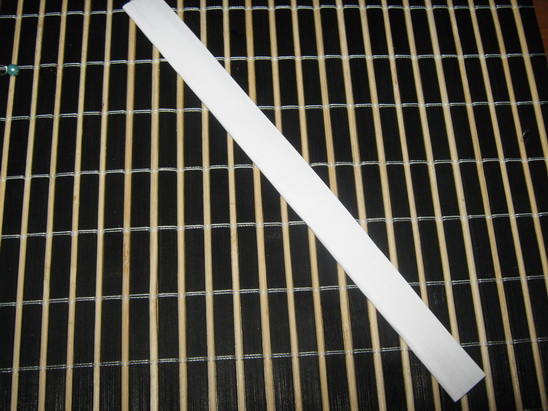
Fold the cardboard until you have a bar.
On the last fold add glue to keep it in place.
Step 3
Apply glue on the middle of the lower part of the lid. Here we will put the handle.
Place the cardboard bar over this glue…
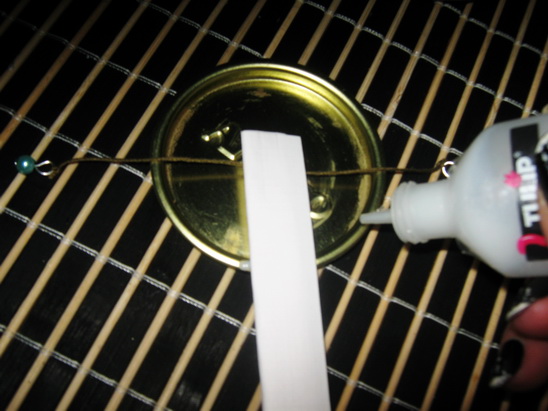
… then put glue on the edge of the lid, over the thread and cardboard, like in the picture.
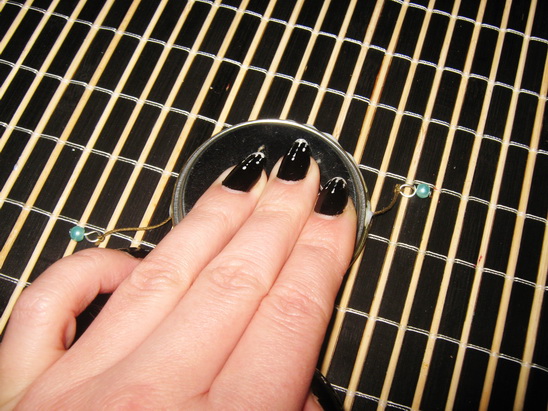
Place the other lid on top of this and keep it pressed for a couple of minutes, until it is dry.
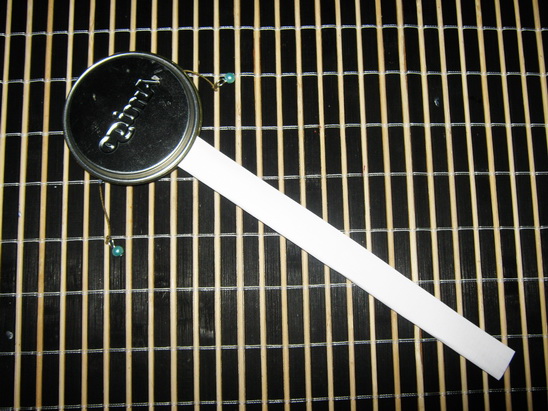
It will look like this. Let it dry well.
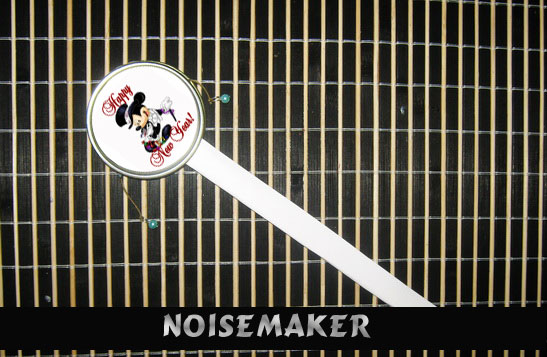
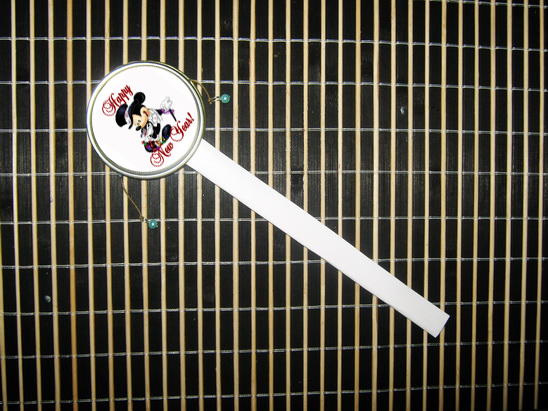
Now you can paint the lids or, like me, glue a cute image over them… and the noisemaker is ready.
Now you are all set to make some noise this New Years Eve. Why not make a few more and hand them out at your New Years Party. Your party goers are sure to love them. Happy New Years!!
Technorati Tags: new years crafts, new years day crafts, new years eve crafts, kids crafts, kids new year crafts, kids new years crafts, January crafts, noisemakers, noisemaker crafts, New Years noisemakers, New Years noisemaker crafts
