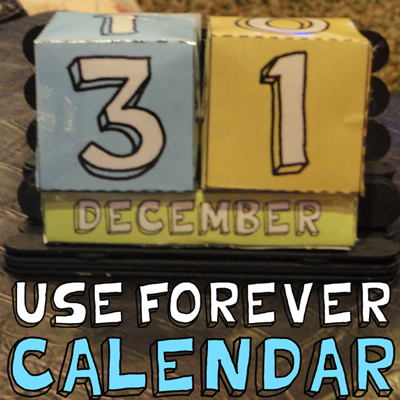
January is almost here. And, with January comes the need for a new calendar. But, what if you had a Perpetual Calendar…. or another words a “Forever Calendar”? If you did you wouldn’t need to change your calendar every year. You would simply change the date everyday by rotating the numbers and the month. Well, with that being said…. today I’m going to show you how to make a Paper Box Perpetual Calendar. The craft is an easy one, but oh so useful. So, let’s get started.
Check out our other New Years Crafts and Calendar Crafts.
Materials Needed
Paper
Printer
Scissors
Glue
Popsicle Sticks
Paint (optional)
Laminating or Cereal Box Cardboard (optional)
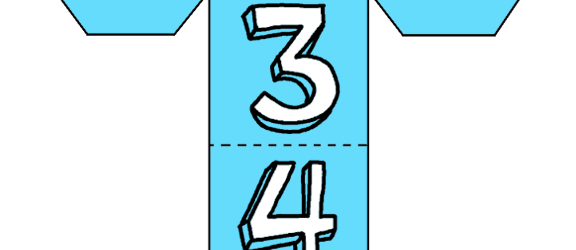
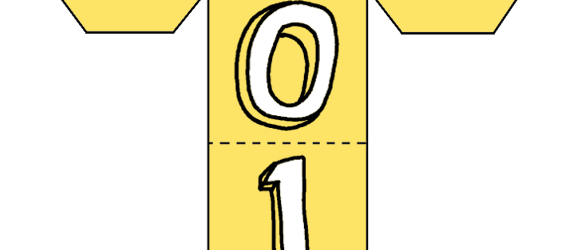
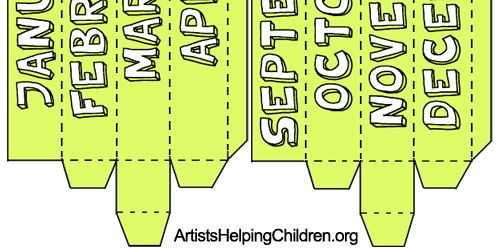
Click on the following templates to make larger and print.
Template 1
Template 2
Template 3
Step 1
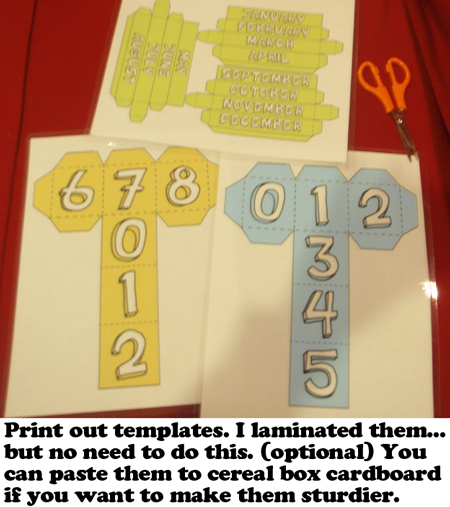
Print out templates. I laminated them…. but no need to do this. This is optional. You can alternatively paste them to cereal box cardboard if you want to make them sturdier.
[ad#ahc]
Step 2
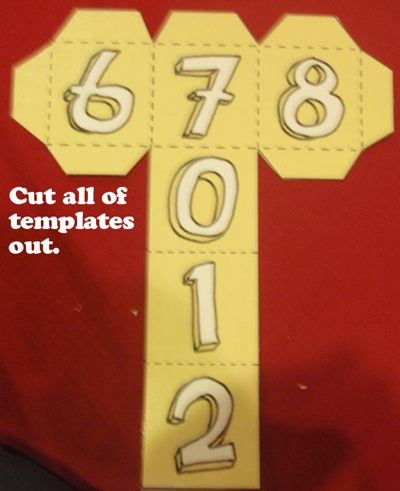
Cut all of templates out.
Step 3
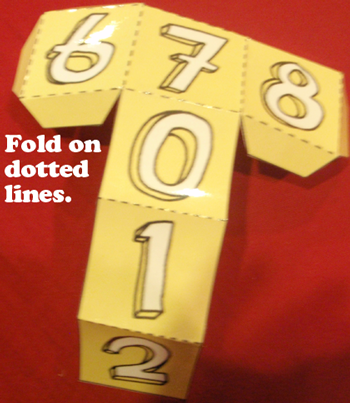
Fold on dotted lines.
Step 4
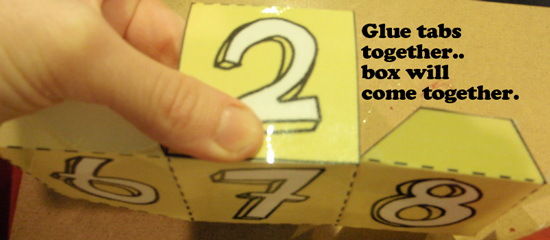
Glue tabs together…. box will come together.
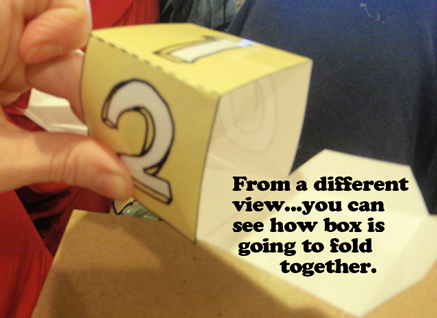
From a different view… you can see how box is going to fold together.
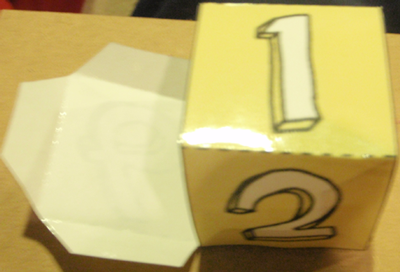
See how it is coming together.
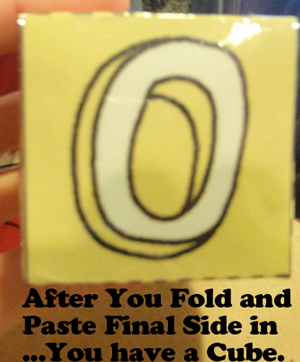
After you fold and paste final side in… you have a cube.
Step 5
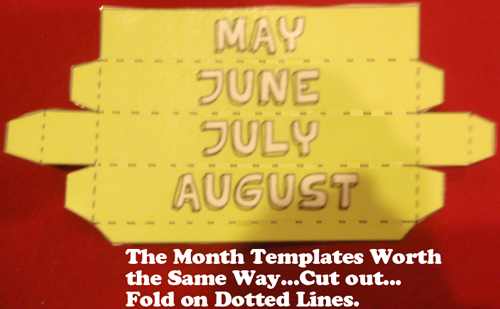
The month templates work the same way… cut out… fold on dotted lines.
Glue tabs together.
Fold and paste sides in and you have a rectangle shape.
Step 6
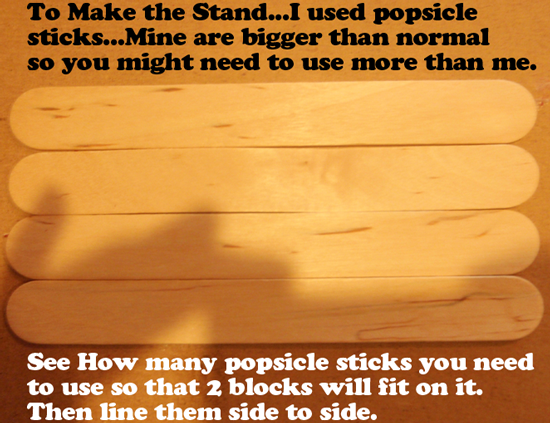
To make the stand… I used Popsicle sticks… Mine are bigger than normal so you might need to use more than me. See how many Popsicle sticks you will need to use so that 2 blocks will fit on it. Then line them side to side.
Step 7
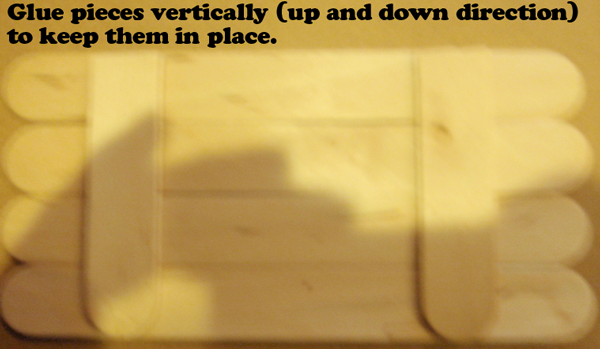
Glue pieces vertically (up and down direction) to keep them in place.
Step 8
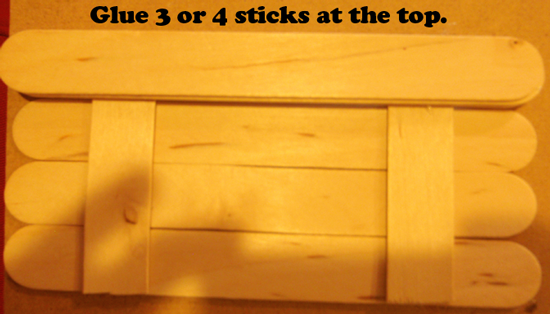
Glue 3 or 4 sticks at the top.
Step 9
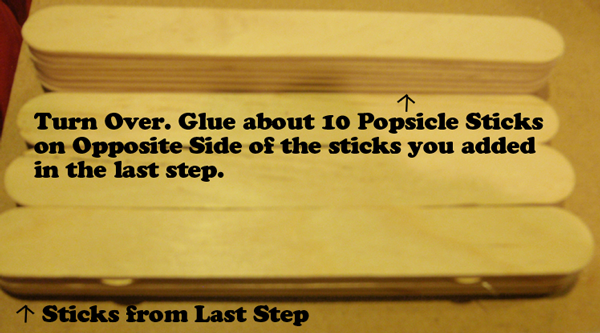
Turn over. Glue about 10 Popsicle sticks on opposite side of the sticks you added in the last step.
Step 10
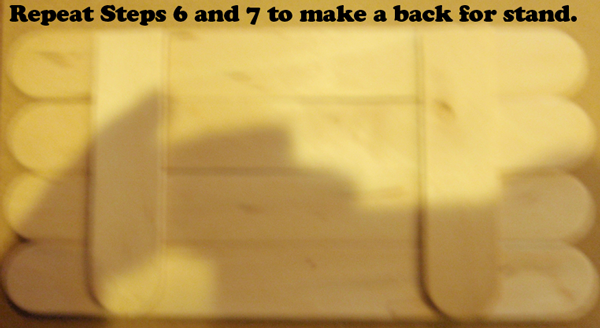
Repeat steps 6 and 7 to make a back for stand.
Step 11
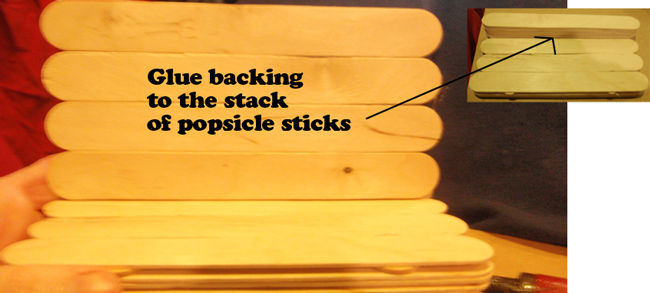
Glue backing to the stack of Popsicle sticks.
Step 12
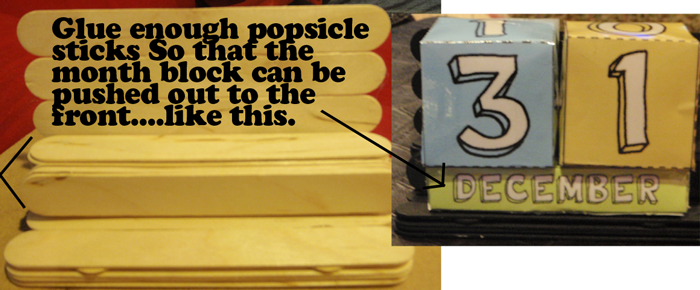
Glue enough Popsicle sticks so that the month block can be pushed out to the front… like this.
Step 13
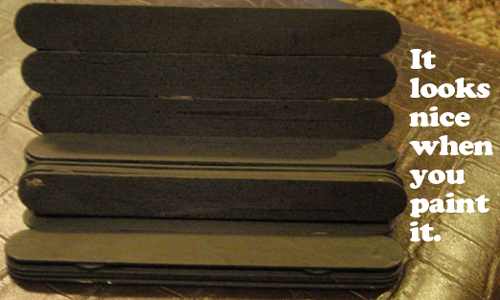
It looks nice when you paint it.
Step 14
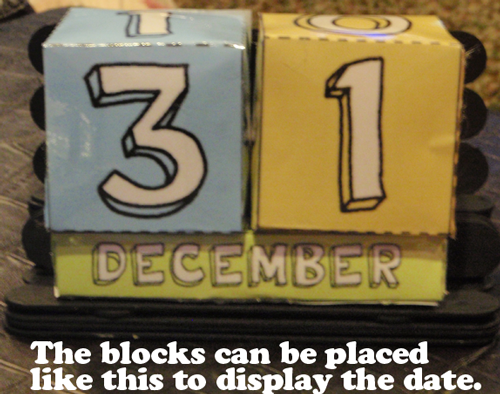
The blocks can be placed like this to display the date.
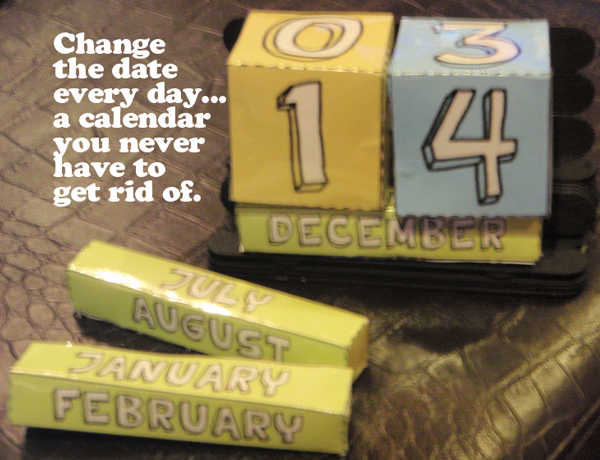
Change the date everyday… a calendar you never have to get rid of. How did your perpetual calendar turn out? Where are you going to display your calendar? Let me know in the comments below. I’d love to hear about it.
Technorati Tags: new years crafts, new years day crafts, new years eve crafts, kids crafts, kids new year crafts, kids new years crafts, January crafts, calendar crafts, perpetual calendars, perpetual calendar crafts, forever calendars, forever calendar crafts



TO COOL. ONE QUESTION THOUGH, HOW DID YOU MAKE THE PAPER SHINY? BUT OTHER THAN THAT IS VERY EAZY. GRATE JOB
Glad you liked it. I laminated the sheets of paper before I started folding them up…this isn’t required…I just wanted to make sure that the calendar lasted a long time.
why is there no number 9? Am I missing something?
Where is your number 9?? : / Fabulous, green idea!!
Hi there. Thanks for your comment. It actually isn’t a mistake. There is no time where you would ever use both a 6 and a 9 because the dates only go from 01 – 31 for a given month. Let me know if you need anything. Thanks.
Wasn’t accusing you of a mistake, just needed a bit of help with the nines. I get it now.
how many sticks did you use?