A sturdy shoe or gift box can be transformed into a pretty craft box where you can store your art and craft materials and accessories. A few easy steps to follow, but feel free to use your own creativity. No need to follow this craft step by step. Each craft box made will look differently than anybody else’s craft box…. that’s how it should be. So, grab the materials you need to make your craft box and let’s get started.
Materials Needed
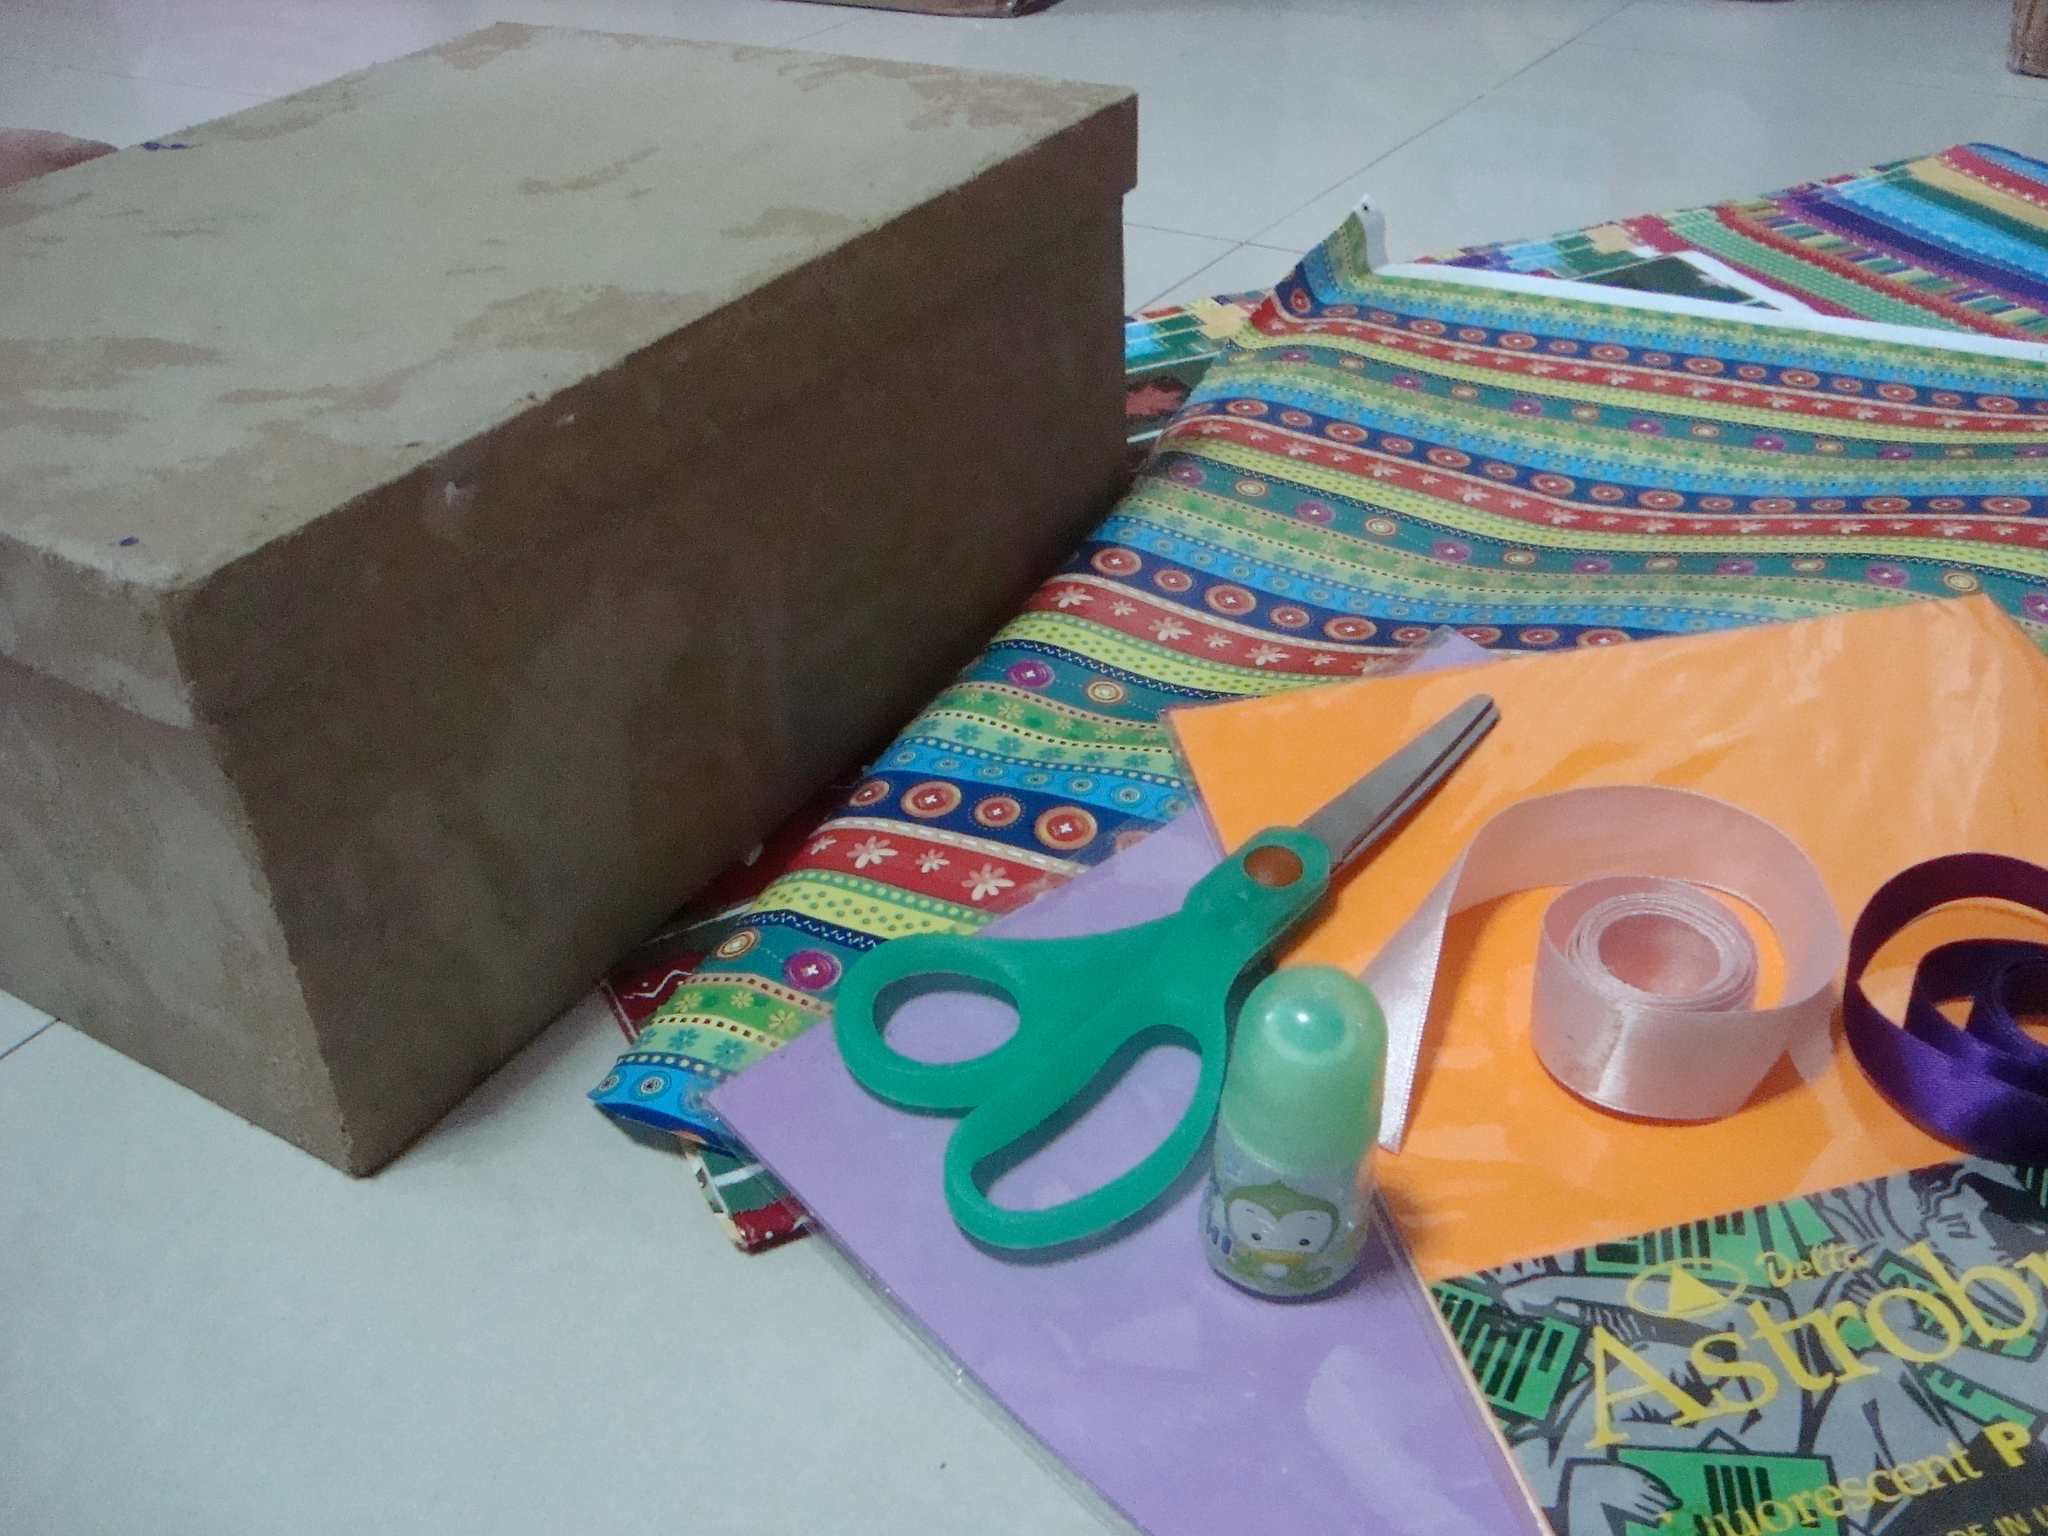
Used cardboard box (gift/shoe)
Wrapping Papers
Colored Scratch Papers
Scissors
Glue/Glue Gun
Ribbons
Step 1
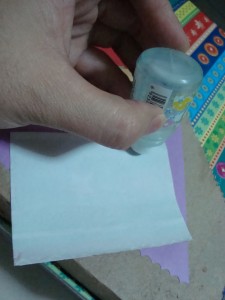
Prepare materials needed. Choose papers and ribbons to use.
[ad#ahc]
Step 2
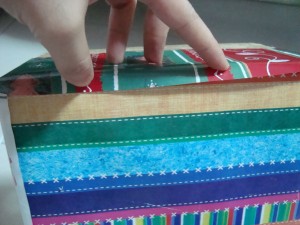
Place wrapping paper on the bottom and gently press it against the box to create the side’s dimension. With a pair of scissors, cut the paper giving about a half inch more on one side, and the exact measurement on the other side.
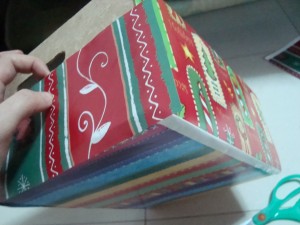
Step 3
Glue paper onto the box, folding the extra side to overlap the other side. Continue the same steps until all sides are covered. If your box has a hole handle, you may leave the wrapper until just below the handle.
Step 4
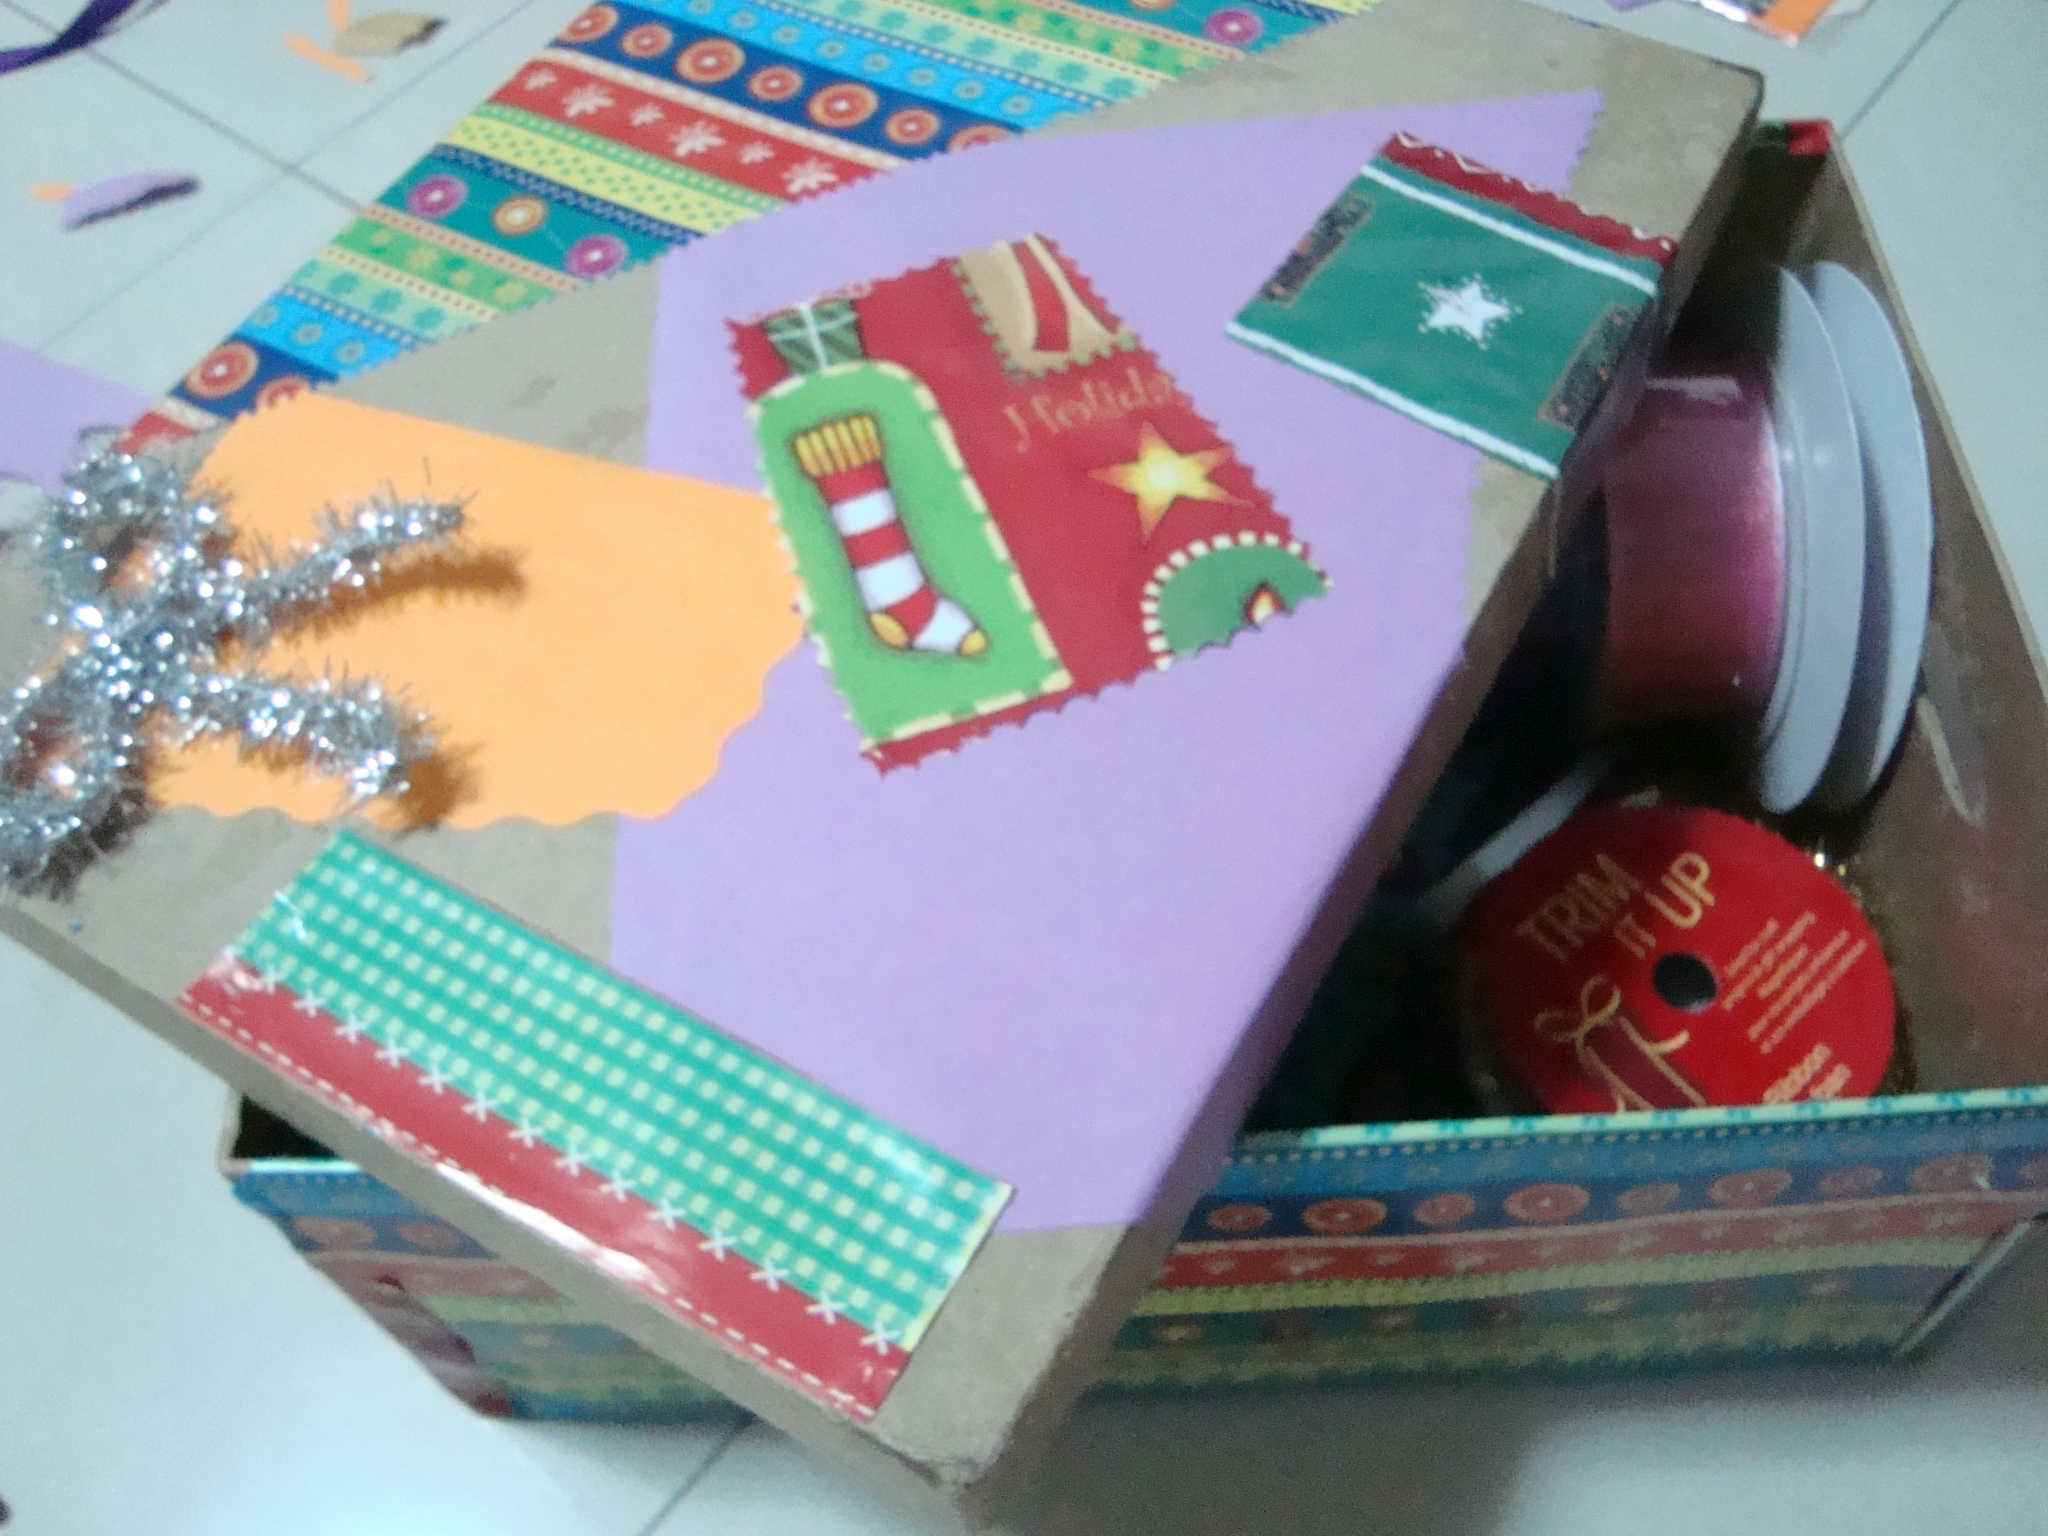
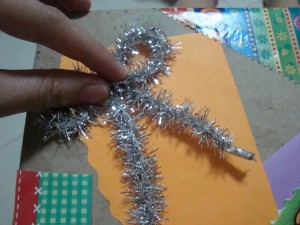
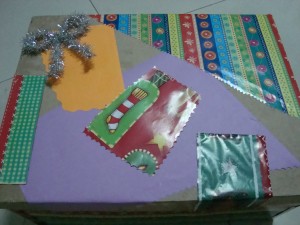
Be more creative when wrapping the box cover. You can partially cover one side and have your kid glue shaped pieces of papers and wrappers. Add a ribbon or two.
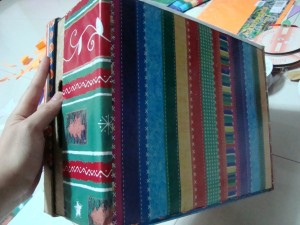
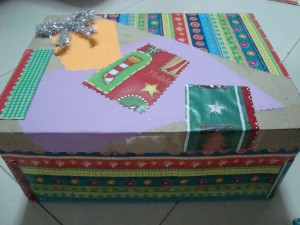
And that’s it! Your box is now ready for storing your craft accessories. Now, you have all your craft supplies in one place so you can find them easily.
Technorati Tags: craft box, make your own craft box, how to make a craft box, shoe box crafts, gift box crafts, craft box crafts, craft box crafts for kids, cardboard box, cardboard box crafts, arts and crafts box, make your own arts and crafts box

Leave a comment