Here is a great craft to make around Springtime. Unfortunately it isn’t Springtime, I just like butterflies. These paper butterflies will add a three-dimensional effect to any display or bulletin board. This is a great classroom or group project as each child can do a butterfly and add it to the board. These butterflies are made out of paper and turn out great as the wings are folded to look as if the butterfly is in flight.
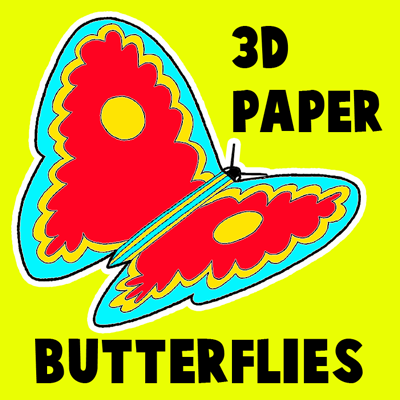
How to Make 3D Paper Butterflies Artwork
Crafts Materials Needed:
Paper
Scissor
Coloring Items such as Crayons or Markers
Optional (Decorative Items such as glitter, pipe cleaners, sequins)
Dark Construction Paper
How to Make a Butterfly
Step 1
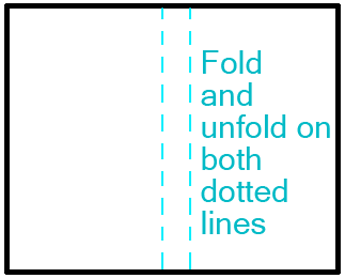
Turn a piece of paper so it is on its side like in the picture above. In the center of the sheet of paper, lightly draw 2 lines about an inch apart from each other. Than fold towards you on both of those lines…then unfold.
Step 2
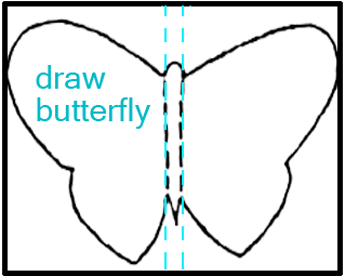
Now draw the butterfly wings on the outside parts (the wings look like a number 3 shape)…and the butterfly;s body in the center.
[ad#ahc]
Step 3
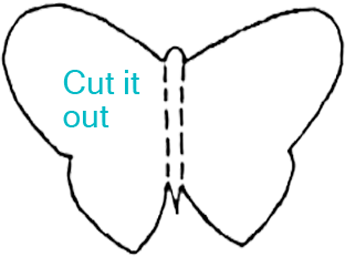
Cut out the butterfly.
Step 4

Now draw designs on the butterfly wings and body. You can add design elements such as pipe cleaner antennae, or sparkly glitter on the body…I will leave the creative aspects up to you.
After decorating, re-fold the paper along the two sides of the body.
Step 5
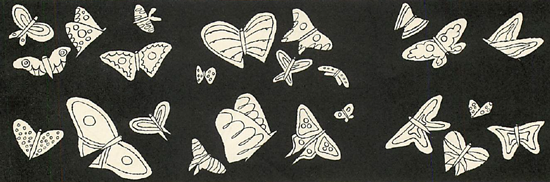
The butterfly is ready to be pasted down by either one wing, or the body. The illustration at the top shows how effective these butterflies appear, mounted on sheets of black paper, and tacked together for a panel. This makes a great group classroom project.
Technorati Tags: butterflies, butterfly, spring crafts, spring, paper butterflies, butterfly crafts, paper crafts
