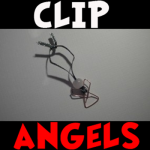
You can make a cute little paperclip angel to hang on your Christmas tree or to just decorate your bedroom or house. These are super easy to make and all of the materials are probably sitting around your house somewhere.
How to Make Cool Stuff
You can make a cute little paperclip angel to hang on your Christmas tree or to just decorate your bedroom or house. These are super easy to make and all of the materials are probably sitting around your house somewhere.
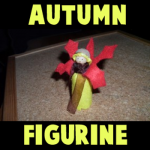
You can make this Autumn themed doll or figurine to celebrate fall, using an acorn cap for the hat and making a leaf out of felt for the “wings” of this little Autumn Fairy. This is a great Autumn-time craft that you will enjoy.
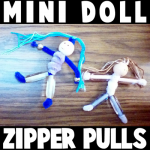
Learn how to make zipper pulls that look like miniature doll figures. Be creative and make them in all shapes, sizes, and colors. These zipper pulls are perfect for decorating your backpack as you go back to school.
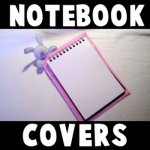
School is about to start yet again and we thought you would love this craft to make a hand-sewn notebook cover. It is a super cute notebook cover that includes a stuffed bunny rabbit at the top. You love to write on it!
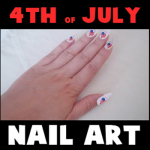
This is an adorable craft idea for little girls and teenage girls on the Fourth of July. By using mailing labels, you can make very patriotic nail art that can be taken off easily after the celebrations have finished.
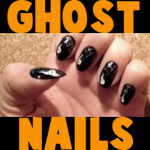
If you want to be unique around Halloween time, you will love this idea for painted on ghost nails. This is a perfect nail decoration for Halloween: and these nails glow in the dark! . In this tutorial, we will show you, step by step, how to paint them.
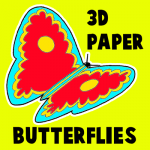
Here is a great craft to make around Springtime. Unfortunately it isn’t Springtime, I just like butterflies. These paper butterflies will add a three-dimensional effect to any display or bulletin board. This is a great classroom or group project as each child can do a butterfly and add it to the board. These butterflies are made out of paper and turn out great as the wings are folded to look as if the butterfly is in flight.
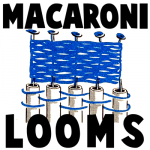
This is a very unique weaving loom craft…and you probably haven’t seen it anywhere else. Here is a craft idea for making weaving looms out of 3 inch long macaroni noodles, string, buttons, and a few other items. Find out how to put this unique loom together…the sooner you start, the sooner you can begin your weaving projects.
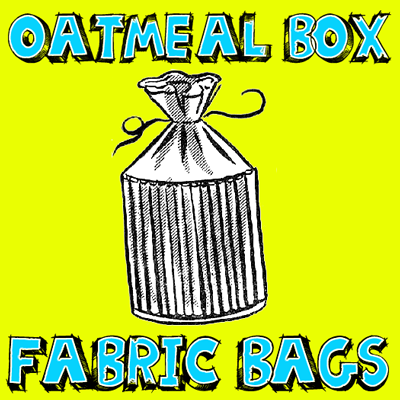
Here is a craft for making a great drawstring bag out of a cylinder oatmeal container, fabric, some cardboard, and a few other items. This bag turns out looking beautiful and would make a great bag for yourself or as a gift to mom, grandma, or someone else you love.
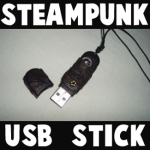
Learn how to take a normal USB memory stick and decorate it with paint and random objects…turn it into a Steampunk masterpiece.You can then wear it around your neck as a special pendant necklace.
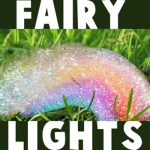
This is a cool and fun project for summer. What can be more pleasant than playing with water on a hot Summer day? How about painting with colorful bubbles, just the way a fairy would.
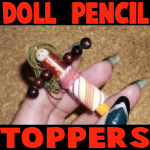
Do you want to create an adorable companion for your time back at school? Here is an easy-to-make doll that can be stored on the top of your pencil.Learn how to make it with the following step-by-step tutorial.
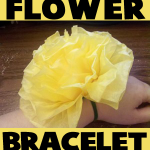
Find out how to make a tissue paper flower bracelet for Mom on Mother’s Day. This would also be a great bracelet to wear in Spring or for Easter. Find out how to make it with this great crafts tutorial.
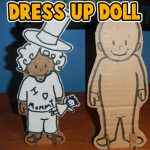
When I was a little girl I would have so much fun dressing up paper dolls. You know…. the paper dolls you buy in a book at the store where you cut out the clothes to put on them? I loved them. I used to spend hours dressing up the paper dolls and changing their clothes over and over again. Well, today I’m going to show you how to make with your children a stand-up dress-up doll. You are going to make the doll out of cardboard… it is much stiffer and will hold up to many, many clothes changes. Also, in this craft you will find 4 different template sheets of different accessories for your dress-up doll. That means hours of fun for you and your children dressing up the doll. So, grab the few materials needed and let’s get started.
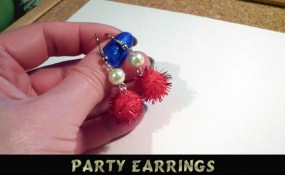
New Years is just around the corner and before New Years the New Years Eve Parties begin. Why not wear an amazing pair of earrings to this years New Years Eve Parties. Today I’m going to show you how to do just that…. I’m going to show you how to make a pair of party earrings for New Years. These New Years earrings have a lot of flash…. perfect for New Years Eve. And, these earrings don’t have to be just worn on New Years Eve…. they are so beautiful you will want to wear them year round.

Girls love pretending to be Fairys. They can pretend to be Fairys on any day of the year, but they especially love dressing up as a Fairy on Halloween. Well, a fairy just can’t truly be a fairy without their Fairy Crown. In this post I will show you how to make a Fairy Crown for Halloween. Add this to your Fairy Skirt and Fairy Mask to have the most perfect Fairy Costume this Halloween. Or, use the Fairy Costume to play dress-up all year long. Let’s get started with the craft.