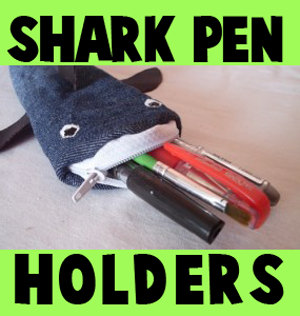
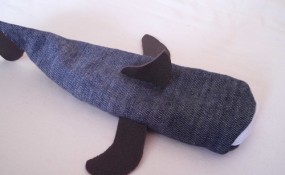
I think you’ll love this pencil pouch … He is so fierce! And when I say ‘He’, I mean Sharky…Sharky the Pencil Pouch. And he will keep your pencils safe as nobody messes with sharks! 😉 Laura from Dacian Moon Handmade will show you, step by step, how to make it this awesome (yet adorable) shark pencil holder pouch.
How to Make a Shark Pencil Holder Pouch
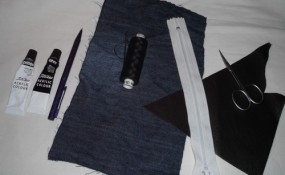
CRAFTS MATERIALS NEEDED:
– a piece of denim (or other fabric if you don’t have it)
– a piece of black leather or vinyl or different colored fabric
– paints: white and black
– needle and thread
– scissors
– zipper
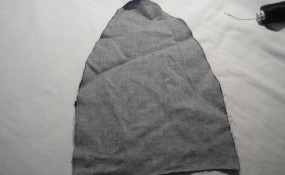
Step 1.
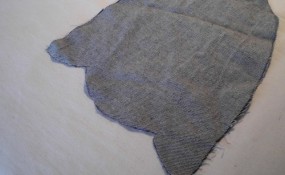
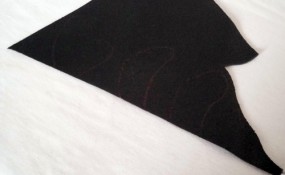
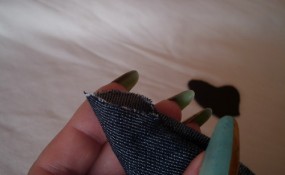
You need a rectangle piece of denim to make the shark body. To start, cut two of the corners off. Like this.
Bring the long edges toward the center line…
[ad#ahc]
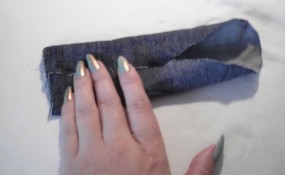
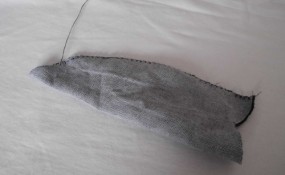
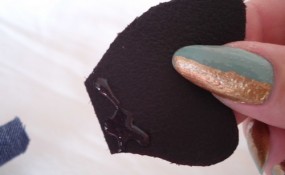
… and draw a curve, like this. This will be the mouth.
Cut it out and unfold.
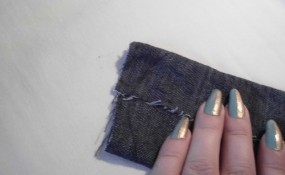
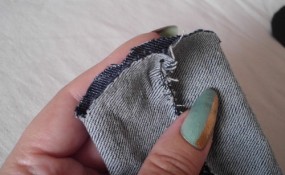
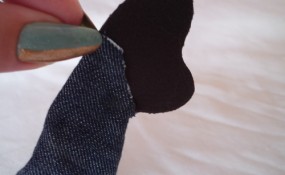
Sew the two edges together…

… like this, until you almost reach the end. The shark will have the stitch on his belly.
Step 2.
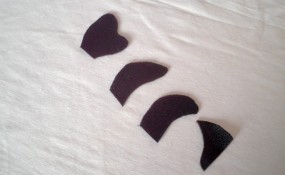
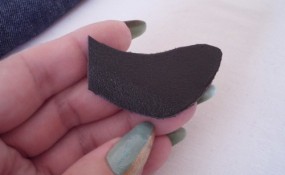
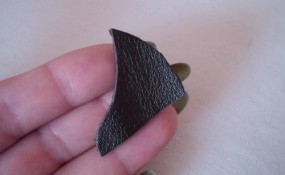
Take the piece of leather…
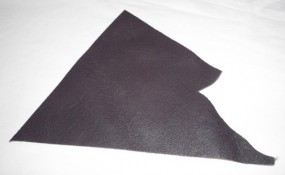
… and draw on it a tail, two lateral fins and the central fin.
Cut them out.
Step 3.
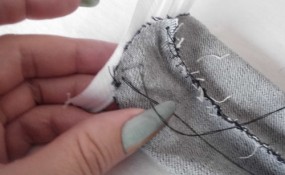
It is time to add some teeth to our shark. Flatten the body with the stitch on the middle, like this.
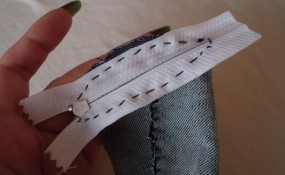
Place the zipper over the mouth…
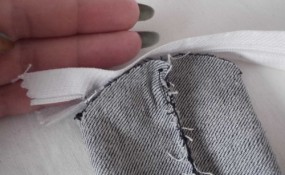
… and start sewing each part on a side.
Like this.
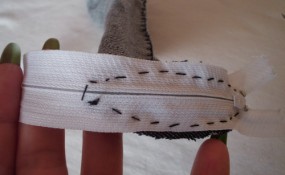
Cut the extra zipper.
Step 4.
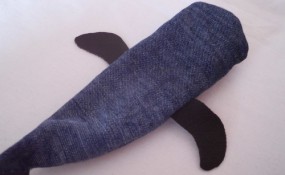
Now is time to assemble all the pieces. Turn it inside out.
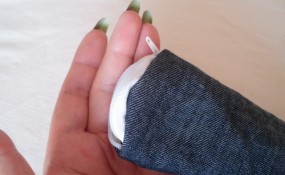
This is the other end, where we will attach the tail.
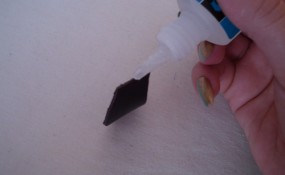
Apply a layer of glue on the start of the tail…
and put it in place. Keep it there a bit until it is glued (take care not to glue your fingers).
Then take a lateral fin…
… put some glue on the starting edge…
… and fix it on the shark body.
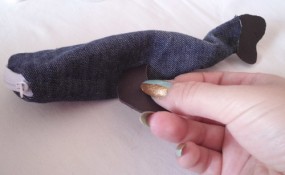
Do the same with the other one…
… and with the central fin.
Like this. Our shark looks good but… it is blind!!!
Step 5.
Let’s make the eyes! Use some white paint to make two white circles.
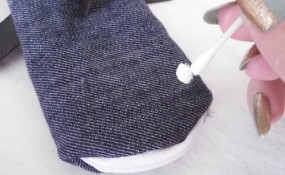
Like this.
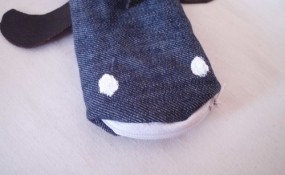
Then some black to complete the eyes.
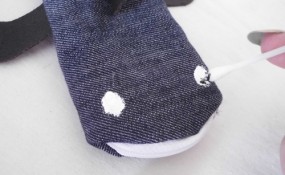
Let it dry well…
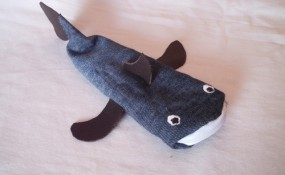
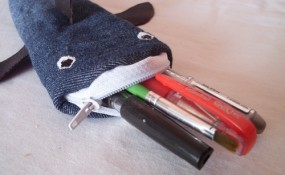
… then you can put some pencils in it 😉
Technorati Tags: sharks, shark crafts, pencil holder crafts, pouches, pouch crafts, bag, bag crafts, back to school crafts, pencil organizers
