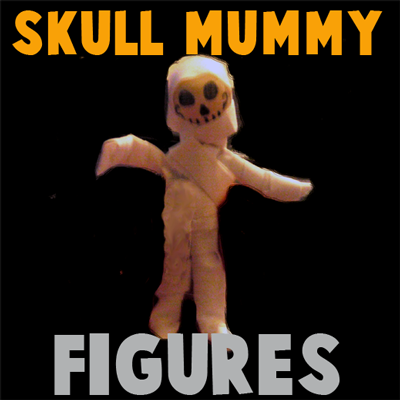
Today I’m going to show you how to make a Halloween Skull Mummy Figure with movable arms and legs. This Skull Mummy is super creepy and totally perfect for Halloween. Made with pipe cleaners and bandage tape your child is going to love putting together this creative Halloween Skull Mummy Figure.
Check out our other Halloween Crafts.
Materials Needed:
White or Orange Bead
Permanent Marker
2 White Pipe Cleaners
Self Stick Bandage Tape
Step 1
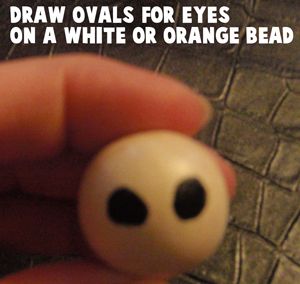
Draw ovals for eyes on a white or orange bead.
[ad#ahc]
Step 2
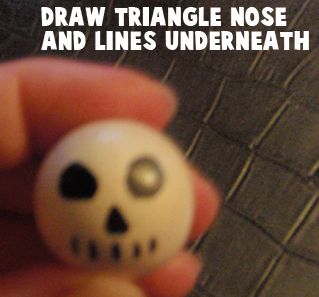
Draw a triangle nose and lines underneath.
Step 3
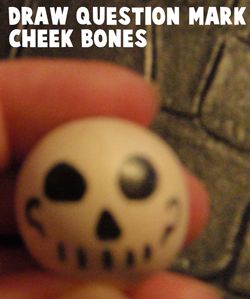
Draw question mark cheek bones.
Step 4
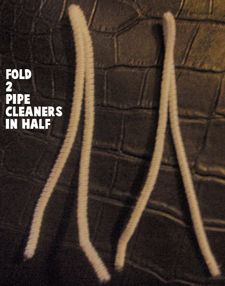
Fold two pipe cleaners in half.
Step 5
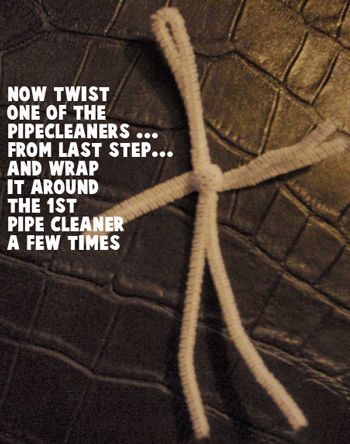
Now twist one of the pipe cleaners… from last step… and wrap it around the 1st pipe cleaners a few times.
Step 6
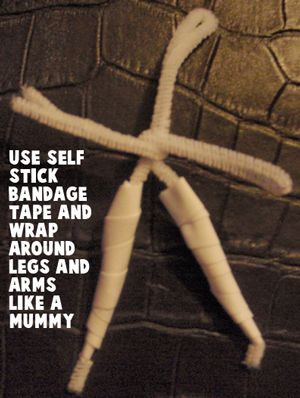
Use self stick bandage tape and wrap around legs and arms like a mummy.
Step 7
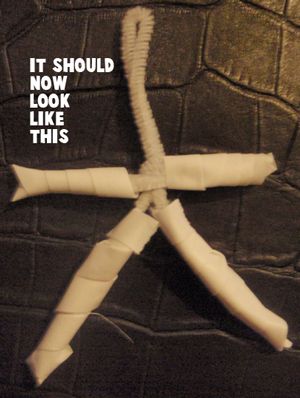
It should look like this.
Step 8
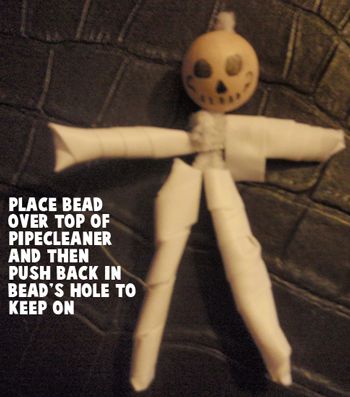
Place bead over top of pipe cleaner and then push back in bead’s hole to keep on.
Step 9
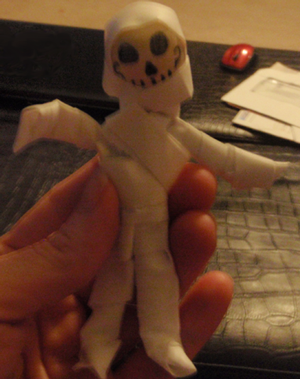
Wrap around the chest and neck and even the head if you want.
Totally creepy, huh?! I did warn you. Don’t let the creepiness fool you though….. this Halloween craft is still a ton of fun to make. Trust me… give it a whirl.
Technorati Tags: Halloween, Halloween Crafts, Halloween Decorations, Halloween Decoration Crafts, Mummy, Mummies, Mummy Crafts, skull, skull crafts, pipe cleaner crafts


es muy bonita
la actividad aun que tambien me gustaria que pusieran algunas actividades de dia de muertos