Christmas is just a few weeks away….. now is the time to send out Christmas cards so that your friends and family receive them well before Christmas. Well, today I’m going to show you how to make your very own 3-D Christmas cards. These are perfect for big families because there is plenty of room to write everyone’s names. Not to mention, everyone will love receiving these cards ….. especially since you made them yourself.
Check out our other Christmas Crafts.

Materials required:
Green Paper
Green Paint
Paintbrush
Scissors
Glue
Markers
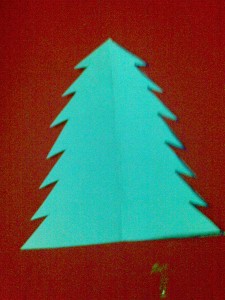
Step 1
Cut out a Christmas tree shape as shown below. You can do this by folding a paper, drawing half a shape and cutting it out. Make sure that both sides are symmetrical.
[ad#ahc]
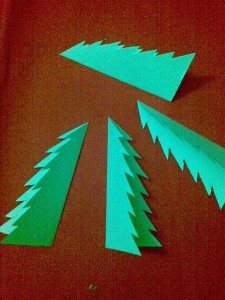
Step 2
Cut out 3 more trees of the exact size and shape.
Step 3
Fold all the trees. Glue one side of one tree to the side of another tree as shown.
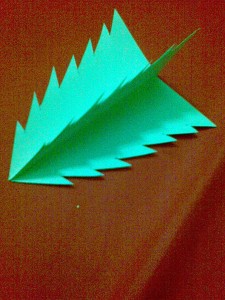
Step 4
Glue a side of the second tree to the third tree as shown. Similarly, glue the end of the third tree to the first tree.

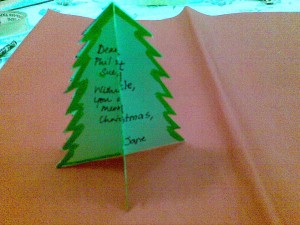
Step 5
The tree will look like this…
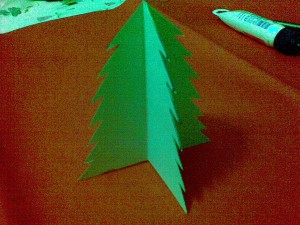
Step 6
Write a note on each side. Paint the borders green.

Your friends and family will love to receive this Christmas card.
How did your 3-D Christmas Tree Card turn out? It’s really unique isn’t it? Now, make a few more and send out to your family and friends this Christmas season.
Technorati Tags: Christmas crafts, xmas crafts, Christmas activities, xmas activities, December crafts, Holiday crafts, Holiday activities, Christmas cards, Xmas cards, paper folding, paper folding crafts
