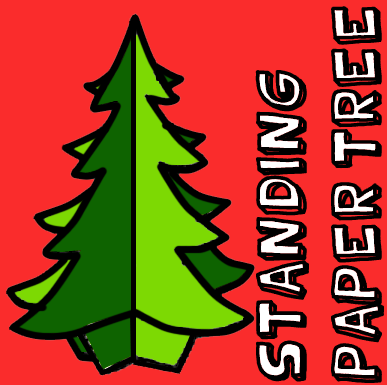
Today is the first of December. Now is the time to start decorating for the Christmas Holiday. I have a fun and easy Christmas decoration craft for you….. a Standing Paper Christmas Tree. And, guess what???… Not only is it easy, but it doesn’t need much in the way of materials. Sounds like the perfect Christmas decoration craft, doesn’t it? Let’s get started.
Check out our other Christmas Crafts.
Materials Needed
Green Paper
Pencil
Scissors
Step 1
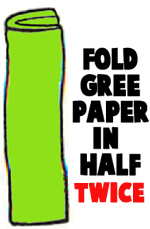
Fold green paper in half twice.
[ad#ahc]
Step 2
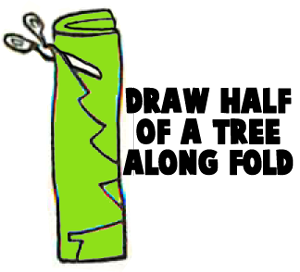
Draw half of a tree along fold. Cut out along where you just drew.
Step 3
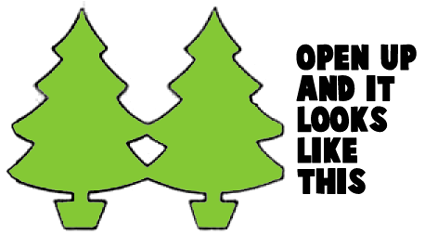
Open it up and it looks like this.
Step 4
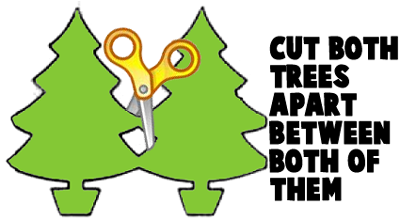
Cut both trees apart between both of them.
Step 5
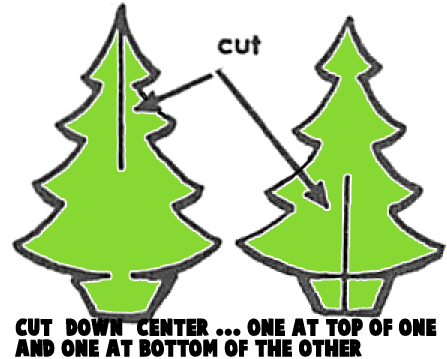
Cut down center… one slit on top of one tree and one slit at the bottom of the other tree.
Step 6
Now use the slits to slide the tree together to look like the tree above.
How did your Standing Paper Christmas Tree turn out? Make a few and use them to decorate your house for Christmas. And, don’t forget to check out our other Christmas Crafts.
Technorati Tags: Christmas crafts, xmas crafts, Christmas activities, xmas activities, December crafts, Holiday crafts, Holiday activities, decorations, Christmas decorations, Christmas decoration crafts, paper crafts
