Today I’m going to show you how to make a Pressed Flower Card. This card can be used for any occasion that comes around. Imagine the excitement of anyone who receives this greeting card. They are sure to love it. Made from flowers and construction paper your kids are sure to have a lot fun making this card. So grab the materials needed and let’s get started.
Check out our other Greeting Card crafts.
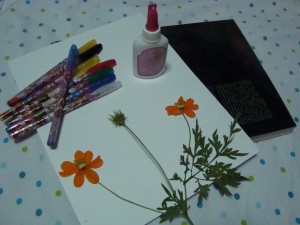
Materials Needed
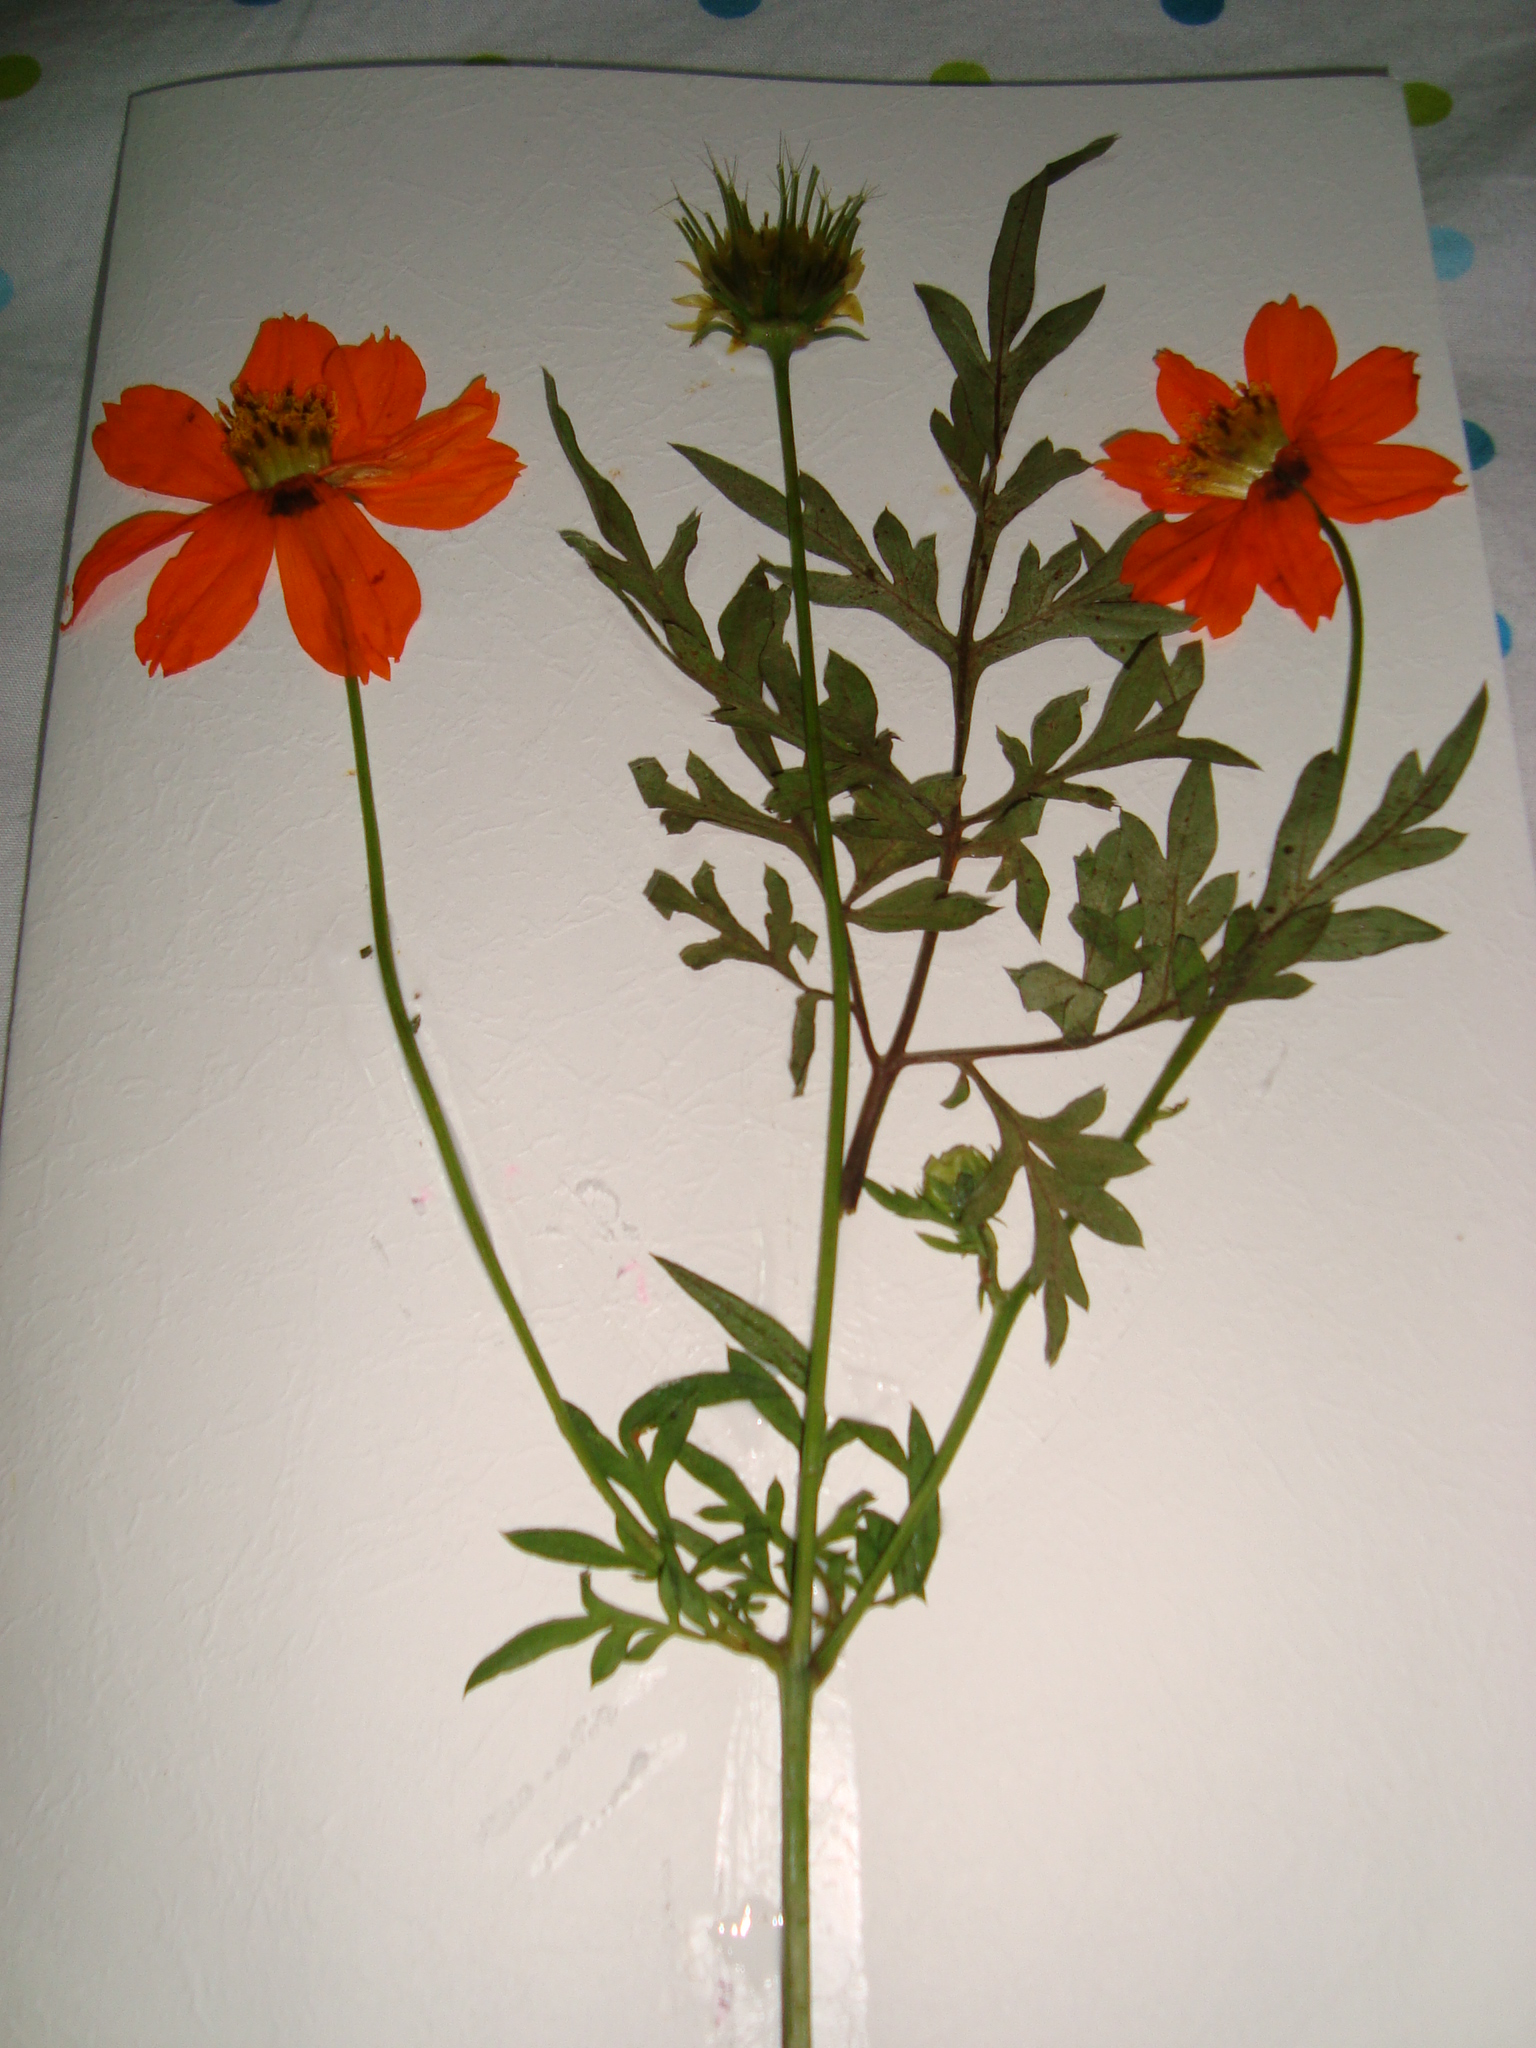
fresh flowers of your choice (can include a little stem and leaves)
Construction Paper (any preferred color and size)
book
glue
scissors
colored pen
Step 1
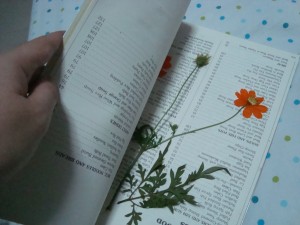
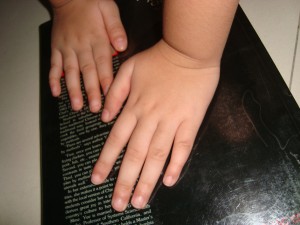
Make sure flowers are free from insects. Arrange flowers and gently press it against the pages of the book. Leave it there for 2 hours or more.
[ad#ahc]
Step 2
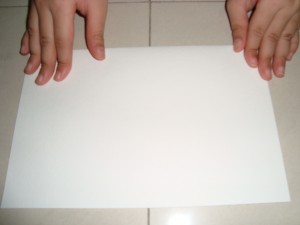
Fold paper crosswise so it resembles a greeting card.
Step 3
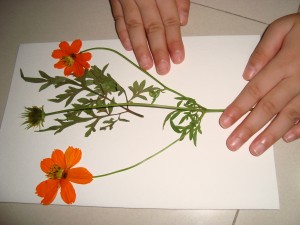
When the flowers are ready, gently take them out and place them in the front side of the card… this is to roughly measure if there is enough space. Trimming stems and leaves may be necessary to fit in the card. Be careful when holding the flowers as they are fragile.
Step 4
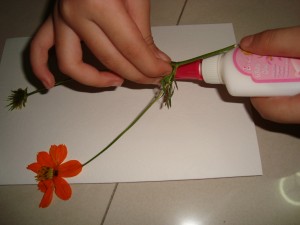
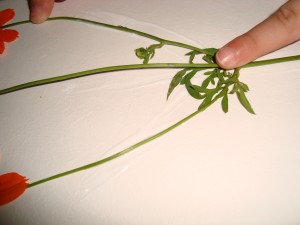
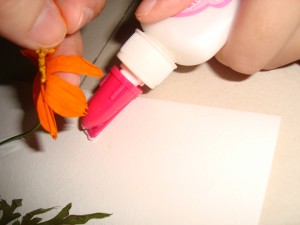
With a glue, slowly start tracing the stems first. Let glue sit there for about a minute before placing flowers back. Then continue with the leaves, finishing with the flowers.
Step 5
With all parts glued to the paper, press it again with the book and leave it for 30 minutes or so.
Step 6
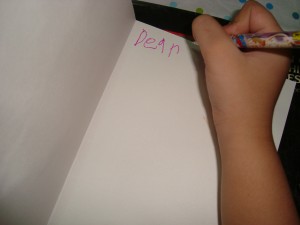
Check if all flower parts are properly glued. Then using a colored pen, write your message inside the card.
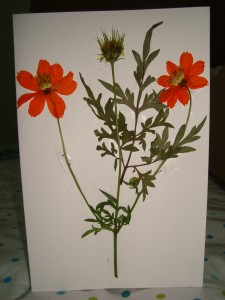
And your card is ready! How beautiful is this card?! And, it is unique from any other card…. that makes this greeting card even cooler. You will find no other card like this. Now, who are you going to send your first Pressed Flower Card to?
Technorati Tags: greeting cards, cards, crafts for kids, greeting card crafts, handmade greeting cards, homemade greeting cards, pressed flowers, pressed flower crafts, pressed flower greeting cards
