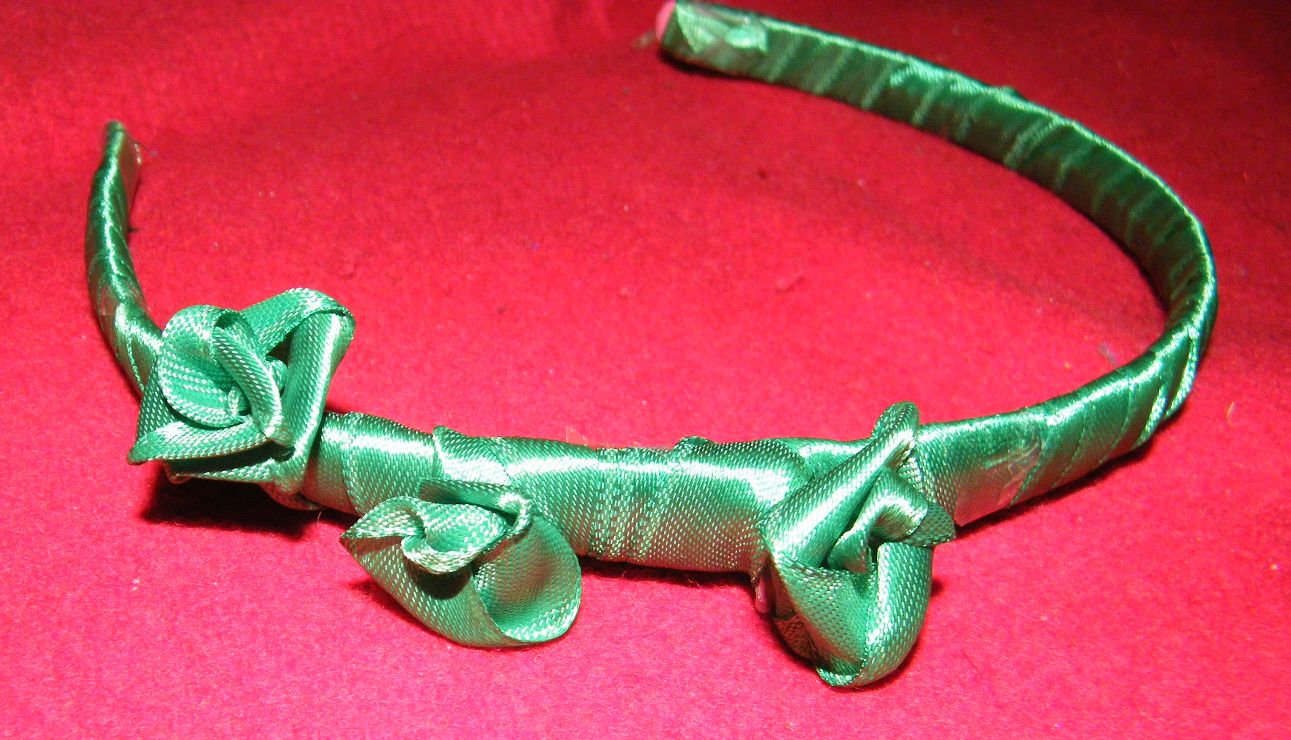
I have a fun craft for the girls today…. I am going to show you how to transform an old, ordinary looking hairband to a beautiful rose hairband that you can wear with your favorite dress. Simply use your favorite piece of satin ribbon and grab an old hairband. In this tutorial I am going to use green ribbon, but feel free to use your favorite satin ribbon. So, let’s get started.
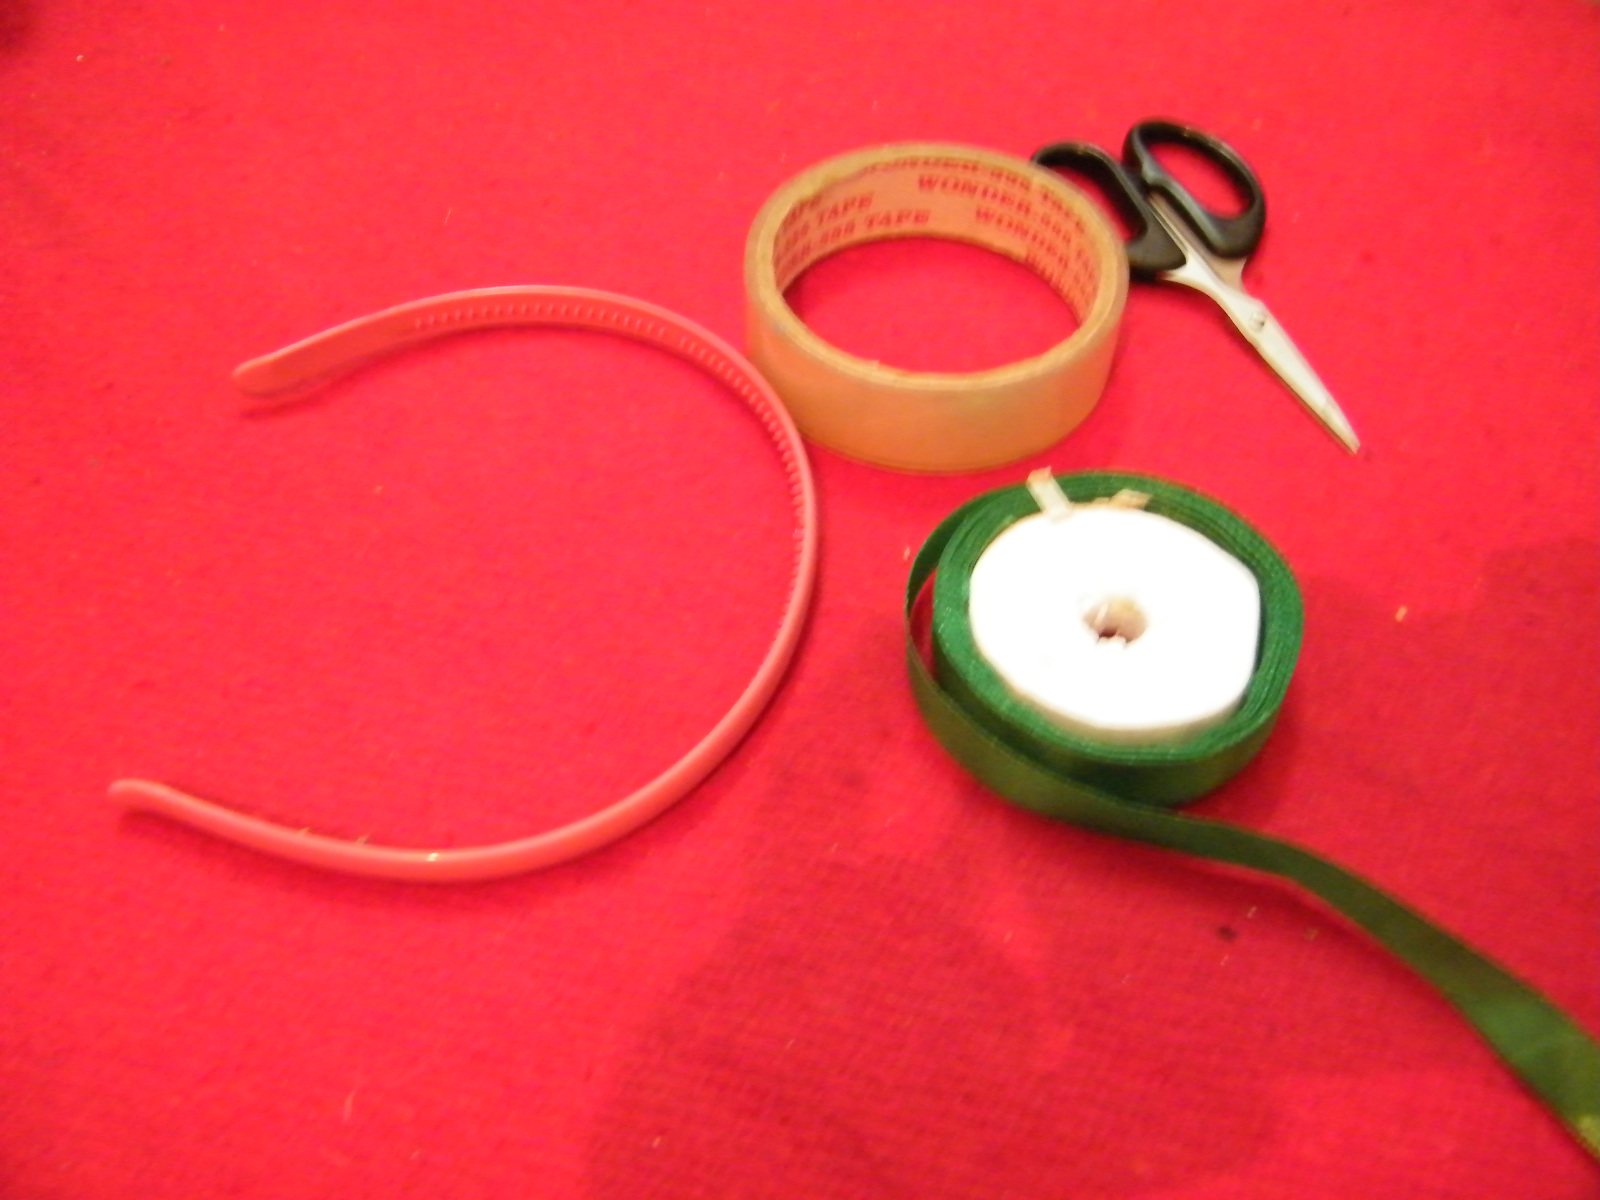
Materials Needed
An old hairband
Satin ribbon – one inch thick
Scissors
Tape
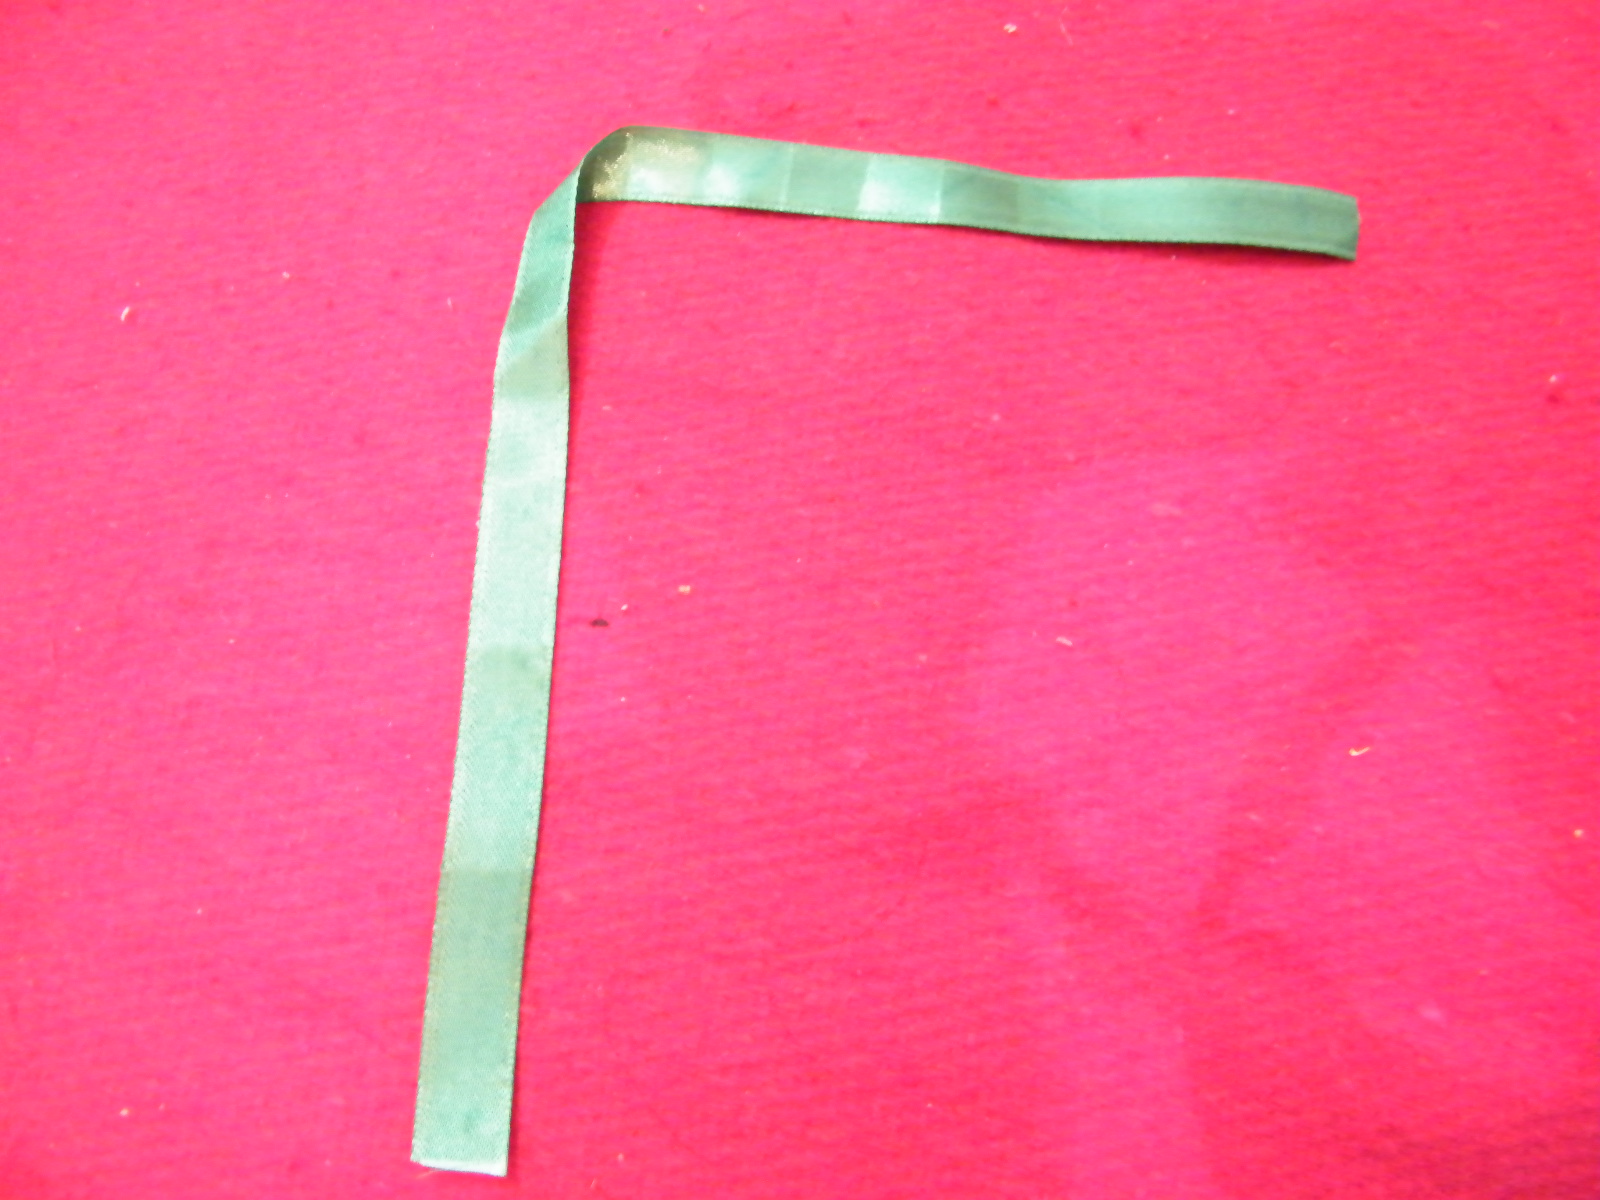
Step 1
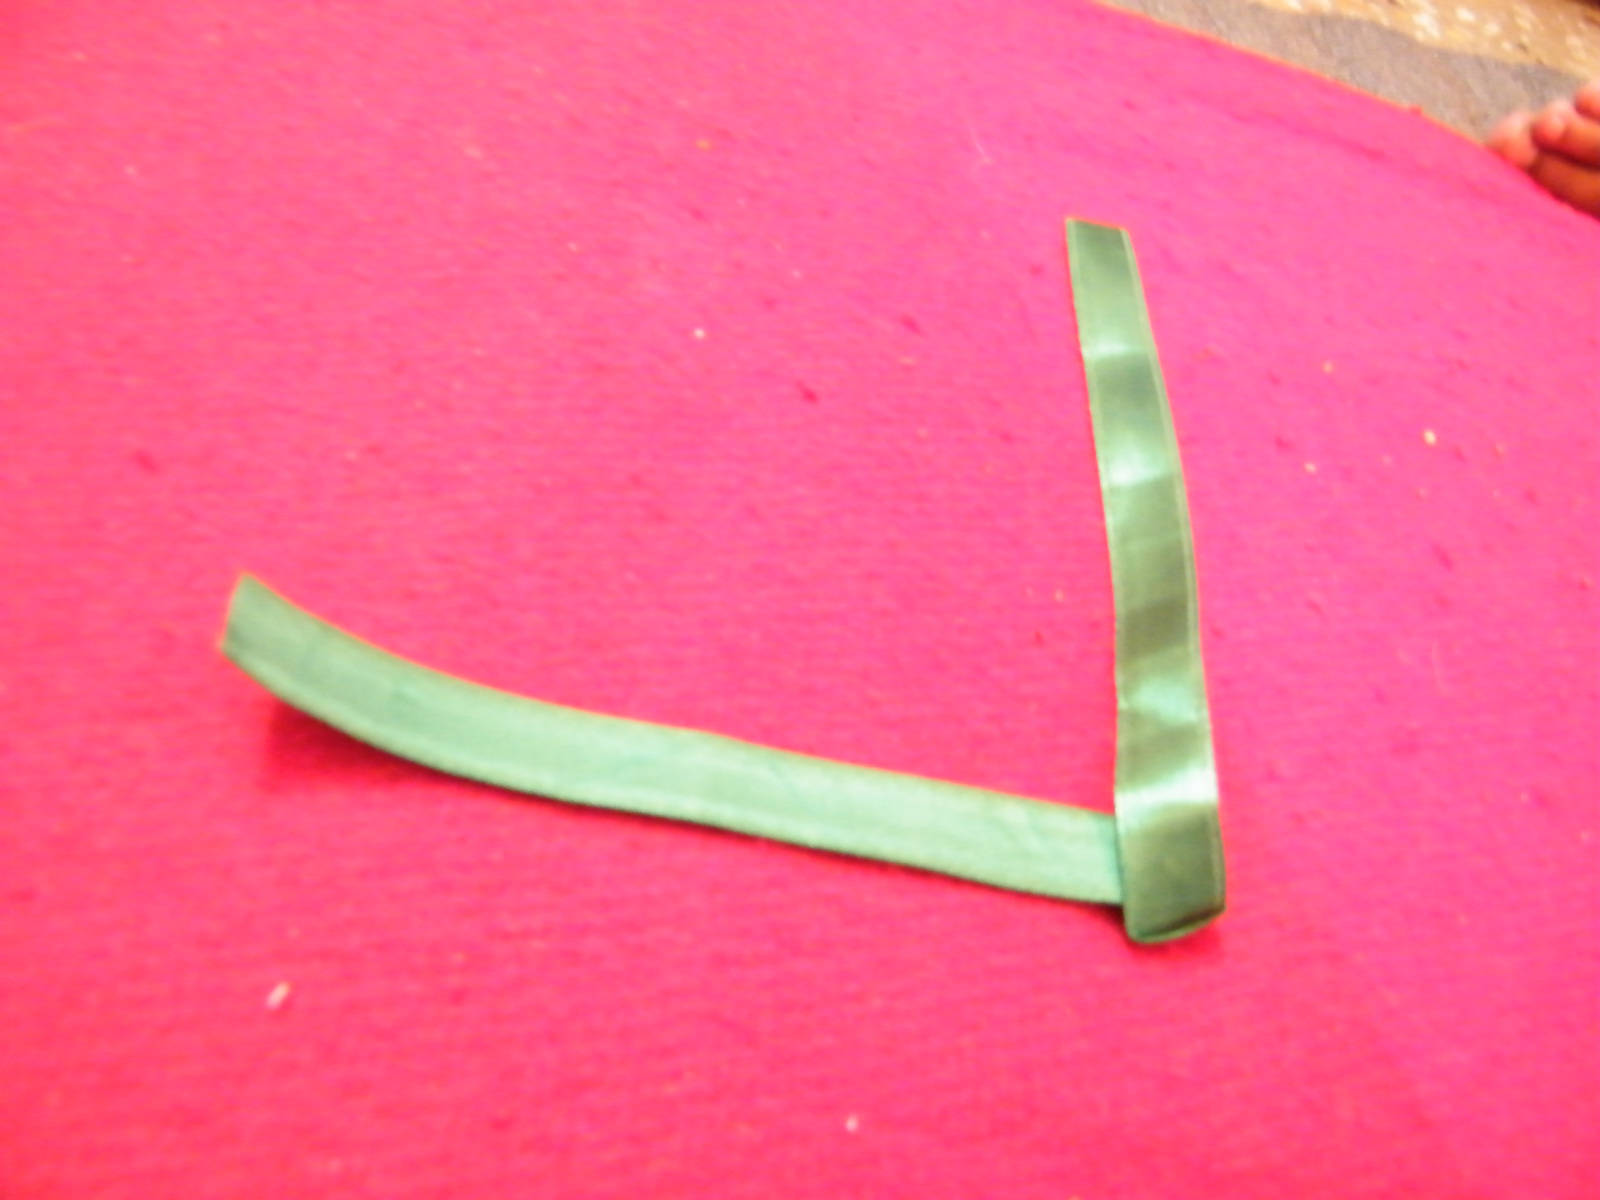
Take a piece of satin ribbon about 10 inches long and fold it in the center to make a 90 degree angle as shown.
[ad#ahc]
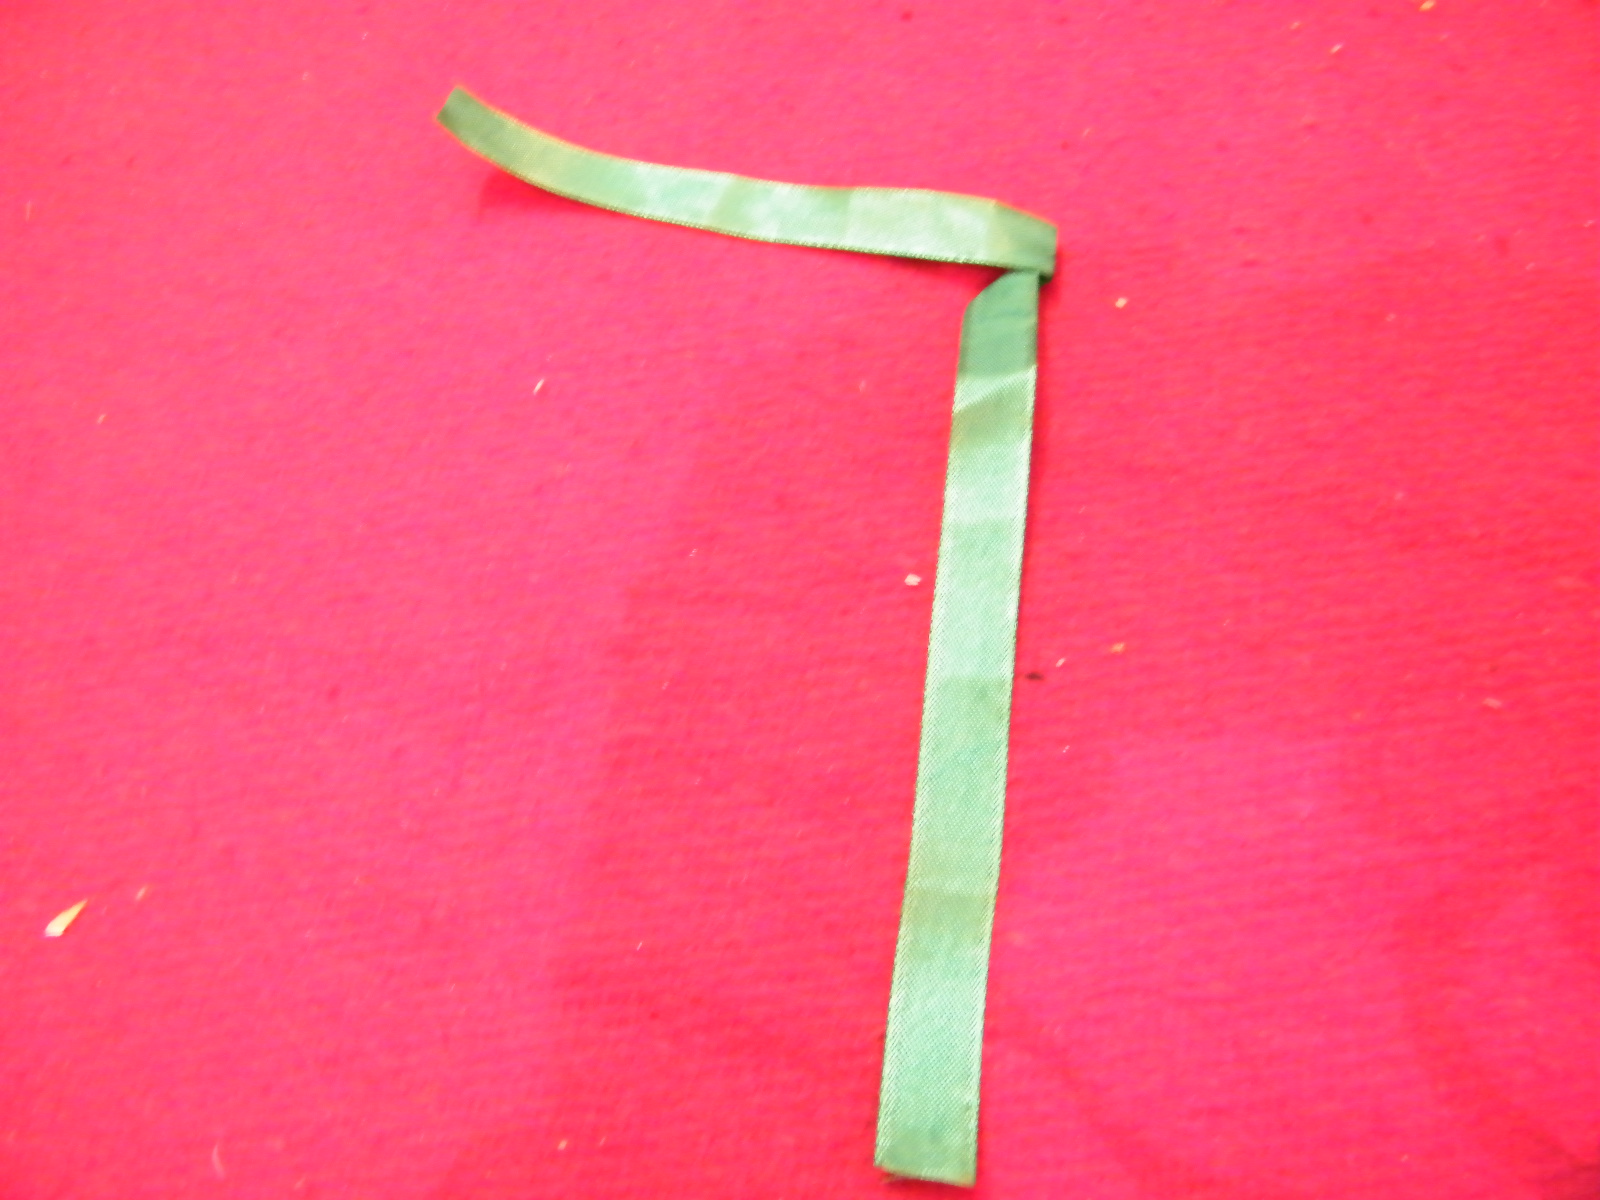
Step 2
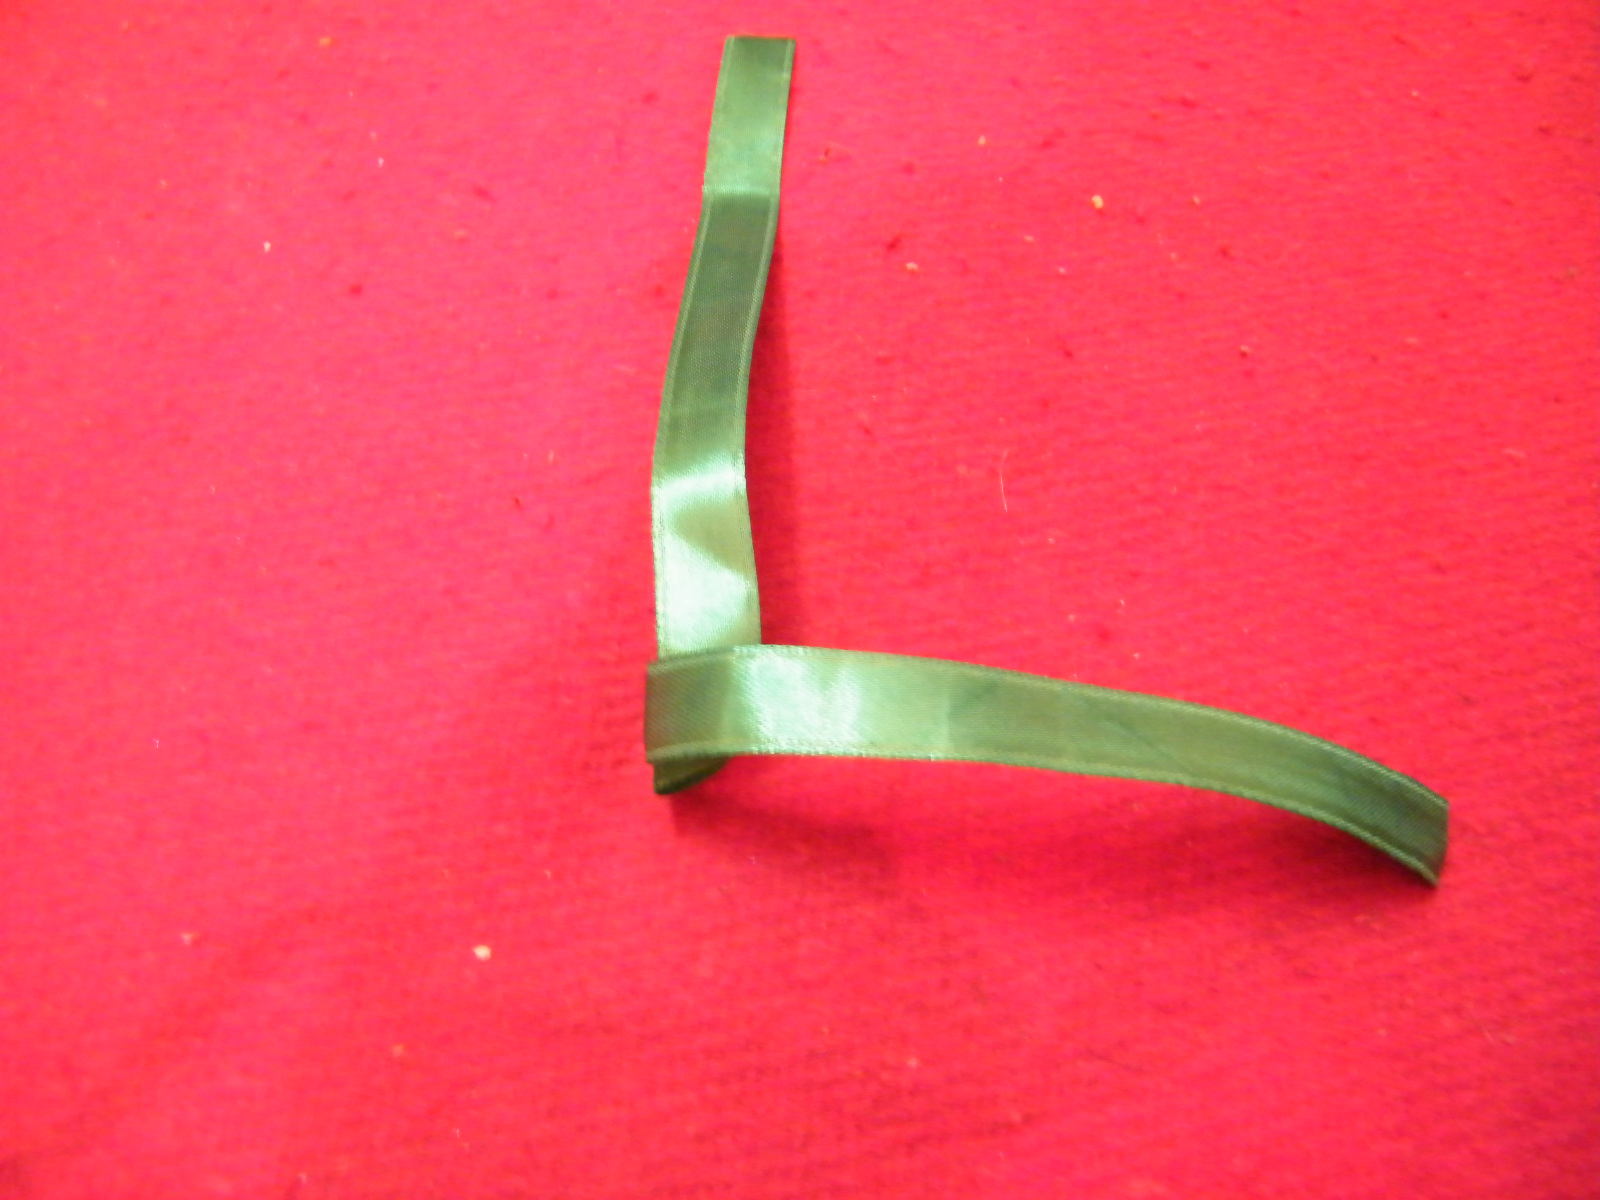
Take the ribbon end on the right side and cross it over to the left side as shown.
Step 3
Take the ribbon on the bottom and cross it over to the top as shown. You can hold the center between your fingers to keep it all in place.
Step 4
Again take the ribbon on the left and bring it to the right.
Step 5
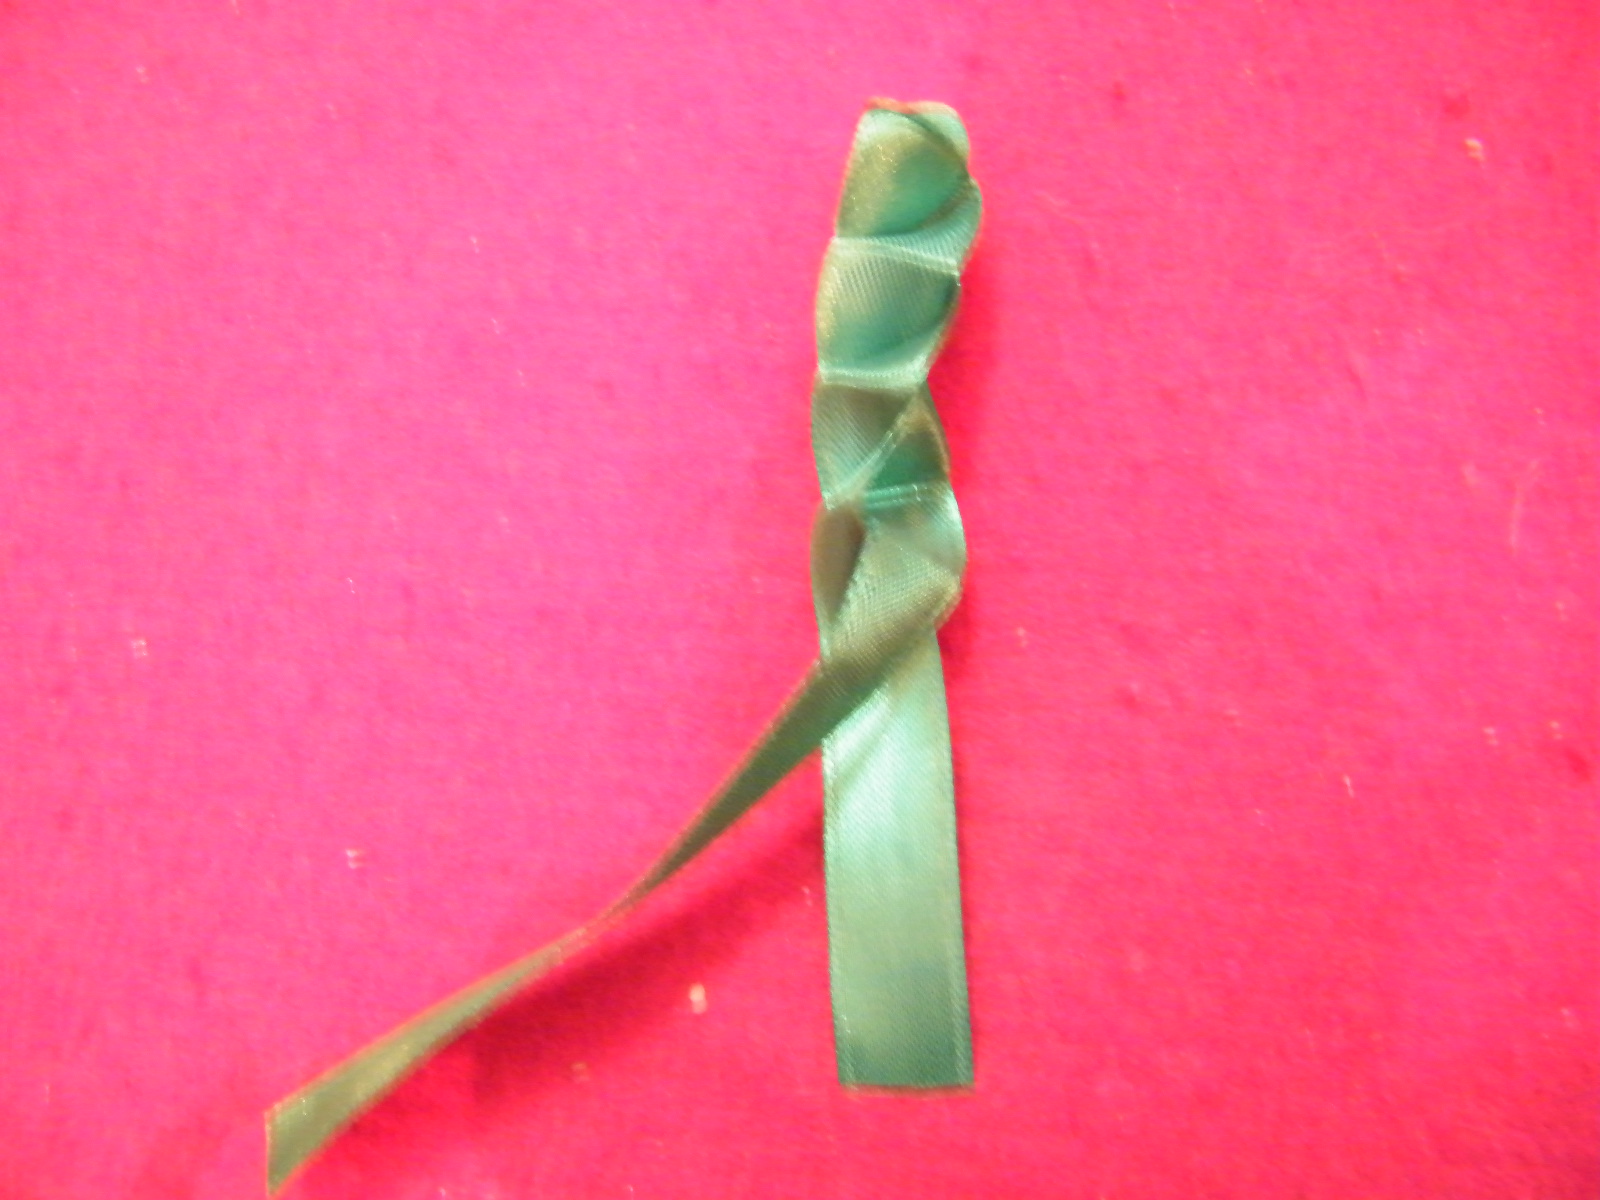
Alternatively repeat the process a few times till you get folds in the center line like this.
Step 6
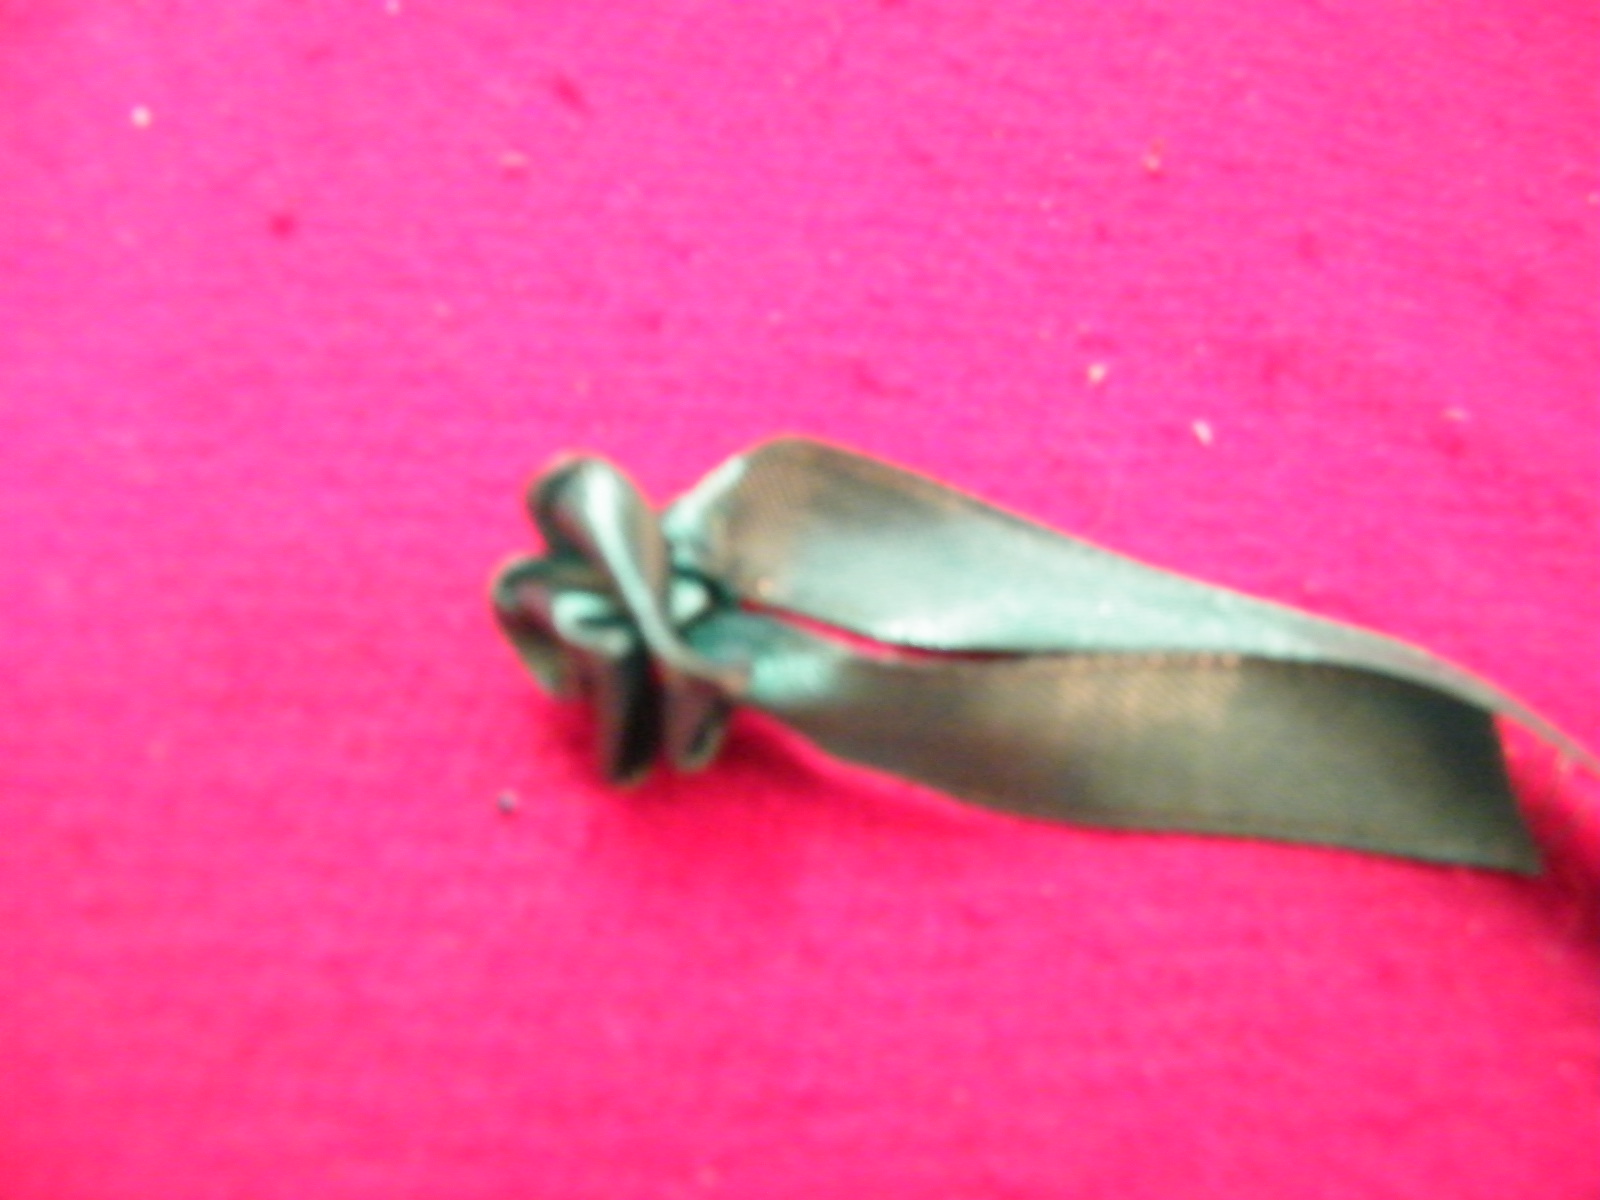
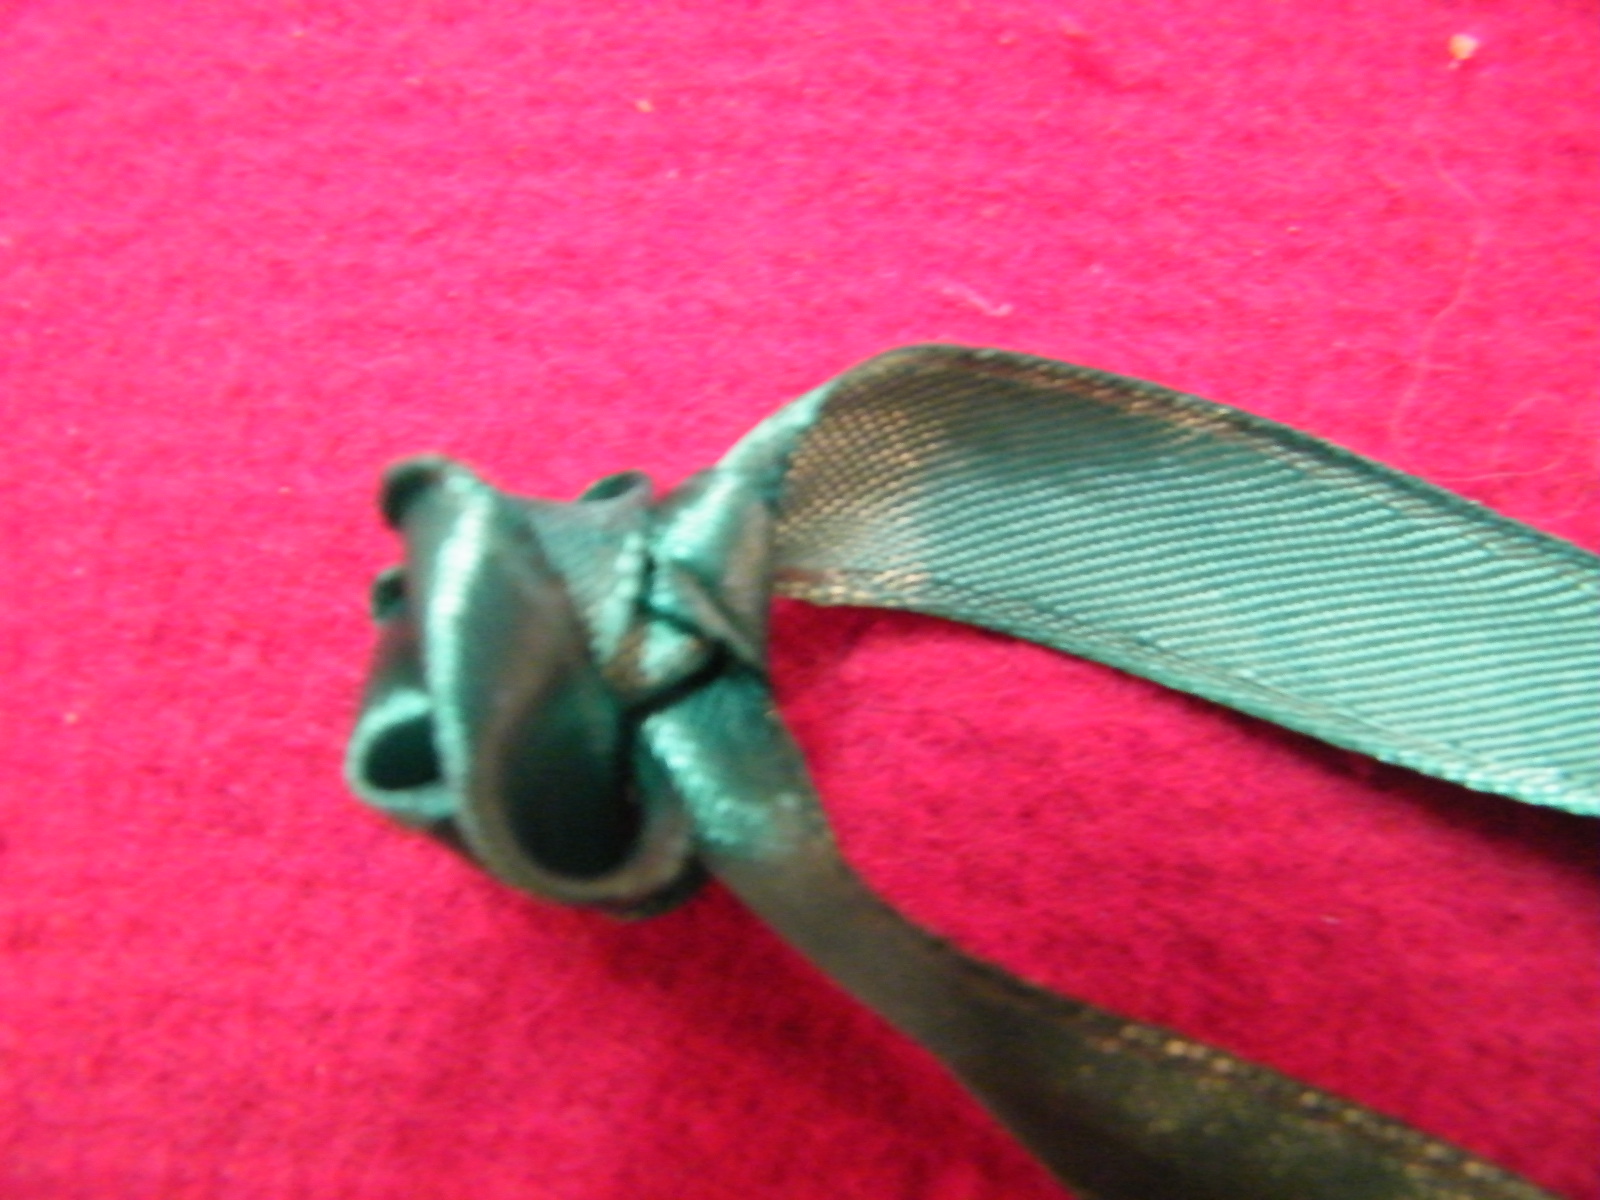
Hold one ribbon end in your finger and gently tug on the other end. The folded ribbon will crunch together to form a rose shape like below.
Step 7
Tie the two ends twice to make 2 knots.
Step 8
The top of the rose will look like this.

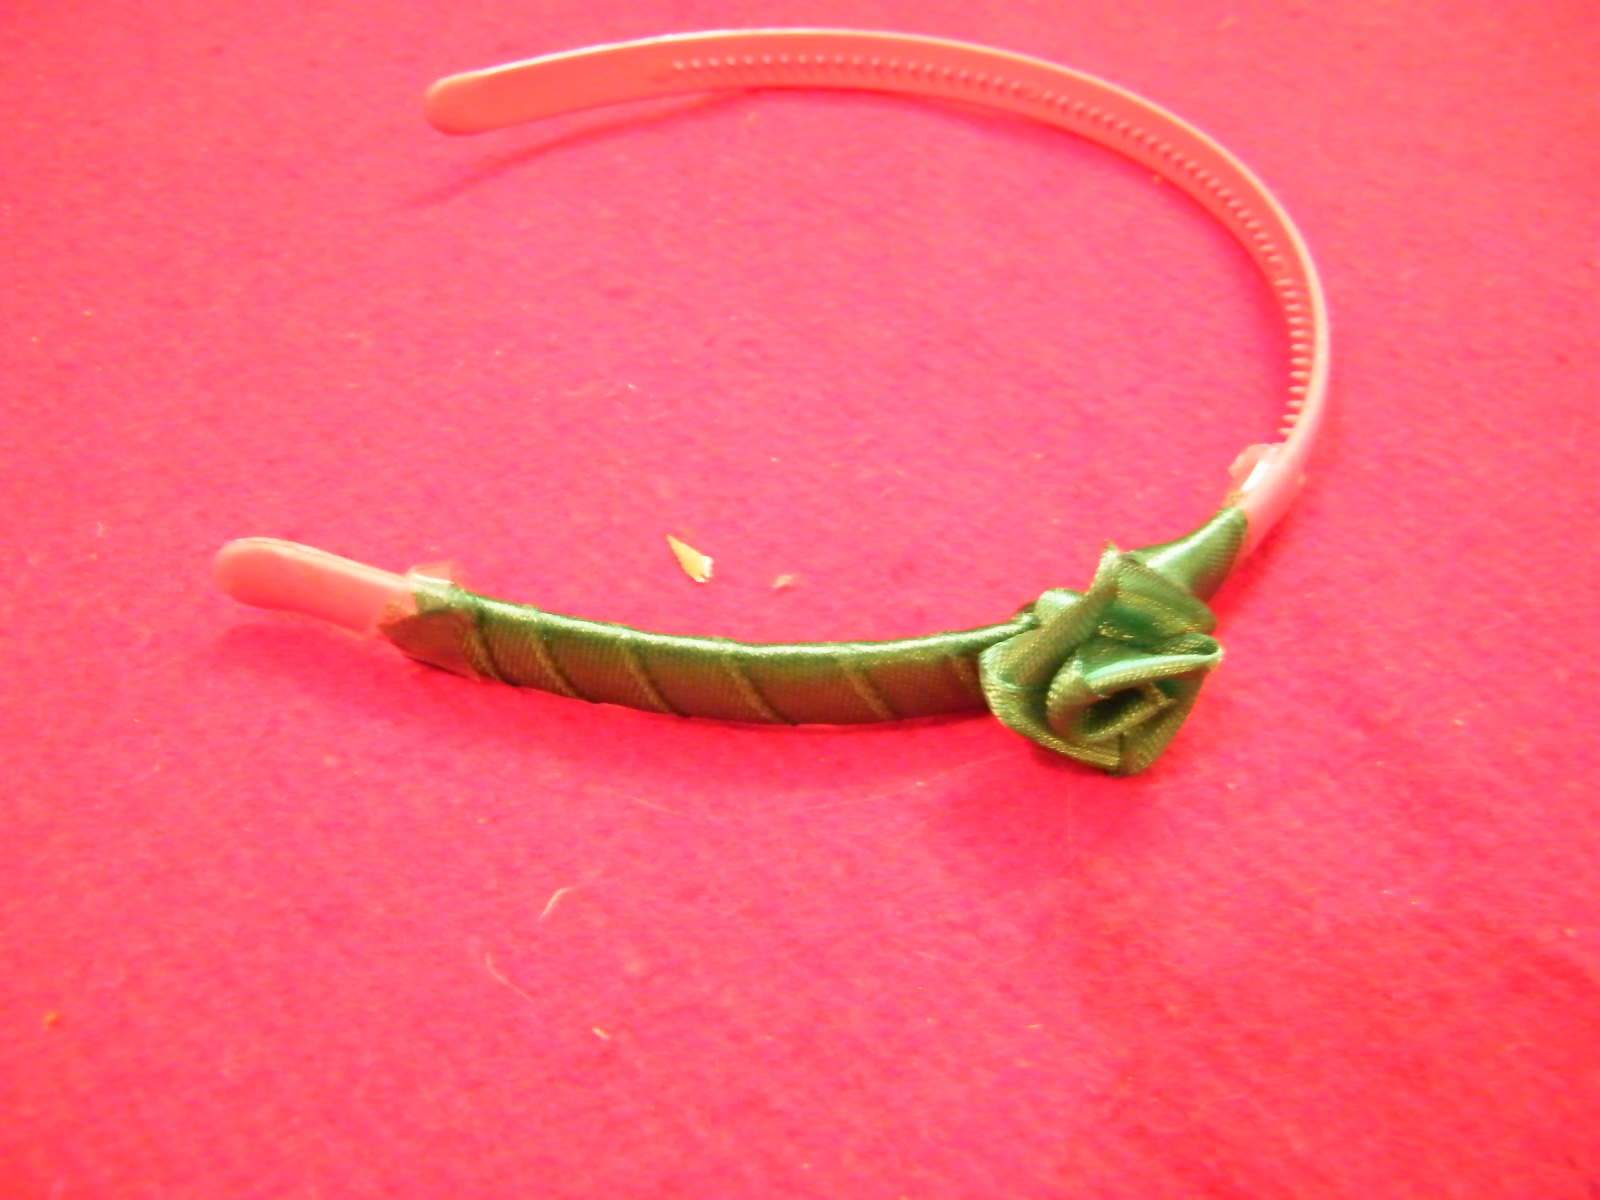
Step 9
Place the rose as desired on the hairband. Roll the loose ends of ribbon around the hairband and tape the ends to the hairband.
Step 10
Make a second rose and place it as shown.

Step 11
Make a third rose as shown.
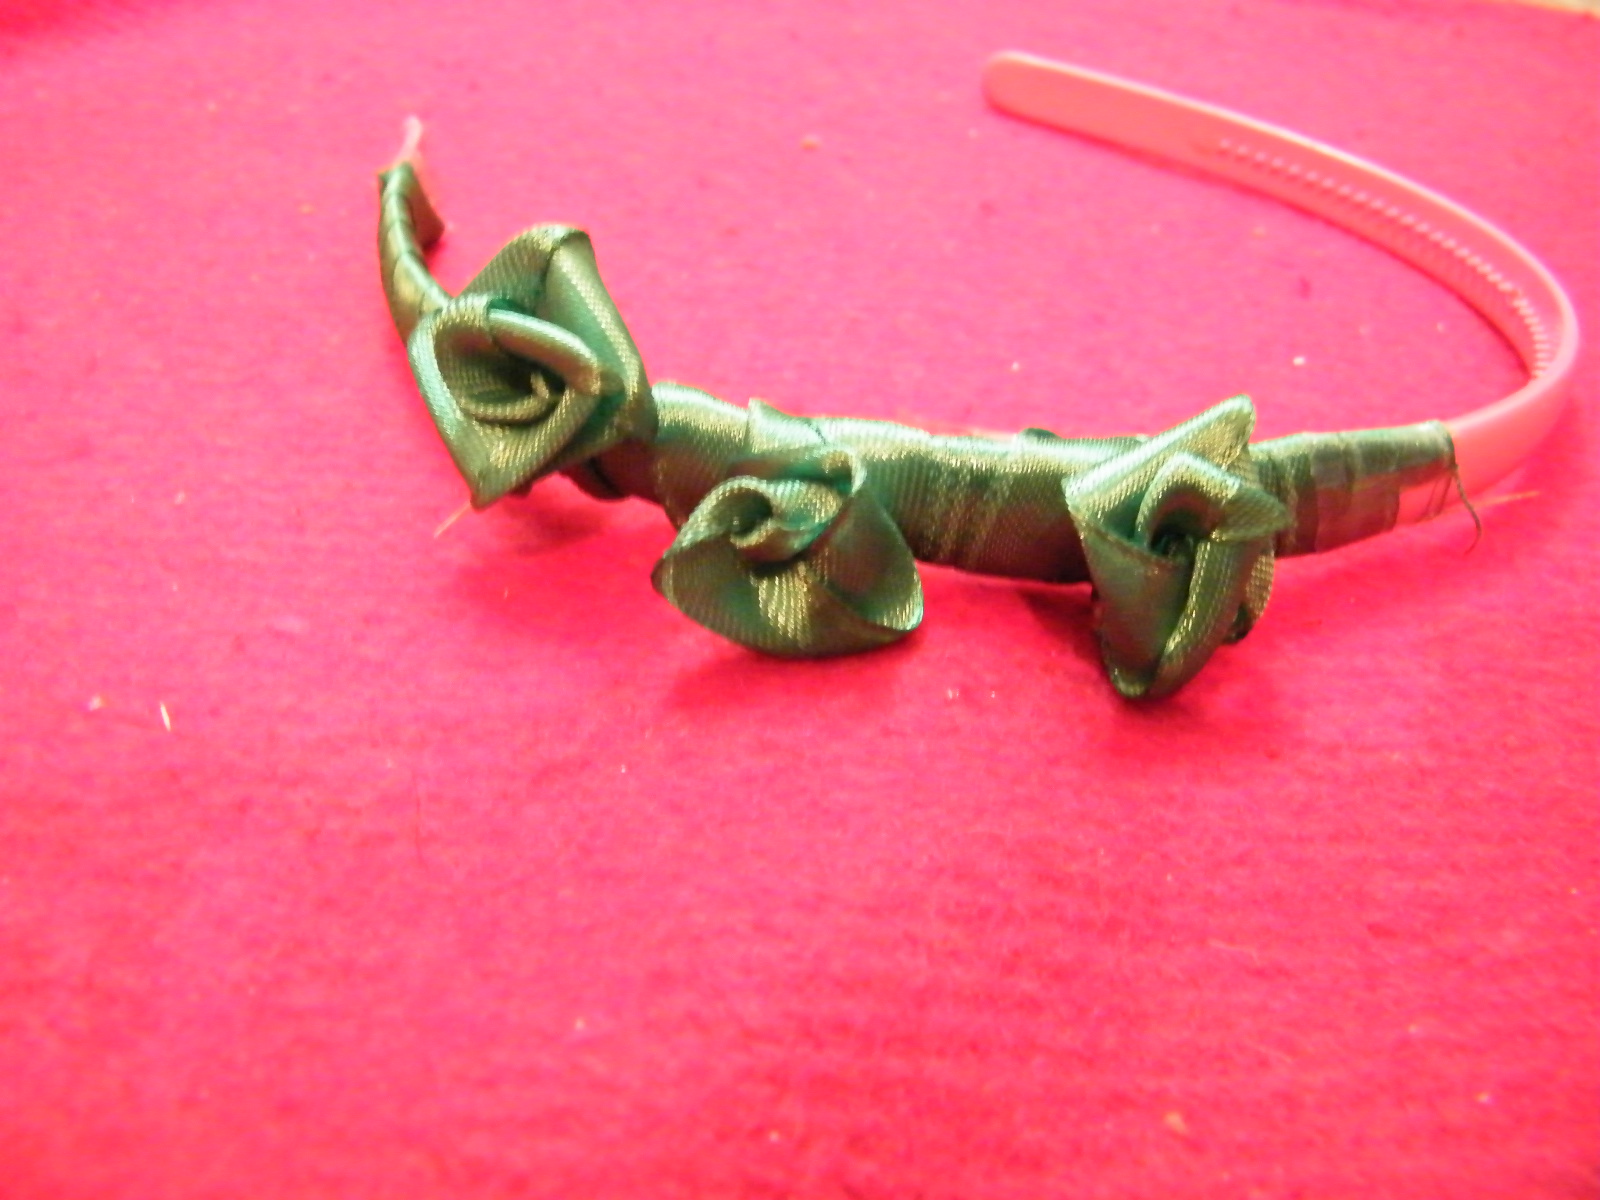
Step 12
Use ribbon to cover the leftover bits. Your satin rose hairband is now ready.
Doesn’t this satin rose hairband turn out gorgeous? How did your hairband turn out? Let me know in the comments below. Make sure to take a picture and share that too in the comments…. I would love to see it.
Technorati Tags: hairbands, hairband crafts, hairband crafts for girls, ribbon crafts, rose crafts, crafts for girls, hair band crafts
