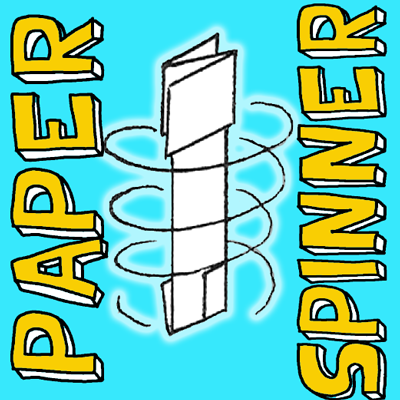
I have a fun craft for you today. And, the cool part is it is just made with some standard paper and a pair of scissors. I am going to show you how to make a Paper Spinner. When made correctly you simply throw it up in the air and watch it spin gracefully the whole way down. I don’t know what’s more fun….. the making of the craft or playing with the craft once it is finished. So, grab some paper and a pair of scissors and let’s get started.
Check out our other Paper Folding Activities.
Materials Needed
Paper
Scissors
Step 1
About a quarter of the way down from the top edge of the long paper, cut two slits towards the center, leaving some space between the ends of the slits.
[ad#ahc]
Step 2
Pleat one bottom section to the exact width of that space.
Step 3
Then fold the other bottom section around it. This produces a folded paper shape exactly like a letter “T,” the one unfolded part being the cross-at the top.
Step 4
To keep the folded segment firmly fixed, cut a short slit upwards from the bottom at the exact center. This should be about 1/2 inch or 3/4 inch in length, or even longer, with a large sheet of paper.
Step 5
Then fold one tab upward to the front, the other upward to the back, as in the image above. This holds the pleated portion in place, as required.
Step 6
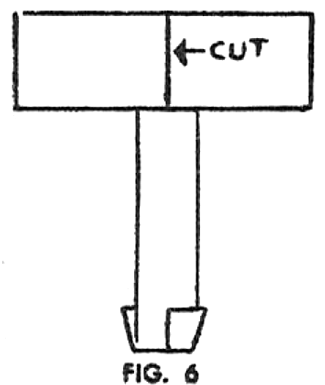
Take the scissors and make a center cut down from the top of the “T” to the folded section.
Step 7
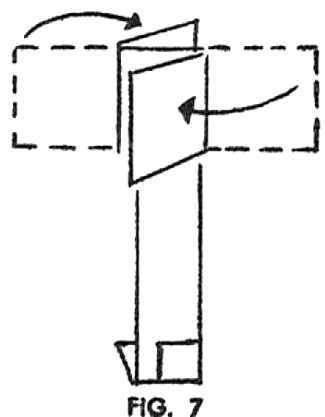
This forms two rectangular “blades” at the top. Fold one of these downwards to the front; the other downwards to the back. These folds are made along the short uncut strip where the cross-bar of the “T” joins the folded upright, or “post” of the spinner. This is shown in the image above. The fact that the blades are flimsy does not matter. On the contrary, it proves helpful towards the spinner’s flight.
Step 8
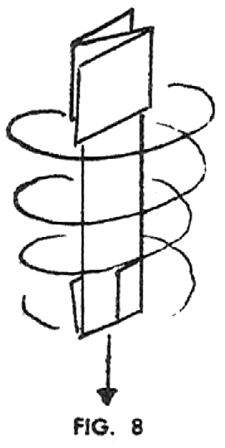
Holding the spinner with the post upright and the blades at the top, give it a short toss straight upward. As it descends, it will begin to spin, its rotary action slackening its fall. The folded tabs at the bottom set like stabilizers during the brief but intriguing flight. When dropped from a window, a spinner may cover more range before reaching the ground.
And, there you have it….. you just made a Paper Spinner. Isn’t it fun to play with? How did your Paper Spinner turn out? Let me know in the comments below.
Technorati Tags: crafts for kids, paper folding, paper art, crafts for children, origami crafts, paper folding crafts, paper folding art, origami art, origami, paper folding activities, paper activities, origami crafts for kids, paper folding crafts for kids, crafts made from paper, toys made from paper


