St. Patrick’s Day is just days away. And, when you think of St. Patrick’s Day what do you think of? I know what I think of…. Shamrocks!! So, in honor of Shamrocks and St. Patrick’s Day I’m going to show you how to make an Origami Shamrock. This Origami Shamrock will be perfect to hang up for St. Patrick’s Day or even use as a bookmark. So, grab some Origami Paper and some glue and let’s get started with this craft.
Check out our other Origami & Paper Folding Activities & St. Patrick’s Day Crafts.
Materials Needed
5 Sheets Green Origami Paper
Glue
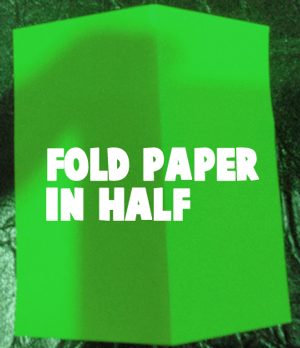
Step 1
Fold paper in half.
[ad#ahc]
Step 2
Fold in half the other way now.
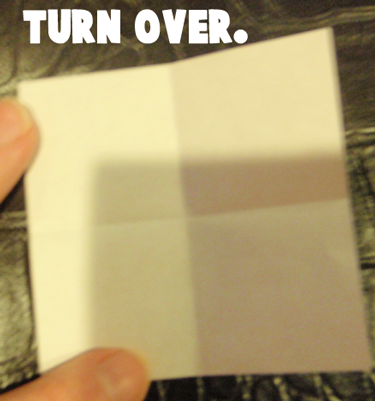
Step 3
Turn over.
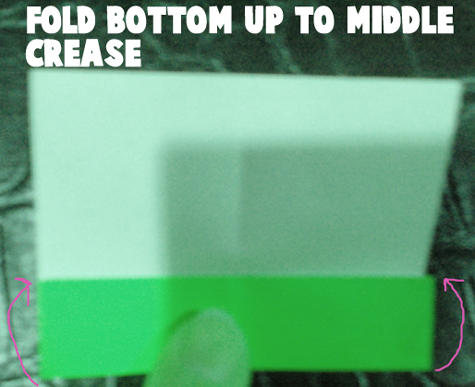
Step 4
Fold bottom up to middle crease.
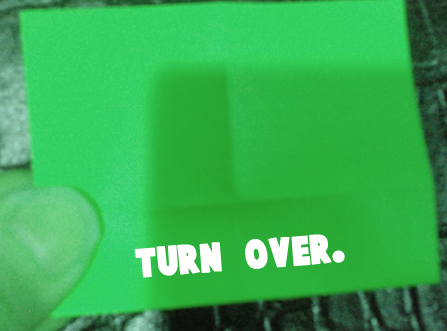
Step 5
Turn over.
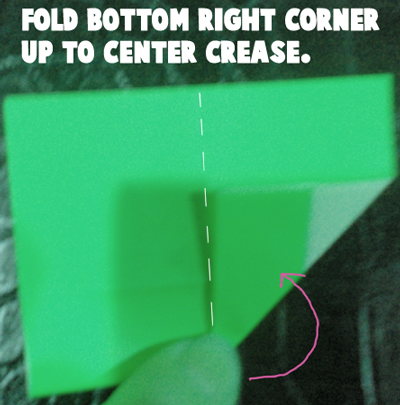
Step 6
Fold bottom right corner up to center crease.
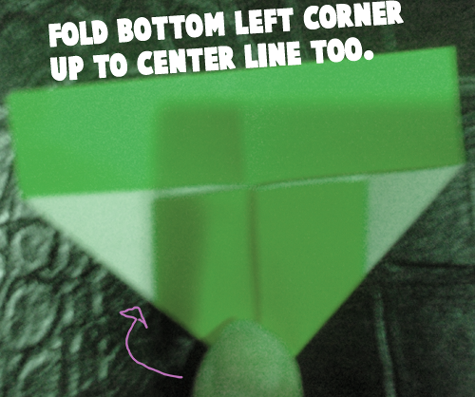
Step 7
Fold bottom left corner up to center line too.
Step 8
Flip over.
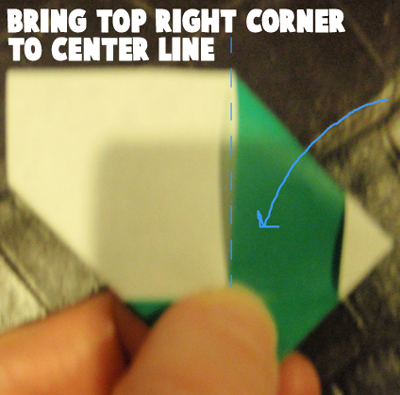
Step 9
Bring top right corner to center line.
Step 10
Now bring left top corner over to center line too.
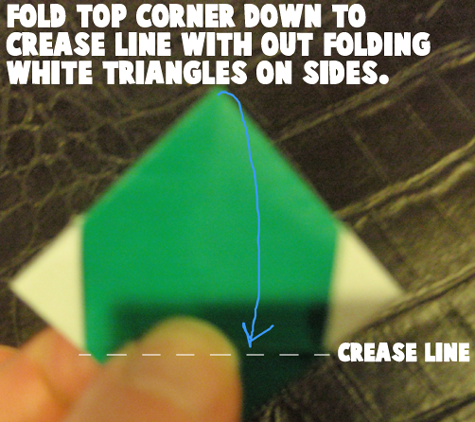
Step 11
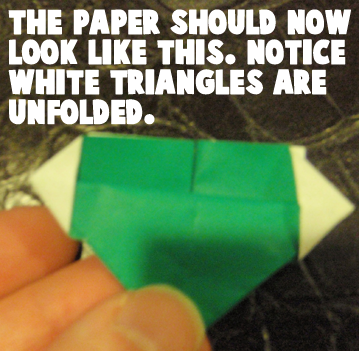
Fold top corner down to crease line without folding white triangles on sides.
The paper should now look like this. Notice white triangles are unfolded.
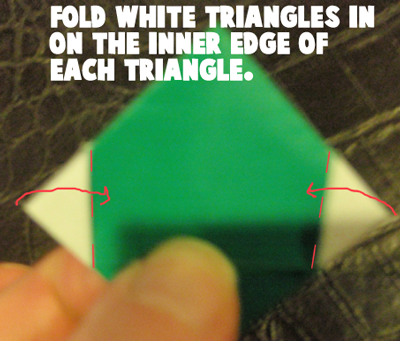
Step 12
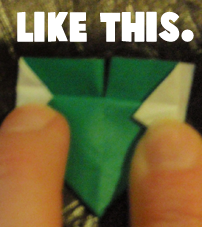
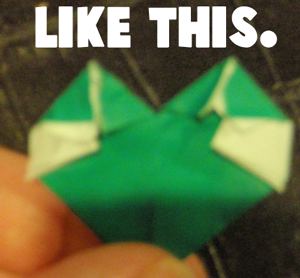
Fold white triangles in on the inner edge of each triangle.
Like this.
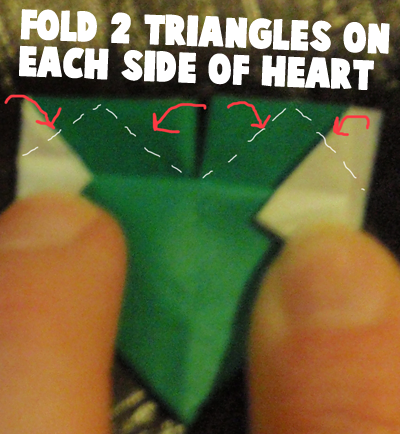
Step 13
Fold 2 triangles on each side of heart.
Like this.
Step 14
Now fold down top a bit to make less pointy.
Step 15
It should look like this.
Step 16
Make four hearts and then place them like this.
Step 17
For stem, place origami paper green side down.
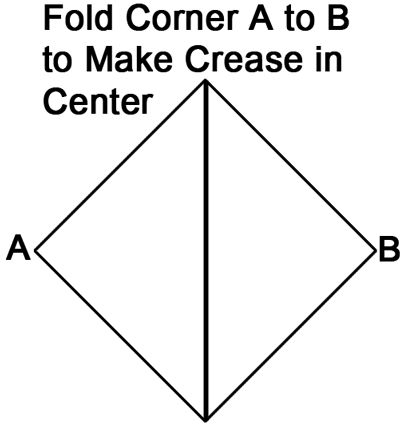
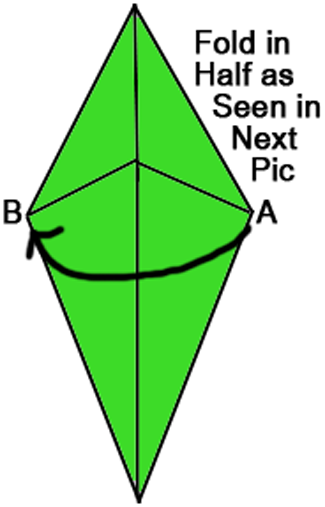
Fold corner A to B to make crease in center.
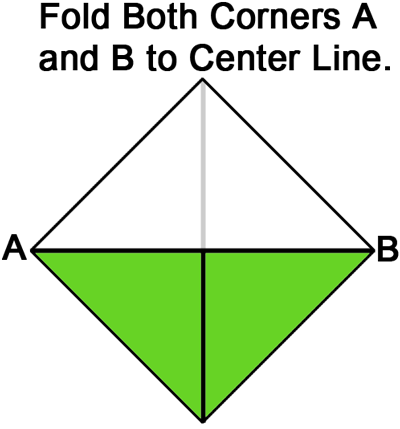
Fold both corner A and B to center line.
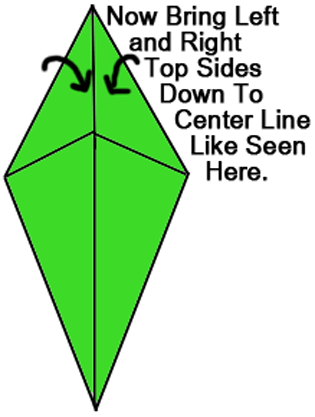
Now bring left and right top sides down to center line like seen here.
Fold in half as seen in next picture.
Like this.
Fold A down to B.
Like this.
Step 18
Now place triangle over hearts.
Step 19
Glue all together.
Step 20
Turn over.
And, there you have it…. you just finished your Origami Shamrock. Isn’t it adorable? How did it turn out for you? Let me know in the comments below. And, don’t forget to take a picture of it too and post that as well in the comments…. I’d love to see it.
Technorati Tags: Saint Patrick’s Day crafts, Saint Patrick’s Day activities, Saint Patrick’s Day Crafts for kids, St. Patrick’s Day, St. Patrick’s Day Crafts, St. Patrick’s Day Decorations, St. Patrick’s Day decoration crafts, St. Patrick’s Day crafts for kids, origami for kids, origami crafts for kids, origami, origami crafts, origami activities, paper folding crafts, paper folding activities, paper folding, crafts for kids













Leave a comment