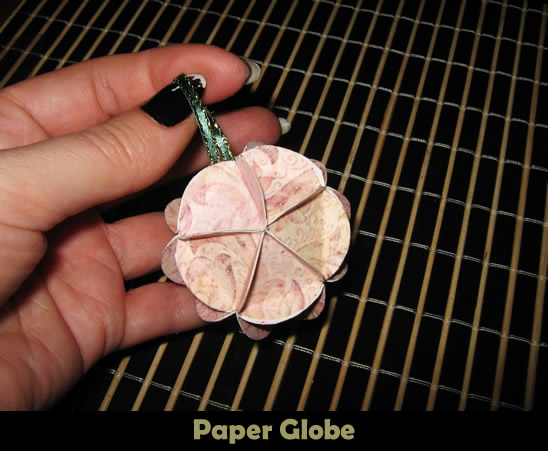
I have a super fun craft for you today…. and it is perfect for the Christmas holiday. Today I’m going to show you how to make a Paper Christmas Globe Ornament that will look beautiful on any Christmas tree. You could even make a few of them to spread throughout the tree. This is a perfect way to adorn the Christmas tree using decorations you made yourself. Imagine the joy it will give you to see these on the tree. So, grab the materials needed and let’s get started.
Check out our other Christmas Crafts.
Laura from Dacian Moon Handmade will show you how to make this step-by-step.
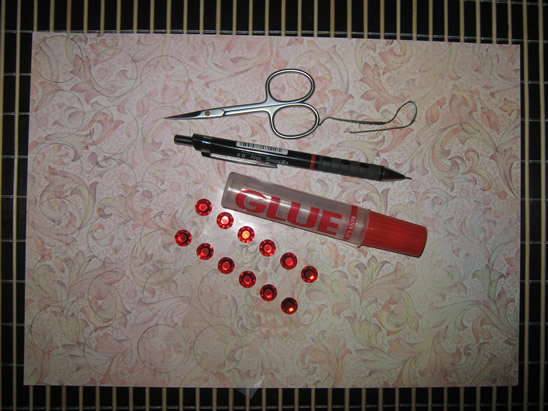
Materials Needed
– pattern cardboard
– pencil
– small piece of ribbon
– glue
– scissors
– auto-adhesive crystals (optional)
Step 1
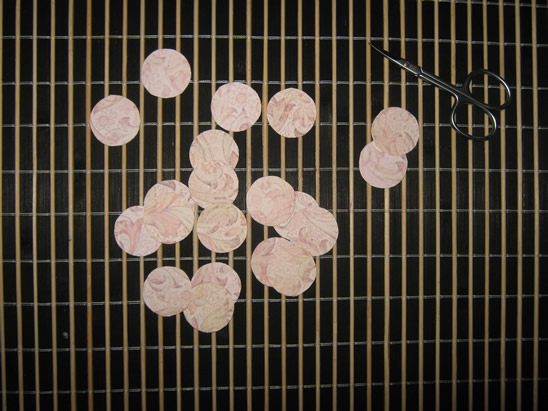
Draw 20 circles on the cardboard.
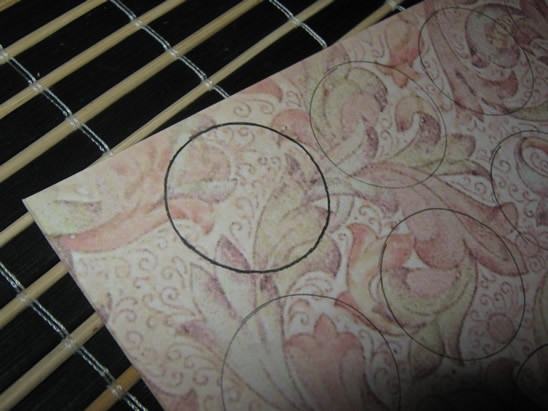
Cut them out.
[ad#ahc]
Step 2
Fold one margin upward…
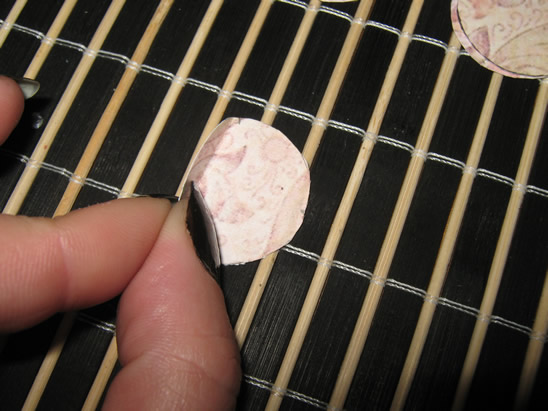
… then another one…
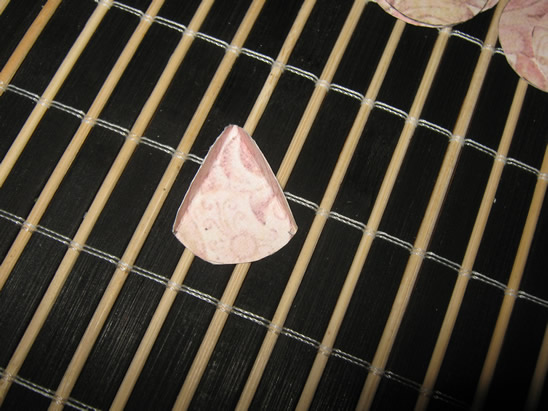
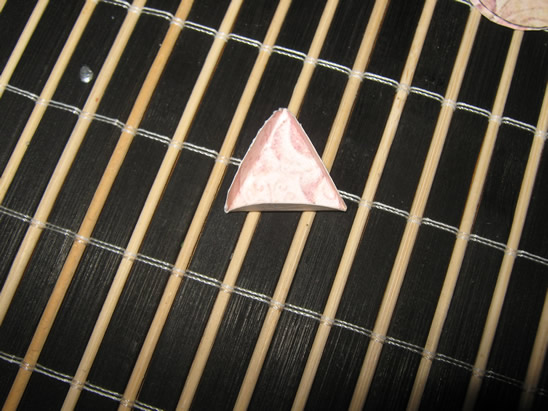
…and the third to close the triangle.
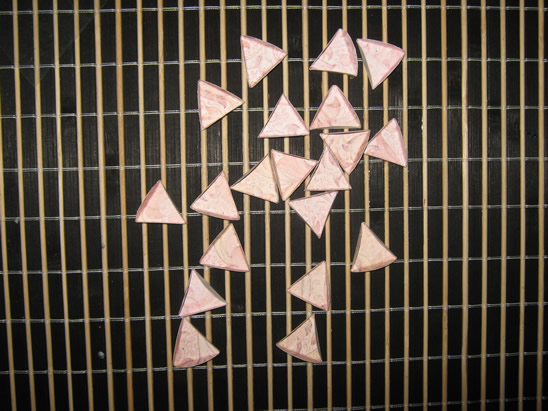
Step 3
Repeat step 2 for all the 20 circles.
Step 4
Start to connect the pieces by applying a layer of glue on one side…
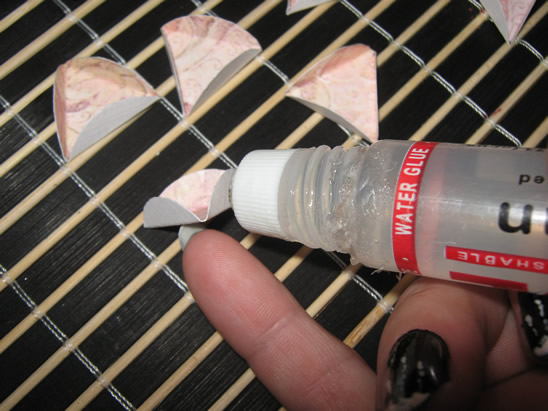
… and press on it a side from another piece, like this.

Do the same to glue all the upper sides…
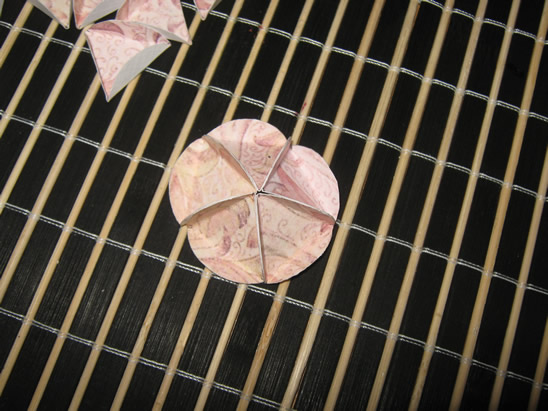
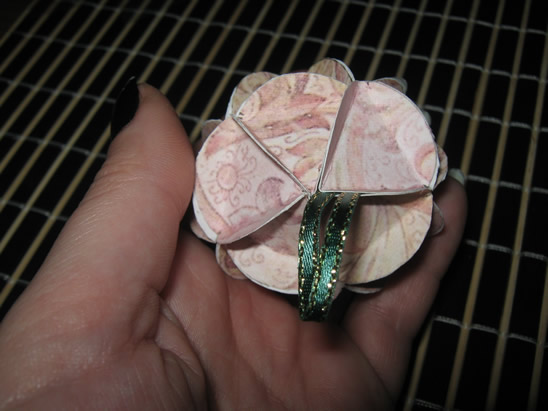
Continue with the lower sides.
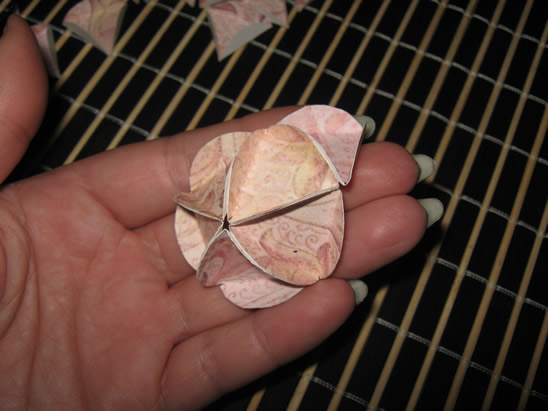
When you will have only one piece to add, it will look like this.
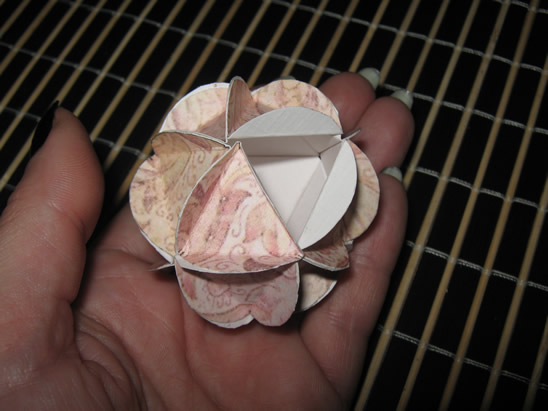
Step 5
Add a small amount of glue on one corner and place the folded ribbon on it.
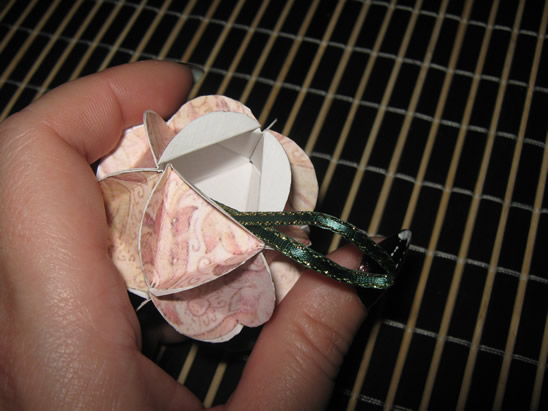
Then glue the last piece like all the others.
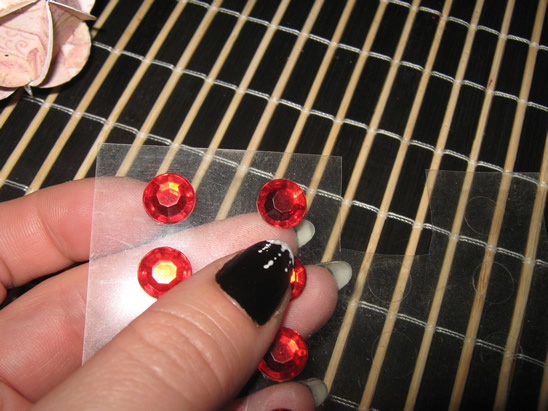
Step 6
This step is optional.
Take one auto-adhesive crystal…
… and place it on one triangle. You can use that to add more of a shine to your globe.
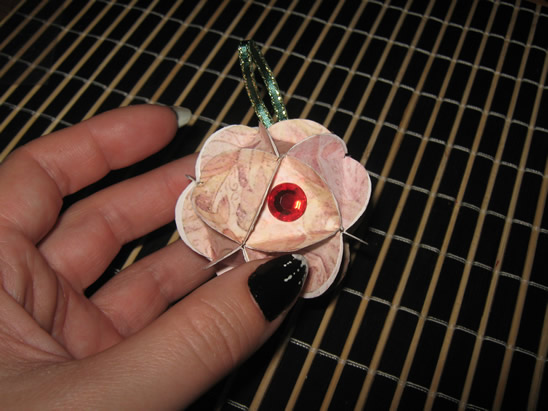
Now your globe is ready to take its place on the Xmas tree.
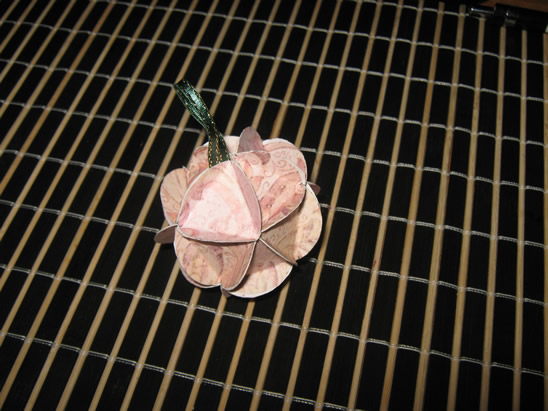
Beautiful!! Now your Paper Christmas Globe Ornament is all finished. You can even make a few more to spread around the Christmas Tree.
Technorati Tags: Christmas crafts, xmas crafts, Christmas activities, xmas activities, December crafts, Holiday crafts, Holiday activities, ornaments, ornament crafts, Christmas Ornaments crafts, Christmas tree ornaments, paper ornaments, paper ornament crafts, cardboard ornament crafts
