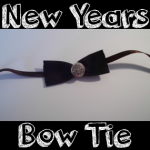
Are you allowed to stay up until midnight on New Years Eve and want to look all dressed up and spiffy? Here is a cute craft for kids to make a bow tie to wear an outfit with a classic style, perfect for any New Year party.
How to Make Cool Stuff
Are you allowed to stay up until midnight on New Years Eve and want to look all dressed up and spiffy? Here is a cute craft for kids to make a bow tie to wear an outfit with a classic style, perfect for any New Year party.
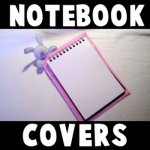
School is about to start yet again and we thought you would love this craft to make a hand-sewn notebook cover. It is a super cute notebook cover that includes a stuffed bunny rabbit at the top. You love to write on it!
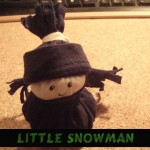
Today we will show you how to make this cute little fabric snowman. He is a lot of fun to make and even more fun to play with. On this cold Winter day, I thought this would be a great craft to share with you.
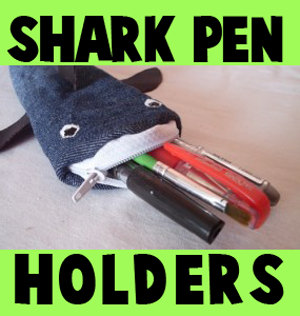
I think you’ll love this pencil pouch … He is so fierce! And when I say ‘He’, I mean Sharky…Sharky the Pencil Pouch. And he will keep your pencils safe as nobody messes with sharks! 😉 Laura will show you, step by step, how to make it this awesome (yet adorable) shark pencil holder pouch.
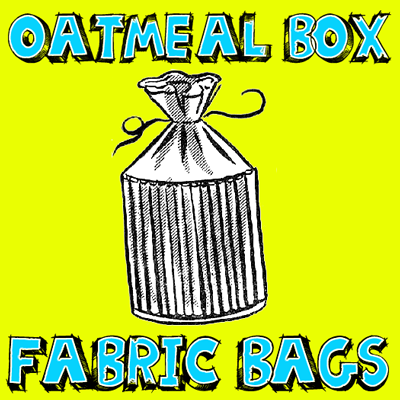
Here is a craft for making a great drawstring bag out of a cylinder oatmeal container, fabric, some cardboard, and a few other items. This bag turns out looking beautiful and would make a great bag for yourself or as a gift to mom, grandma, or someone else you love.
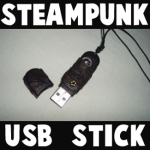
Learn how to take a normal USB memory stick and decorate it with paint and random objects…turn it into a Steampunk masterpiece.You can then wear it around your neck as a special pendant necklace.
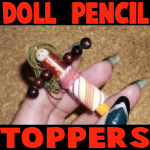
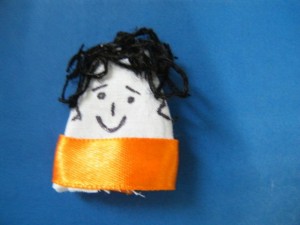
Do you want to create an adorable companion for your time back at school? Here is an easy-to-make doll that can be stored on the top of your pencil.Learn how to make it with the following step-by-step tutorial.
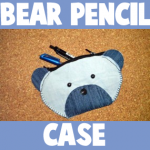
If you want to start getting prepared for back-to-school time, here is a simple sewing project to make a pencil case that looks like a cute teddy bear. Find out how to make it with the following step-by-step craft instructions.
Here’s a Father’s day gift that guarantees hours of fun. Make a set of thumb puppets for your dad and yourself, and play thumb wrestling. The simple illustrated instructions to make the thumb puppets follow

Passover starts in about a week and I thought that some of our Jewish followers might want a Passover craft. Today I will show you how to make an Afikoman Bag, which can then be used to hide Matzah for the little kiddies to search for. Although I sewed this Afikoman Bag, you could use fabric glue to put your Afikoman bag together. Learn how to make it on the following page.
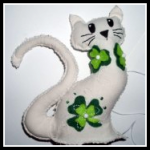
Do you want to learn how to make and sew a stuffed animal named “Lucky Cat” for Saint Patrick’s Day? This stuffed cat is covered in shamrocks and isn’t too tough to make. Learn how to make this kitty cat in the following craft tutorial.
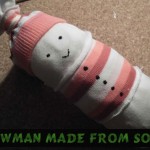
When you think of winter time what do you think of? Snow, of course. Well, what is the one thing that children love to make in the snow? A snowman. Today I’m going to show you how to make a snowman from socks. This is an adorable snowman stuffed toy that any child will love to snuggle with. And, if the child helped your make it…. they will enjoy it even more. This is a great winter time craft that can be enjoyed by children young and old.
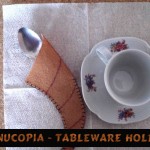
Thanksgiving is coming up quickly. But, don’t stress you still have plenty of time to make your Thanksgiving festivities unique. Today I will show you how to make Cornucopia Silverware Holders for your Thanksgiving table. These Thanksgiving silverware holders are in the shape of a cornucopia…. they are the perfect shape and size to hold your silverware. This is a great way not only to add a Thanksgiving flair to your dinner table, but it is also a great way to keep all the silverware in place. So, let’s get started.

Girls love pretending to be Fairys. They can pretend to be Fairys on any day of the year, but they especially love dressing up as a Fairy on Halloween. Well, a fairy just can’t truly be a fairy without their Fairy Crown. In this post I will show you how to make a Fairy Crown for Halloween. Add this to your Fairy Skirt and Fairy Mask to have the most perfect Fairy Costume this Halloween. Or, use the Fairy Costume to play dress-up all year long. Let’s get started with the craft.

Earlier today I showed you How to Make a Fairy Mask for Halloween. But your Fairy Costume wouldn’t be complete if you didn’t have a Fairy Skirt to wear along with it. I have an easy craft to show you how to make a Fairy Skirt using some green and cream tulle. Tulle is a wonderfully light material perfect for Fairys. After all, how else could a Fairy fly around like she does if she wasn’t wearing something light like Tulle. Your little girl will love this fairy skirt…. she will surely use it well after Halloween is over for dress-up fun. So, let’s get started.

Little girls love to be Fairys. They just do. But, sometimes those store bought Fairy Masks can be a real nuisance to wear during Trick-or-Treating. Well, I have a treat for you today. I’m going to show you how to Make a Fairy Mask for Halloween. This Fairy Mask is made with Tulle so it is wonderfully light. Not like those plastic or vinyl store bought Fairy Masks…. this mask is simply beautiful. Plus, your little girl will have a blast making her mask too…. almost as much as wearing it. Keep an eye out as I will show you How to Make a Fairy Skirt Costume later today.