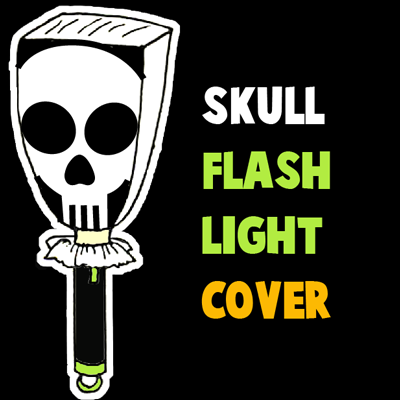
Today I’m going to show you how to make a Skull Flashlight Cover. This Flashlight Cover is very spooky… perfect for carrying around this Halloween season. It’s a simple craft made from a flashlight and paper bag. But, don’t let its simplicity fool you…. the outcome is a flashlight cover worthy of being carried around during Trick or Treat for all to see.
Check out our other Halloween Crafts.
Materials Needed:
Flashlight
New Lunch Bag
White & Black Paint
Masking Tape
Construction Paper (optional)
Glue (optional)
Step 1
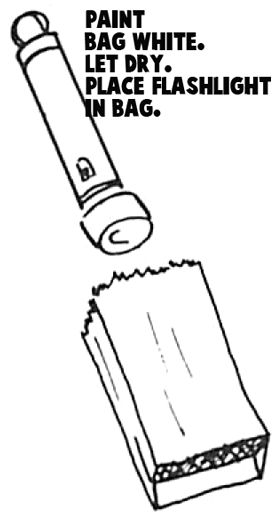
Obtain a new brown lunch bag (a used lunch bag would probably be too wrinkled and too hard to use). Paint the bag white. Let dry.
[ad#ahc]
Step 2
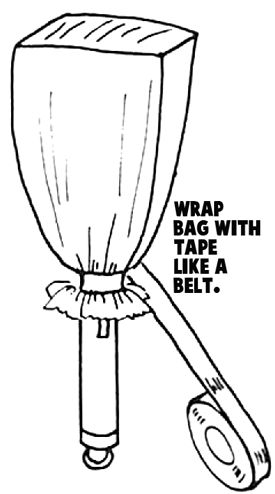
Bulb end of flashlight is inserted 2 inches in open end of the bag…leaving space between the bag and the light. Draw open end of bag together around flashlight and tape with masking tape or tie with string. Tape bag with tape like a belt.
***Leave space between the flashlight and the end of the bag so that the paper bag doesn’t sit directly on the light. NEVER LEAVE THE FLASHLIGHT COVERED WHILE UNATTENDED AND TURN OFF WHEN NOT IN USE!!!***
Step 3
Now let’s start with painting the face. Bag may be decorated by using tempera or acrylic paints and/or construction paper. If construction paper is used, the desired portions of the designs are cut out of the paper and glued to one or more faces of the bag.
Step 4
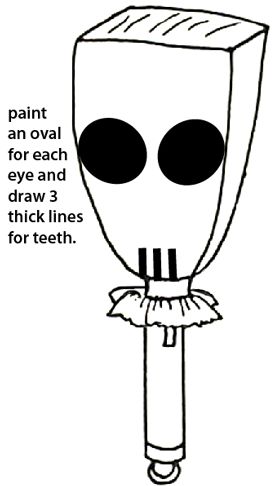
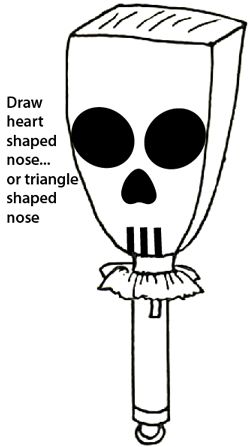
Paint an oval for each eye and draw three thick lines for teeth. While the picture on the paper bag is being designed the flashlight can be lit in a darkened area to obtain the desired effect.
Step 5
Draw a heart shaped nose… or a triangle shaped nose.
Step 6
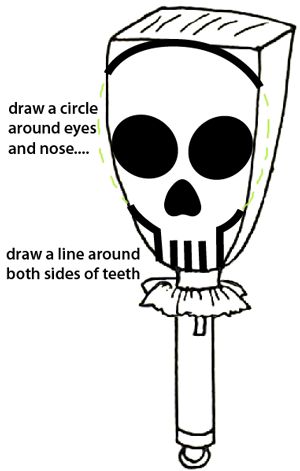
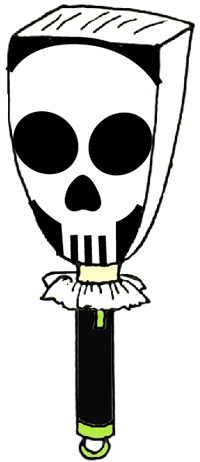
Draw a circle around the eyes and nose… Draw a line around both sides of teeth. Fill in both those areas with black paint.
And, there you have it. You have just finished making a Skull Flashlight Cover perfect for carrying on Halloween. And, if you are looking for a matching Trick or Treat basket craft check out How to Make a Skull Trick or Treat Basket… these Skull items carried together will be a HUGE hit!!
Technorati Tags: Halloween, Halloween Crafts, Trick or Treat, Trick or Treat Crafts, Skull, Skull Crafts, Skeleton, Skeleton Crafts, Flashlights


Leave a comment