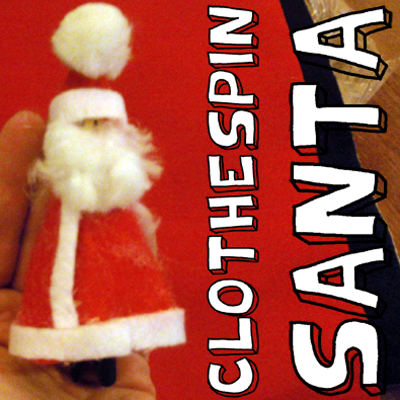
Today we are going to continue with the fun Christmas crafts by making an ornament. I’m going to show you how to make a Santa Claus Clothespin Ornament. The craft makes a cute Santa Claus that is perfect to hang on your Christmas Tree. As a matter of fact, this ornament turns out so good I think you should make a few to put around your entire Christmas Tree this Holiday Season. So, let’s get started.
Check out our other Christmas Crafts.
Materials Needed
Printer & Paper
Old Fashioned Clothespin
Paint – Red, White & Black
Felt or Fabric – Red & White
Glue (Really good glue…. better than Elmers)
Cotton
White Pom Pom
Black Marker
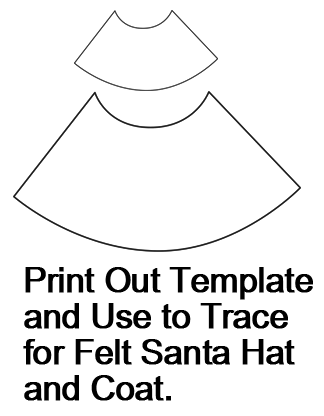
Print out template below. You will use later to trace for felt Santa hat and coat.
Click on template to make larger and to print.
Step 1
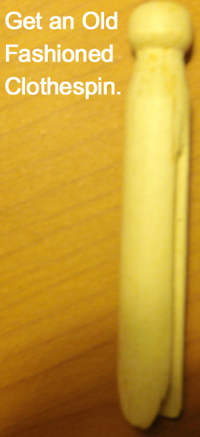
Get an old fashioned clothespin.
[ad#ahc]
Step 2
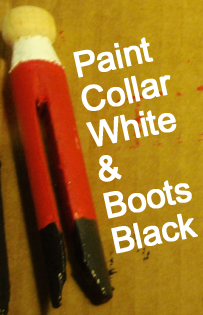
Paint some of the clothespin red.
Step 3
Paint collar white and boots black.
Step 4
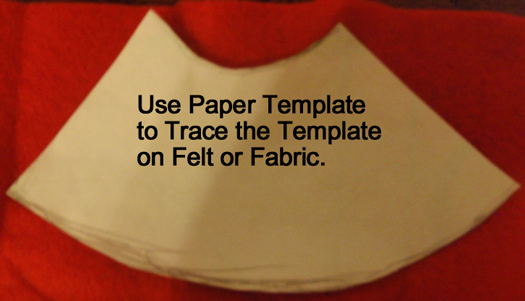
Use paper template to trace the template on felt or fabric.
Cut out like this.
Step 5
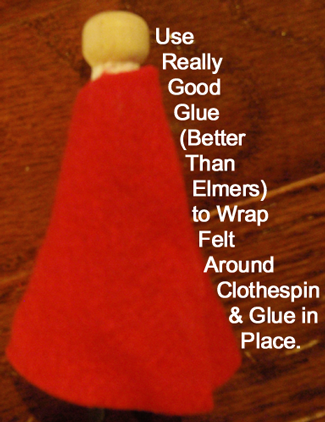
Use really good glue (better than Elmers) to wrap felt around clothespin and glue in place.
Step 6
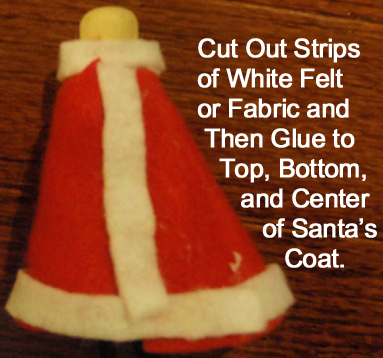
Cut out strips of white felt or fabric and then glue to top, bottom and center of Santa’s coat.
Step 7
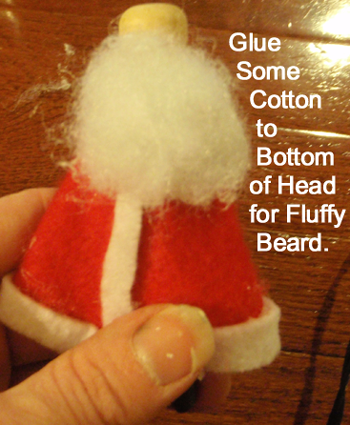
Glue some cotton to bottom of head for fluffy beard.
Step 8
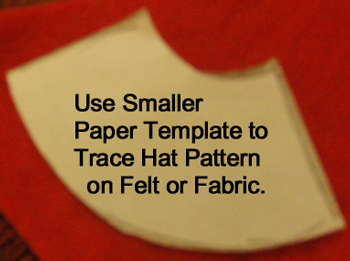
Use smaller paper template to trace hat pattern on felt or fabric.
Cut out like this one.
Step 9
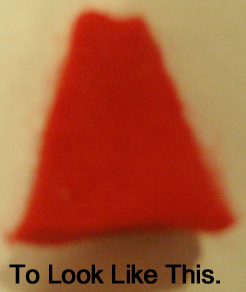
Wrap around to glue together.
To look like this.
Step 10
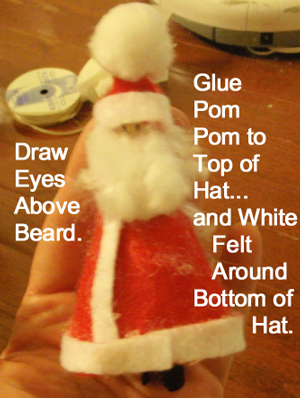
Draw eyes above beard. Glue pom pom to top of hat… and white felt around bottom of hat.
There you go…. you just finished your Santa Claus Clothespin Ornament. Now go hang it on your Christmas Tree proudly for all to see.
Technorati Tags: Christmas crafts, xmas crafts, Christmas activities, xmas activities, December crafts, Holiday crafts, Holiday activities, ornaments, ornament crafts, Christmas Ornaments crafts, decorations, Christmas decorations, Christmas decoration crafts, clothespin crafts
