I have a fun craft for the girls today. I’m going to show you how to make a butterfly headband. This headband is perfect for any girl to wear who loves butterflies. This headband can actually be worn in the hair and the butterflies stand up from the headband, so you will be able to see the butterflies no matter how thick your hair is. This craft is not only useful, but it is also fun. So, grab the materials needed and let’s get started.
Check out our other Crafts for Girls.
Laura from Dacian Moon Handmade will show you, step by step, how to make this.

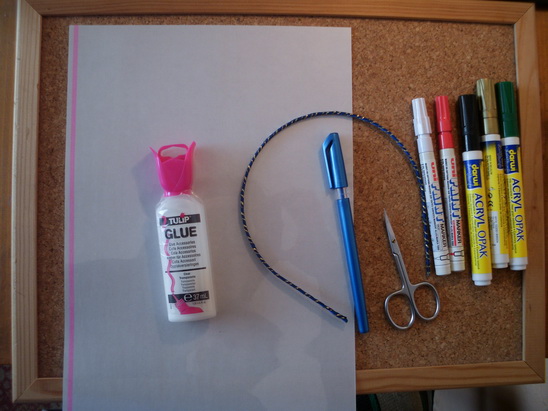
Materials Needed
– transparent foil (mine is backed with paper)
– craft glue
– pen
– headband
– scissors
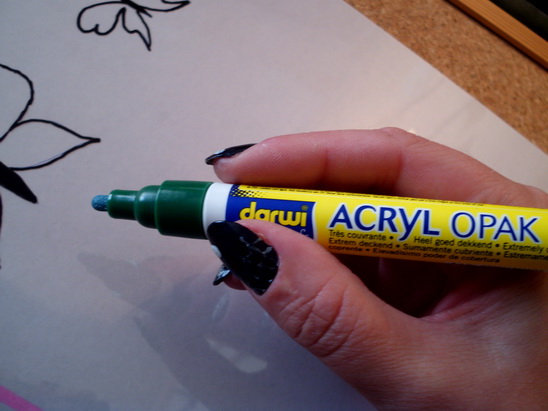
– paint markers (or permanent markers): black, green, gold
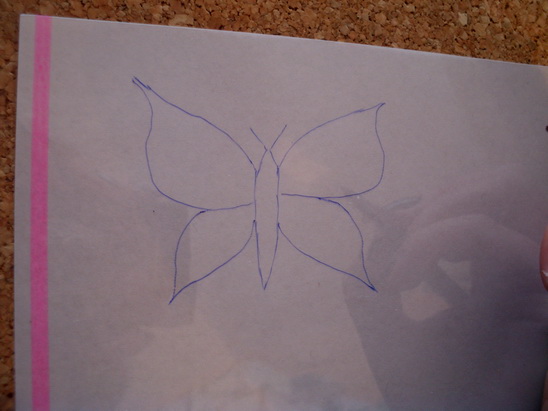
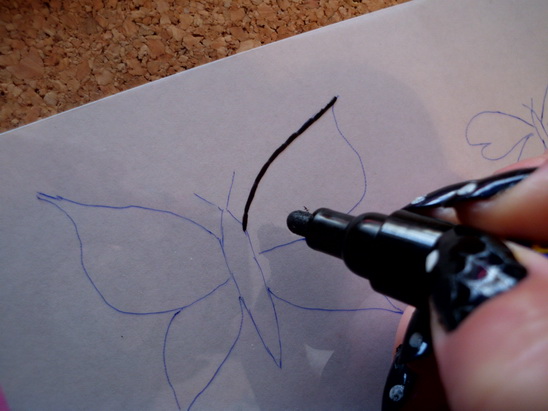
Step 1
Use the pen to draw a butterfly on the transparency.

Like this.
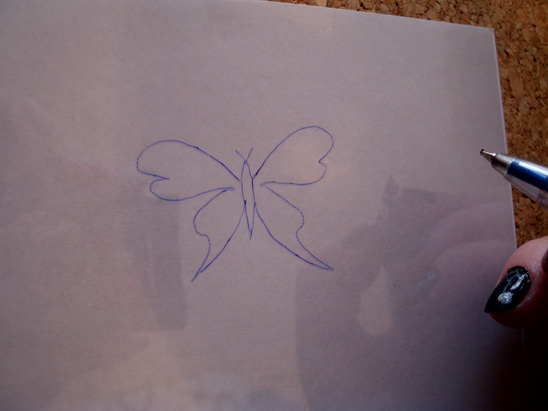
… and another one, smaller…
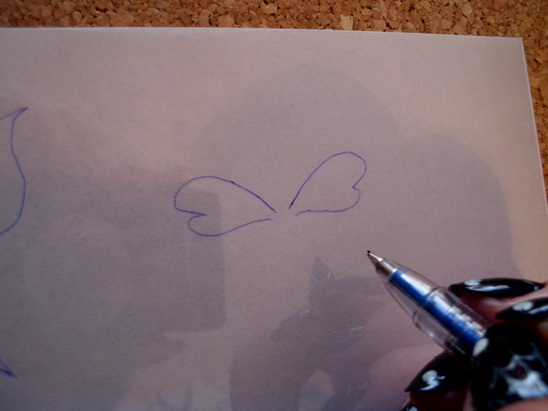
… like this.
[ad#ahc]
Step 2
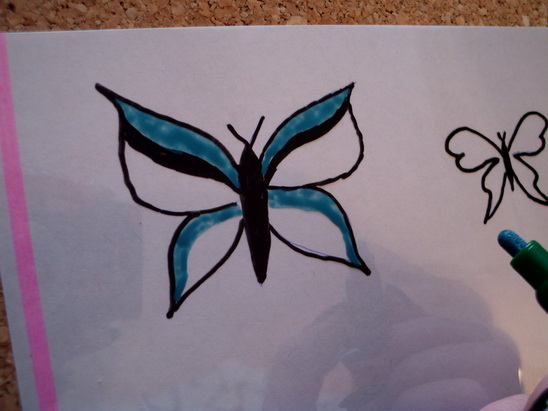
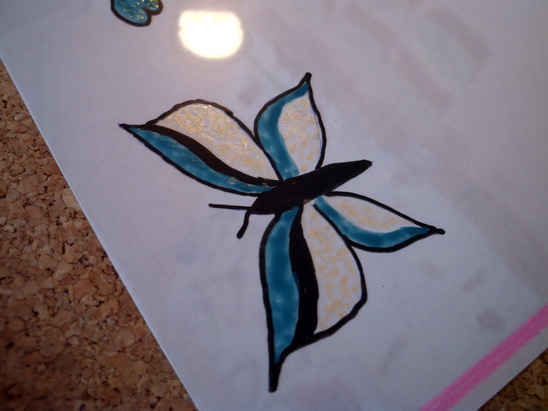
Using the black marker…
…trace the contour of the first butterfly, and color the body.
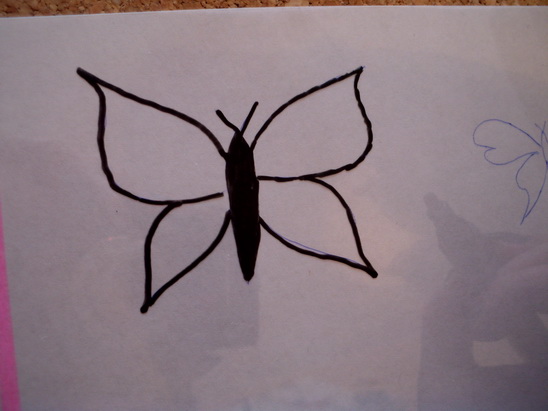
If you want to make some black decorations on it, do that now. I made a line on both wings.
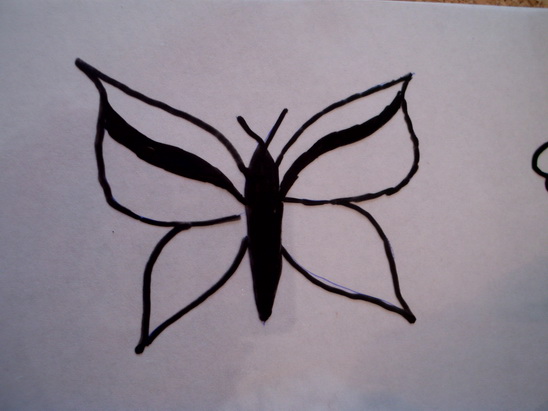
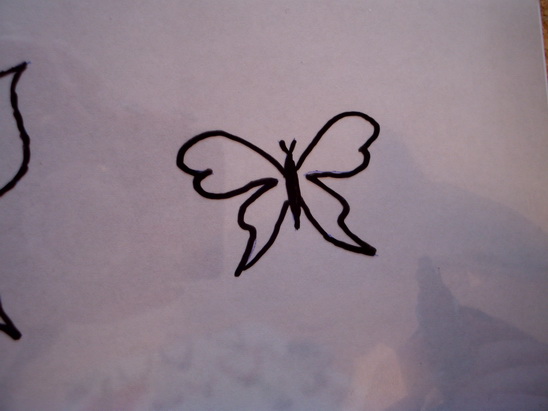
Trace the contour of the second butterfly too. Let them dry.
Use green marker to color them.
I added some green lines to the big one…
… and I made the second one completely green.
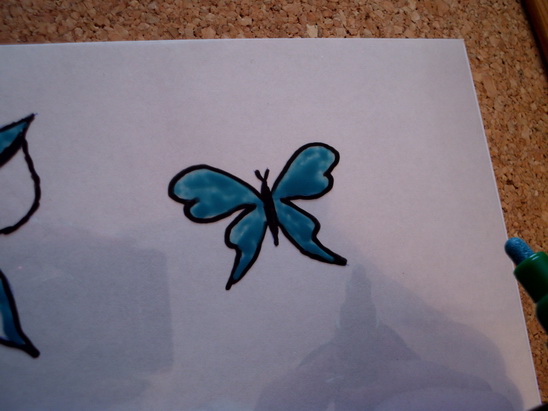
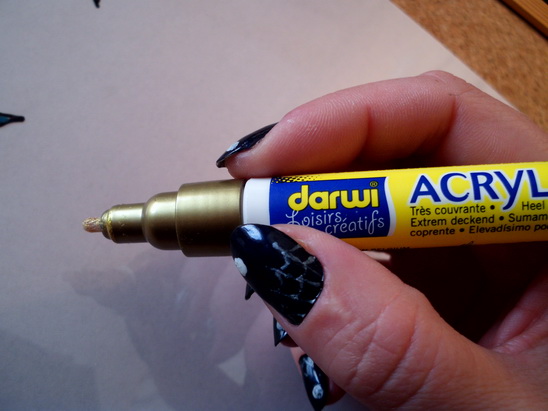
Use the gold marker to add highlights.
I added golden dots to the small one…
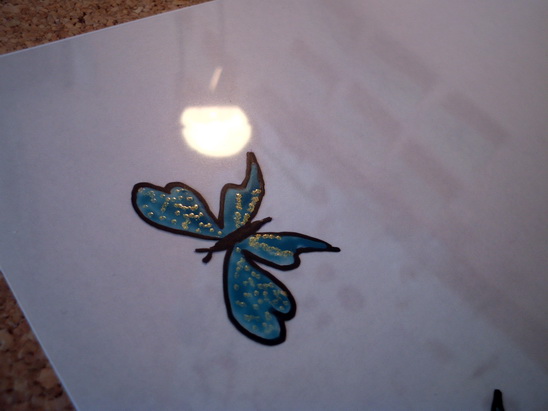
… and I colored the remaining places on the big one’s wings.
Let them dry well.
Step 3
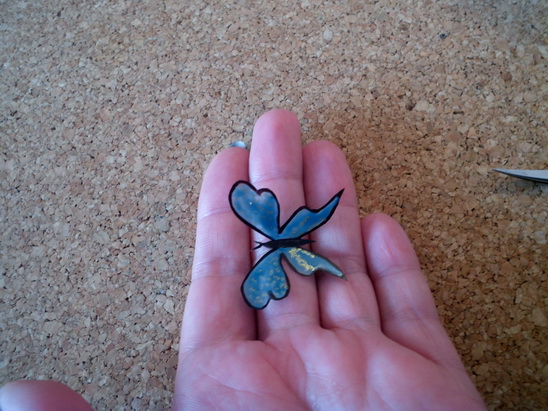
Cut them out.
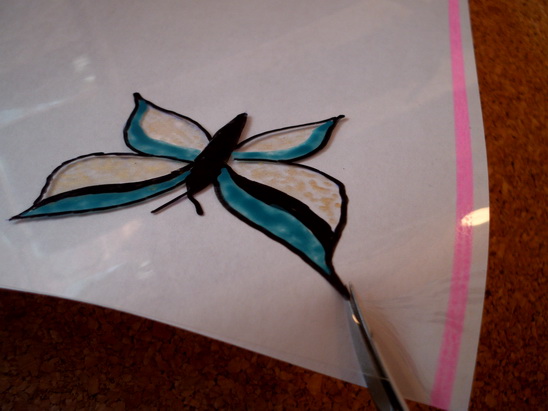
Like this.
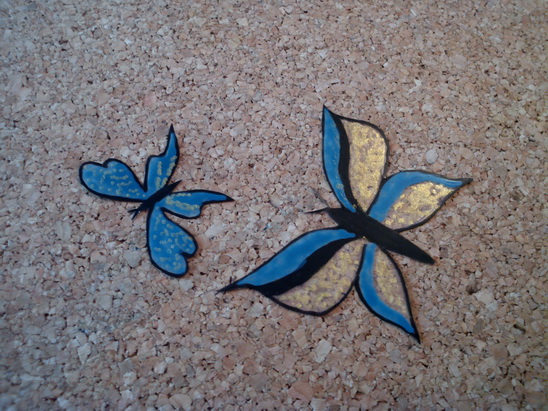
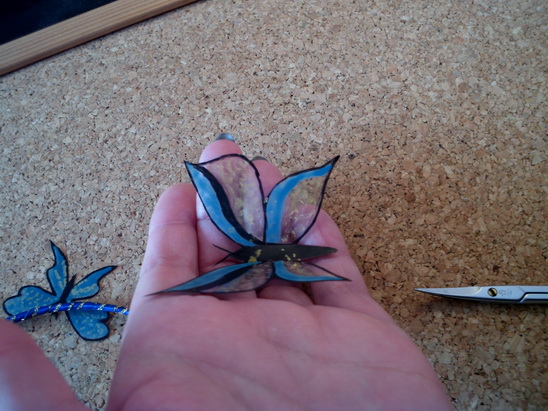
Fold up the wings like this.
Step 4
Turn the big butterfly over …
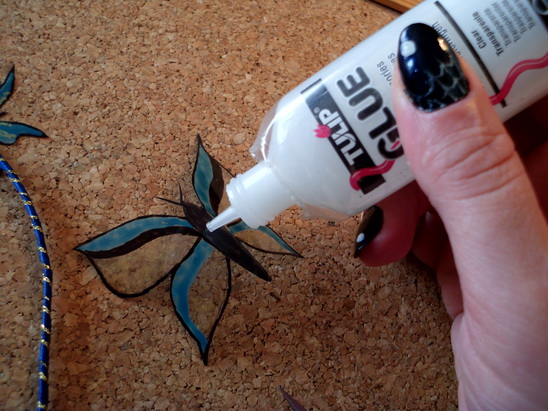
… and add glue on its body…
… then place it on the headband.
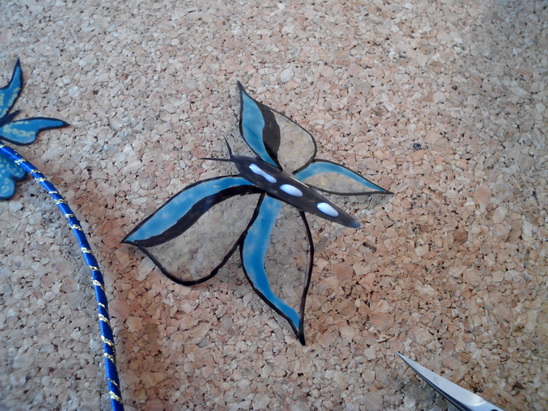
Do the same with the small one…
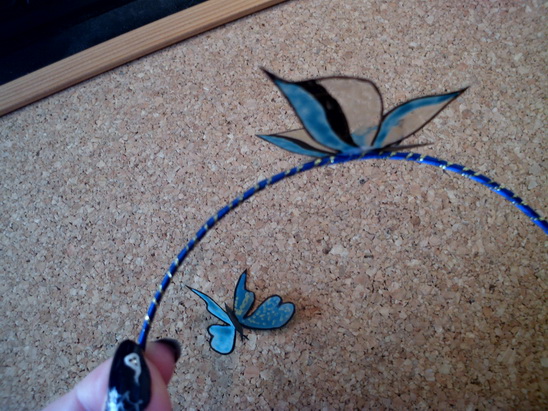
… and the headband is ready.
Let it dry well before wearing.
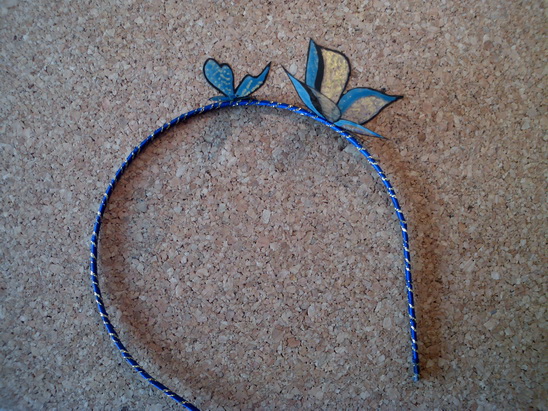
And there you go…. you now have a beautiful headband decorated with butterflies. What girl wouldn’t love wearing that?
Technorati Tags: crafts for girls, girls crafts, hair crafts, headband crafts, crafts for the hair, butterfly crafts, crafts with butterflies
