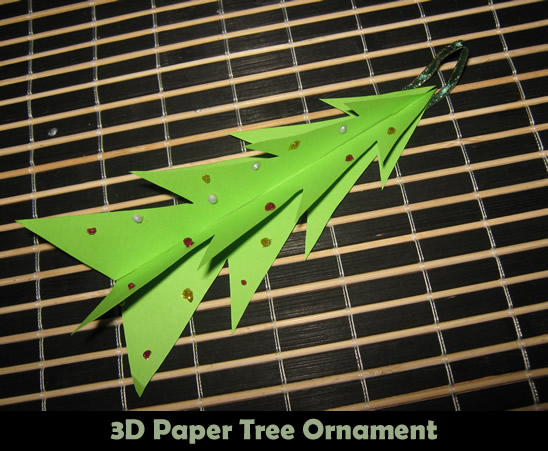
I will continue with the Christmas crafts with this fun craft. In this post I will show you how to make a simple 3D Christmas Tree Ornament. And, just like the title says…. this craft is a simple one. The kids will love making it…. especially the part where they get to decorate the ornament. They will have so much fun decorating it…. almost as much as they will have fun decorating your Christmas tree at home. So, grab the materials needed and let’s get started.
Check out our other Christmas Crafts.
Tutorial offered by Laura from Dacian Moon Handmade.
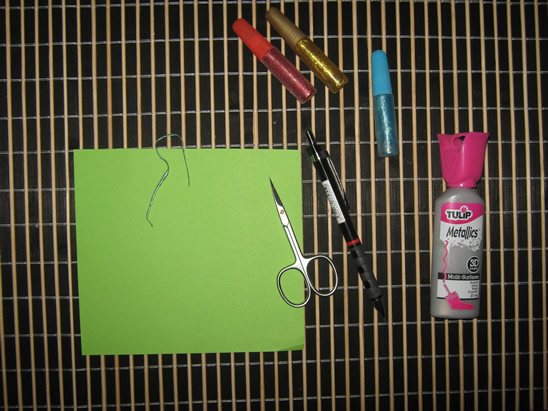
Materials Needed
– green paper
– scissors
– glitter glue (red, gold, blue)
– glue
– metallic silver paint (or silver glitter glue)
– a small piece of ribbon
– pencil
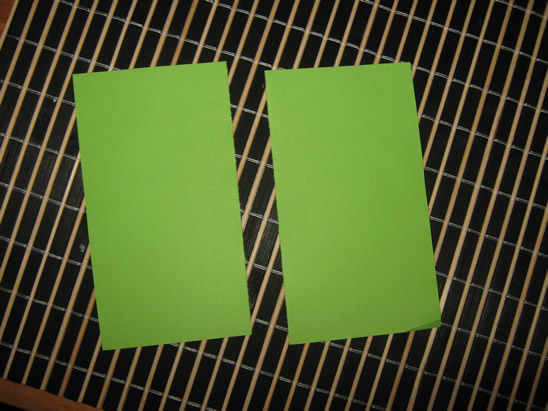
Step 1
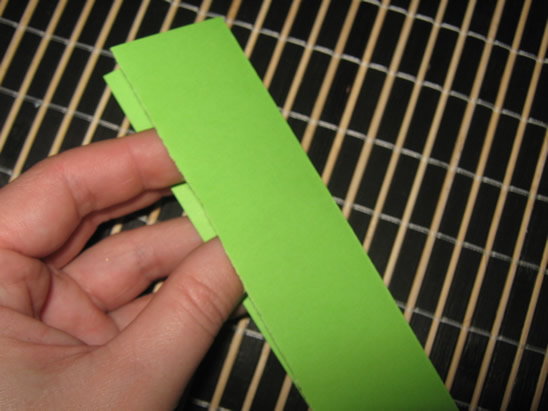
Cut the paper in half.
Take one part and fold it in two.
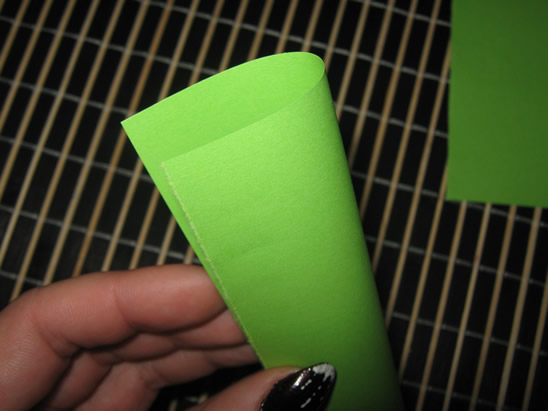
… like this.
[ad#ahc]
Step 2
Using your pencil draw a half of tree, like this…
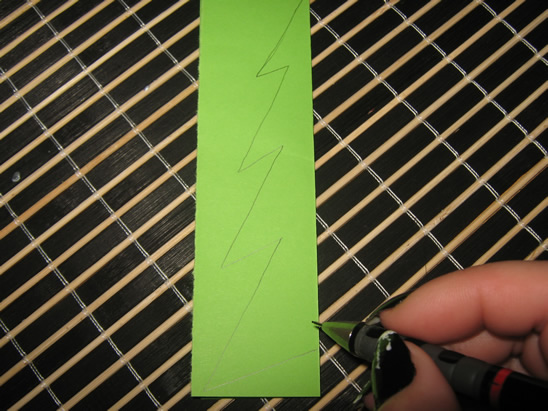
… then cut it out.

It will look like this.
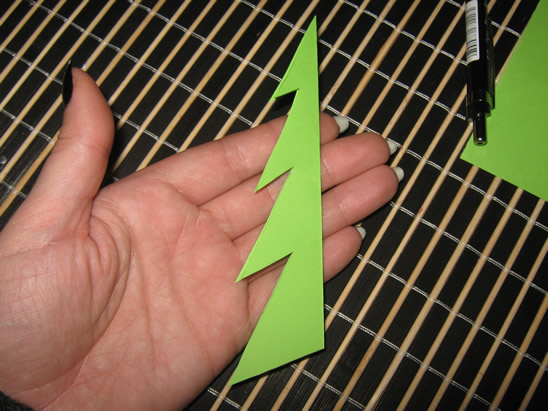
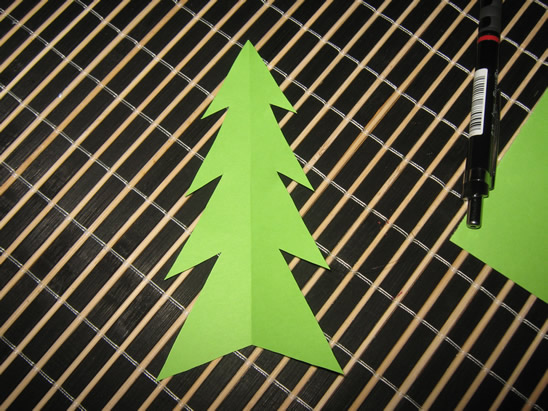
Unfold, and you have a tree.
Step 3
Repeat to make a second tree from the other piece of paper.
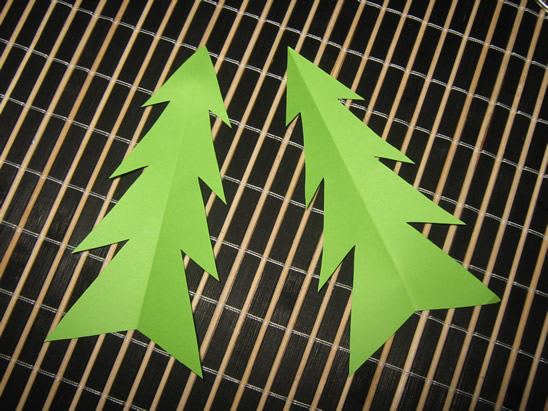
Step 4
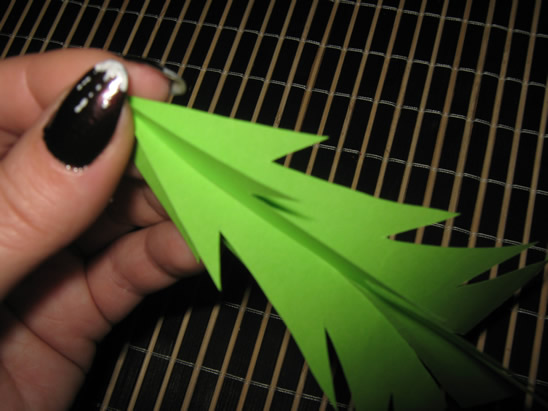
Cut on the crease the upper part of one tree and the lower part of the second tree…
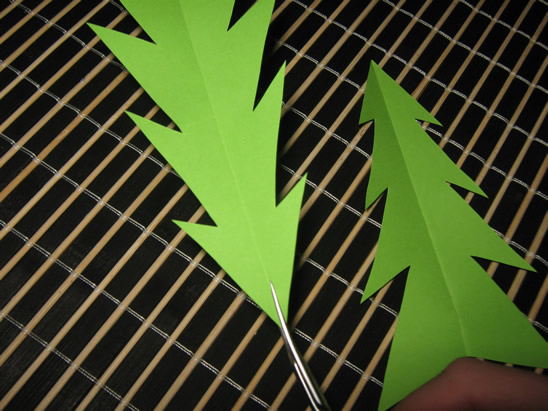
… like this.

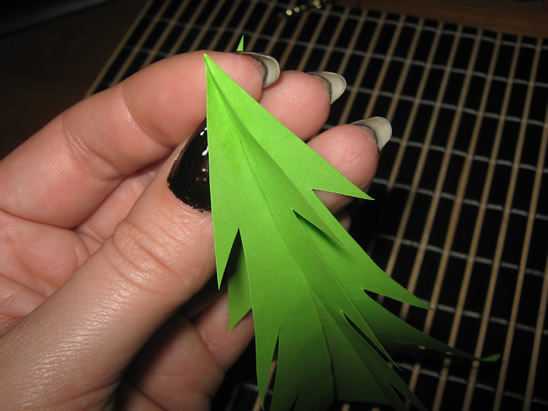
Combine the two trees.
Use a small amount of glue to keep in place at the top and and the base.
Step 5
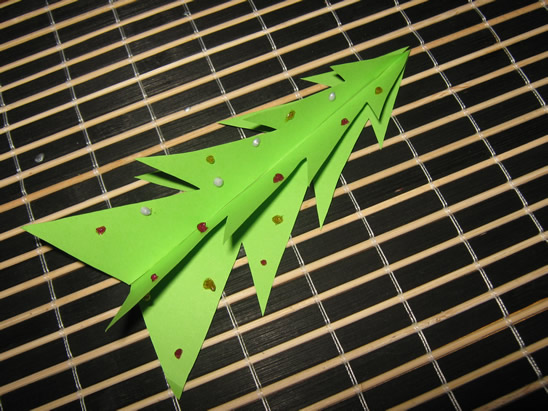
Decorate the tree using glitter glue.
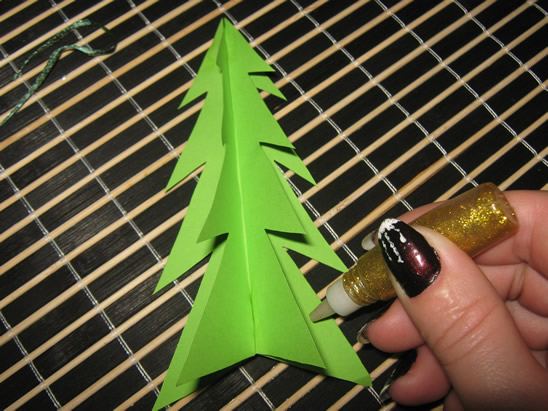
I decorate it with small globes.
Step 6
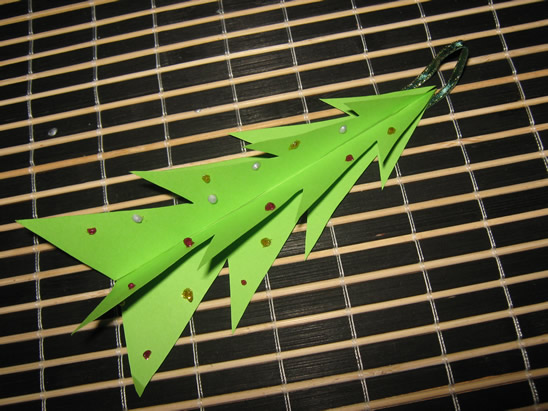
Take the ribbon and fold it in two…

… then glue it on top of the tree and the ornament is ready.
Isn’t this 3D Christmas Tree Ornament precious? It simply is. It will look terrific on your Christmas tree. It’s so simple you will be able to make a few to spread around your tree.
Technorati Tags: Christmas crafts, xmas crafts, Christmas activities, xmas activities, December crafts, Holiday crafts, Holiday activities, ornaments, ornament crafts, Christmas Ornaments crafts, Christmas tree ornaments, paper ornaments
