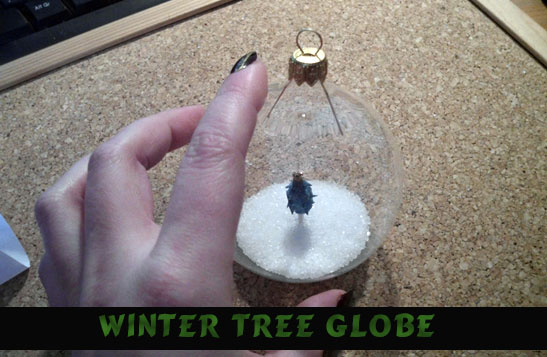
I have a real treat for you today. I’m going to show you how to make a Winter Tree Globe Ornament perfect for any Christmas tree. It is really easy to make and it is so much fun too. Your kids will enjoy helping you make this Christmas tree ornament…. almost as much as they will enjoy looking at what they made on their Christmas tree. They will certainly be so proud. So, grab the materials needed for this craft and let’s get started.
Check out our other Christmas crafts.
A cool Christmas ornament tutorial offered by Laura from Dacian Moon Handmade
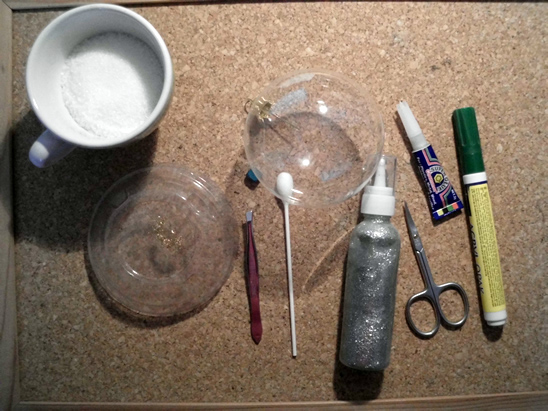
Materials Needed
– clear Christmas ornament ball
– large tip cotton swab
– square bead
– scissors
– silver glitter glue
– gold glitter
– instant glue
– green paint marker
– sugar
– tweezers
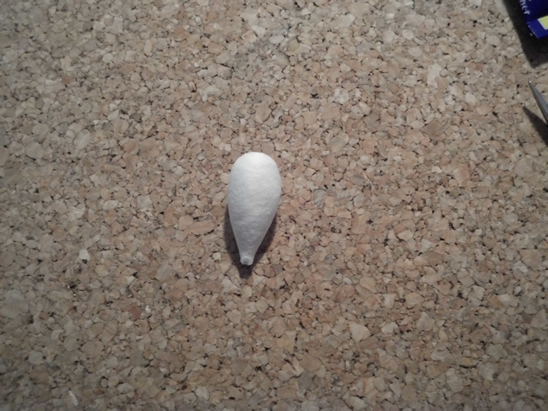
Step 1
Take the cotton swab…
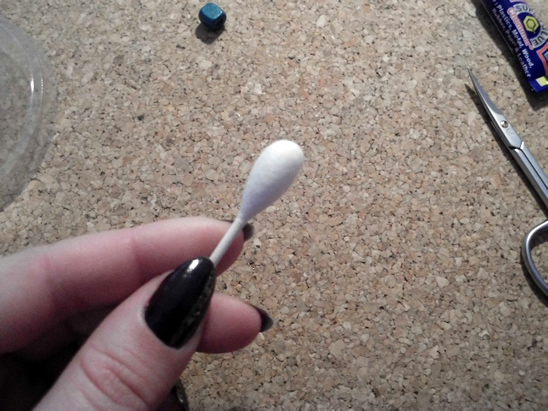
… and cut the stick close to the cotton part.
Like this.
[ad#ahc]
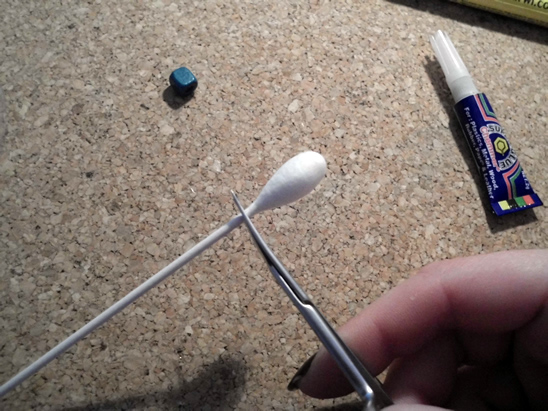
Step 2
Cut a piece of stick – as long as you want the strain to be.
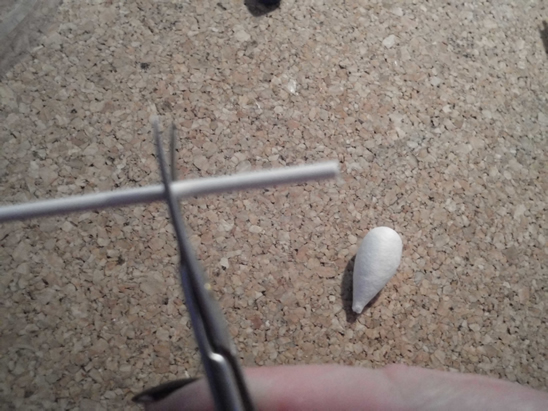
Like this.

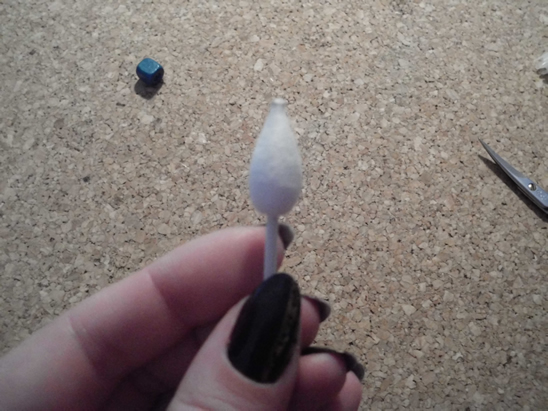
Apply a bit of glue on one end of the strain…
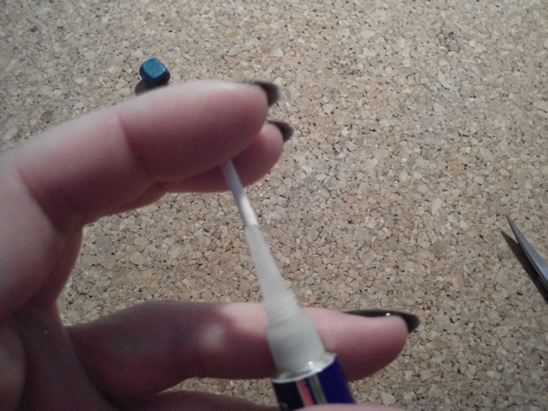
… and stick it to the cotton tip, on the other end. Like this. Now it looks like a tree.
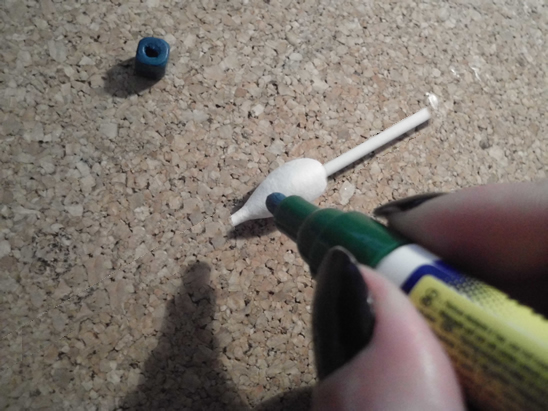
Step 3
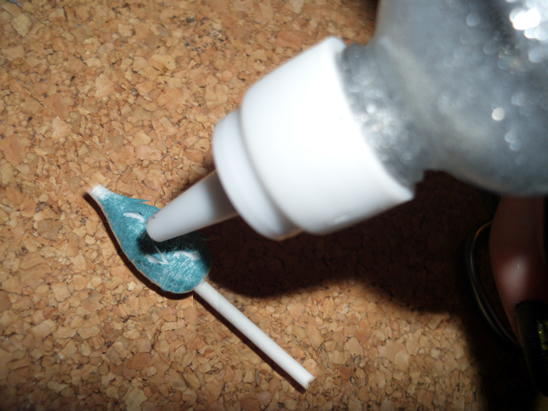
Paint the cotton part in green.
Step 4
Using your scissors make some cuts…
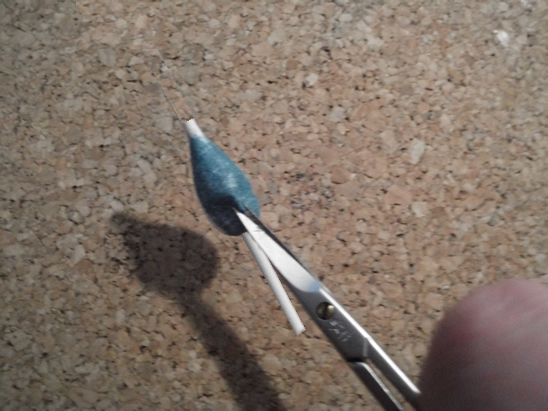
… like this.
Add more cuts. They are tree branches.
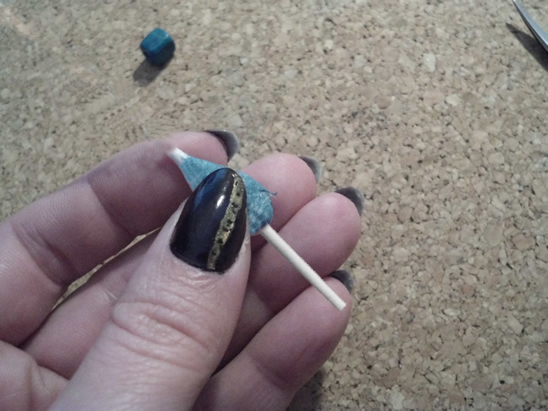
Step 5
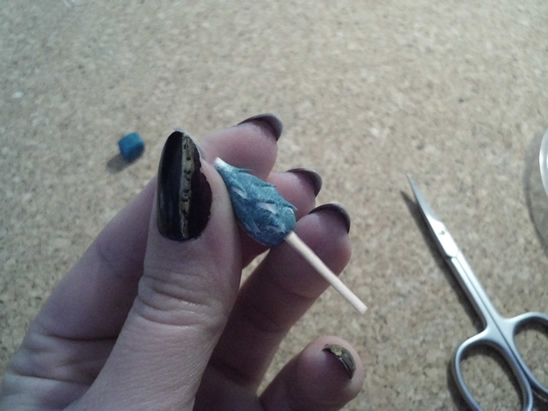
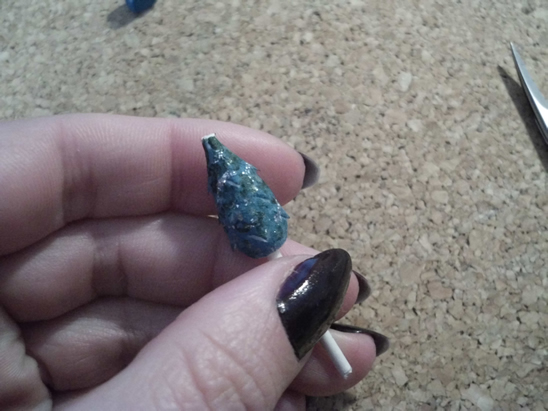
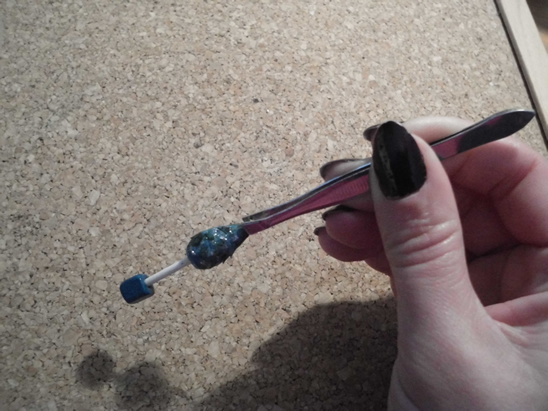
Adorn it with glitter glue, then let it dry.
This is our tree.
Step 6
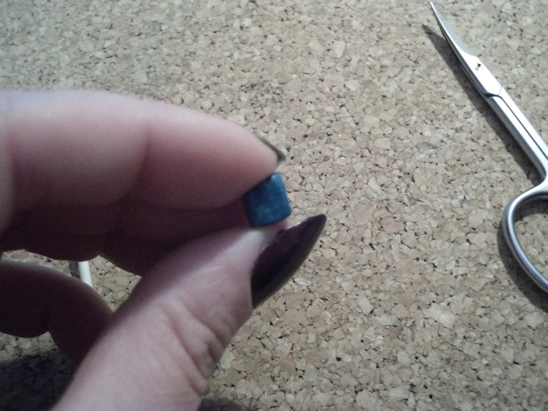
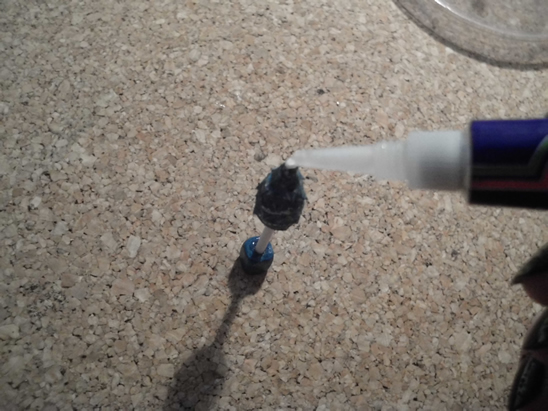
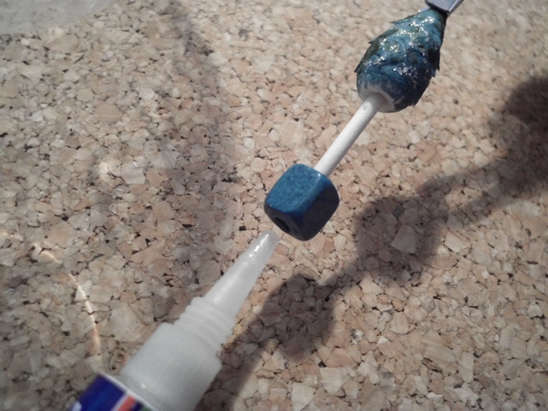
Now is time to fix the strain, using this square bead.
Apply a bit of glue on the strain end…
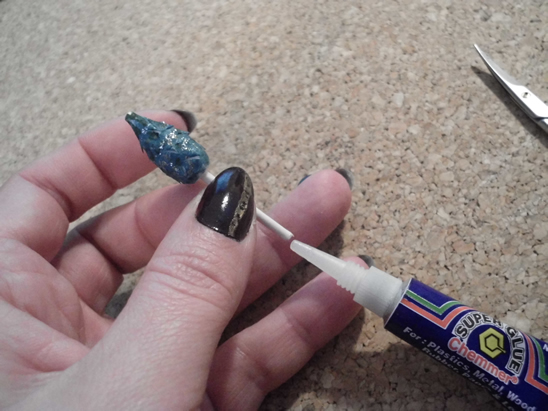
… and put it through the bead. Add a little more glue around it, just to be sure.

Step 7
Let’s decorate the top of the tree!
Apply glue on the top…
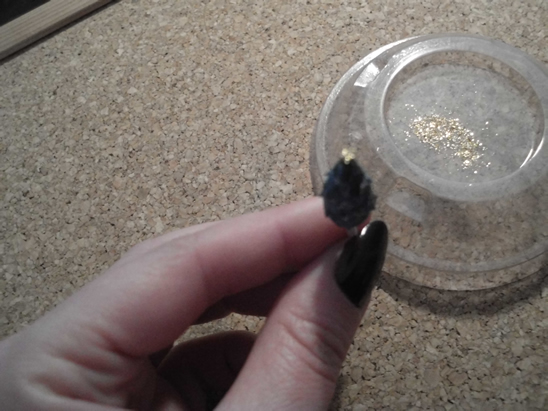
… and put it in gold glitter…
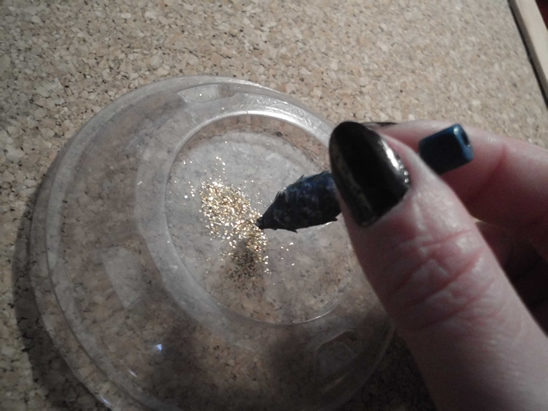
… like this.
Step 8
Use tweezers to gently grasp the top.
Add a layer of glue on the bottom of square bead…
… and put it through the opening of the globe (take the hanger off before that)…
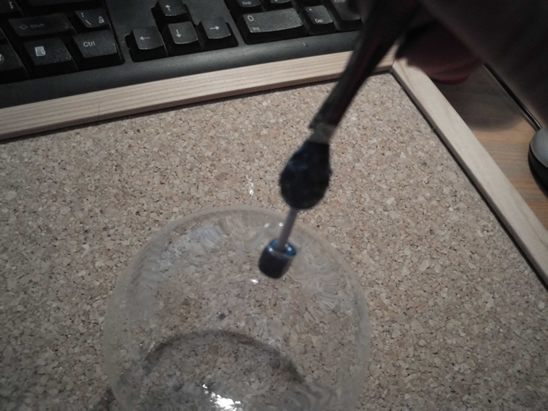
… like this.
Step 9
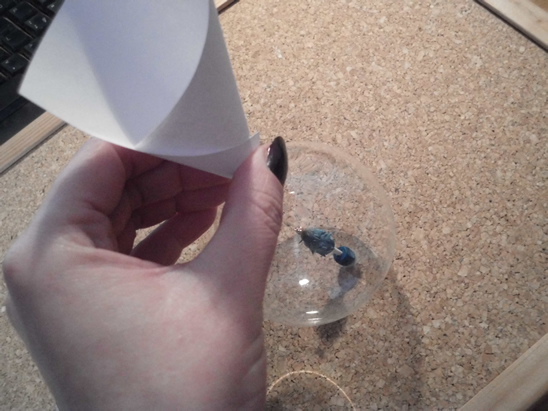
Make a paper funnel (a paper cone)…
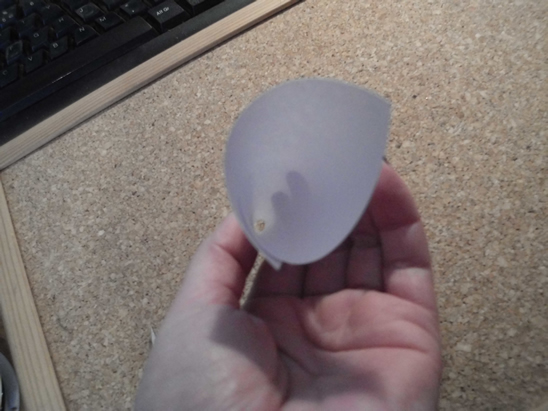
… and put it on the opening of the globe.
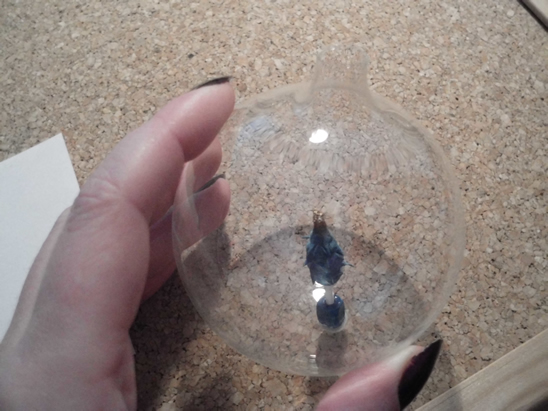
Pour sugar through it…
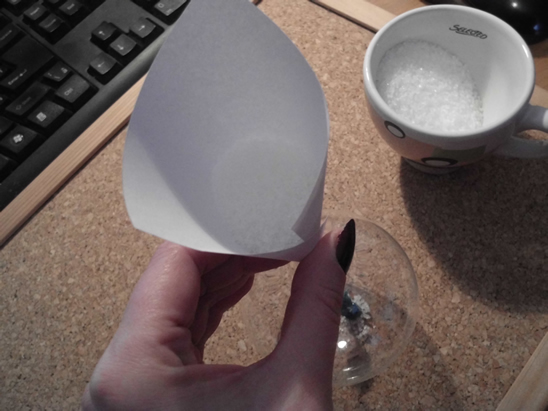
… like this.
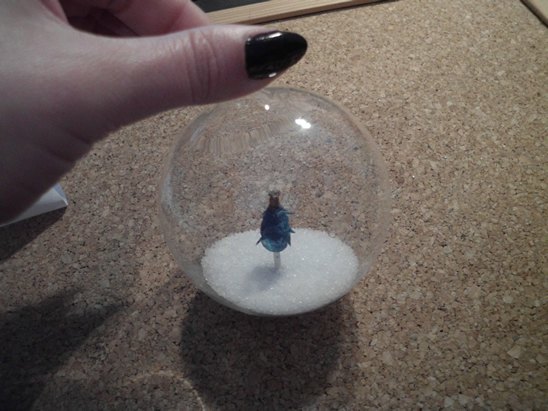
Put the hanger back. Now you have a globe with a winter tree and snow.
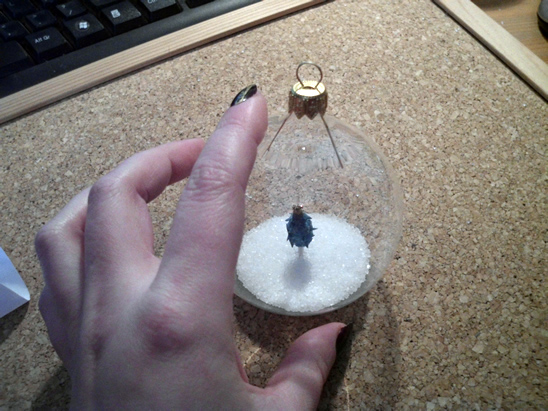
Isn’t this Winter Tree Globe Ornament adorable? It is going to look so terrific on your Christmas Tree. Enjoy it!!
Technorati Tags: Christmas crafts, xmas crafts, Christmas activities, xmas activities, December crafts, Holiday crafts, Holiday activities, ornaments, ornament crafts, Christmas Ornaments crafts, Christmas tree ornaments, snow crafts
