Today we are making a woven yarn Leprechaun beard and we are doing it with a simple cardboard loom. I have seen some crafts online for making crocheted or knitted bears and I figured I would show you a way that you, as a child, can make a fabric beard. This is something you can do, just by making a cardboard loom. This will be a great homemade Saint Patrick’s Day craft that I know you will have fun making.

Crafts Materials Needed:
Yarn
Scissors
Cardboard
(Optionally) Packaging Tape
Sewing Needle
Rubber Bands or Hair Rubber Bands
Step 1
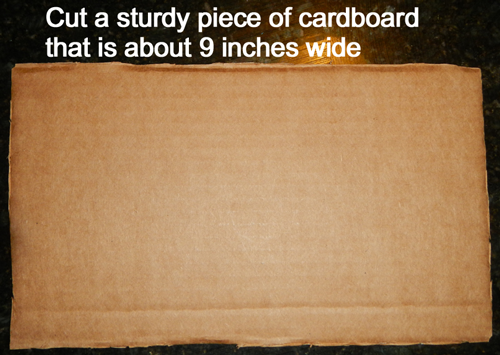
Cut a sturdy piece of cardboard that is about 9 inches wide. The height depends on how long you want the beard to be.
Step 2
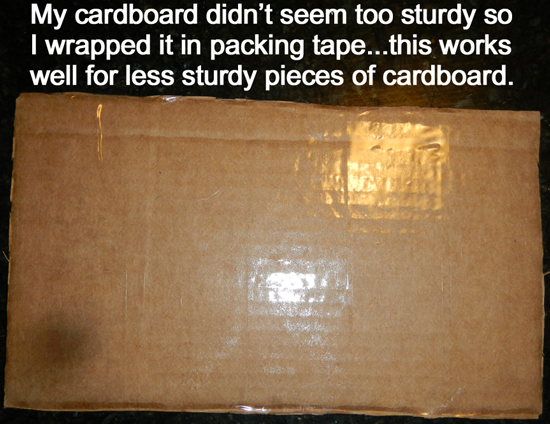
If your cardboard isn’t very sturdy and bends easily then you will want to strengthen it by wrapping it in packaging tape. Otherwise, skip this step.
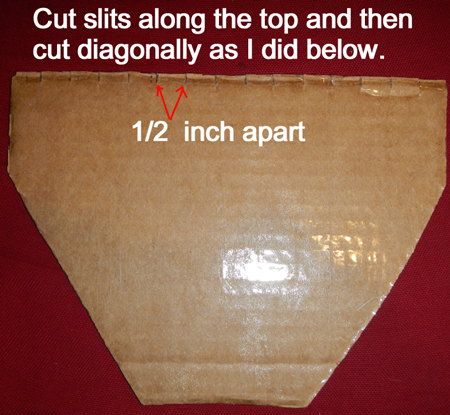
Step 3
[ad#ahc]
Cut slits, 1/2 inches apart, along the top of the cardboard. Then cut diagonally downwards to make a beard shape. See the picture above.
Step 4
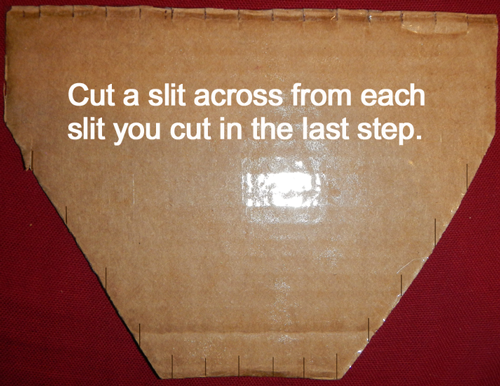
Now cut a slit across from the slits that you made in the previous step.
Step 5
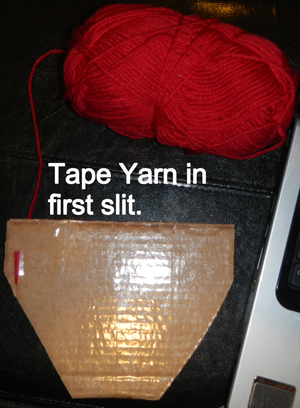
I used red yarn, but if you have orange yarn this would probably be better for a Leprechaun. Tape yarn in the first slit as seen in the picture above.
Step 6
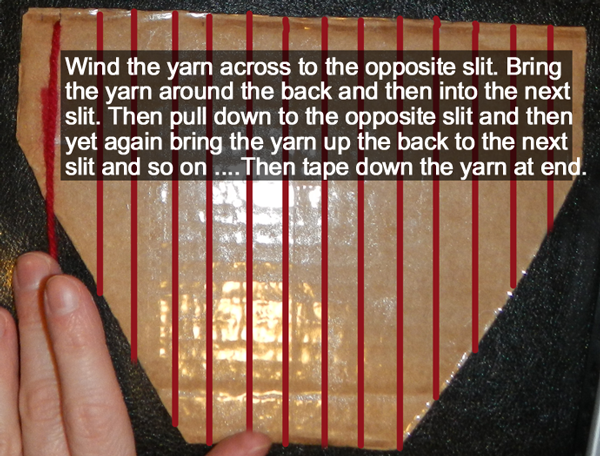
I wrapped the yarn in a slightly different way then illustrated here. I then decided this way would be easier so that is why I had to draw the yarn in the picture above. Anyways, this is easy so don’t make it harder than it is. You are simply just wrapping the yarn around the cardboard, and each time inserting the yarn in the slits.
Step 7
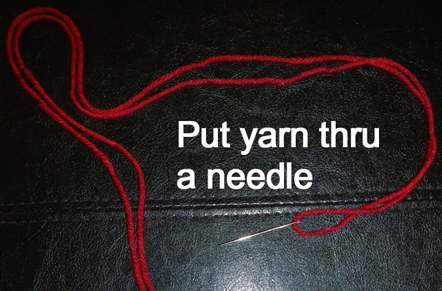
Thread yarn thru a needle.
Step 8
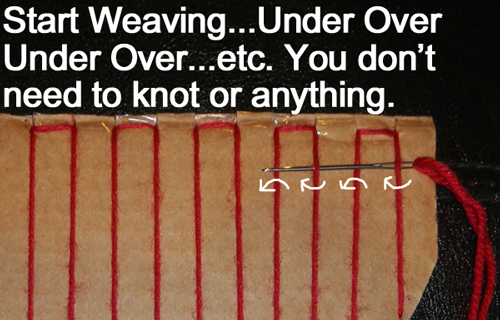
If you haven’t ever woven anything, you will need to know that you are just putting the yarn under the first thread, then over the next one, under the next one, and so on. Do this now.
Step 9
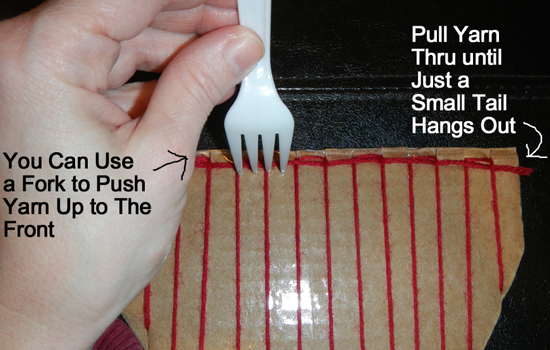
Pull yarn thru until there is just a tiny tail of yarn hanging out, as seen in the picture above. To push yarn up, you can use a fork.
Step 10
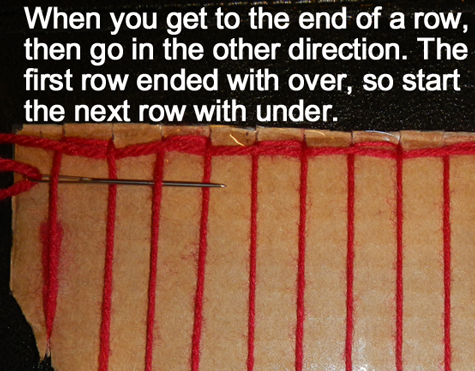
When you get to the end of the row, you just turn around and go the other way. If you ended by going over the yarn, then on the next row you will go under the yarn. If you ended the row going under the yarn, in the next row you will go over though.
Step 11
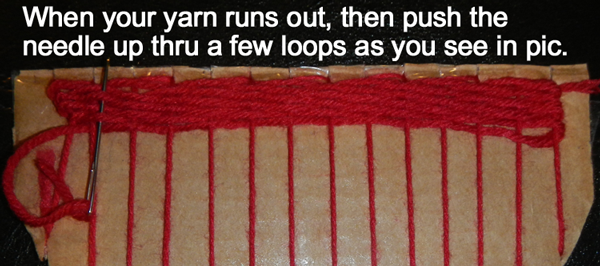
When your yarn runs out, you will want to push the needled up thru some loops and then cut the yarn loose.
Step 12
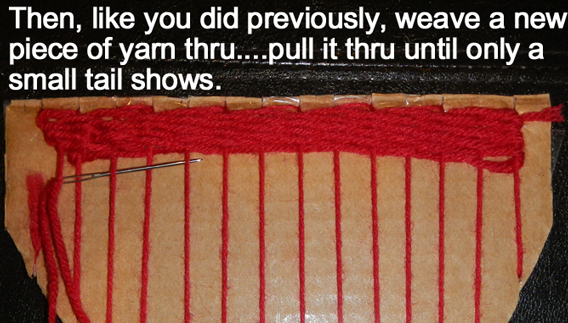
Now you can start a new piece of yarn, just weave it exactly the way you did previously.
Step 13
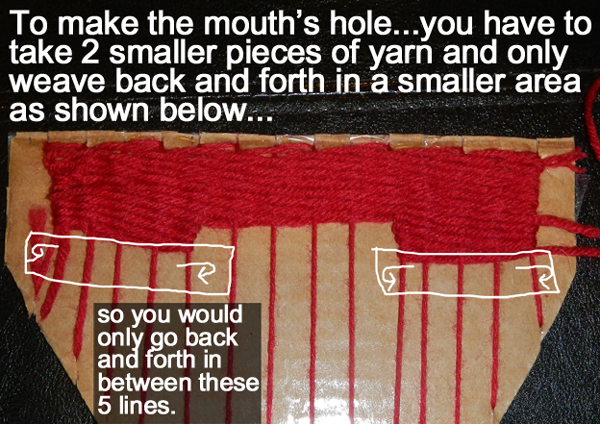
Remember we will need a hole in our beard so we can talk thru it and show our mouth. To do this, you just weave back and forth along a few of the outside lines like I did in the picture. After you do a few rows (maybe about 5-6 rows), then you can start weaving along the entire width of the cardboard loom again.
Step 14
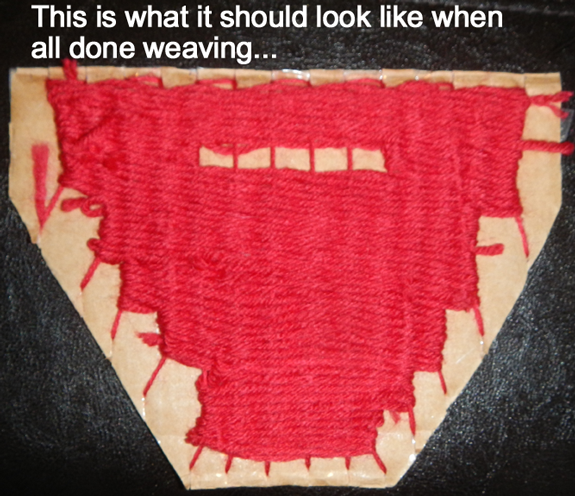
This is what your beard should look like when you finish the entire length of the loom.
Step 15
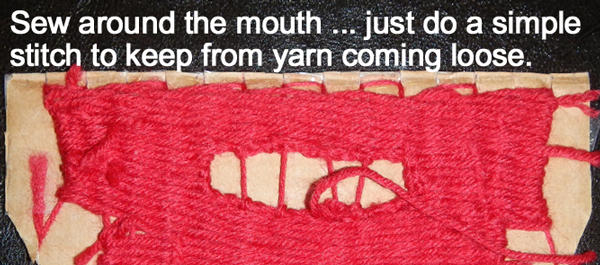
I want you to know sew around the border of the mouth. Nothing fancy, just loop around the outside border of the mouth. This will ensure that the yarn won’t come loose. After this cut the inside lines of yarn that you see inside the mouth.
Step 16
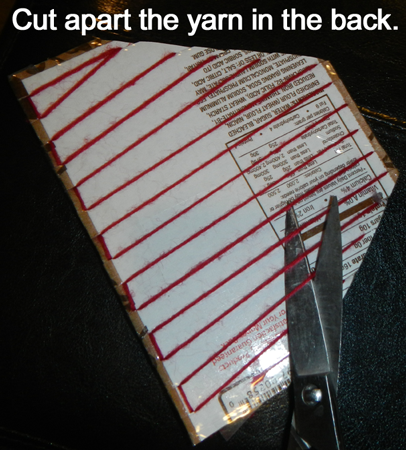
Next cut in half all of the yarn lines in the back of the cardboard loom.
Step 17
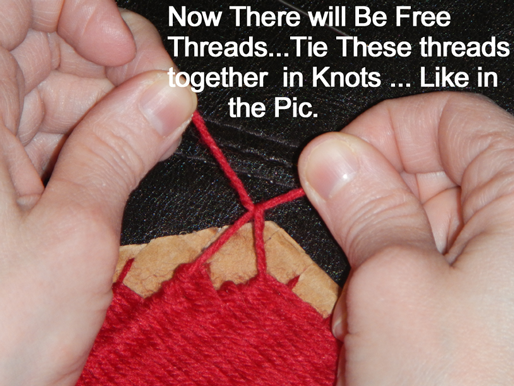
Now you will see that there will be free threads of yarn. Tie them together into knots so your woven beard doesn’t come apart.
Step 18
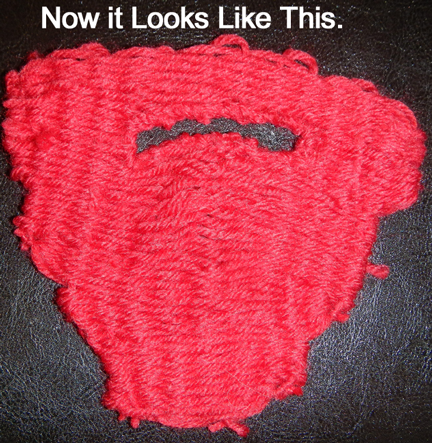
Now your beard will look like this.
Step 19
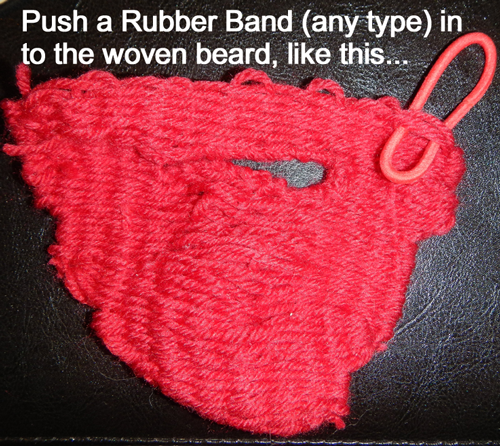
Now you will need rubber bands. I couldn’t find any normal rubber bands so I used hair bands. However, I believe that normal rubberbands would work better.
Push a rubber band thru the top corner of the beard.
Step 20
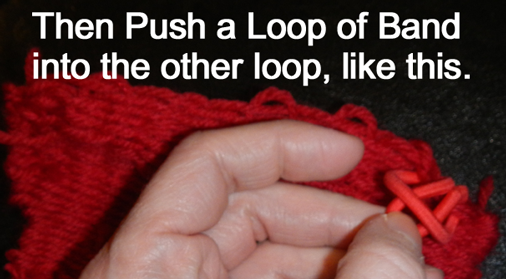
Now push one end of rubber band thru the loop of the other end and pull.
Step 21
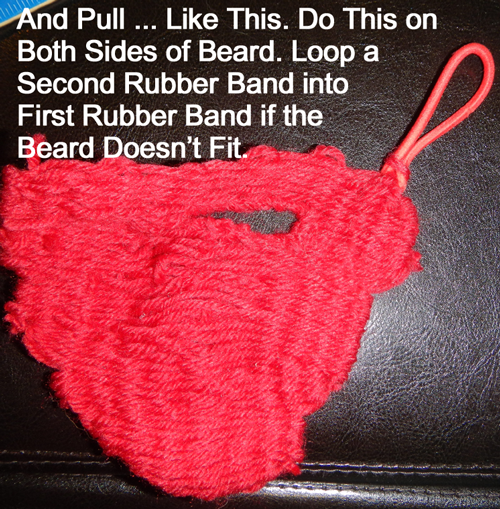
It should now look like this. Do the same exact thing on the other top corner of the beard. If your beard doesn’t fit, you might need two rubber bands looped together on both sides. You basically just put a second rubber band thru the first rubber band…then you loop one side thru the other side (like you did in the last step) and pull. This is called a rubber band chain…find out how to make one here.
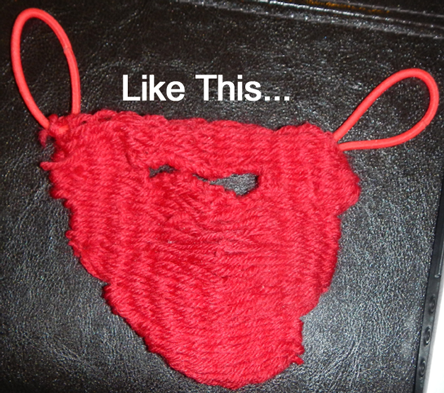
Like in the above picture…
Wear Your Leprechaun Beard
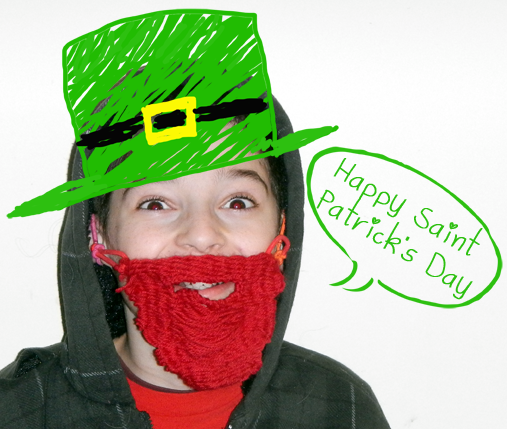
Now just loop the rubber bands over your ears. Perhaps you would like to put a Leprechaun hat on your head and really play the part. Perhaps make a goofy face like my son did. 🙂 Have a Very Happy Saint Patrick’s Day!!!
