Graduation day is very important and everyone wants to remember it. What are the symbols of this day? The graduation cap / hat and diploma … so, we will add those to our badge pin 🙂 Learn how to make the following decorative pin in easy step by step lesson below … great for the last day of school.
This step by step tutorial is offered by Laura from Dacian Moon Handmade

How to Make Graduation Cap and Diploma Pin Badges
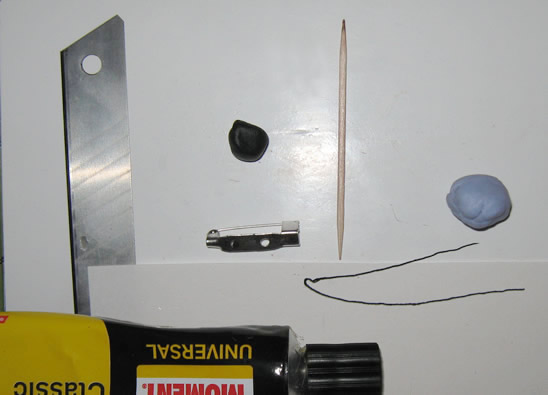
CRAFTS MATERIALS NEEDED:
– toothpick
– polymer clay : blue – or any other colour for the background – and black – for the hat
– cutter
– 1 badge base
– thread
– craft glue
– white paper
– baking paper
– baking tray
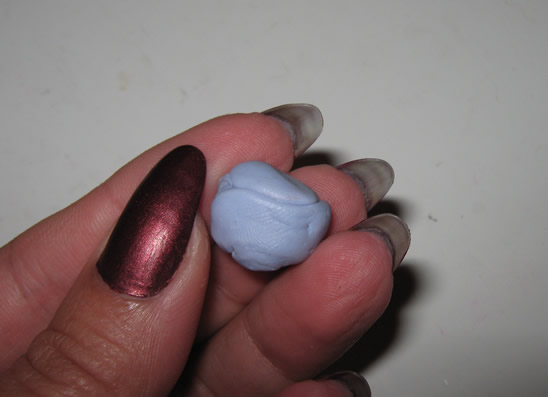
Step 1
Condition polymer clay by hand, simply mix it and squish it with your fingers. You may want to roll it into a log between your palms, fold it in half, and then roll again.
Fortunately, in the summer the clay is conditioning more easily.
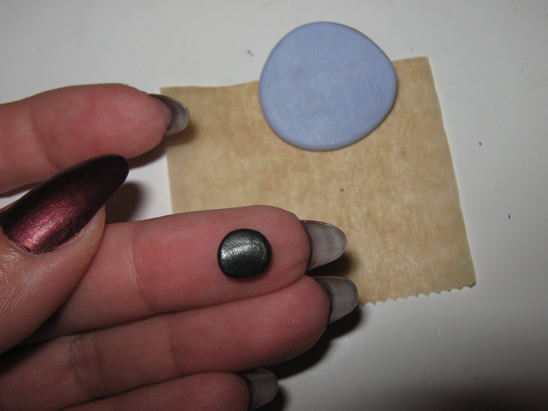
So, condition the blue clay.
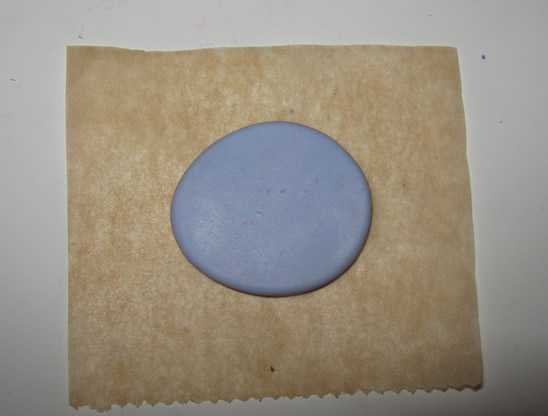
Let a small part and from the rest make a ball and flatten it on a piece of baking paper.
[ad#ahc]
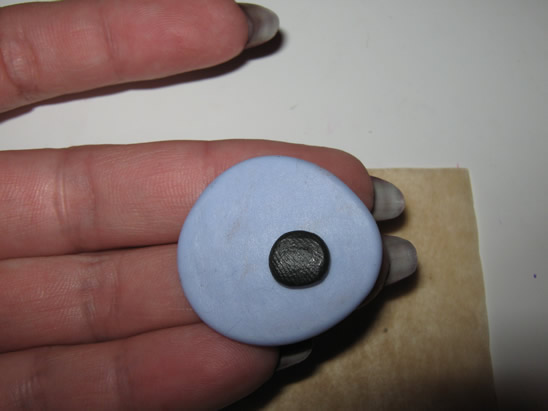
Step 2
Place the badge base on it and press.
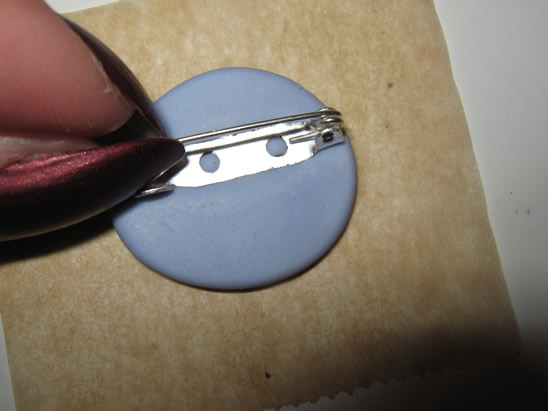
Use the small piece of blue clay to fix the base…
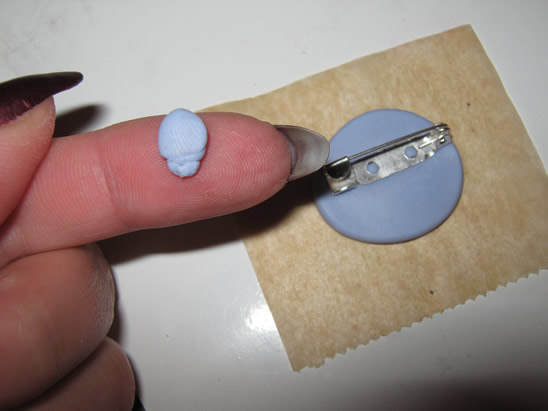
… like that.
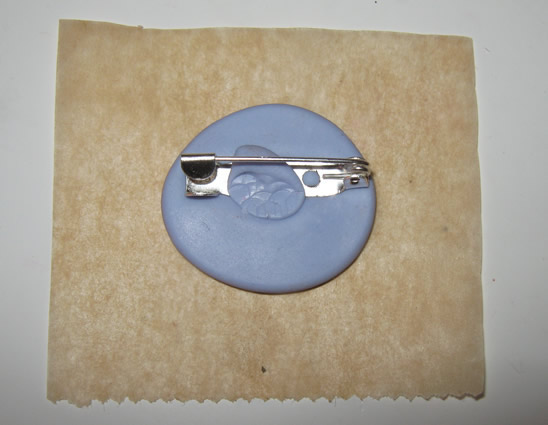
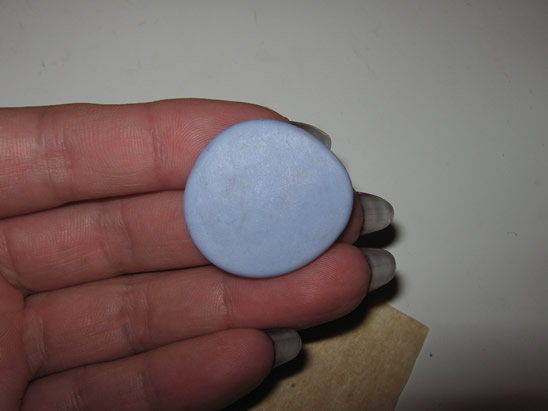
Turn it with the face to you.
Step 3
Take a half of the black clay, condition it…
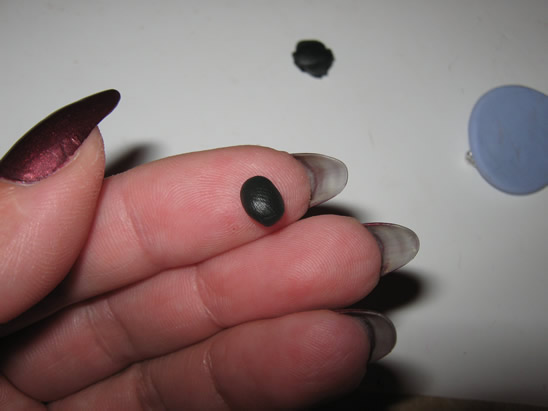
… and make a almost square form of it.
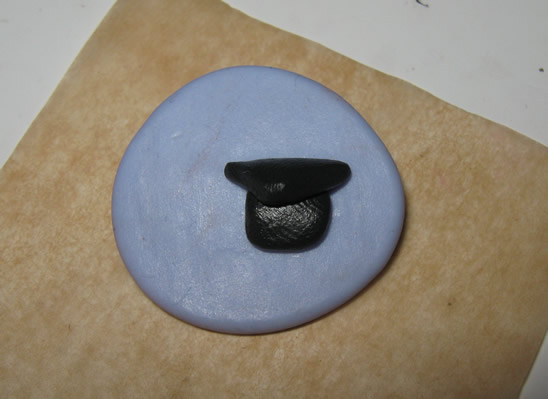
Place it to the blue background.
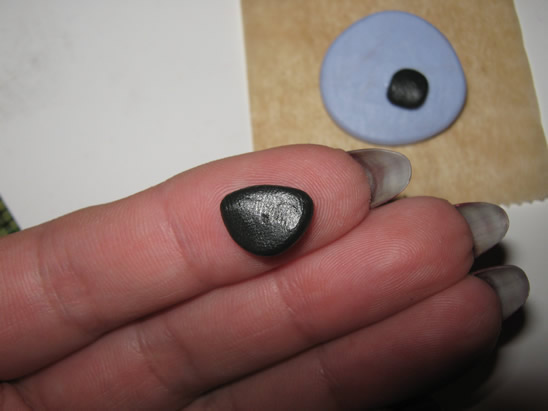
From the other half, make a triangle form and place it on top of the square.
Step 4
Place the on the baking tray, and bake it accordingly to the instructions on the polymer clay package (they depend on the brand you use: fimo, cernit, sculpey…, but usually is one half of hour at 230 F or 110 C)
Let it cool down.
Step 5
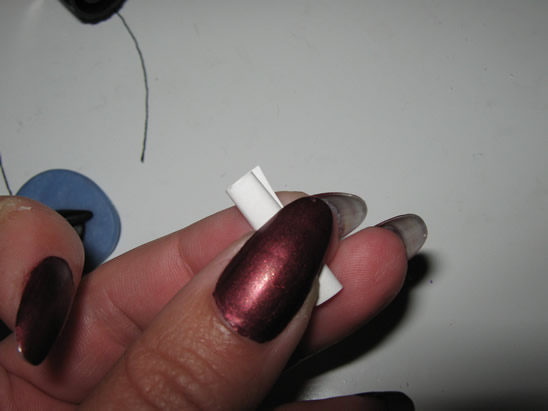
Take the white paper, make a roll with it…
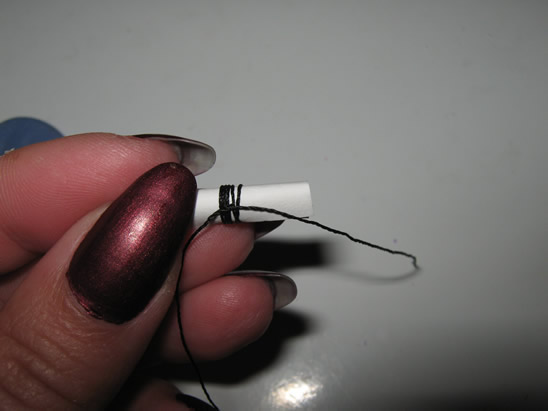
…and tie it with the thread.
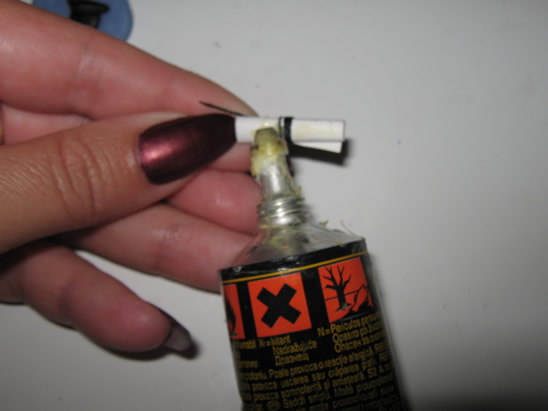
Step 6
Apply a layer of glue on it…
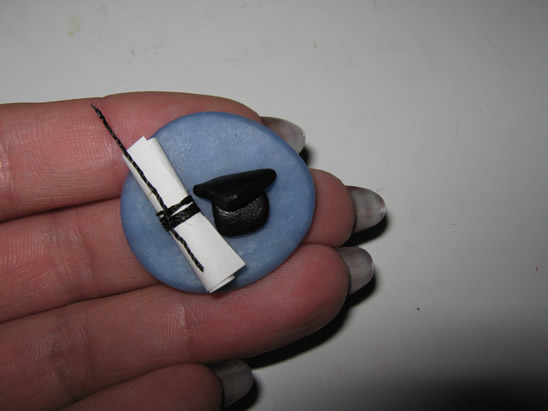
…and place it on the badge.
You can use paints to add the year or anything else you want.
Now you can wear it on your shirt or coat proudly. Congratulations!
Technorati Tags: graduation, graduation crafts, graduation caps, how to make graduation caps, graduation pins, graduation badges, diploma crafts, crafts for kids, crafts, last day of school

so creative