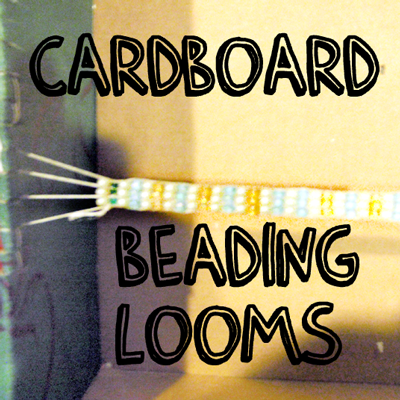
I’m going to show you a great way to make beautiful beaded bracelets on your own. We are going to make our very own Cardboard Beading Loom perfect for making awesome bracelets. Do you have any idea who your first handmade beaded bracelet will go to? How about your very best friend…. she’d love it!!
You Might Enjoy Our Other Friendship Bracelets Crafts Too
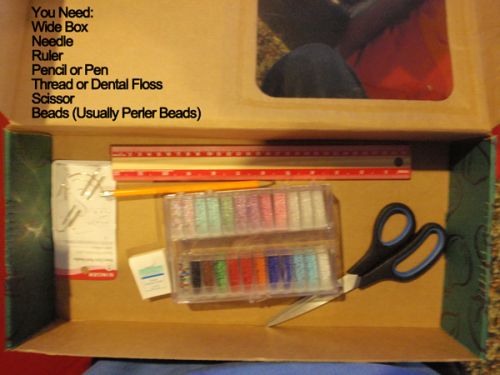
Materials Needed
Wide Box
Needle
Ruler
Pencil or Pen
Thread or Dental Floss
Scissors
Beads (Usually Perler Beads)
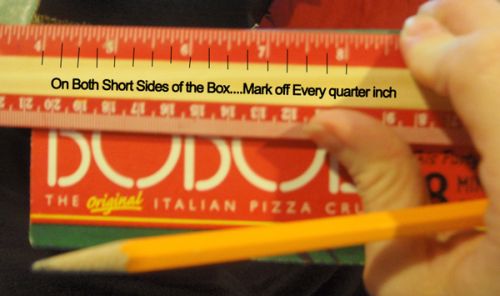
Step 1
On both short sides of the box… mark off every quarter inch.
[ad#ahc]
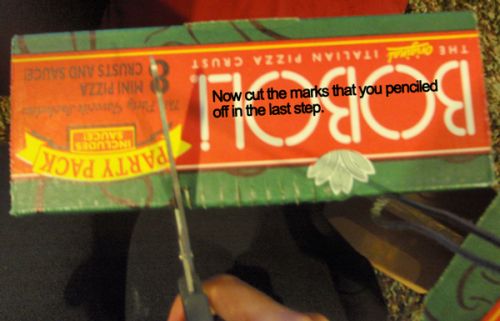
Step 2
Now cut the marks that you penciled off in the last step.
Step 3
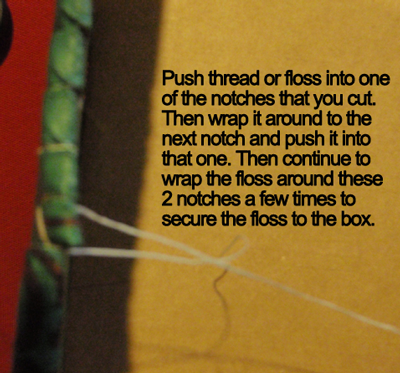
Push thread or floss into one of the notches that you cut. Then wrap it around to the next notch and push it into that one. Then continue to wrap the floss around these 2 notches a few times to secure the floss to the box.
Step 4
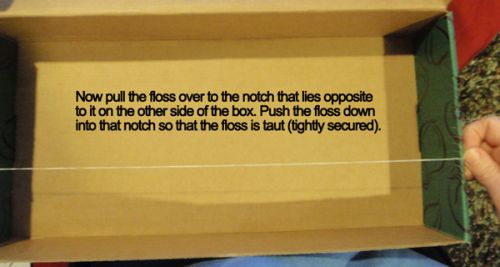
Now pull the floss over to the notch that lies opposite to it on the other side of the box. Push the floss down into that notch so that the floss is taut (tightly secured).
Step 5
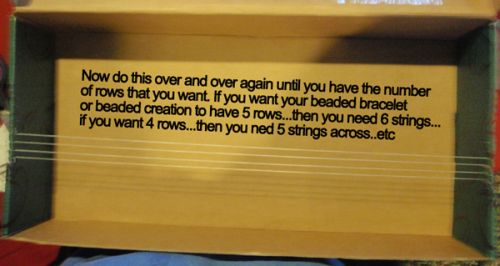
Now do this over and over again until you have the number of rows that you want. If you want your beaded bracelet or beaded creation to have 5 rows… then you need 6 strings… if you want 4 rows… then you need 5 strings across… etc.
Step 6
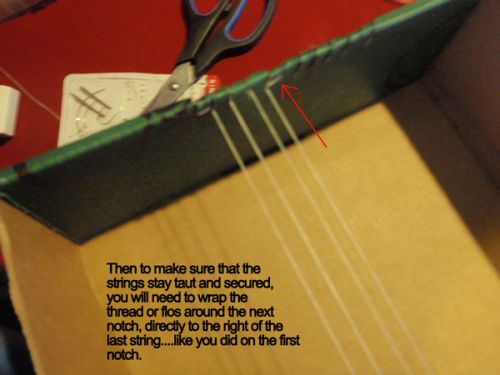
Then to make sure that the strings stay taut and secured, you will need to wrap the thread or floss around the next notch, directly to the right of the last string… like you did on the first notch.
Step 7
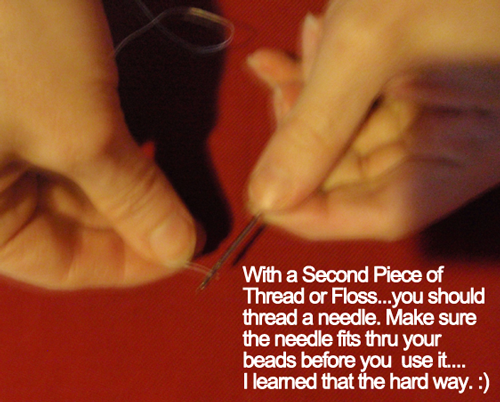
With a second piece of thread or floss… you should thread a needle. Make sure the needle fits thru your beads before you use it… I learned that they hard way.
Step 8
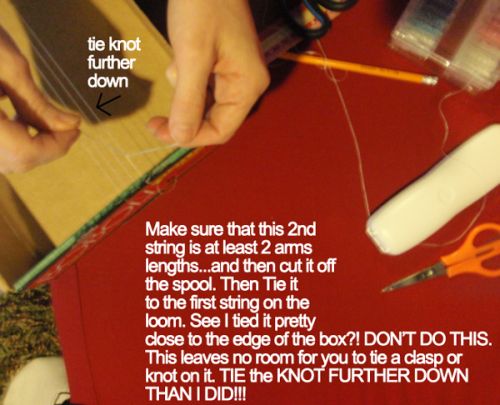
Make sure that this 2nd string is at least 2 arms length… and then cut it off the spool. Then tie it to the first string on the loom. See how I tied it very close to the edge of the box?! DON’T DO THIS. This leaves no room for you to tie a clasp or knot on it. TIE THE KNOT FURTHER DOWN THAN I DID.
Step 9
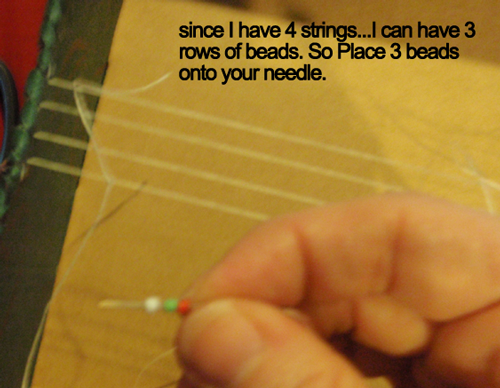
Since I have 4 strings… I can have 3 rows of beads. So, place 3 beads onto your needle.
Step 10
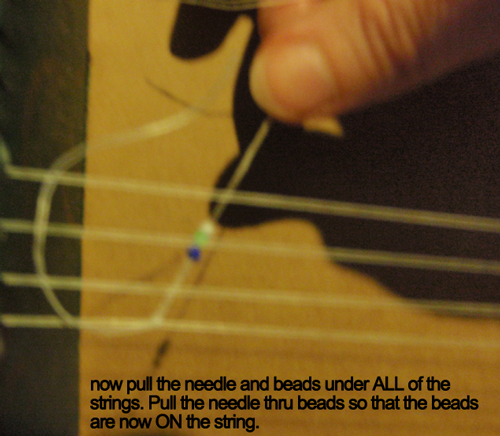
Now pull the needle and beads under ALL of the strings. Pull the needle thru beads so that the beads are now ON the string.
Step 11
Now push each between in between 2 strings and then push your fingers below the beads and strings … pushing the beads up. Then push the needle thru all the beads and pull thru. The first row is the hardest row… so don’t get frustrated… because the rest of the rows will be much easier. I didn’t get a good picture of this with the little beads so I am showing you this with bigger beads.
Step 12
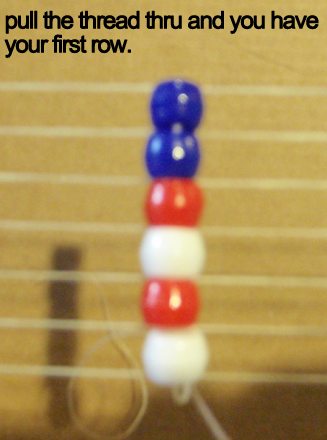
Pull the thread thru and you have your first row.
Step 13
Again… put beads on the needle… Push it under ALL the threads. Pull all beads onto the thread and then push all beads in between 2 threads…which will be MUCH easier this time than the 1st time.
Step 14
Push the beads up with your fingers… then push the needle thru the beads.
Step 15
Continue doing this until it looks big enough.
Step 16
Cut the floss at both ends.
Step 17
Tie a knot.
Step 18
Tie it around your friend’s wrist.
You just finished your first beautiful bracelet with your Cardboard Beading Loom. Wasn’t it a lot of fun? Now the only thing left to do is find the perfect friend to give it to. Or, keep it for yourself.
You Might Enjoy Our Other Friendship Bracelets Crafts Too
Technorati Tags: friendship bracelets, making friendship bracelets, make friendship bracelets, how to make friendship bracelets, girls crafts, crafts for girls, friendship crafts, jewelry crafts, bracelets, beaded bracelets, beaded bracelet crafts, bracelets with beads, beading looms, cardboard beading looms
