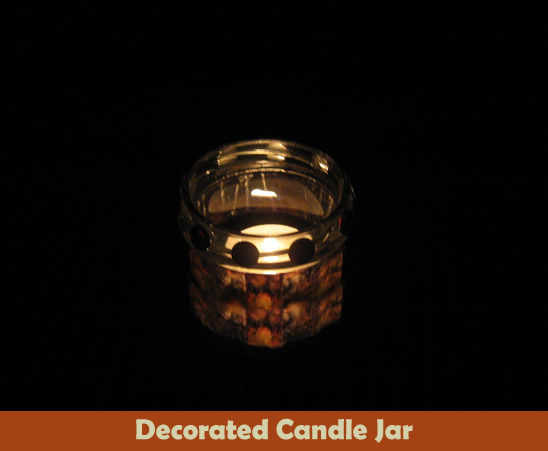
Today I’m going to show you how to make a decorated candle jar perfect to give as a gift for the Holiday Season. Imagine how much your friends and loved ones would enjoy a gift that you made yourself. They would totally love it. And, this decorated candle jar turns out beautifully…. so you will be so proud to give this craft as a gift. So, let’s get started.
Laura from Dacian Moon Handmade will show you, step by step, how to make a decorated candle jar.
MATERIALS NEEDED
– tracing paper
– image from computer
– craft glue (that will be transparent when dry)
– scissors
– self-adhesive crystals
– paintbrush
– recycled jar – it shouldn’t be too tall, but large enough to place a tea candle inside

Step 1
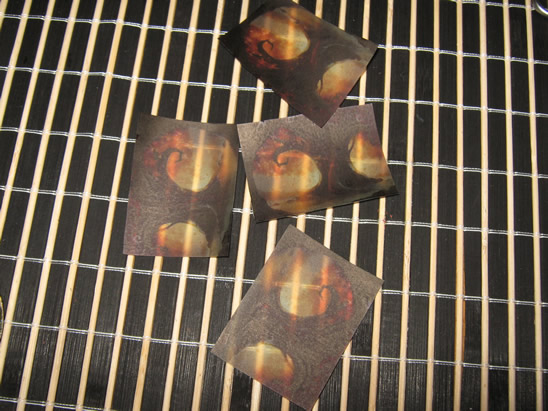
Print the image on the tracing paper. You will need to print it twice because the image must go around the jar.

Cut off the images. I need 4 trees to cover my jar.
[ad#ahc]
Step 2
Using the craft glue…
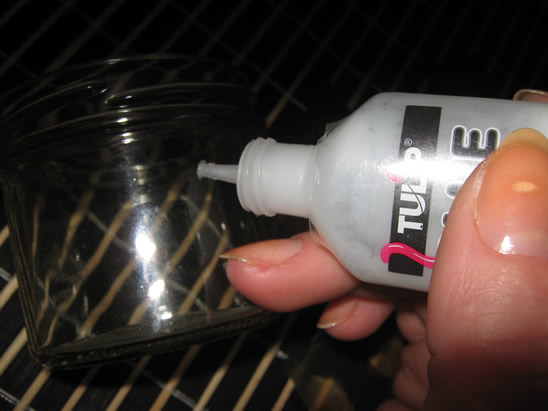
… cover one side of the jar…
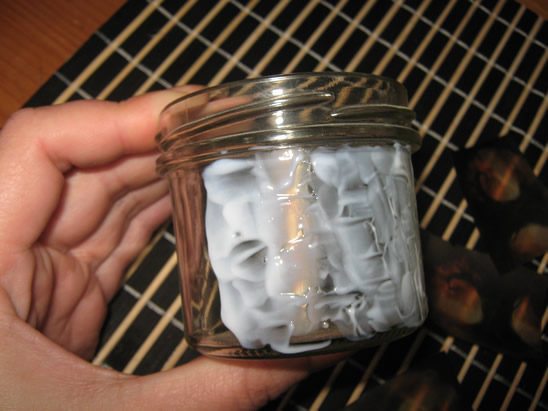
Then place one image on it.
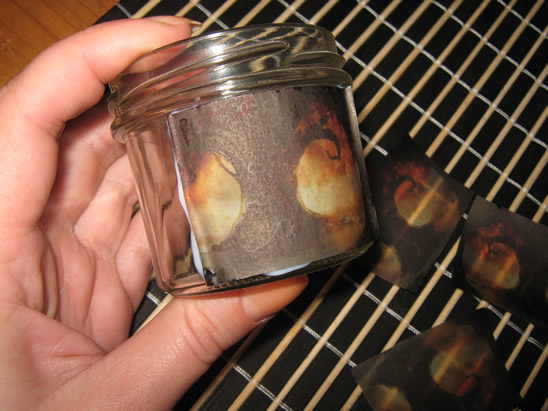
Repeat that until the whole jar is covered.
Let it dry.

Step 3
Over the image add glue again spreading it with the paintbrush…
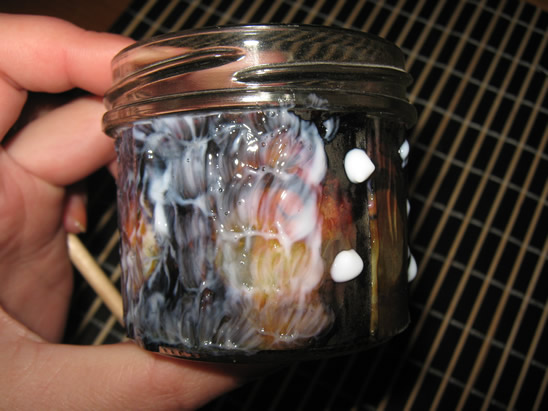
… like that.
Wash your paintbrush immediately with water or else it will bind itself.
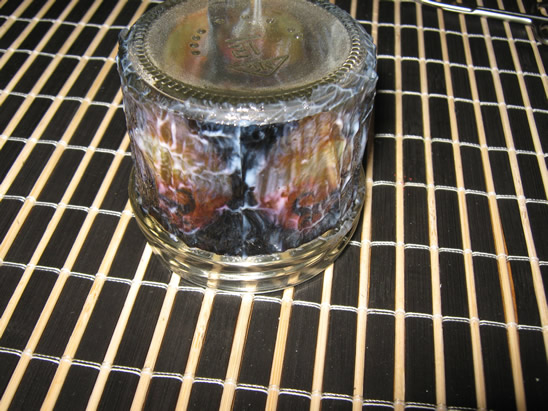
Let it dry well.
This layer of glue placed on top of the image will protect it and give you the chance to make some interesting patterns when you spread it.
Step 4
Take one self-adhesive crystal…
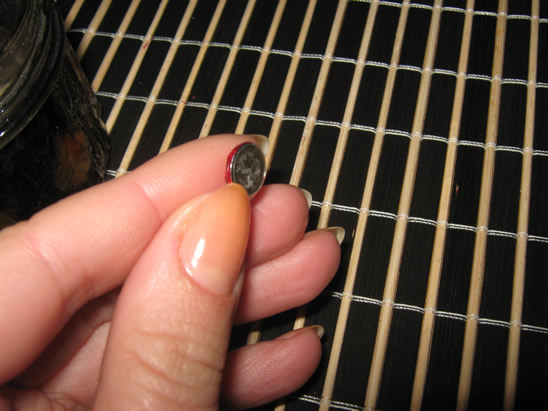
And place it on the upper part of the jar.
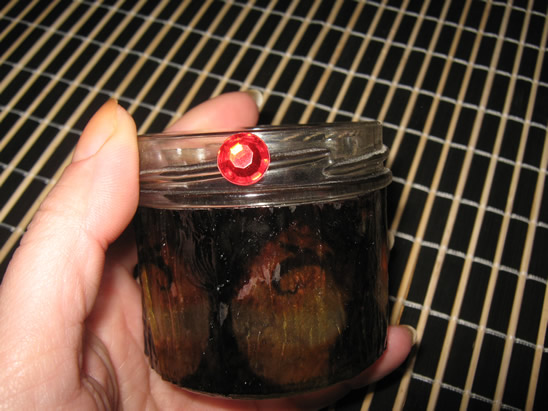
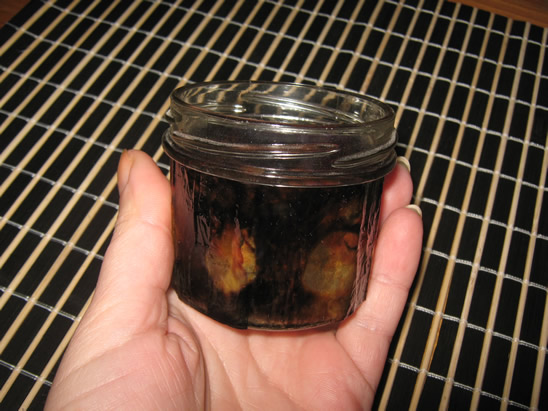
Decorate as you please…
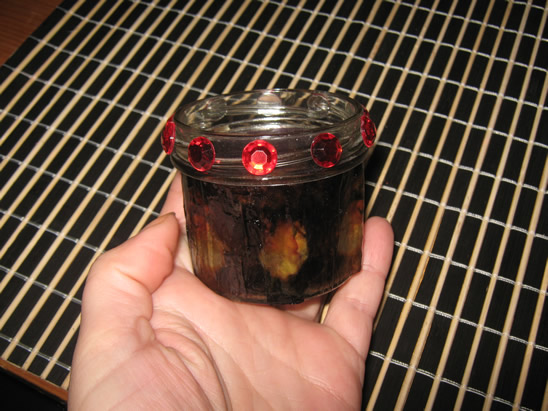
… now you can light the candle or give as a gift.
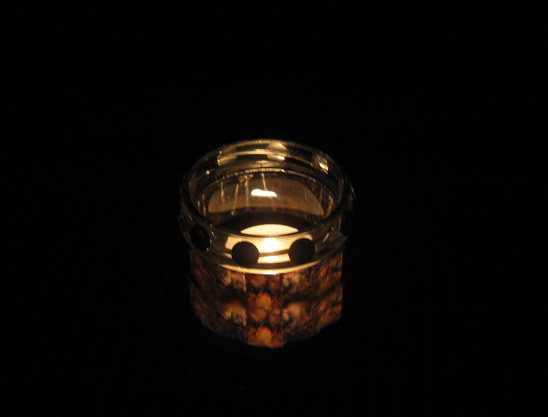
Awesome job…. you just finished your decorated candle jar. How did your candle turn out? Take a picture and share it with us in the comments below. Now, go wrap your decorated candle jar and get it ready to give as a gift. Whoever you give it to will LOVE it!!
Technorati Tags: candle, candle crafts, crafts with candles, Christmas gift crafts, Xmas gift crafts, holiday gifts, holiday gift crafts, Hanukkah gifts, Hanukkah gift crafts
