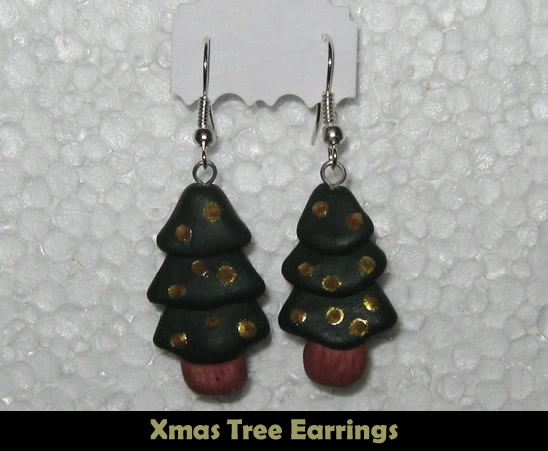
I have a fun and festive craft for you today. I am going to show you how to make Christmas Tree Earrings. They are perfect for a gift… imagine how excited the receiver of this gift would be. They would absolutely love them. Or, they are so beautiful…. maybe you would like to keep them for yourself. Either way…. the craft turns out lovely and perfect for this Holiday Season.
Check out our other Christmas Crafts.
Laura from Dacian Moon Handmade will show you how to make this, step by step. You will need help from an adult for this tutorial.
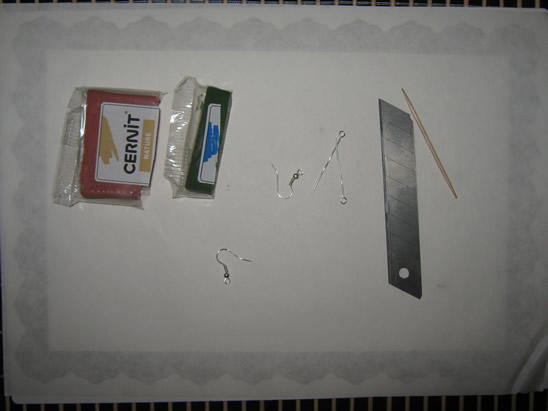
MATERIALS NEEDED
– polymer clay: green and brown
– metallic gold paint (optional)
– cutter
– toothpick
– 2 pins with loop on one end
– 2 earring hooks
– baking tray
– baking paper
Step 1
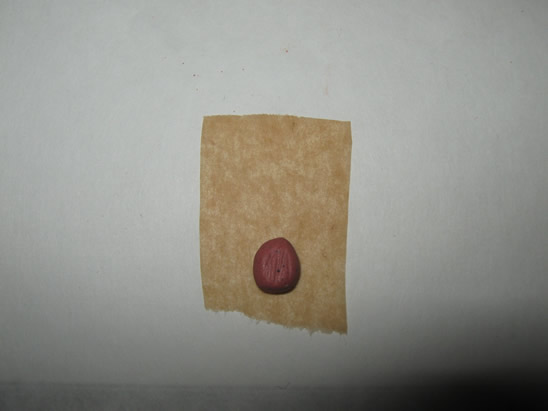
Take a piece of brown polymer clay.

Condition it .
(Condition polymer clay by hand, simply mix it and squish it with your fingers. You may want to roll it into a log between your palms, fold it in half, and then roll again).
Part it in half.
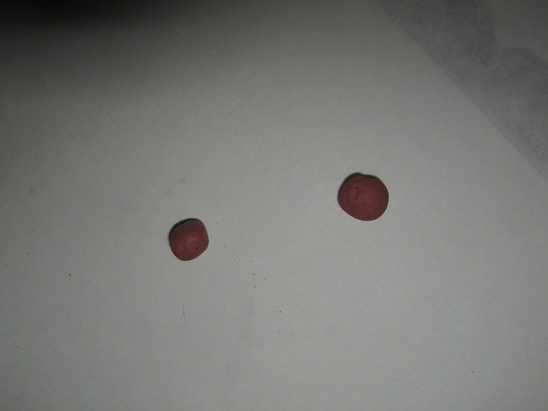
Take one half and, with your nail or with the toothpick, make some creases on it – like bark.
Place it on a small piece of baking paper.
[ad#ahc]
Step 2
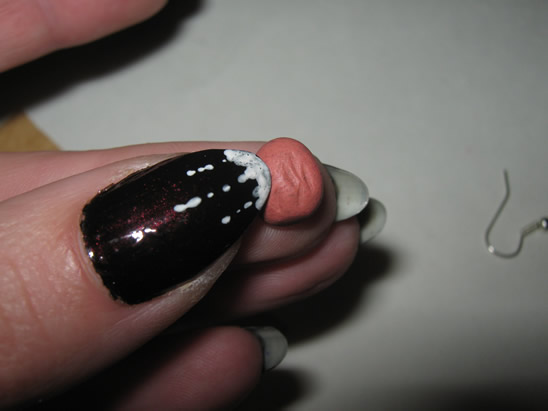
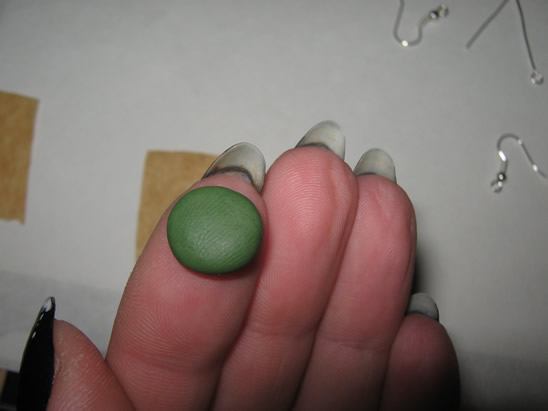
Take a piece of green clay.
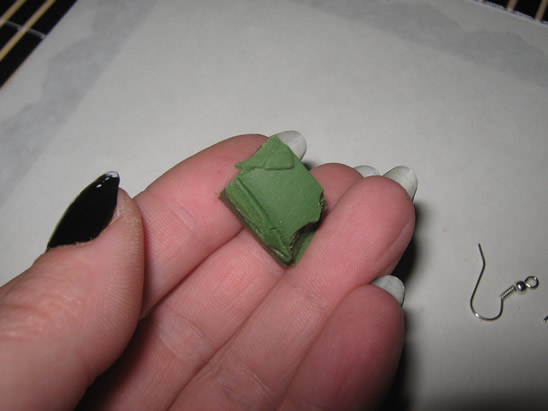
Condition it …
… and part it in three: one bigger, one a little bit smaller and the third even smaller.
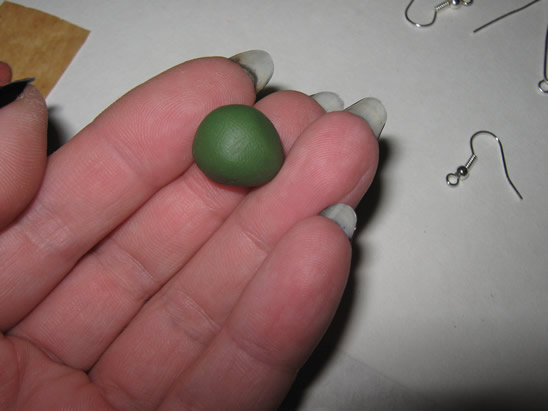
Take the big one and flatten it.

Squish it gently between two fingers…
… then place it over the brown piece…
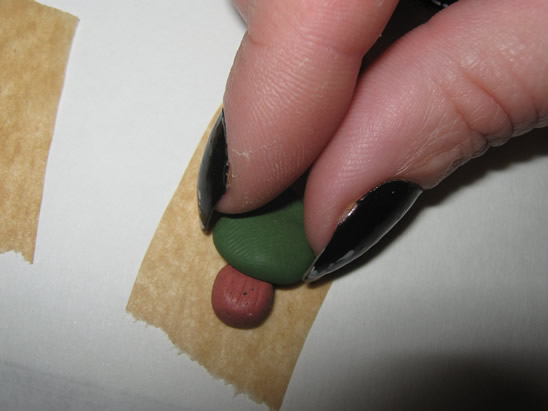
… like this.

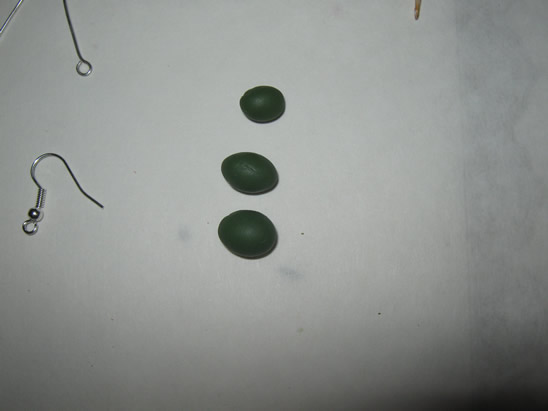
Take the second piece of green clay…
And do the same…
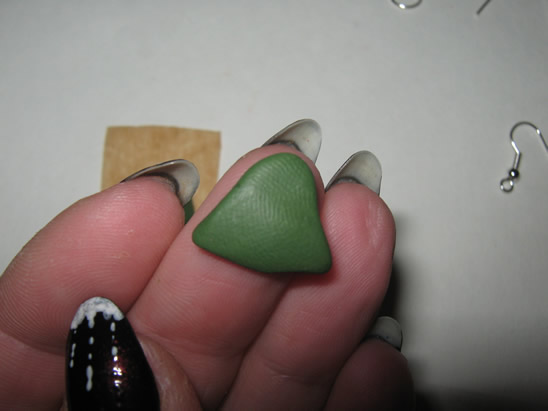
… then put it over the first.

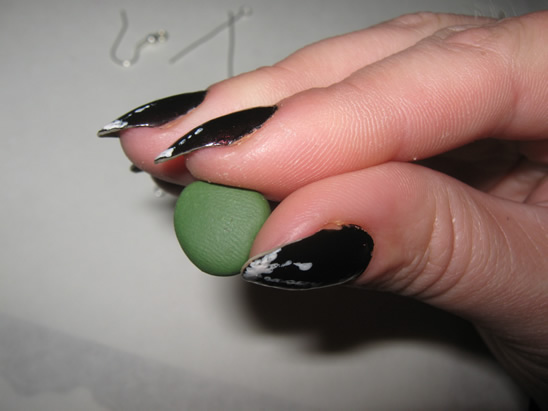
Do the same with the third piece of green clay – this will be the top.
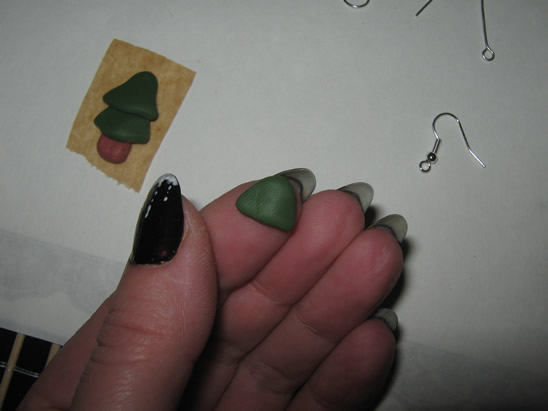
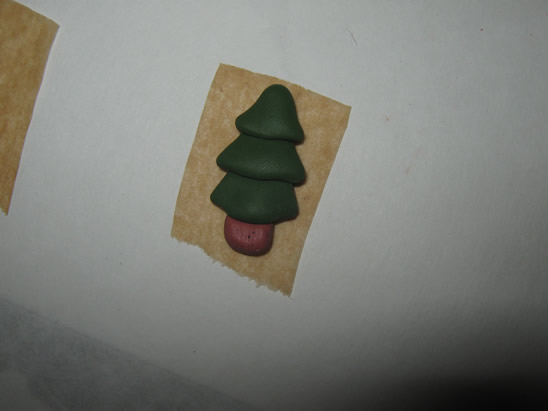
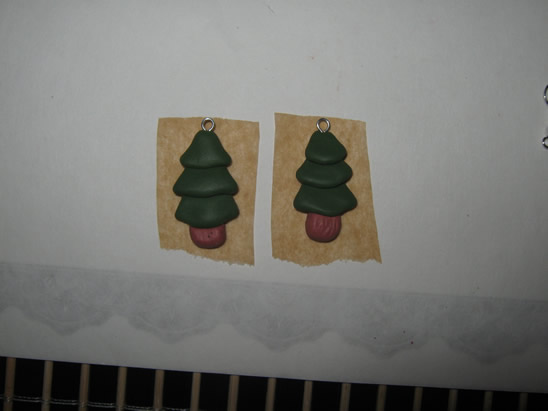
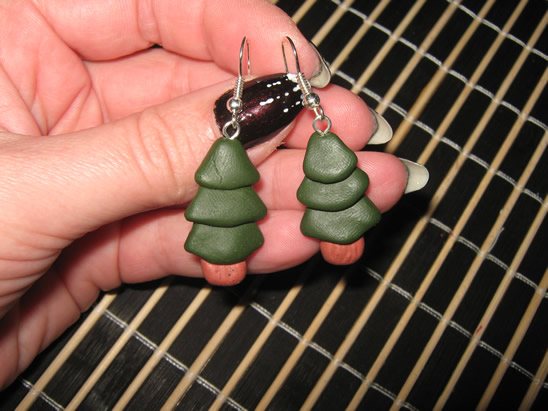
Place it over the other two and the tree is ready.
Because we want to put it on an earring hook, we must place the pin through it.
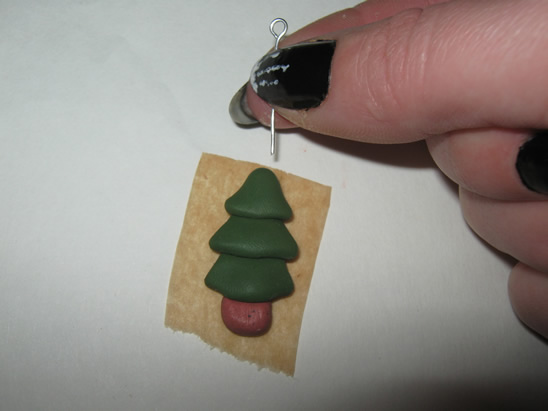
Like this.
Step 3
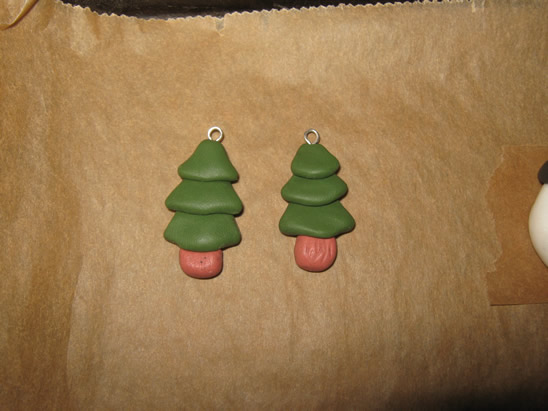
Repeat the steps 1 and 2 to make another tree.
Step 4
Place them on the baking tray, and bake them according to the instructions on the polymer clay package (they depend on the brand you use: fimo, cernit, sculpey…, but usually it is one half hour at 230 F or 110 C) – this is the part when you could use a little help.
Let them cool down.
Step 5
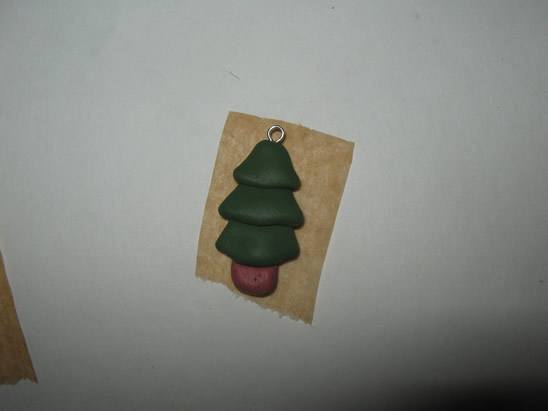
Open the loop of the earring hook…
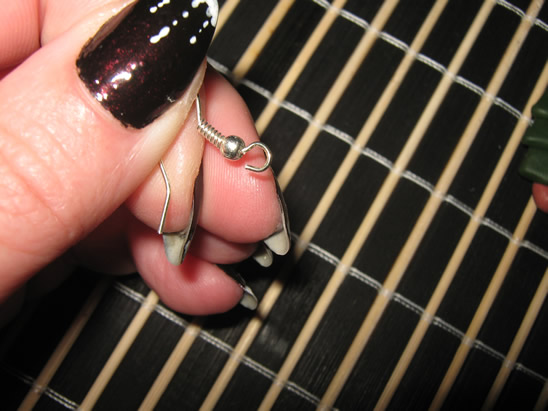
… and place the pin through it, like in the picture. Close the loop.
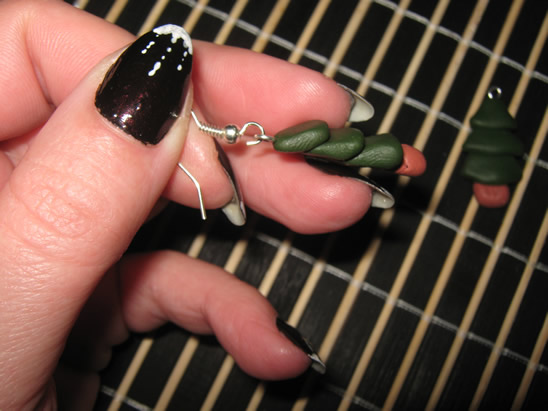
Do the same for the other tree and the earrings are ready.
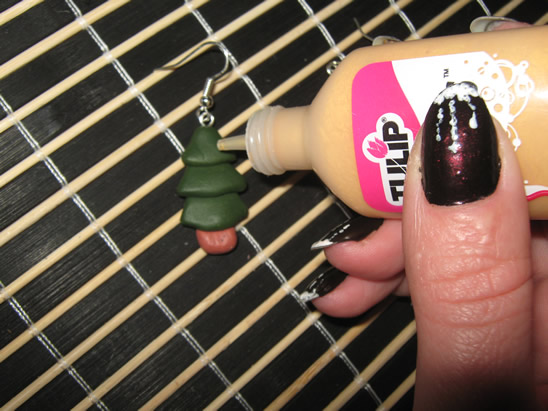
Step 6 – optional
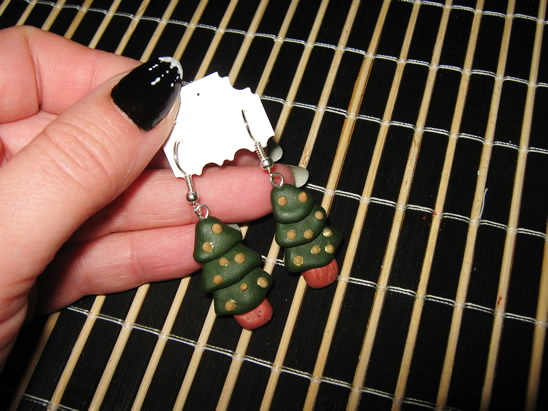
Use metallic gold paint to make points on the trees – they will look like globes.
The earrings are ready to be worn.
I told you these earrings are beautiful. How did you earrings turn out? Let me know in the comments below. And, don’t forget to take a picture…. you can share your picture in the comment as well. Now, go wear your Christmas Tree Earrings proudly.
Technorati Tags: Christmas crafts, xmas crafts, Christmas activities, xmas activities, December crafts, Holiday crafts, Holiday activities, Christmas jewelry crafts, jewelry crafts, earrings, earring crafts, crafts for girls, Christmas crafts for girls
