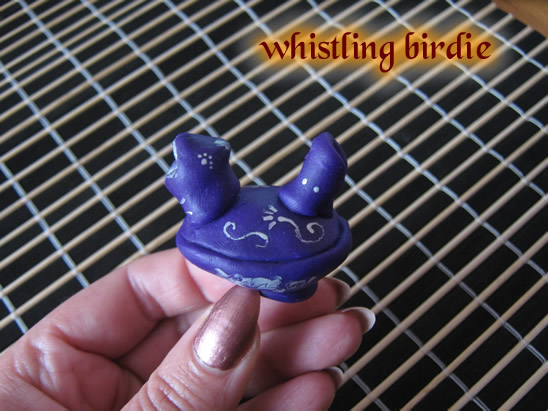
I have a fun craft for you today. I’m going to show you how to make a Whistling Birdie Toy. This Whistling Birdie toy is a traditional toy from Romania. It is common to see the children of Romania playing with a Whistling Birdie toy like the one I’m going to show you how to make today. And, believe it or not…. it will actually whistle. And, if you add a little water to the whistling birdie it will sound like it is a real bird. Because you will be using polymer clay you will need a little help from an adult. So, grab the materials needed and let’s get started.
Check out our other Toy Crafts.
Laura from Dacian Moon Handmade will show you, step by step, how to make this toy.
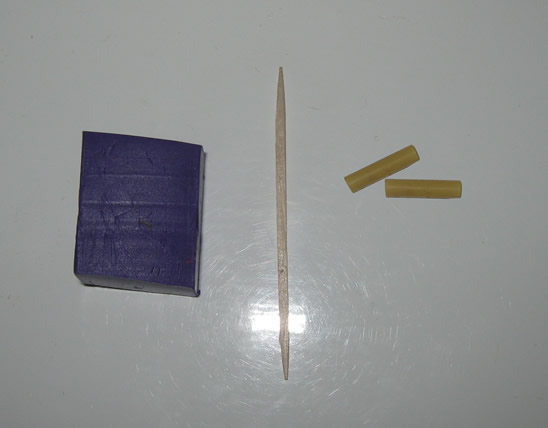
Materials Needed
– toothpick
– a piece of polymer clay (the color you want your bird to be)
– two little tubes (I use two little pieces from a flexible straw)
– baking paper
– baking tray
Step 1
Take a small part of clay…
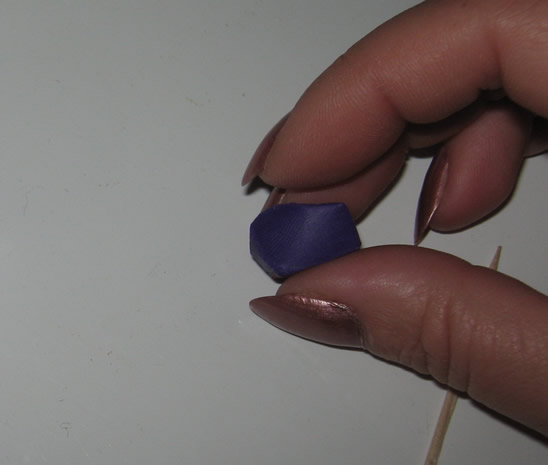
… and condition it by hand, simply mix it and squish it with your fingers.

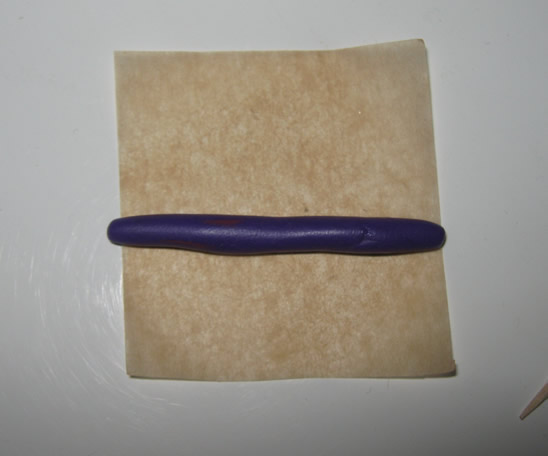
Roll it into a log using your fingers, like that:
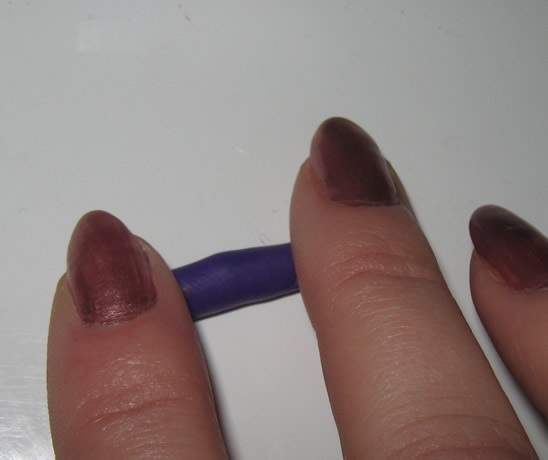
The log will look like that.
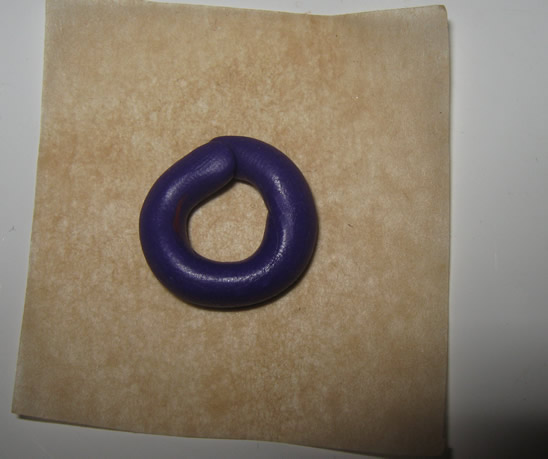
Make a circle with the roll, by pressing the ends together.
[ad#ahc]
Step 2
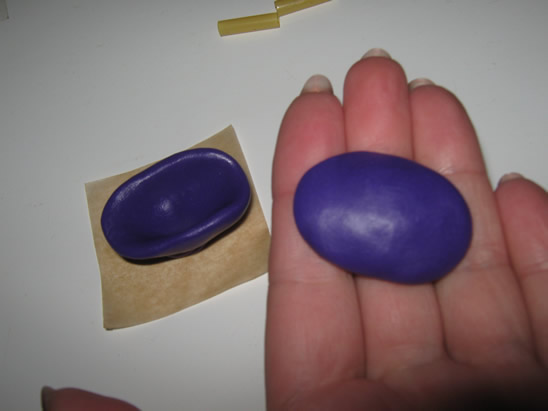
Take a little less than half of the remaining clay, condition it by hand.

Make it a ball and flatten it.
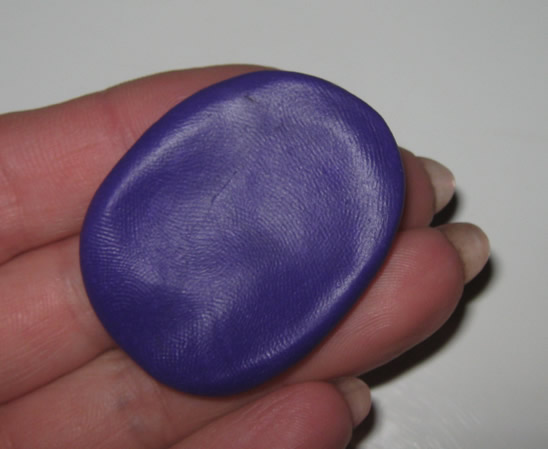
Using your big finger press the center of the clay piece.

Place the piece on the circle, like in the picture.

Step 3
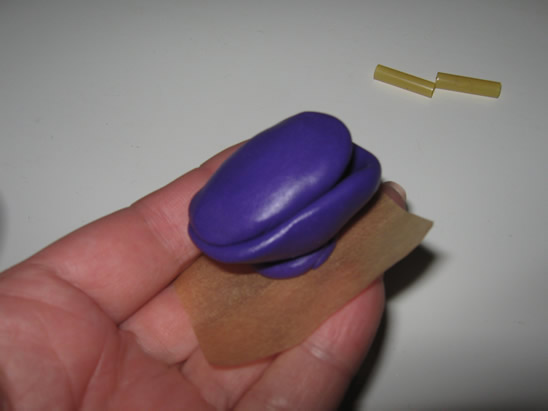
Take a half of the remaining clay, condition it …
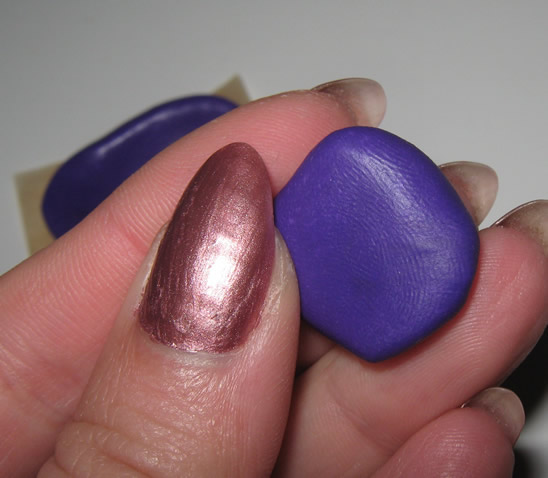
… and make it the same.
Later we will place it on top of the other one, reverted, so it should fit there.
Step 4
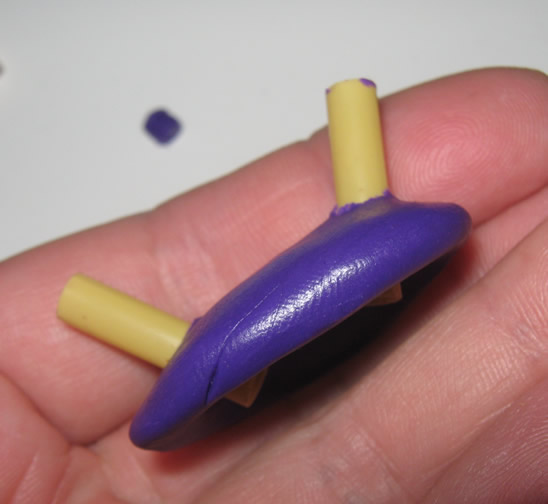
Place the tubes near the edges of the top piece, taking care to get off the clay that will get on the tubes.
Step 5
Use a half of the remaining clay to cover one tube, taking care to be higher than the tube, like in the picture.
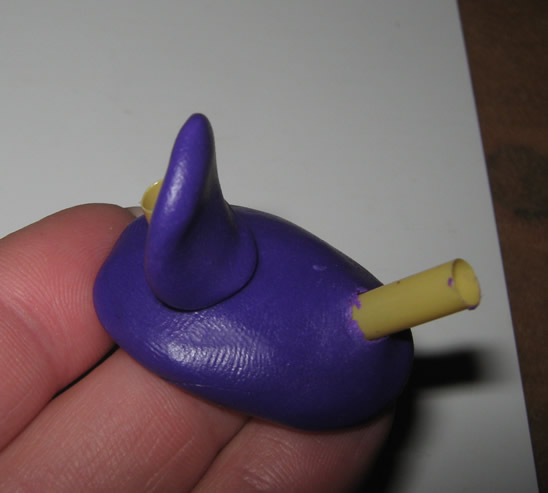
Completely cover the tube.
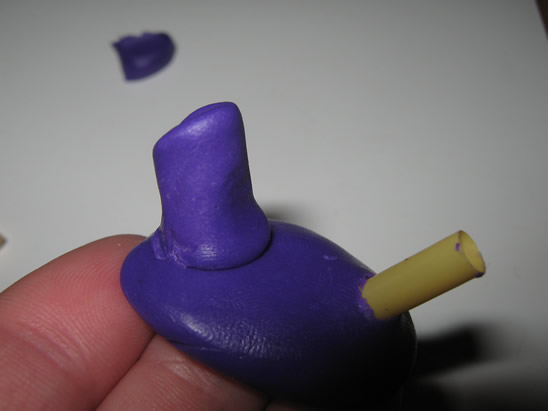
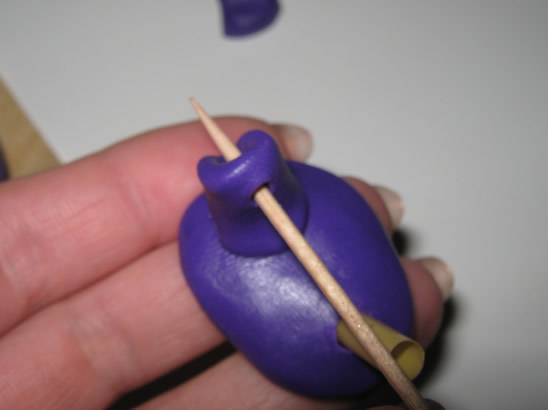
Use the toothpick to make a hole like in the picture (that’s the reason we need the covering to be higher than the tube)
Step 6
Use all remaining clay to cover the second straw.
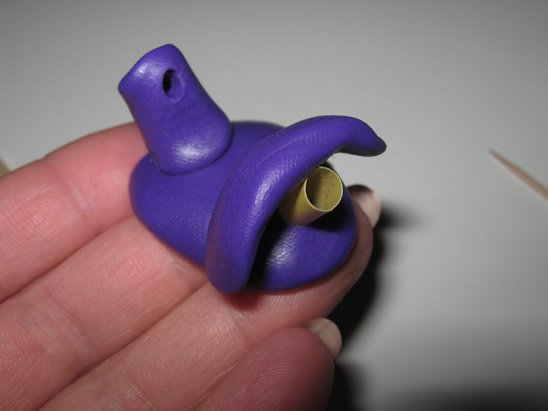
Completely cover it (not on top, of course.)
Try to make it look, as much as possible, like a bird’s head with an open beak.
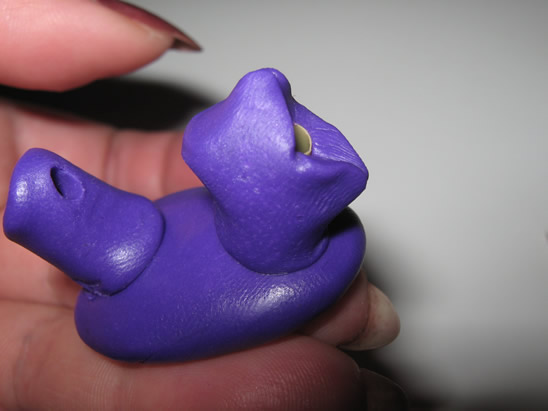
Step 7
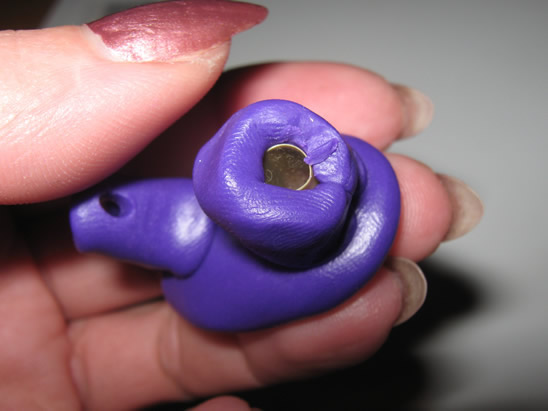
Place the top on the bottom of the figure, like in the picture.
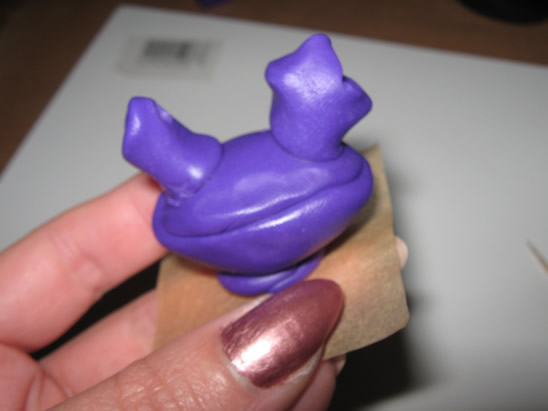
Step 8
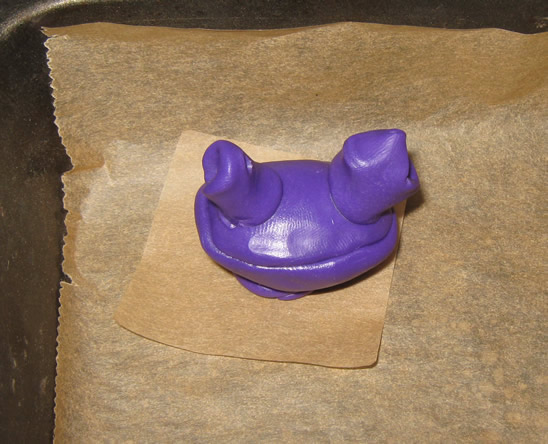
***Now you’ll need the help of an adult.
Place the bird (with it’s piece of baking paper) on the baking tray, and bake it according to the instructions on the polymer clay package (they depend on the brand you use: fimo, cernit, sculpey…, but usually is one half of hour at 230 F or 110 C)
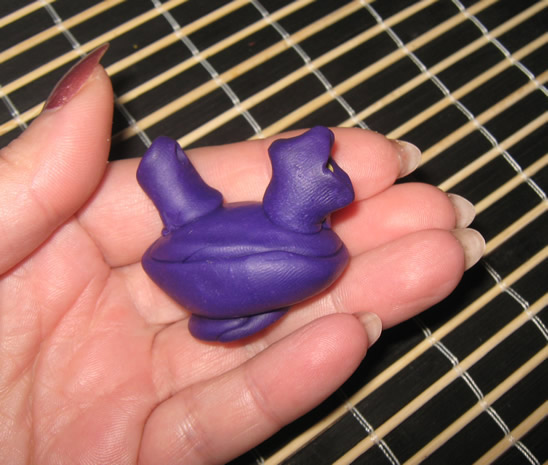
Step 9
Let it cool down.
Step 10
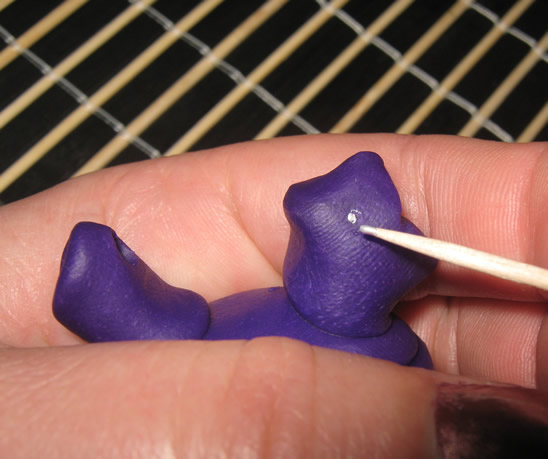
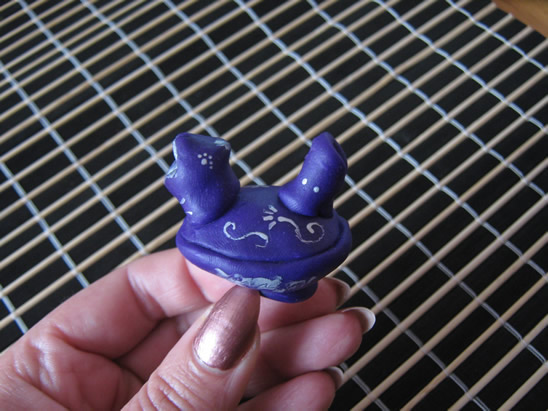
You can use paints to make the bird beautiful. I used a toothpick and silver paint.
And… This is our bird.
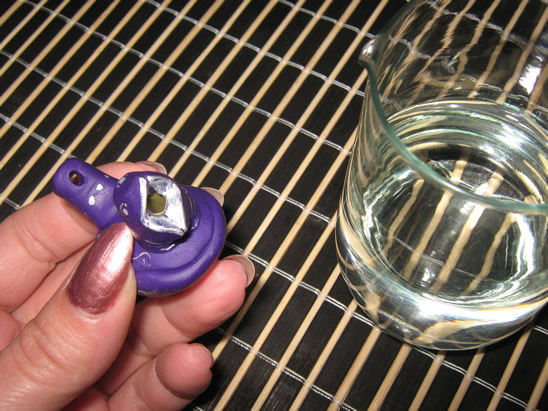
You can fill it half with water…
… and whistle. Without water it will simply whistle, with water it will make sounds like real birds.
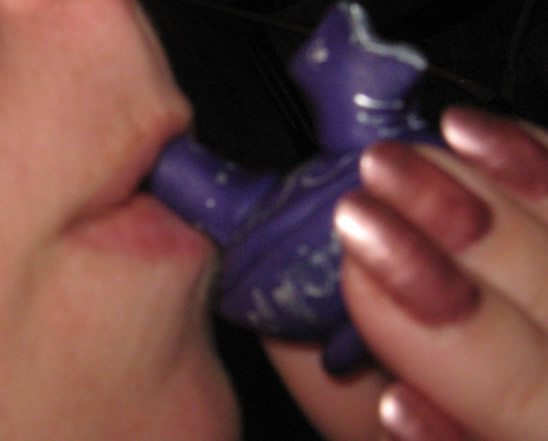
Have fun whistling with your Whistling Birdie Toy. How did your Whistling Birdie Toy turn out? Did you paint it differently than me? Let me know in the comments below. And, take a picture of your birdie too…. you can leave it in the comments as well. I’d love to see it.
Technorati Tags: toy crafts, make your own toys, whistling birdie, whistling birdie craft, whistling bird, whistles, whistle crafts, make your own whistles, whistling bird crafts, kids crafts, crafts for kids
