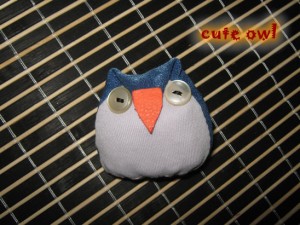
If you love stuffed animals then you are going to love today’s craft. I’m going to show you how to make a Cute Stuffed Owl. You can decide to keep in for yourself or give it to one of your best friends to love. Either way you can guarantee that people are going to love this stuffed owl… especially when they find out that you made it yourself. So, grab the materials needed and let’s get started.
Laura from Dacian Moon Handmade will show you how to make this, step-by-step.
Materials Needed
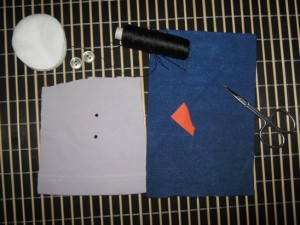
– two different pieces of fabric (one smaller than the other) – in my case I used blue and grey.
– one small piece of red leather or felt
– scissors
– craft glue (optional)
– 2 white buttons
– stuffing material (I use some cotton pads)
– string and needles
Step 1
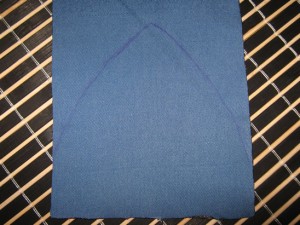
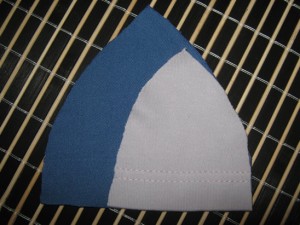
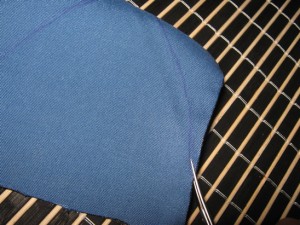
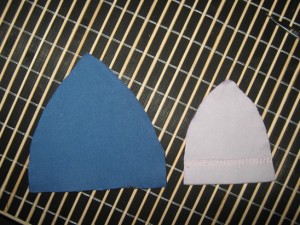
Draw a big triangle (with curved edges) on the blue fabric.
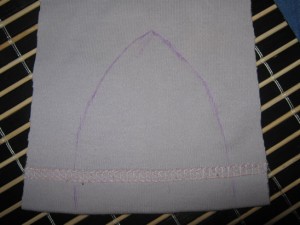
Draw a smaller triangle on the grey fabric.
[ad#ahc]
Step 2
Step 3
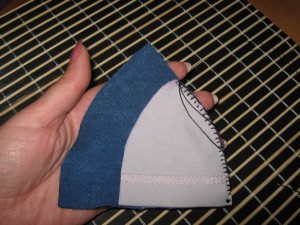
Place the right sides together…
Step 4
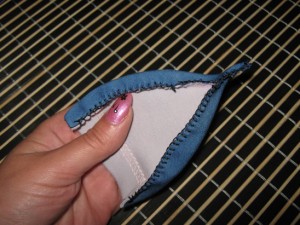
Force the left sides together and stitch them too.
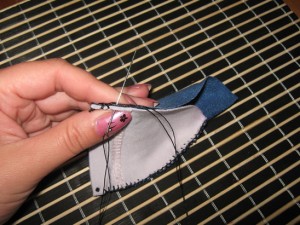
This will cause the top of the body piece to come together …
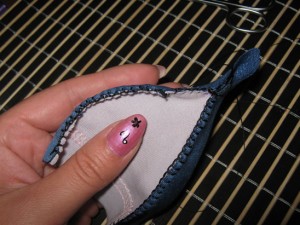
Step 5
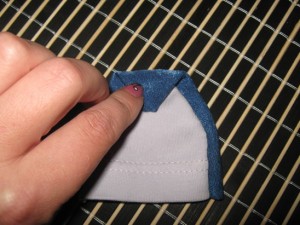
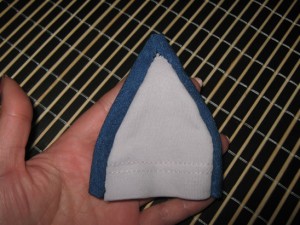
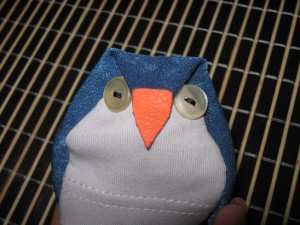
… and fold down the top of the triangle. If you fold it lower, you’ll have a fatter and shorter owl. It will be taller and thinner if you fold it higher. Secure this with a quick whip stitch.
Step 6
Cut a small triangle (with curved edges) out of the red leather.
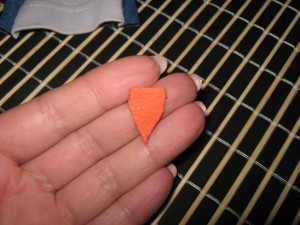
Sew it or glue it on top of the fold.
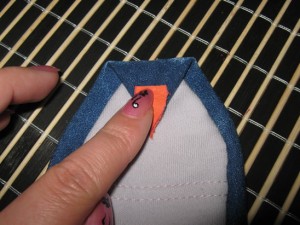
Step 7
Sew the buttons on the sides of the beak…
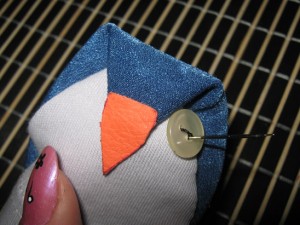
Step 8
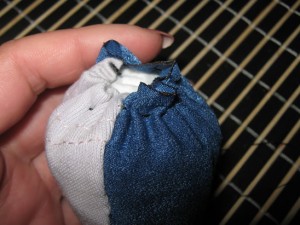
Do a nice running gather stitch along the bottom of the owl, but don’t tie it yet.
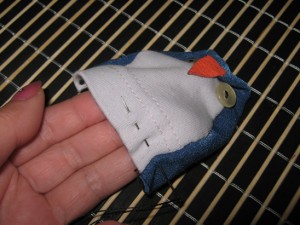
Step 9
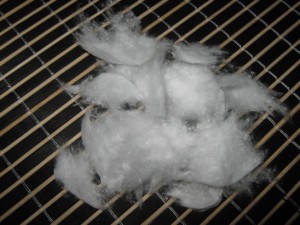
Prepare the stuffing material – I tore the cotton pads in small fluffy pieces.
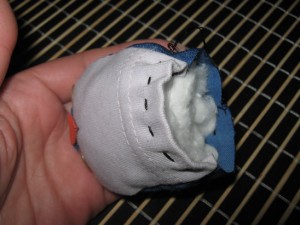
Stuff your little bird so that it has a wonderfully squishy and cuddly softness to it.
…and now you have a new cute friend to play with.
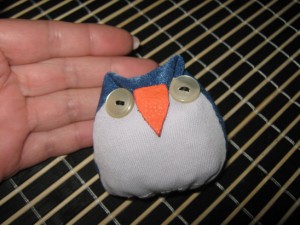
Isn’t this Stuffed Owl just simply cute?! And, the cool part is that you made it yourself. How did your stuffed owl turn out? Let me know in the comments below. And, don’t forget to add a picture of your owl to the comment too…. I would love to see it.
Technorati Tags: easy to make stuffed animal, stuffed animal, homemade stuffed animal, stuffed owl, owl doll, how to make stuffed animal, doll crafts, stuffed owl crafts, stuffed animal crafts, how to make stuffed animal, kids crafts, crafts for kids

it turned out great