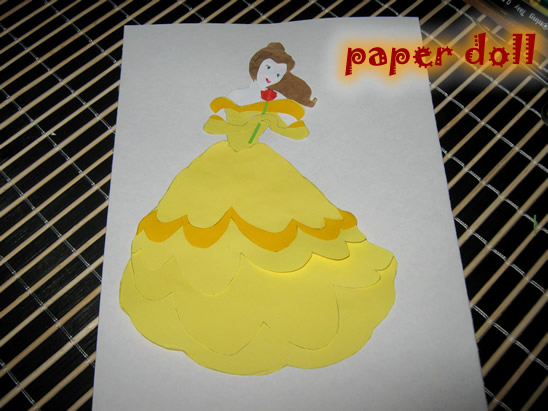
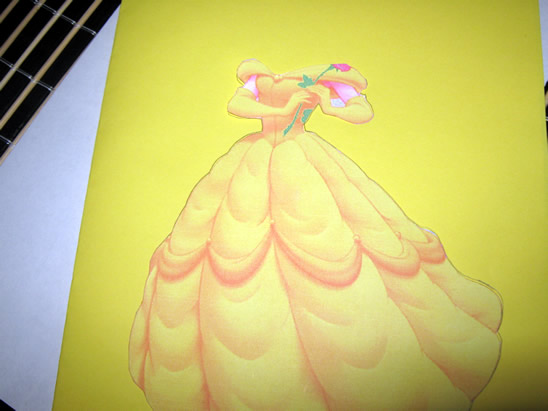
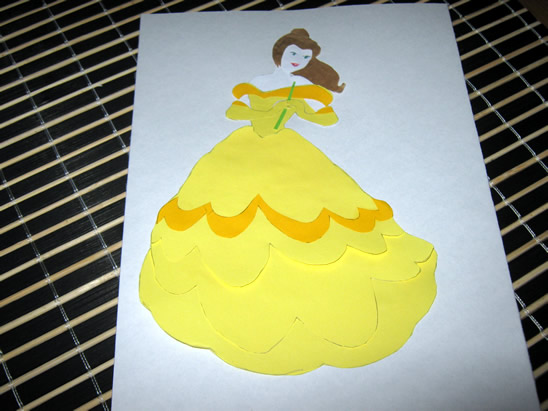
Today I’m going to show you how to make a Layered Paper Doll. This craft can be made with any character you would like. For purposes of explaining this tutorial I will show you how to make this Layered Paper Doll using a Beauty and the Beast Character…. Belle. Once you know the technique of how this is done you can do this to any character. This craft is a lot of fun, so grab the materials needed and let’s get started.
Check out our other People Figures & Doll Crafts.
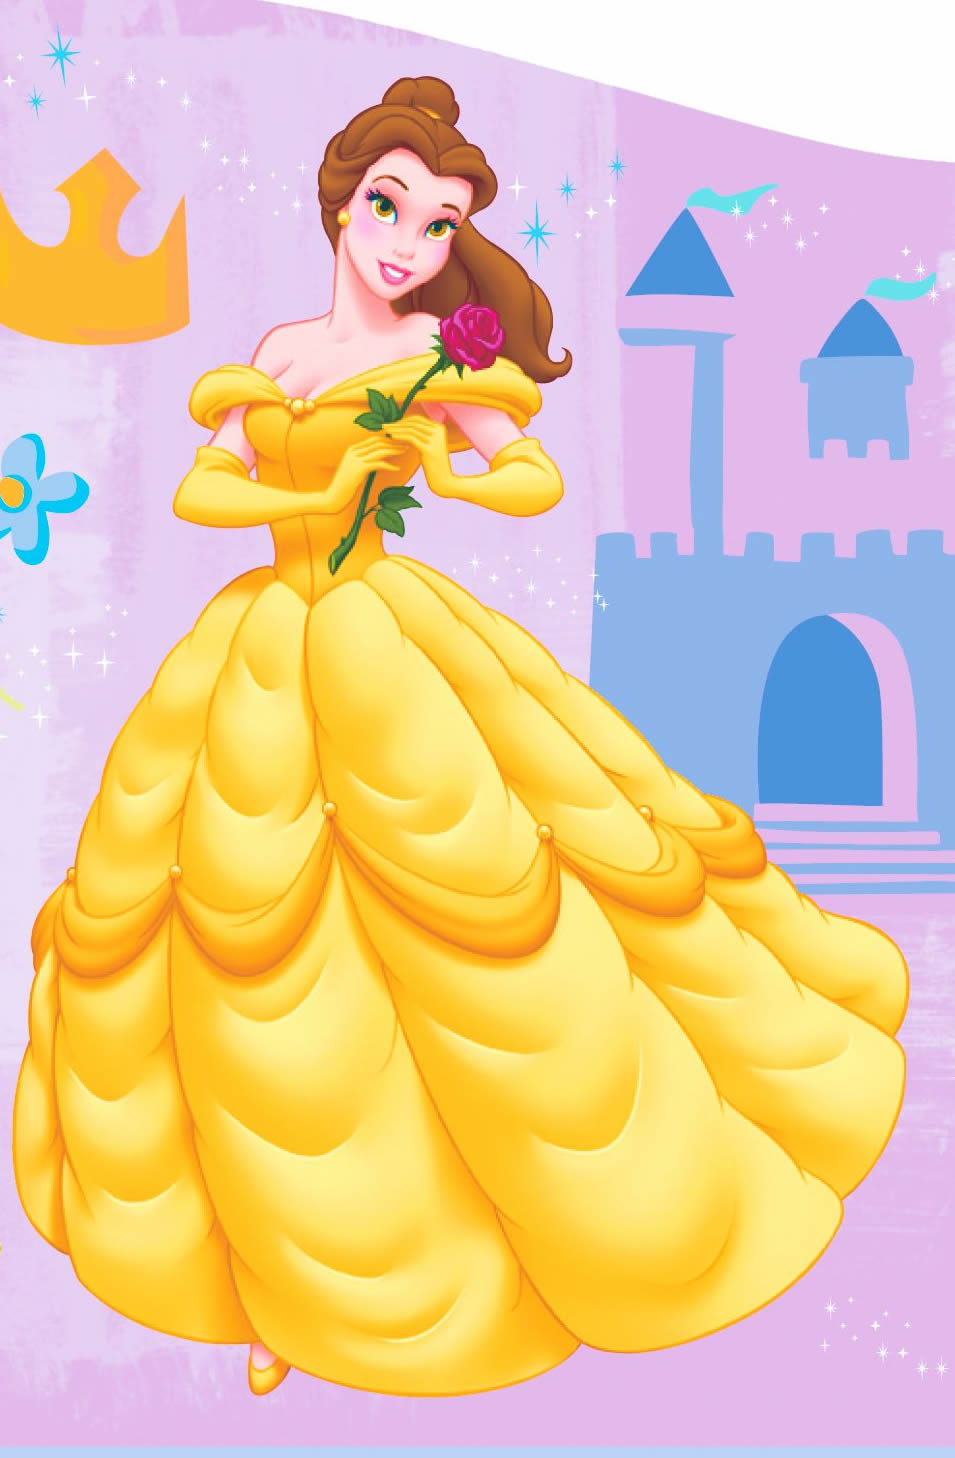
Laura from Dacian Moon Handmade will show you today how to make a layered paper doll. We’ll make Belle from Beauty and the Beast. You can take the picture from here.
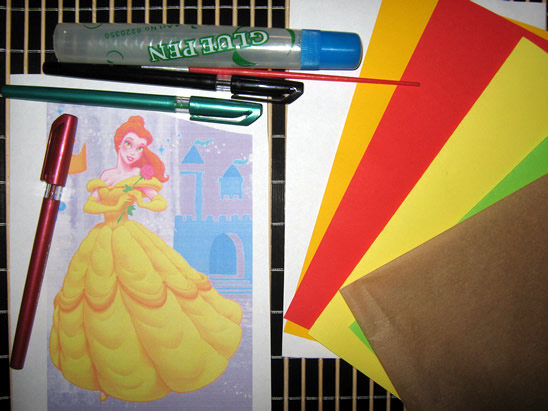
Materials Needed
– image or sketch from here
– color card stock (brown, green, yellow, red, orange, white)
– glue (paintbrush for applying the glue – optional)
– thin markers for the face
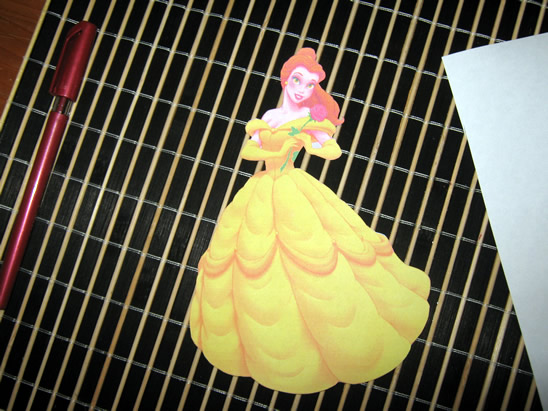
Step 1
Print the picture and cut out the doll.
[ad#ahc]
Step 2
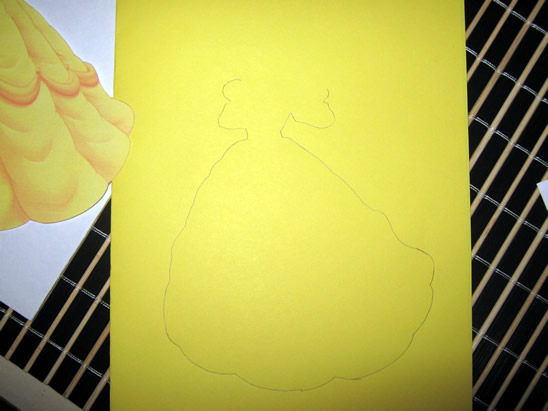
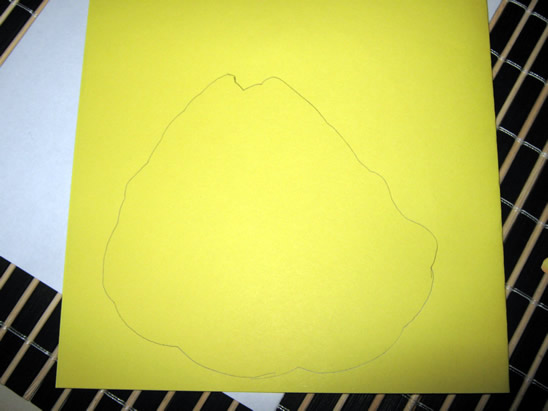
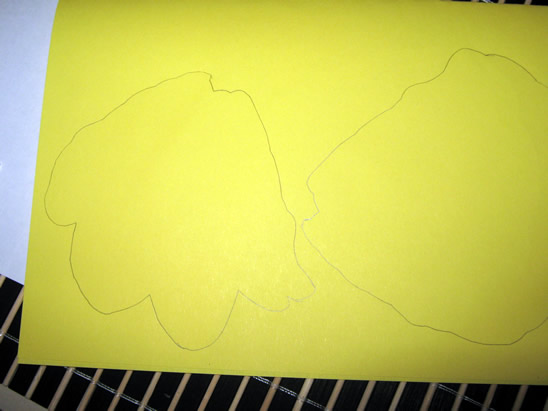
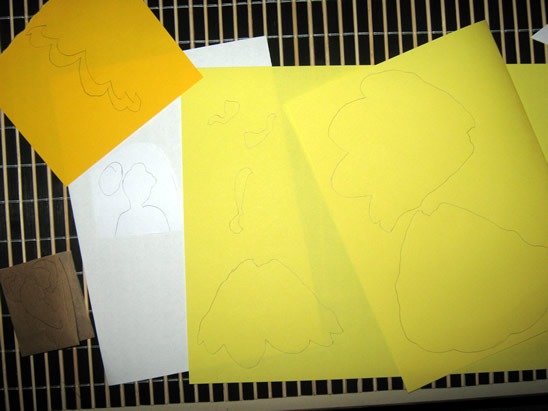
Trace the contour of every single piece on its corresponding color card stock. Start from the big ones to the little ones. On the yellow cardstock draw the contour of the dress.
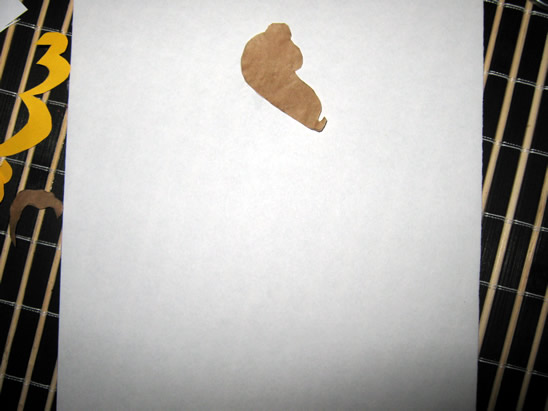
On brown draw the hair.
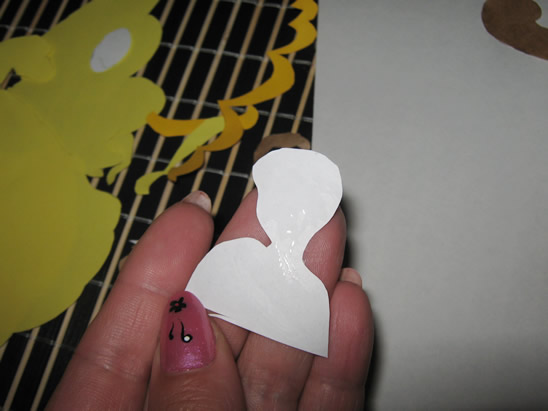
Step 3
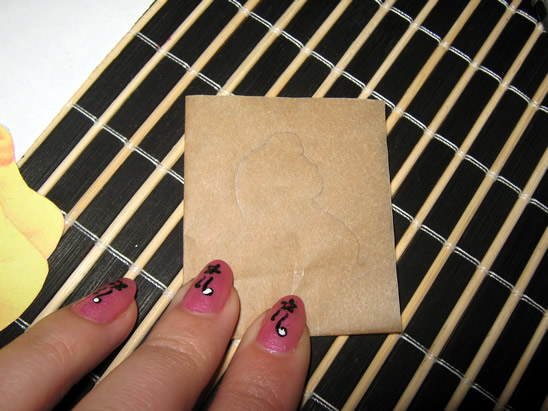
Cut out the hair and the body.
Take care to draw every part of the hair on brown – you’ll have 3 parts: one general (drawn with black), and two pieces in front (blue and green).
The rest is the dress and the hands. Complete the contour of the dress on the yellow card stock.
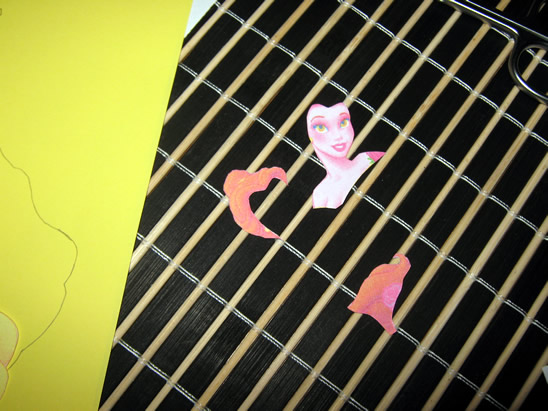
Cut out the lower part of the dress, the hands and the upper part of the dress (we need everything that goes on top of something else.)
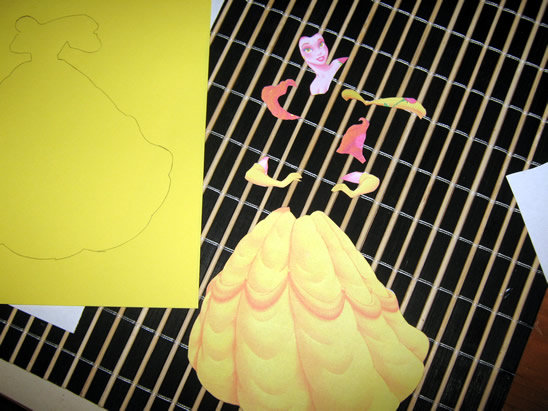
Replicate them on corresponding colors.
Step 4
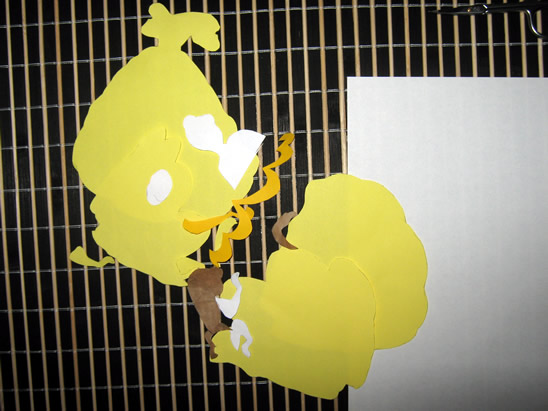
Start cutting the layers of the dress…
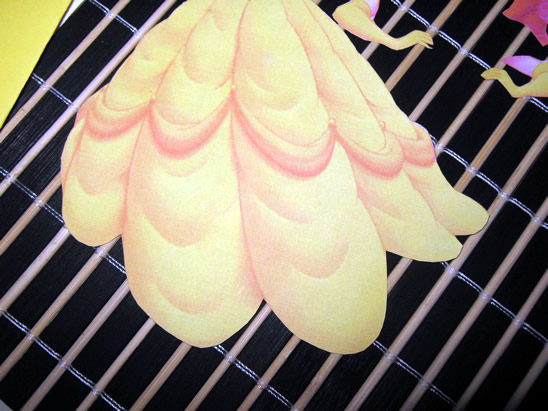
… replicating every single one.
In the end we’ll have something like that.
Step 5
Cut all of them out.
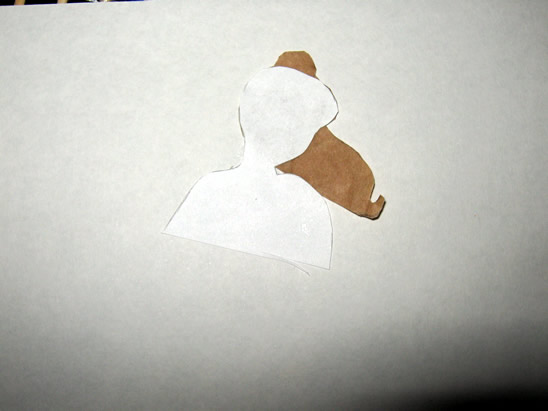
Step 6
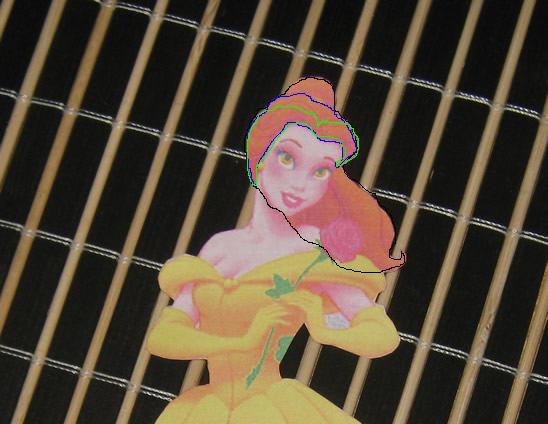
On a white cardboard start gluing the pieces, from bigger to smaller. First of all will come the hair (the general piece).
Apply a layer of glue on the back of the body piece…
… and place it on top of the hair.
Glue the next piece of hair…
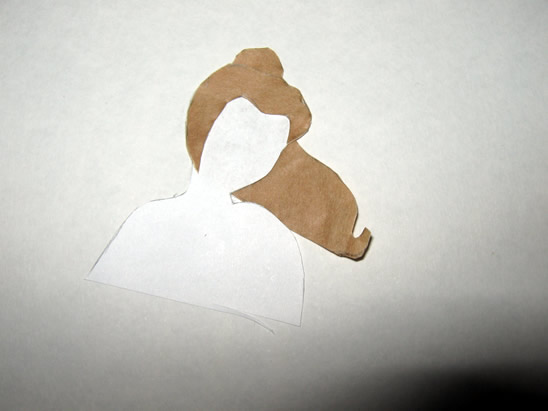
… and then the face and the last piece of hair.
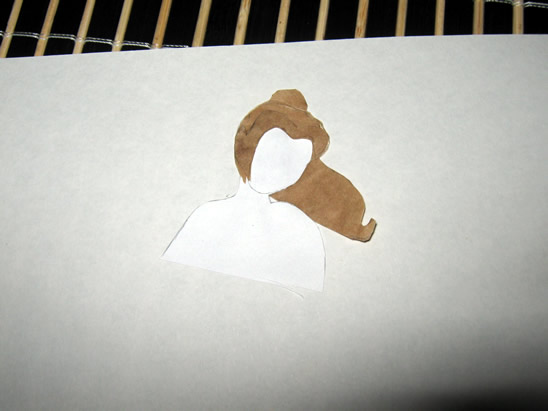
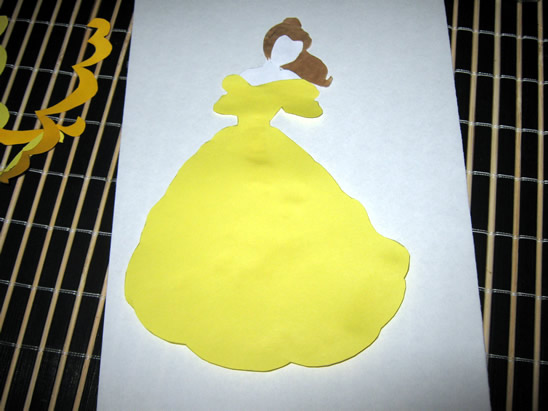
Now that the head is ready, glue the bigger piece of dress in its place.
Next comes the hands…
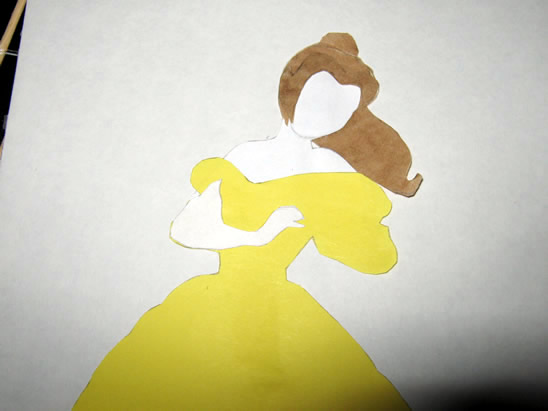
So glue them on there place.

Cover them with yellow gloves…
… like that.
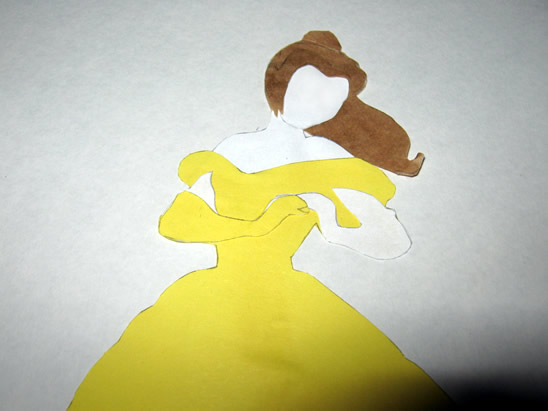
Add the top of the dress – the orange band.
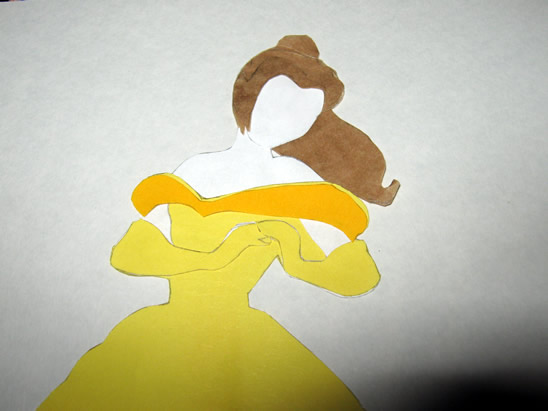
Now, let’s make the lower part of the dress.
Glue the layers in order, one on top of the other…

And finish with the orange band.
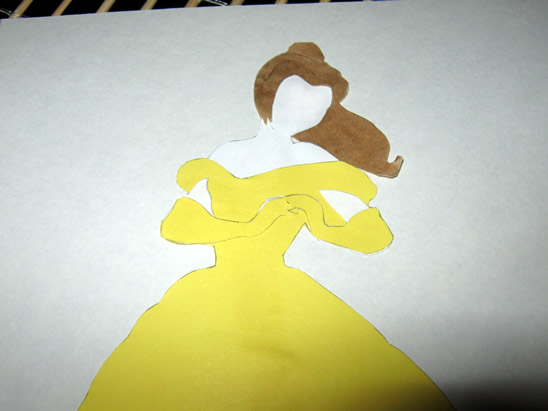
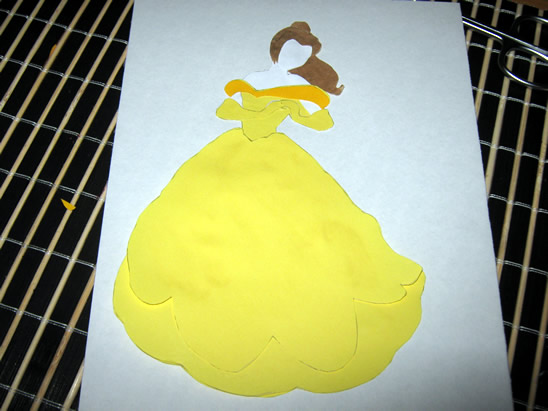
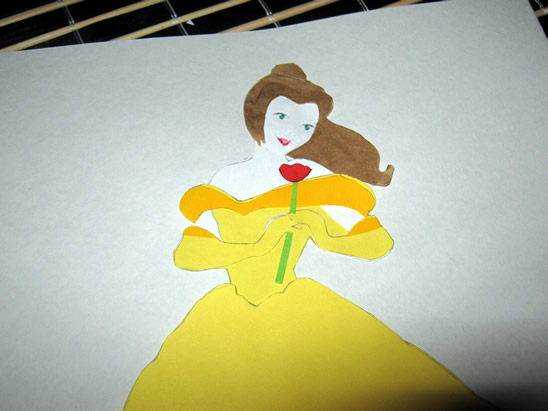
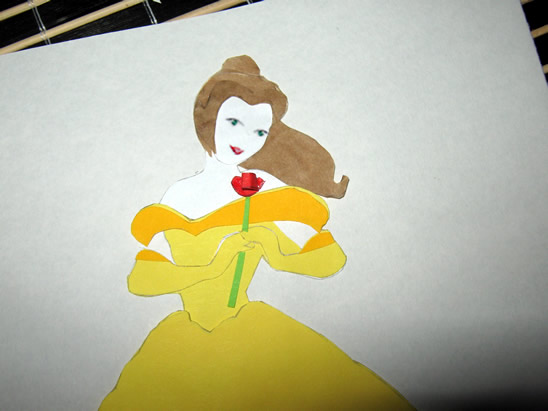
Next, add the orange edges to her gloves. Now her dress is ready. Add two little pieces of green as a rose stem in her hands.
Step 7
Let’s give her life: draw her eyes and mouth with colored markers.
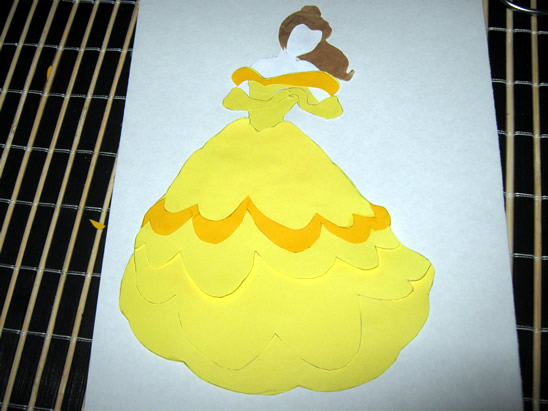
Step 8
The last thing: the rose flower. On red card stock draw two petals and a rectangle. Cut them out.
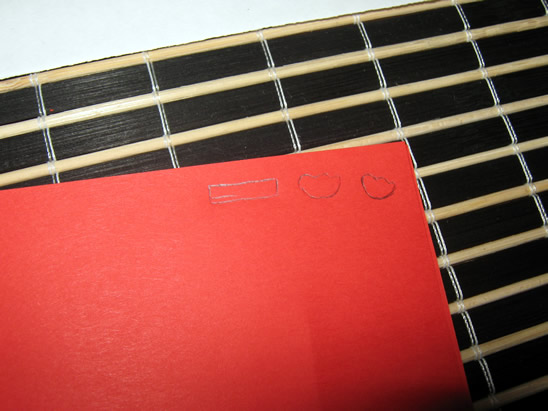
Glue one of the petals on top of the stem.
Roll the rectangle and glue it on top…
… then add the last petal over it.
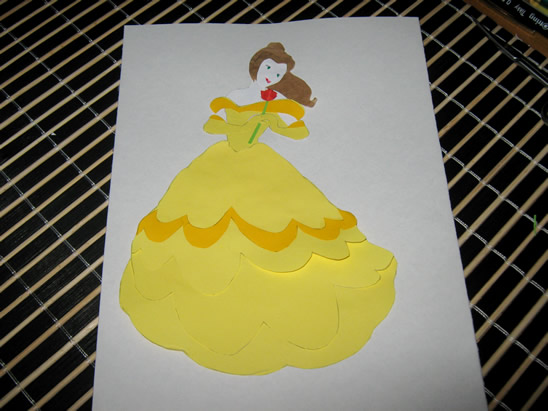
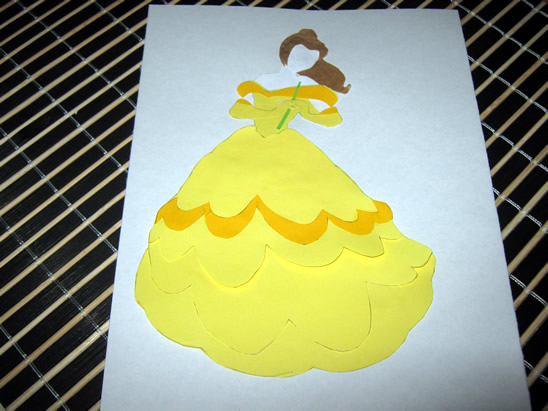
The layered doll is ready! With this technique you can make any favorite character a layered paper doll. The question is…. what are you going to make next?
Technorati Tags: easy to make dolls, doll crafts, making dolls, how to make dolls, homemade dolls, paper dolls, paper doll crafts, beauty and the beast crafts, belle crafts, paper crafts, kids crafts, crafts for kids
