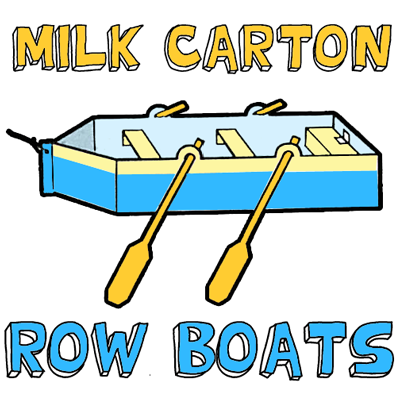
Today I have a craft for you that is perfect for the nice warm summer season. In this post I will show you how to make a Milk Carton Row Boat. Made from a couple of milk cartons this row boat will actually float. What is nice about milk cartons is that their waxy surface makes them completely water proof…. perfect for the water. So, grab the materials needed and let’s get started.
Check out our other Milk Carton Crafts.
Materials Needed
2 Milk Cartons
Pen or Pencil
Scissors
Tape
Nail
String
Step 1
Rinse out 2 finished Milk Cartons. Let dry.
[ad#ahc]
Step 2
Put carton on its side… draw a line 2 inches from bottom. Cut along this line.
Step 3
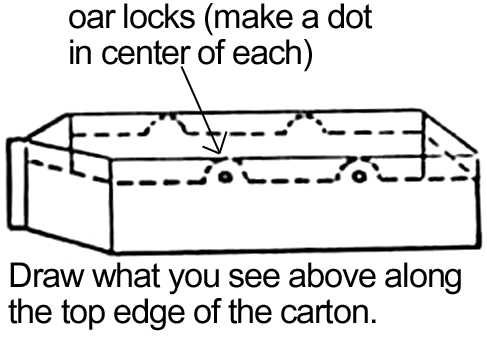
Draw what you see above along the top edge of the carton. For the oar locks…. make a dot in the center of each.
Step 4
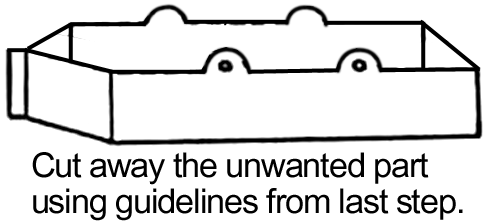
Cut along the unwanted part using guidelines from last step.
Step 5
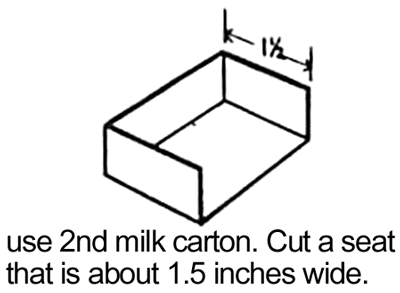
Use 2nd milk carton. Cut a seat that is about 1.5 inches wide.
Step 6
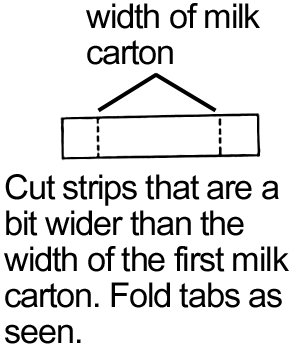
Cut strips that are a bit wider than the width of the first milk carton. Fold tabs as seen.
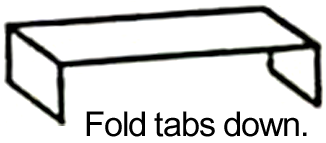
Fold tabs down.
Step 7
Draw oars on extra milk carton. Cut out 4 of them.
Step 8
Tape the seats into the boat.
Step 9
With a nail, poke a hole in each oar lock. Also, poke a hole in front of boat. Put an oar in each oar lock. Tie string around the hole in the front of the boat. Now go play with your boat.
And that’s it. You just made yourself your very own Milk Carton Row Boat. Use it in your pool, bath tub or any body of water. Enjoy!!
Technorati Tags: crafts for kids, milk carton crafts, milk carton activities, milk carton crafts for kids, milk carton activities for kids, milk carton boats, milk carton row boat, row boat crafts, boat crafts, boat crafts for kids




amazing idea love it love it love it