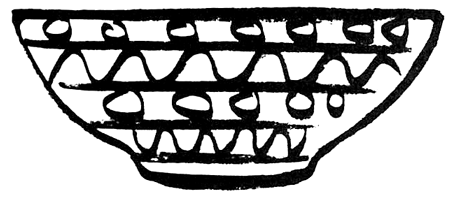
Today I’m going to show you how to make Papier Mache Bowls. Using a wooden, glass or ceramic bowl for your armature for this project as well as newspaper strips and the papier mache paste we will make together you will be able to make a beautiful bowl that you can actually hold stuff in. Once dry you will paint the bowl in the beautiful colors of your choice…. it is an all around fun project. So, grab the materials needed and let’s get started.
Check out our other Sculpting Crafts.
Materials Needed
Wooden, Glass, or Ceramic Bowls
Grease, Lard or Salad Oil
Newspaper Strips
1 Cup Water
4 tsp Salt
1 Cup Flour
Elmer’s Glue (optional)
Tempera or Acrylic Paint
Shellac or Lacquer (optional)
Step 1
Select simple wooden, glass, or ceramic bowls to serve as the armature for this project. Make sure that the bowl you have selected is free from undercuts so that no problems arise in the removal of the following papier mache forms. Go over the surface of the bowl lightly with grease, lard, or salad oil to facilitate removal of the finished papier mache form.
[ad#ahc]
Step 2
In beginning this project, tear newspaper strips.
Step 3
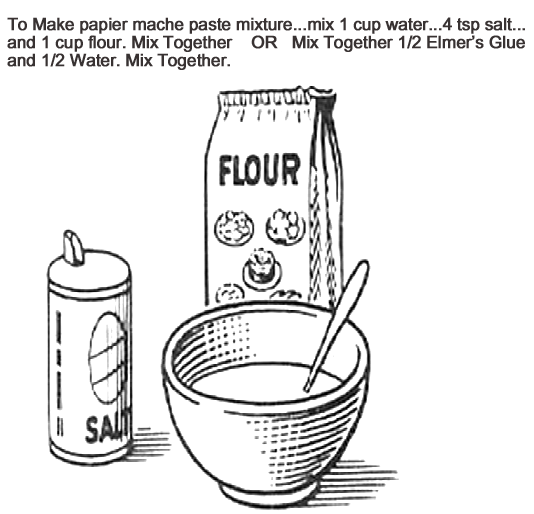
Make Papier Mache Paste…it should be the consistency of light cream. Soak newspaper strips in prepared paste. To make Papier Mache paste mixture…. mix 1 cup water… 4 tsp salt… and 1 cup flour. Mix together. Or, mix together 1/2 Elmer’s Glue and 1/2 water. Mix together.
Step 4
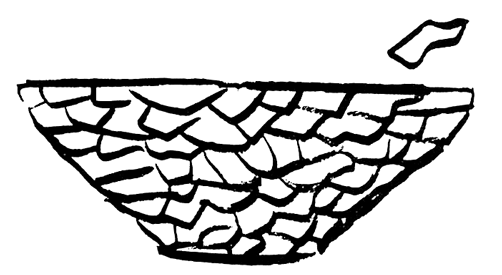
Dip / soak each newspaper strip in the papier mache mixture and then you will place them on the bowl. Build up a shell of about six layers of newspaper strips around the outside of the bowl.
Step 5
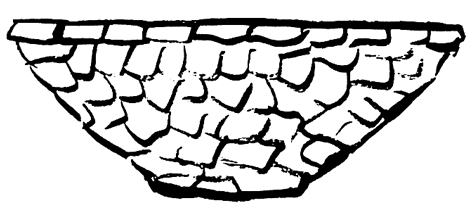
When the papier mache is dry, lift the shell from the original bowl and build up the lip on the papier mache bowl as illustrated above. This will provide extra strength and will give a more finished appearance to the bowl.
Step 6
When the papier mache is dry, paint with tempera or acrylic paint. You can finish with an application of shellac or lacquer for final, durable surface conditioning.
And, there you have it….. that’s how you make Papier Mache Bowls. How did your bowl turn out? Let me know in the comments below? Also, take a picture of your finished Papier Mache Bowl and share it with your comment as well. I’d love to see it.
Technorati Tags: papier mache, paper mache, papier mache activities, paper mache activities, papier mache crafts, paper mache crafts, papier mache crafts for kids, paper mache crafts for kids, newspaper crafts, newspaper crafts for kids
